
An entrance that supports ageing in place needs an even route, low-glare lighting, firm support where it is needed, and a threshold that does not require high foot clearance. The work starts before the front door: gate, path, step, bell, lock and place for shopping bags form one sequence. In Lisbon, where older homes and apartment buildings often have short level changes, smooth stone and dim halls, addressing these details early avoids rushed and awkward adaptations later.
The aim is not to make a home feel clinical. It is to remove predictable obstacles, preserve a dignified arrival and leave room for future needs.
Contents
- Why improve the entrance before mobility becomes difficult?
- How should an outdoor route be designed to prevent trips?
- What lighting makes arriving home safer?
- Where do handrails and supports make sense?
- Threshold, door and landing area: the details that shape everyday use
Why improve the entrance before mobility becomes difficult?
The entrance combines several transitions: street to plot, wet exterior to indoor flooring, bright daylight to a darker hall and often a sloping surface followed by a step. This is where a small unevenness can matter most.
The Portuguese Directorate-General of Health advises good lighting, clear floors, marked steps, non-slip surfaces and support bars where needed. The guidance is relevant to older people, while also making arrival easier for anyone carrying bags, pushing a pram, using a walking stick or recovering from an injury.
Observe the route at dusk and after rain. Where can someone put down a bag? Is there light before they search for the key? Is every step the same height? Can the door be opened without stepping back into a narrow area?
A focused review can sit within an accessibility-led renovation, rather than waiting for a full refurbishment.
How should an outdoor route be designed to prevent trips?
The route from gate to door should be clear and continuous. Avoid mixing polished stone, loose gravel, isolated steps and thick outdoor mats along the same path. A dependable solution usually combines slip-resistant paving, stable joints and drainage that prevents water collecting by the threshold.
When there is a level change, do not improvise a ramp with a loose board or a layer of mortar. Gradient, width, landings and side protection must be considered as part of the whole route. Decree-Law 163/2006 sets technical accessibility rules that also apply to residential buildings; where work is subject to formal control, these choices should be included in the design solution.
- Keep the route direct, with no planters or furniture narrowing it.
- Address drainage before replacing the final surface.
- Make the beginning and end of every flight of steps visually clear.
- If there are steps, check that their dimensions are consistent.
For finish selection, see our guide to non-slip outdoor flooring. Useful texture does not need to look harsh: it should provide grip when wet and remain easy to clean.
| Situation | Design response | Mistake to avoid |
|---|---|---|
| One step by the front door | Make it visible, well lit and provide support if it is used every day | Covering it with a loose mat |
| Continuous change in level from street to door | Design an integrated ramp with drainage and turning space | Building an overly steep ramp with no landing |
| Short outdoor stair | Use regular steps, a continuous handrail and slip-resistant paving | Putting all lighting behind the person climbing |

What lighting makes arriving home safer?
Entrance lighting should reveal the ground, lock and changes in level without producing hard shadows. A powerful floodlight aimed at a person’s face does the opposite: it reduces their ability to see the edge of a step and causes glare after coming in from the street.
Plan lighting by task. General light protects the route; a light at the gate helps identify the access point; another at the door helps with a key or keypad. Sensors can work well on circulation routes if the timer is long enough and the light does not switch off while someone is looking for keys.
On stairs, side or low-level light often reveals step edges better than a single ceiling fitting. If the entrance includes internal circulation, add the principles in this guide to interior corridor lighting.
Choose fittings that can be reached for cleaning and replacement. The health guidance also stresses that lamps should be easy to maintain: a well-designed light that remains out of action for months offers no protection.
Where do handrails and supports make sense?
A handrail should accompany movement, rather than being something to grab only at the last moment. It should therefore begin before the first step and continue past the last, with a continuous and comfortable grip. On external walls, the fixing must suit the substrate, moisture exposure and corrosion risk; screwing into failing render is not a safe answer.
At the door, a support may be useful where there is a step, raised threshold or a change in direction while opening. Do not place it where it can be struck by the door leaf, shutter or shopping bags. In narrow entrances, changing the door swing or using a smart lock can sometimes be more effective than adding multiple bars.
Do not rely on decorative pulls, lightweight guards or heavy planters as improvised support. An item intended to take body weight must be designed and fixed for that use. If the work involves old walls, stone, loose finishes or a stair showing signs of movement, obtain technical advice before drilling.
Threshold, door and landing area: the details that shape everyday use
A threshold is the meeting point between surfaces and should shed water without becoming an uncomfortable barrier. Lisbon City Council defines the threshold level as the elevation of the building’s main entrance floor; in external alterations, the relationship between door, pavement and drainage needs to be designed together, as explained in the municipal page on threshold level.
Inside, allow for a small dry area to set down bags, close an umbrella and regain balance before moving through the home. A stable seat, shallow console or well-placed shelf can help, as long as it does not reduce the clear route.
- Measure the usable width with the door open and check that furniture does not intrude.
- Check that the lock, bell and video entry system can be reached without over-stretching.
- Remove sliding mats or secure them properly.
- Test the entrance at night, in rain and with both hands occupied.
A heavy door, damaged threshold or water ingress around the opening calls for professional work. These are details where safety, weatherproofing and durability depend on the correct construction sequence.
Key takeaways
- Assess the entrance at dusk and when the ground is wet; risks are easier to identify then.
- Solve drainage and route regularity before selecting the final floor finish.
- Use task-based lighting: route, lock and steps each need light in different positions.
- Install supports only on assessed substrates, using fixings suited to daily loading.
If you are planning renovation work that includes better access, bring this list to the first technical discussion: route, level changes, drainage, lighting, door and support points. Obra Lisboa can help incorporate these decisions into a renovation scope before materials and works are finalised.
Sources and further reading
- Portuguese Directorate-General of Health advises good lighting, clear floors, marked steps, non-slip surfaces and support bars where needed
- Decree-Law 163/2006 sets technical accessibility rules that also apply to residential buildings
- threshold level
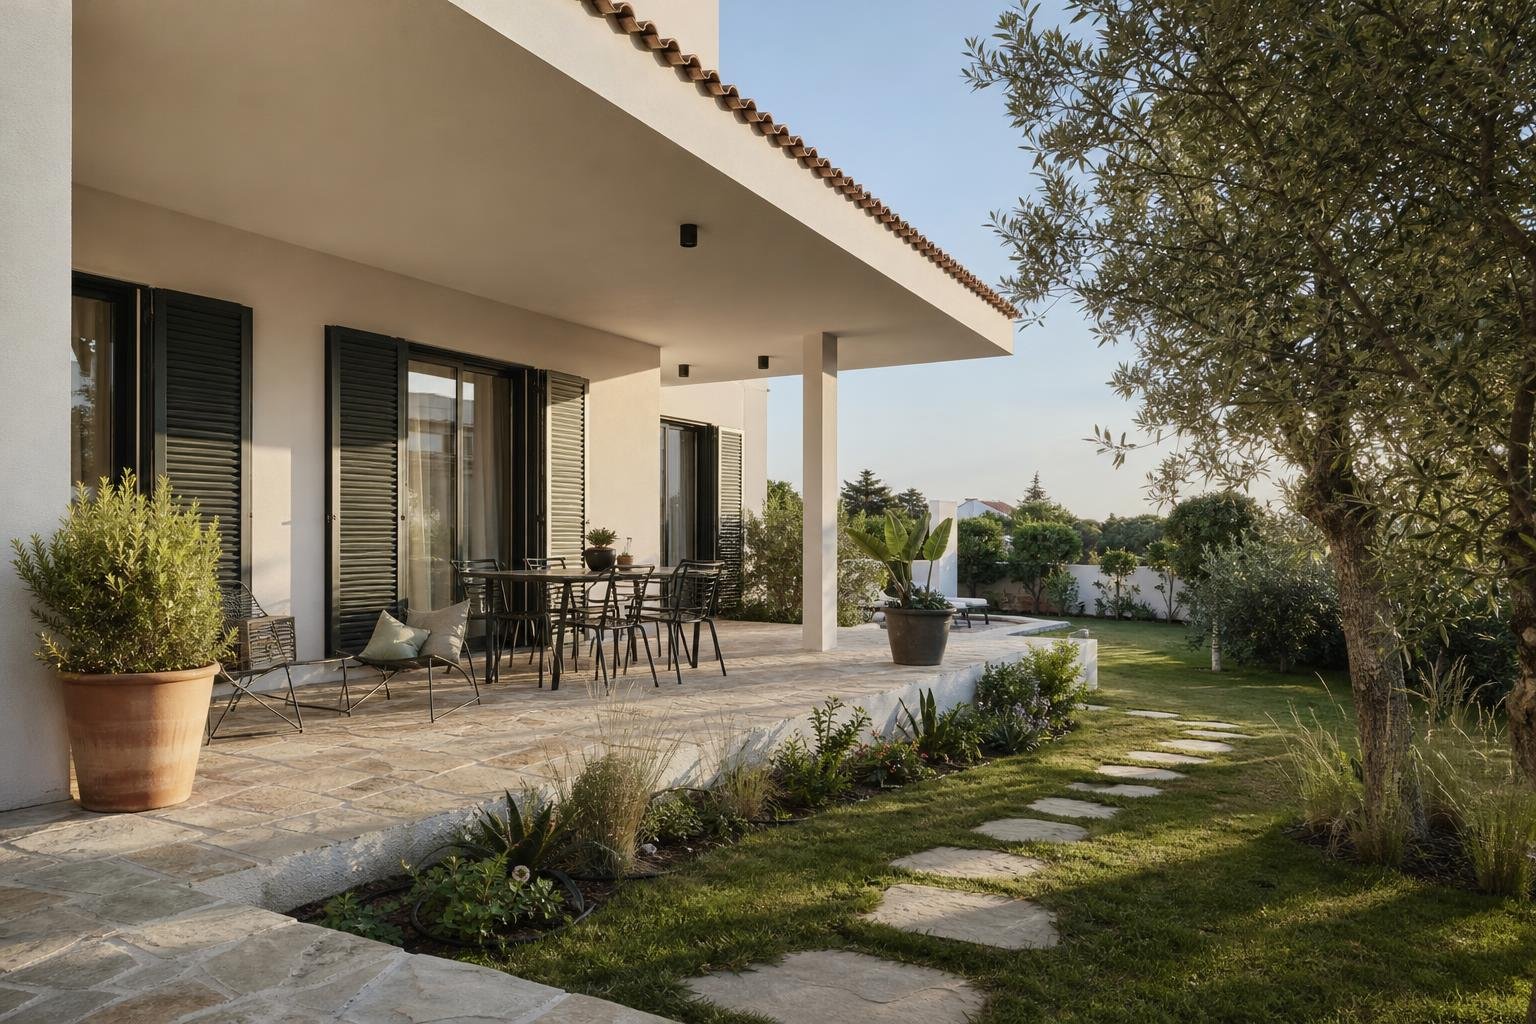
AI-generated editorial image; it does not depict an Obra Lisboa project.

Obra Lisboa