The cabinet below a kitchen sink may look like a minor detail, yet it brings together several sensitive elements in one small volume: hot and cold water lines, drainage, a trap, cleaning products, household waste and sometimes a dishwasher or waste disposer. When this space is too enclosed, cluttered or difficult to reach, a minor leak can go unnoticed and trapped moisture can damage the cabinet before anything is visible from the outside.
Ventilation does not mean drilling random holes into the cabinet base. It means creating conditions that allow the area to dry, remain inspectable and keep its materials, services and kitchen hygiene in good order. The Portuguese Directorate-General of Health notes that excess moisture can cause condensation on cold surfaces and encourage mould growth. Under the sink, prevention starts by telling condensation, spills and leaks apart.
Why this cabinet collects moisture
There are three common sources. The first is condensation: humid kitchen air meets colder pipes or surfaces, especially where air renewal is poor. The second is splashing and spills from everyday use of the sink. The third is a slow leak at a fitting, sink waste, trap, or dishwasher supply connection.
A persistent smell is not, by itself, proof of a plumbing fault. It may come from waste in the bin, damp cloths, cleaning products stored without wiping their exteriors, or a problem with the trap. However, a musty smell, swollen cabinet base, rusty hinges, dark marks or recurring droplets all deserve prompt attention. The Directorate-General of Health advises people to deal with moisture problems as soon as they appear and empty waste containers regularly.
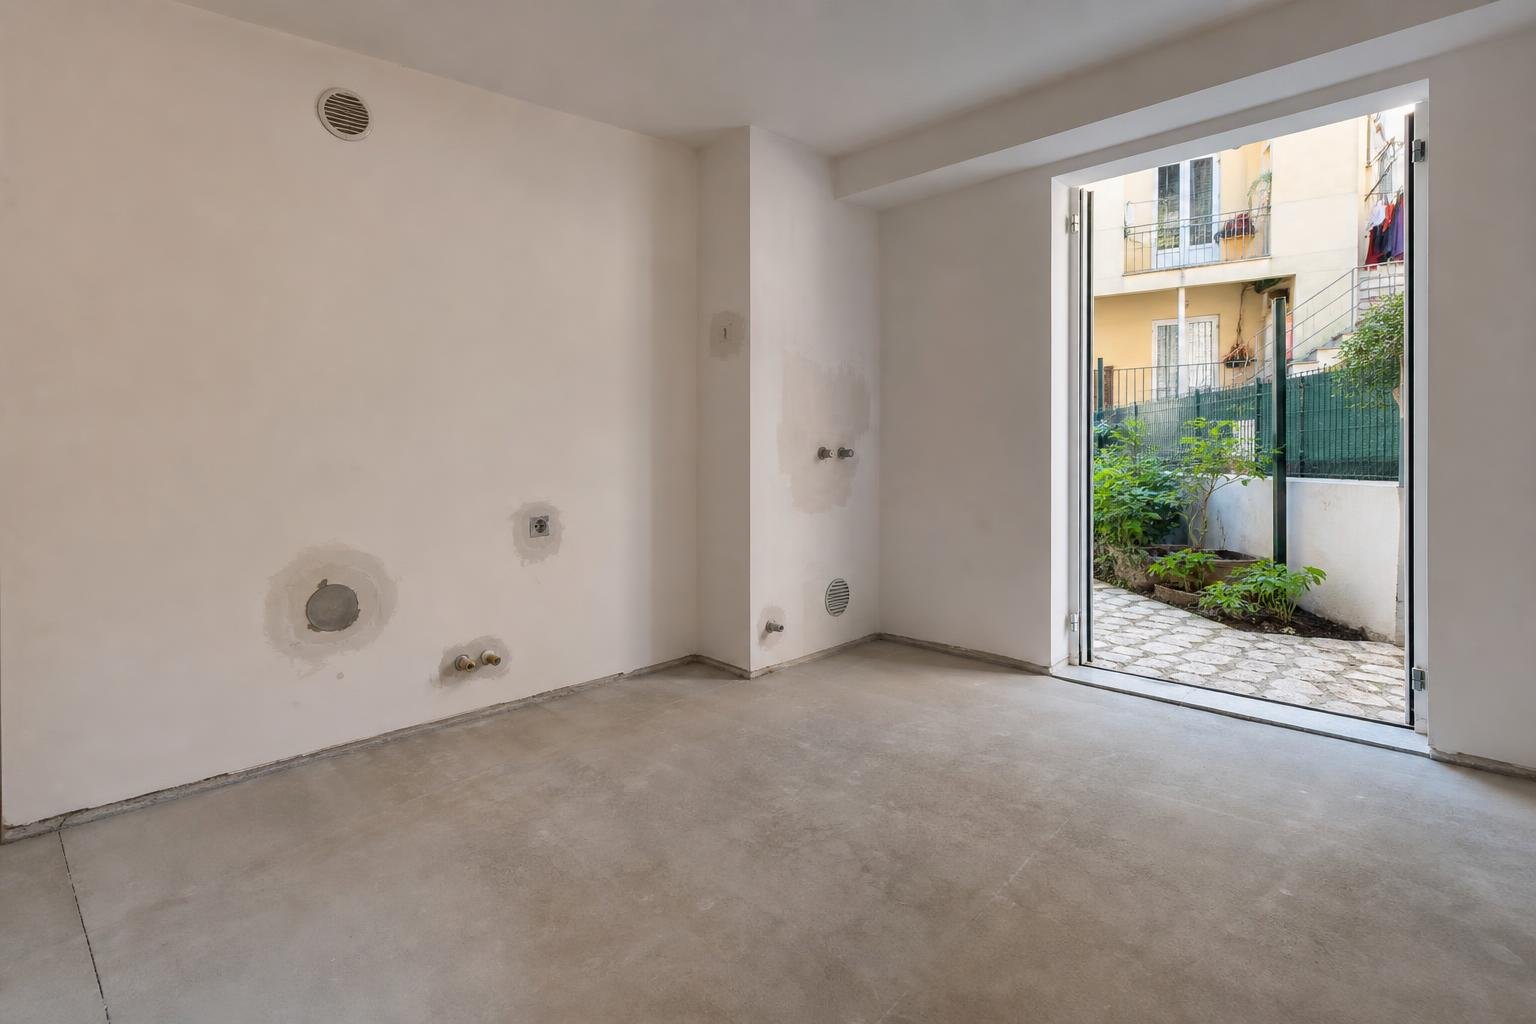
Before adding a grille, remove everything temporarily, dry the cabinet thoroughly and find where the water originates. Ventilation cannot fix a loose fitting, failed seal or cracked pipe.
Diagnose first, then choose a ventilation detail
Carry out a straightforward inspection using a torch and absorbent paper. Run it around trap joints, shut-off valves, the dishwasher hose connection and the area immediately below the sink bowl. Fill the sink, let a substantial volume drain, and watch closely. Then run the dishwasher, if you have one, because some leaks only occur during its discharge cycle.
Look at the pattern of damage as well. Moisture concentrated at one fitting suggests a leak. Water at the front of the cabinet base may indicate a spill or water entering during floor washing. Droplets on a cold-water pipe with no evident leak point more towards condensation. Do not hide the issue with an absorbent mat: it can delay detection and keep the cabinet base damp.
During a renovation, this review should be coordinated with the plumbing layout. Our article on sewer and plumbing systems before renovation explains why pipe runs, connections and isolation points should be accessible from the outset.
Passive ventilation: when it helps and how to plan it
Where the cabinet is normally closed and stores a waste bin or cloths, discreet passive ventilation can reduce stagnant air. Typical solutions include small grilles in the low plinth, a protected opening in the rear or side of the unit, and, where the kitchen design allows it, a second higher outlet to encourage air movement. The location should avoid exposing the cabinet directly to water used for washing the floor.
Openings need a neat finish, must be easy to vacuum, and should not leave sharp edges that could damage hoses or stored items. Do not cut into load-bearing cabinet components without checking the detail with the manufacturer or installer. In chipboard furniture, unsealed cuts expose the core to water; every exposed edge needs suitable protection.
Portugal’s technical framework treats ventilation as relevant to building performance and the prevention of defects in housing. Decree-Law No. 101-D/2020 links applicable requirements to thermal performance, comfort and the prevention of building pathologies. The practical lesson for a cabinet is the same: air movement is useful, but it never replaces watertight connections and maintenance.

Materials and details that withstand daily use
Even a well-ventilated cabinet is vulnerable if its base absorbs water. Choose components with good moisture resistance, properly sealed edges and a base that makes spills visible quickly. A removable waterproof tray with a low upstand can contain small drips and simplify cleaning; it should not become a permanently damp reservoir.
Avoid filling the entire space up to the trap. Keep a clear zone in front of valves, connections and discharge hoses. Store cleaning products in a washable, stable basket that does not press against pipes. Do not keep open containers or wet cloths directly on the cabinet base.
When pipes are concealed behind a panel, planned access matters more than a perfectly seamless appearance. See our guide to inspection access panels for concealed plumbing: reaching a connection without demolition reduces damage, delays and rushed decisions.
Odours: remove the cause without creating another issue
To manage odours, start with what is stored inside the cabinet. Wash the bin and lid, dry them before inserting a new liner, and remove organic waste regularly. Wipe detergent spills and check whether cloths, sponges or gloves are being stored there while damp. If the smell comes from the drain, the trap, drain ventilation or the pipework itself should be assessed by someone familiar with the installation.
Avoid repeatedly pouring harsh chemicals down the drain. They can damage components, release unpleasant vapours and mask the real cause of a blockage. Never mix cleaning products. If you use products inside the cabinet, follow the manufacturer’s directions, apply only what is needed and let the area dry before closing it again.
General home ventilation also affects this issue. The Directorate-General of Health recommends airing the home every day and while activities such as cooking and cleaning take place. Its general indoor-air guidance emphasises that moisture and pollution sources should be addressed at their origin.
A short routine that can prevent larger repairs
A monthly check lasting only a few minutes is enough in many homes. Remove the bin and baskets, clean the base, check fittings for droplets and operate shut-off valves only where the valve type and condition make that appropriate. Confirm that the door closes without crushing hoses and that any grille is not blocked by bags or dust.
- After a leak, dry everything completely and identify the cause before putting items back.
- After washing the floor, check whether water has entered through the plinth or cabinet joint.
- When replacing a dishwasher, review hose routing and the accessibility of connections.
- If swelling, mould, corrosion or a returning odour appears, arrange a diagnosis rather than simply replacing the cabinet base.
A well-designed under-sink cabinet does not need to be conspicuous. It needs to stay dry, washable, controllably ventilated and easy to inspect.
Planning a kitchen renovation or dealing with moisture around the sink? Obra Lisboa can help define practical, accessible solutions suited to the existing services, from planning through to delivery.
AI-generated editorial image; it does not depict an Obra Lisboa project.

Obra Lisboa