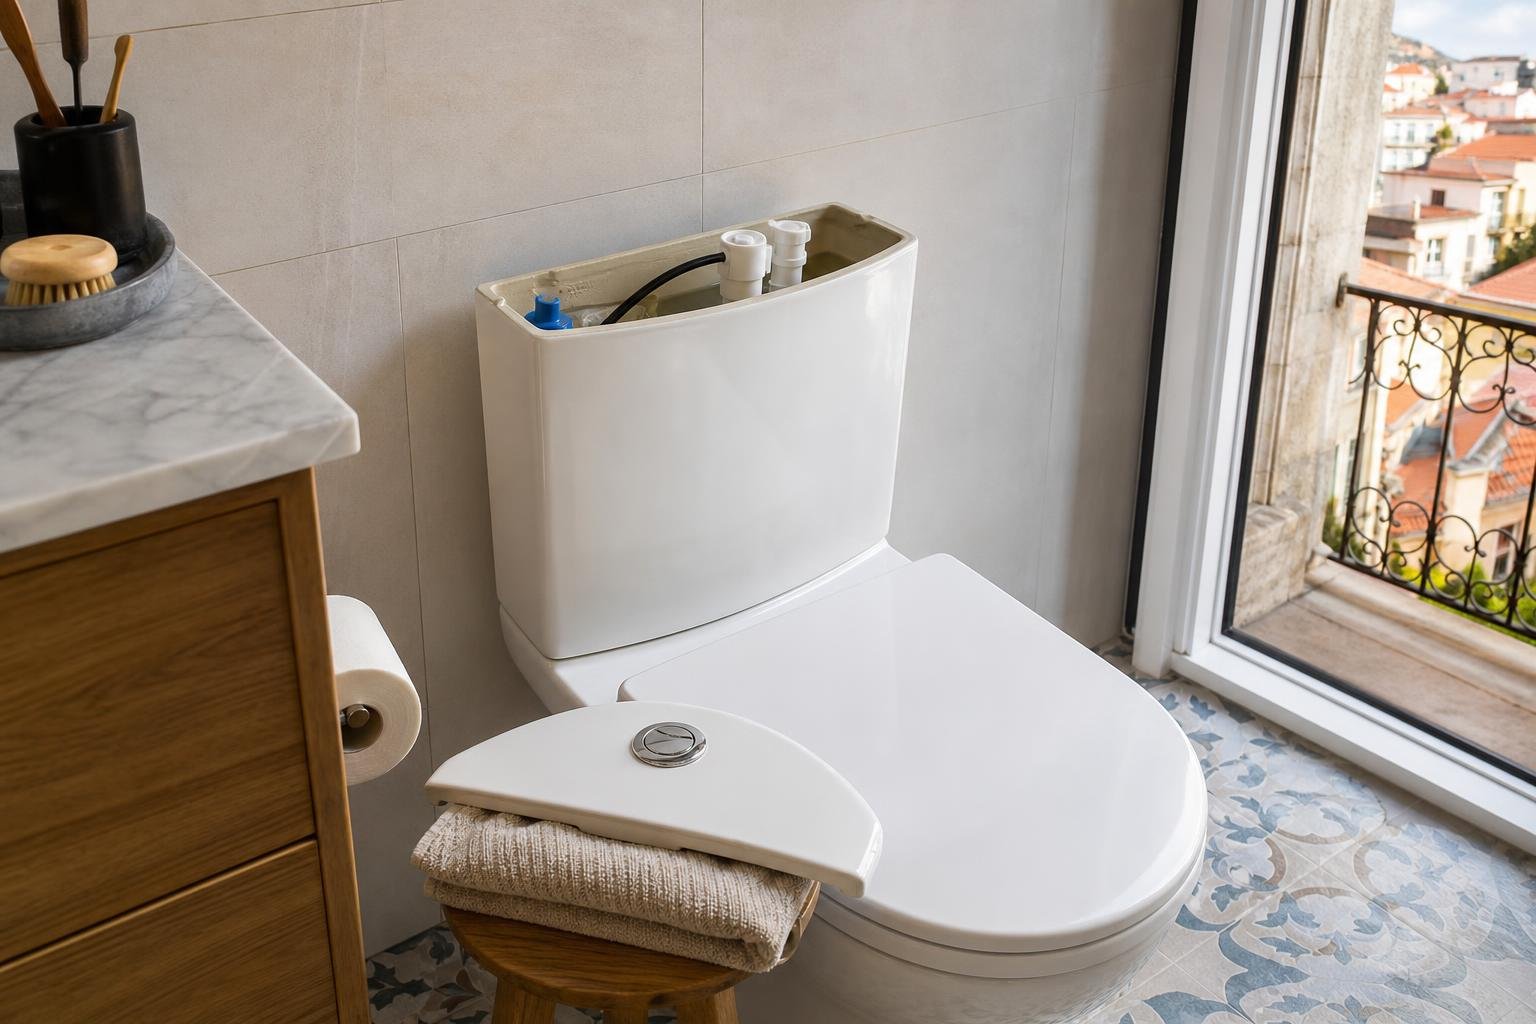

You can clean a basin trap yourself when debris has collected before the wall connection and the fittings are accessible. The task is straightforward, provided you follow the right order: protect the cabinet, take it apart without forcing threaded fittings, clean the component, then test it gradually. If water is coming from the wall, the odour remains after cleaning, or old pipework feels fragile, stop before a small maintenance job becomes a concealed leak.
Contents
- What does a basin trap do, and why does it smell?
- What should you prepare before starting?
- How do you remove and clean the trap?
- Should you use baking soda, vinegar or chemical drain cleaner?
- How can you tell the problem is beyond the basin?
- A short routine to prevent another blockage
What does a basin trap do, and why does it smell?
The trap is the bend or cup below the basin that holds a small amount of water. That water forms a seal which prevents gases from the drainage system entering the home. Portuguese technical rules describe traps with exactly this purpose and require them to be accessible for cleaning and maintenance. See the Diário da República regulation on traps and water seals.
An odour concentrated inside the vanity unit commonly comes from one of three causes:
- hair, toothpaste, soap and grease collecting in the plug, waste fitting or trap;
- a dry trap after a little-used bathroom or a long absence;
- a loose, cracked or badly fitted seal allowing gases or small drips to escape.
Before taking anything apart, half-fill the basin and remove the plug. If the water drains slowly, the obstruction may be in the plug assembly or trap. If it drains normally but the smell appears when the cabinet is opened, inspect the joints and check that the trap cup contains water. An odour alone does not prove that the problem is in the building stack.
What should you prepare before starting?
Allow fifteen to thirty minutes and work with good light. You do not need harsh drain chemicals as a first step; you need access and a way to contain the water held in the fitting.
- Remove boxes, cleaning products and textiles from the cabinet.
- Put a shallow bowl or bucket beneath the trap, with absorbent cloths nearby.
- Put on gloves. Run the tap briefly to establish whether there is already a leak.
- Photograph the assembly, particularly where there is a flexible tube, adaptors or several washers.
- If the basin is within a tight vanity unit, make sure you can remove the cup without pulling side pipes.
Do not undo the connection entering the wall if the cup alone gives access for cleaning. That fitting may have an aged seal and, in an older flat, visible pipework may not reveal the whole condition of the installation. Maintaining private pipework and sanitary fittings is a user or owner responsibility; the Diário da República framework for water and wastewater services also requires these elements to be kept in working order.
How do you remove and clean the trap?
With PVC bottle traps, cleaning usually begins at the lower nut or removable cup. Undo it by hand, slowly, keeping the bucket centred beneath it. If it will not move, do not grip the plastic directly with pliers: you may distort the thread or crack a part that then cannot seal properly.
- Let the retained water drain out, then remove debris with paper or a small brush.
- Wash the inside with warm water and mild detergent. Clean the cup and thread too.
- Remove hair and sludge from the plug or upper waste fitting; many blockages begin there.
- Check the washer: it should be intact, clean and properly seated, not twisted.
- Reassemble it, tightening by hand until firmly seated. Do not overtighten.
- Run the tap at a low flow, dry each joint with paper, then increase the flow and check for droplets.
If flow is low at both the basin and shower, the issue may not be limited to the trap. For the shower-specific check, see how to remove limescale from a shower head without damaging its finish; that is a separate task and does not replace drainage cleaning.

Should you use baking soda, vinegar or chemical drain cleaner?
Where debris is visible in the trap, mechanical cleaning is more reliable than pouring products into the drain. Warm water and mild detergent can loosen soap residue; a brush reaches the trap walls better than a homemade mixture left in the waste.
Use chemical products only when the label clearly confirms compatibility with the installed material and you can follow its safety instructions. Never mix products in an attempt to improve the result. Portugal’s Directorate-General of Health warns that bleach or products containing hypochlorite must not be mixed with ammonia or acids, since toxic gases can be produced; read the DGS domestic chemical safety guidance.
Avoid pouring bleach into the trap as an automatic answer to an odour. It will not remove hair or trapped objects, may make a leak harder to identify, and is dangerous if an acidic cleaner or drain opener is already in the pipe. Do not push rigid wire into the wall pipe either: it can move the blockage to a less accessible point or damage a joint.
How can you tell the problem is beyond the basin?
Stop and arrange technical help if you notice any of the following:
- water rises in the basin or returns when another fitting is discharged;
- drainage remains very slow after the trap and plug have been cleaned;
- water or damp is coming from the wall connection;
- the pipe is cracked, heavily corroded or held together with filler, glue or improvised tape;
- the odour appears at several drains, particularly after rain;
- there are stains, mould or swelling at the base of the vanity unit.
A clean trap will not fix a partly blocked stack, poor drainage ventilation or a leak behind the cabinet. During a renovation, make sure the fittings can genuinely be reached rather than closing everything behind fixed drawers. If concealed pipework needs changing, review the decisions around sleeves, movement and wall crossings for concealed pipes before the wall is closed.
A short routine to prevent another blockage
You do not need to dismantle the trap every month. Instead, match a simple routine to how the bathroom is used:
- remove hair from the plug whenever you see it;
- clean the plug and waste fitting when a soap film starts to build up;
- after a long absence, run water into the basin to restore the water seal;
- never rinse paint, plaster, jointing compound or building sand into the basin;
- inspect the vanity interior after any small spill, before moisture damages chipboard.
If the smell comes from the shower area rather than the basin, do not hide the symptom with new silicone. The seal may need replacement, but leaks need ruling out first; see the guide to replacing mouldy shower silicone without concealing a leak.
Photograph the cleaned trap and dry joints before refilling the cabinet. It gives you a useful reference if damp or odour returns.
Key takeaways
- Clean the plug and trap cup first: they are the most accessible places for residue to collect.
- Reinstall clean washers and tighten by hand; overtightening PVC fittings causes leaks.
- Never mix bleach, acids, ammonia or drain-cleaning products.
- Odours at several drains, backflow or damp at the wall require a technical diagnosis.
If this maintenance reveals degraded pipework, poor access or damp inside the vanity unit, include the issue in the renovation scope before finishes are closed. Obra Lisboa can help coordinate a renovation where services remain accessible and can be checked properly.
Sources and further reading
- Diário da República regulation on traps and water seals
- Diário da República framework for water and wastewater services
- DGS domestic chemical safety guidance
Editorial image; it does not depict an Obra Lisboa project.

Obra Lisboa