
A threshold level is the height of the main entrance floor, and it determines whether water stays outside, whether access feels safe and how a building meets the street. During renovation it can seem fixed because the door is already there, yet new exterior finishes, a ramp, an enclosed balcony or a raised internal floor can quietly remove its safety margin. Before ordering a door, sill or paving, map the whole route water takes and measure the real difference between street, patio and interior.
Contents
- What does threshold level actually mean?
- Why does an entrance set too low cause trouble?
- Is a higher entrance always the answer?
- How to trace the water route before work starts
- Which details protect the base of a façade?
- When to involve a professional before changing levels
What does threshold level actually mean?
It is the elevation of the floor at a building’s main entrance. In Lisbon, it is a specific planning reference: the municipality explains that an application for setting out, alignment and levelling of the threshold level is made after excavation, where relevant, and before construction starts. Read the municipal definition of threshold level before treating it as a finishing measurement.
It is not simply the thickness of the stone below a door, nor the visible height of a step from the pavement. It is a project datum. Finished floor levels, ramps, low window sills, utility connections and, in many cases, the apparent height of the façade all depend on it.
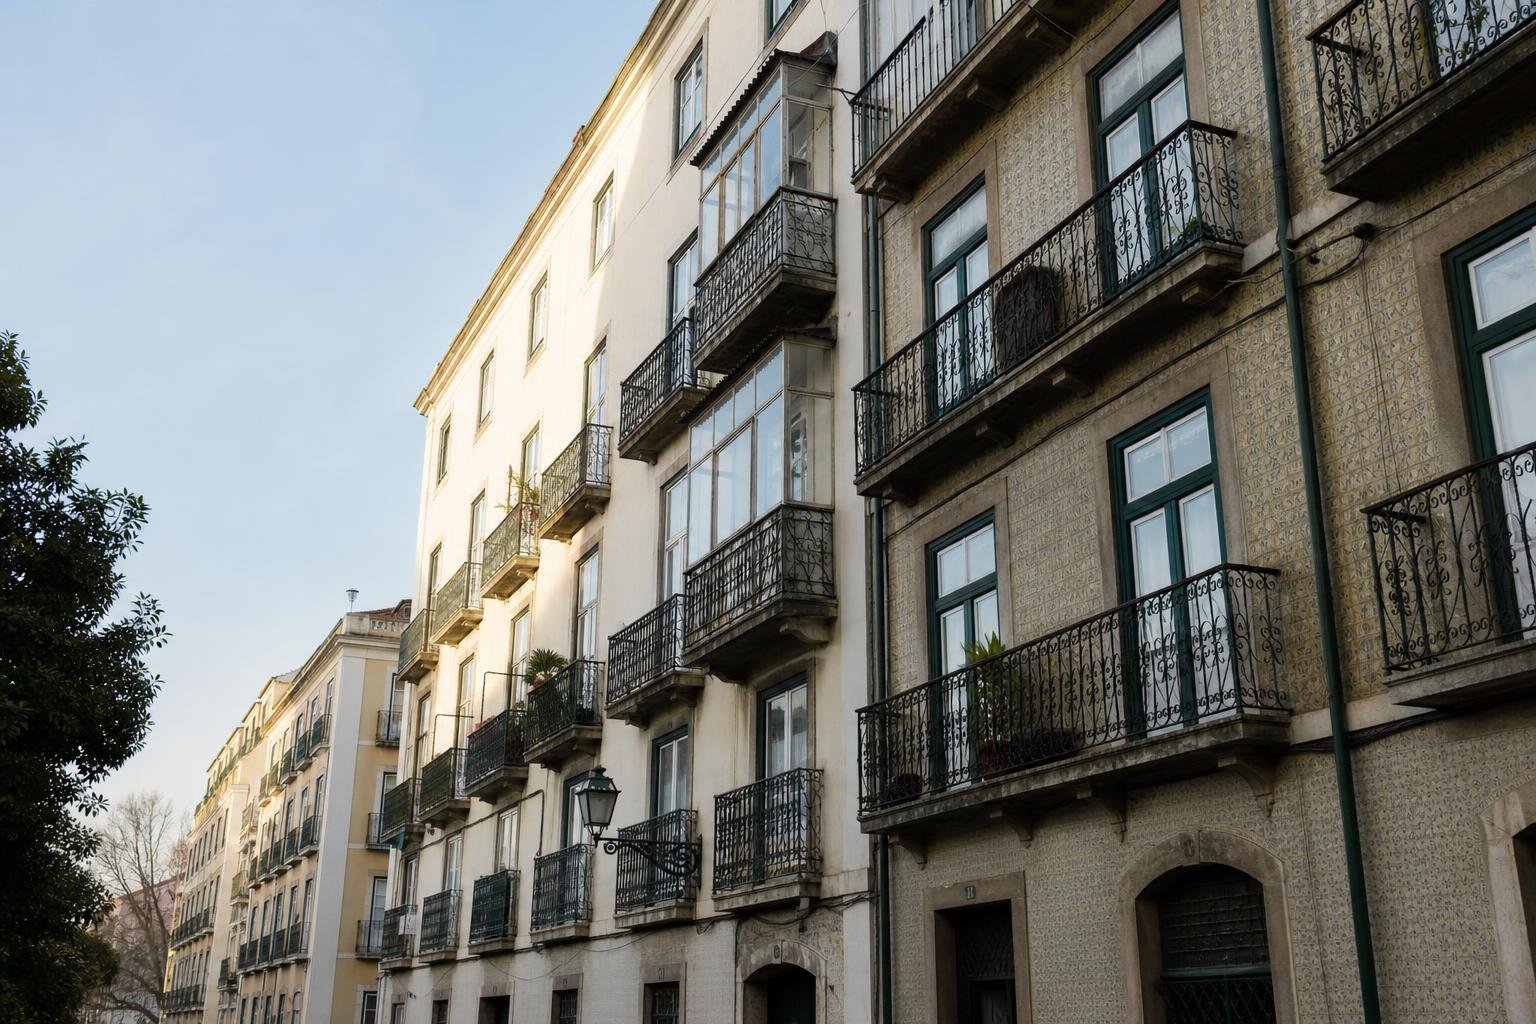
In an older Lisbon building, an entrance may sit above the pavement for historic, construction or slope-related reasons. At a house, the reference may be the road, gate or drained outdoor area. The important point is that none of these parts should be changed in isolation.
Why does an entrance set too low cause trouble?
Water does not need a visible crack to cause damage. A fall in the wrong direction, a failed joint or a blocked drain can be enough for it to gather at a door. If the external surface is above, or almost level with, the internal threshold, rain can reach the lower seal, enter beneath the floor finish and wet skirtings, walls and insulation.
This deserves attention in Lisbon. Between 7 and 12 November 2026, the Lisboa/Tapada da Ajuda station recorded 187 mm of accumulated rainfall, equivalent to 174% of the monthly November normal within the first 12 days, according to the IPMA report on intense rainfall. A design should not rely on one drain staying clear on a single severe wet day.
A frequent external-works mistake is to add tiles over existing tiles, raise a terrace or renew paving without redesigning the door detail. Water then meets a lower barrier than it did before. On a balcony, the correct sequence includes waterproofing, drains and edge details, as covered in waterproofing a balcony before replacing the floor.
Is a higher entrance always the answer?
No. Raising an entrance without resolving the walking route simply exchanges a water problem for an everyday obstacle. A single step beside a door is easy to miss, especially at night or when carrying bags, pushing a pram or using a mobility aid. The solution must balance drainage, a continuous route, slope and a door that opens without rubbing.
The balance depends on the site. Some municipal regulations set a 0.30 m reference threshold level above the lowest point where access steps or ramps begin; other locations are subject to their own plans or constraints. The regulation published in Diário da República illustrates why this figure should not be decided by the paving team alone.
| Situation | Risk if handled alone | Decision to confirm |
|---|---|---|
| New external paving | The threshold becomes too low | Finished level, falls and water discharge |
| New internal flooring | The door loses clearance or will not open | Finished height, frame and material transition |
| Access ramp | Water is directed towards the door | Slope, side drainage and connection to drainage |
| Window or door replacement | The lower seal is poorly detailed | Sill profile, sealing and drip detail |

How to trace the water route before work starts
Carry out this check before choosing the door. Start outside and follow the water to the point where it leaves:
- Find the highest point of the external surface beside the façade and compare it with the finished top of the threshold.
- Check the direction of the falls: they should move water away from the door, rather than collect it at the junction between finish and frame.
- Locate gullies, channels, grilles and inspection chambers, then make sure they remain accessible after the work.
- Consider where water goes if a drain blocks. Poor emergency drainage can send it towards the entrance.
- Look for staining, salt deposits, open joints and peeling paint at the base of the wall. These are clues to investigate, not decoration to cover.
In flats, use the same approach for a balcony and the sill of a sliding door. The external finish should not rise against the frame and conceal drainage points. If the window or door already rubs or will not close properly, address the cause of misalignment first; see the safe checks in windows that rub or will not close properly.
Which details protect the base of a façade?
A threshold works when it belongs to a complete system: external falls, water-resistant materials, flexible joints where needed, a properly detailed lower frame and clear drainage. Attractive stone with no fall, or a new door pressed against raised paving, will not keep water out.
At houses, keep soil, planters and finishes away from the vulnerable lower part of the façade. Earth piled against a wall retains moisture and conceals cracks. At covered entrances, do not assume there is enough protection: wind can drive rain inward and water can run in from the sides.
On pitched roofs, the same principle operates at a larger scale: water needs a continuous sequence of layers, ventilation and discharge. Link this detail to what sits beneath roof tiles on a pitched roof, because a leak is rarely explained by the visible surface alone.
When to involve a professional before changing levels
Seek technical advice if the work changes the ground-floor level, affects the façade, creates a ramp to public space, requires excavation, adds new drains or coincides with repeated water ingress. It is also sensible to stop when the entrance belongs to an older building, a steep site or an area beside a basement: the level difference may be tied to ventilation, buried drainage or structural elements that cannot be seen.
Bring four simple items to the discussion: photographs in dry weather and rain, measurements between internal and external levels, the location of drains, and a drawing of the proposed door or frame. This avoids deciding the threshold after paving has been ordered and no room remains for proper details.
The practical next step is to put finished levels, falls, drains and entrance components on one drawing before requesting prices. It makes quotations easier to compare and reduces late changes.
Key takeaways
- Threshold level is a design decision, not merely the stone below a door.
- Do not raise external or internal floors without reviewing doors, falls and drainage.
- Water protection must work alongside a safe, continuous access route.
- Stains at the base of a façade need diagnosis before new finishes are installed.
If your renovation includes external doors, balconies, paving or level changes, ask Obra Lisboa for a work scope that identifies finished levels, drainage and edge details before appointment.
Sources and further reading
Editorial image; it does not depict an Obra Lisboa project.

Obra Lisboa