
Large-format ceramic tiles look good and last only when the substrate, layout and joints are decided before purchase. In a Lisbon kitchen or bathroom, a bigger tile reduces the visual presence of grout lines, but it cannot correct an out-of-plumb wall, an uneven screed or a base that is still moving. If the work follows the catalogue size alone, problems appear at doors, drains, corners and tap openings. Start with a measured survey and choose the final tile afterwards.
Contents
- What changes when the tile is larger?
- How to inspect the substrate before ordering
- How to set out a layout that does not look improvised
- Narrow joints do not mean no joints
- Where cuts and openings need extra care
- Work sequence and the DIY boundary
What changes when the tile is larger?
A larger tile makes everything beneath it easier to see. A slight bulge in a wall, a poorly levelled threshold between rooms or a high sill can require more adhesive in one area and less in another. That makes installation harder and leaves the finish more exposed to hollow sounds, lippage and cracking in stressed areas.
Format is not purely a decorative choice. It affects how tiles are brought into the flat, the clear area needed to handle them, the cutting method, the installation sequence and the tolerance required from the substrate. In older buildings, where walls and floors are seldom perfectly regular, it is often sensible to spend time on levelling before opening the tile boxes.
Rectified tiles allow visually tighter joints, but they do not remove the need for joints. They also do not remove the need for movement joints at changes of plane, material transitions and areas where the substrate may deform. Floor and wall covering work is classified as a specialised building-finishing activity in the INE classification of floor and wall coverings.
| Situation | Check first | Common mistake |
|---|---|---|
| Living-room or corridor floor | Flatness, room transitions and perimeter gaps | Choosing the tile before measuring thresholds and doors |
| Shower wall | Plumb, waterproofing, mixer positions and drain | Centring the wall and ending with very narrow strips at the corners |
| Kitchen splashback | Actual worktop height, outlets and alignment with cabinets | Forcing a full tile and leaving awkward cuts around outlets |
| Finish over existing tile | Bond, hollow tiles, final thickness and doors | Adding layers without checking the finished level |
How to inspect the substrate before ordering
Ask for the floor to be checked with a long straightedge and the wall with a straightedge and plumb line. The purpose is not theoretical perfection: it is to find dips, humps and rotated walls before adhesive is expected to solve everything. Record finished floor levels at the entrance door, internal doors, balcony, shower tray and kitchen units as well.
In a flat with old timber floors, an uneven slab or areas opened for plumbing, check for movement, deflection, active cracking or loose zones before tiling. In older buildings, floor repair may involve replacing deteriorated sections and correcting deformation before new layers are added; consult Lisbon’s municipal guide to floor repair and strengthening and obtain technical assessment where there are signs of a structural problem.
Do not proceed over a damp, dusty, friable or contaminated base. Adhesive needs a substrate prepared for bond; an expensive tile does not compensate for poor preparation. Where rising damp, water ingress or structural cracking is suspected, stop the decorative decision and obtain a technical diagnosis.
- Measure every wall, rather than relying on the stated room width.
- Mark pipes, electrical boxes, niches and water points before setting out.
- Confirm the combined thickness of levelling, waterproofing, adhesive and tile.
- Keep photographs of the substrate before technical areas are closed.
How to set out a layout that does not look improvised
Setting out means drawing the tiles across the actual space. It should use site measurements, including joints, rather than a showroom image. Begin with the planes visible on arrival: the basin wall, the shower-tray front, the corridor axis or the strip between worktop and wall cabinets. Then distribute cuts so that thin, fragile or visually heavy strips do not end up on one side only.
In a compact bathroom, centring a tile on the basin can produce balanced cuts at both sides. In a shower, it is better to coordinate joints, drain and falls than to insist on a perfect grid that compromises drainage. Where a floor continues into another room, decide where the joint changes direction and where each tile field ends; leaving this to installation day creates differences that are difficult to correct.
Lay out one critical row dry, or prepare a simple dimensioned drawing, before ordering. Include junctions at reveals, skirtings, frames and thresholds. If the renovation includes new windows and internal insulation, reveal details need coordination; see also details that prevent cold edges around new windows and internal insulation.

Narrow joints do not mean no joints
Joints accommodate small dimensional variation, help alignment and prevent tiles from working hard against one another. The suitable width depends on the tile, rectification, location, substrate and the instructions for the chosen system. A joint that is too tight can make minor variation highly visible; one chosen only from a photograph may conflict with the manufacturer’s recommendation.
Separate three situations. The joint between tiles receives suitable grout. Changes of plane — wall to floor, shower corner, tile to bath — need a compatible elastic solution applied properly. Movement joints in the substrate must not be rigidly covered with tile: they need to be identified and carried through the finish.
Colour also needs an early decision. A strongly contrasting grout outlines every misalignment; a tone close to the tile softens small variation, but does not replace good setting out. In wet areas, do not treat grout as the primary waterproofing layer. Water tightness must be resolved in the dedicated layer before tiling and before the surface finish is applied.
When buying adhesives, profiles and other system products, request technical data sheets, Portuguese-language instructions where applicable and performance documentation. Portuguese law sets information and documentation duties for covered construction products, including CE marking where applicable, under the regime published in Diário da República.
Where cuts and openings need extra care
A narrow cut beside a door, a hole too close to an edge or a large opening for a concealed tap are sensitive points. Plan them before starting and confirm the actual dimensions of equipment, rather than relying only on commercial drawings. Mixers, outlets, flush plates, niches and shower-screen profiles should be fixed before cutting begins.
Avoid leaving very thin strips at the ends of a wall, especially beside corners or openings. Wherever possible, redistribute the layout to create stronger cut pieces. On floors, do not automatically align tile joints with joints in different substrates without checking the solution; every interface may need its own detail.
The tool matters too. Large pieces and dense porcelain require clean cutting, supported handling and often two people. A chipped edge is not repaired with extra grout. Keep extra tiles from the same reference and batch for cuts, breakages and later repairs; confirm replacement conditions before accepting the delivery.
Work sequence and the DIY boundary
A safe sequence reduces rework:
- measure and define finished levels;
- repair and level the substrate;
- complete waterproofing and testing where the area is wet;
- approve the layout, joints, profiles and equipment positions;
- install, respect curing times, then grout and seal changes of plane.
Replacing internal tiles without changing structure, façade, roof or use may fall within works exempt from prior planning control, but that position changes when the intervention comes with alterations of another kind. Lisbon City Council identifies, under stated conditions, internal works that do not affect stability or alter the façade, roof or removal of façade tiles as exempt; check the specific case in its guidance on works exempt from prior control.
It is reasonable to take small measurements and approve a dry layout. It is not sensible to improvise shower waterproofing, use adhesive to correct an unstable base, cut large openings in installed tiles or decide alone on cracks and deformation. In an apartment building, also coordinate deliveries, storage and protection of shared areas before pallets reach the site; begin by gathering the condominium documents to request before renovating.
If you are preparing a Lisbon renovation, bring a dimensioned plan, tile references and substrate photographs to an initial conversation with Obra Lisboa; it is a straightforward way to confirm the sequence and details before placing the order.
Key takeaways
- Choose the format after measuring the substrate, doors, equipment and floor transitions.
- Set out the finish using real joints and cuts; a catalogue image cannot resolve corners, drains or outlets.
- Keep tile joints, treat changes of plane with an elastic solution and respect movement joints.
- In wet areas, waterproofing is a dedicated layer installed before the ceramic finish.
Before confirming an order, gather a measured plan, samples, technical data sheets and the finished level for each room. Obra Lisboa can incorporate those decisions into renovation planning so that the substrate, finish, equipment and junction details follow one coordinated sequence.
Sources and further reading
- INE classification of floor and wall coverings
- regime published in Diário da República
- works exempt from prior control
- municipal guide to floor repair and strengthening
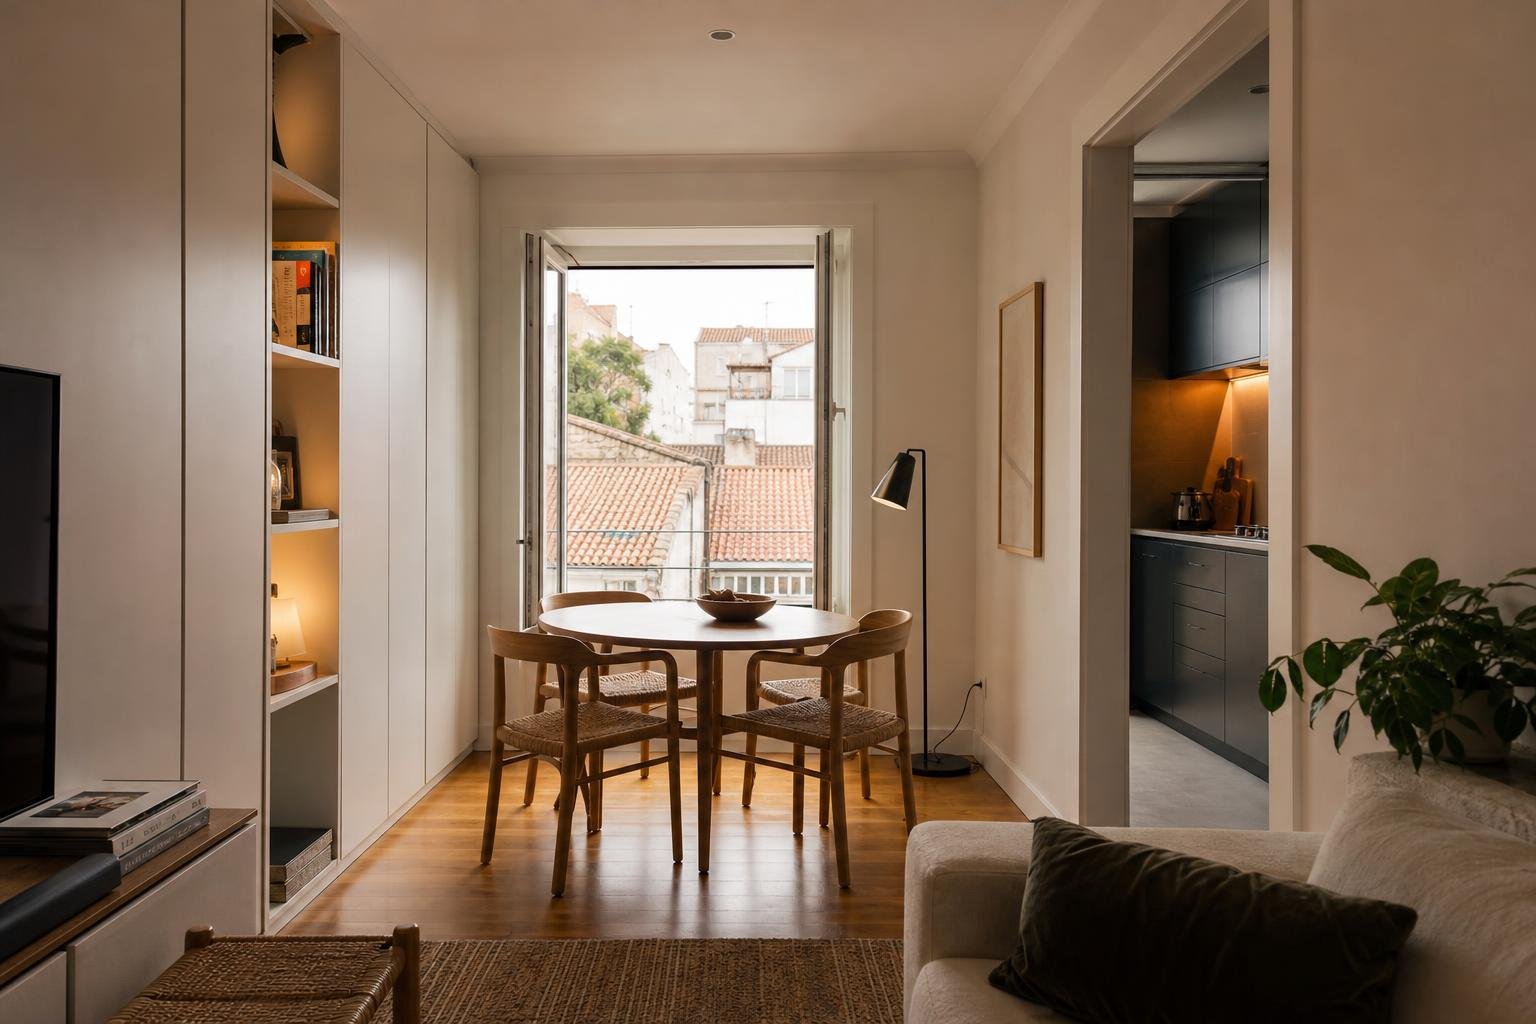
Editorial image; it does not depict an Obra Lisboa project.

Obra Lisboa