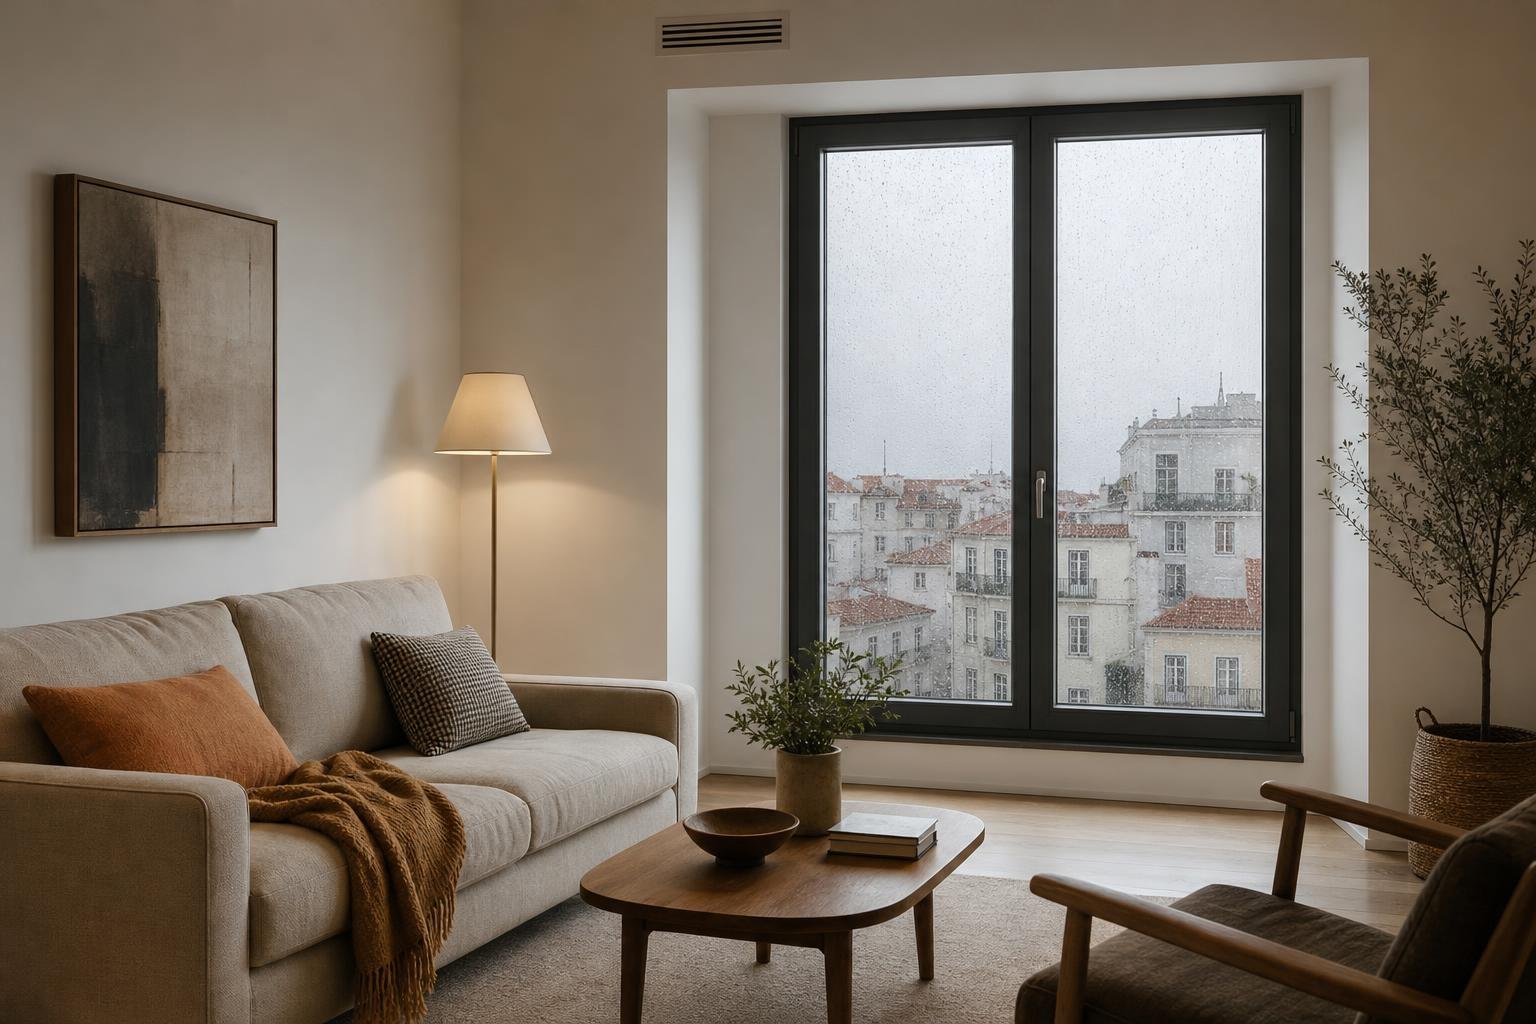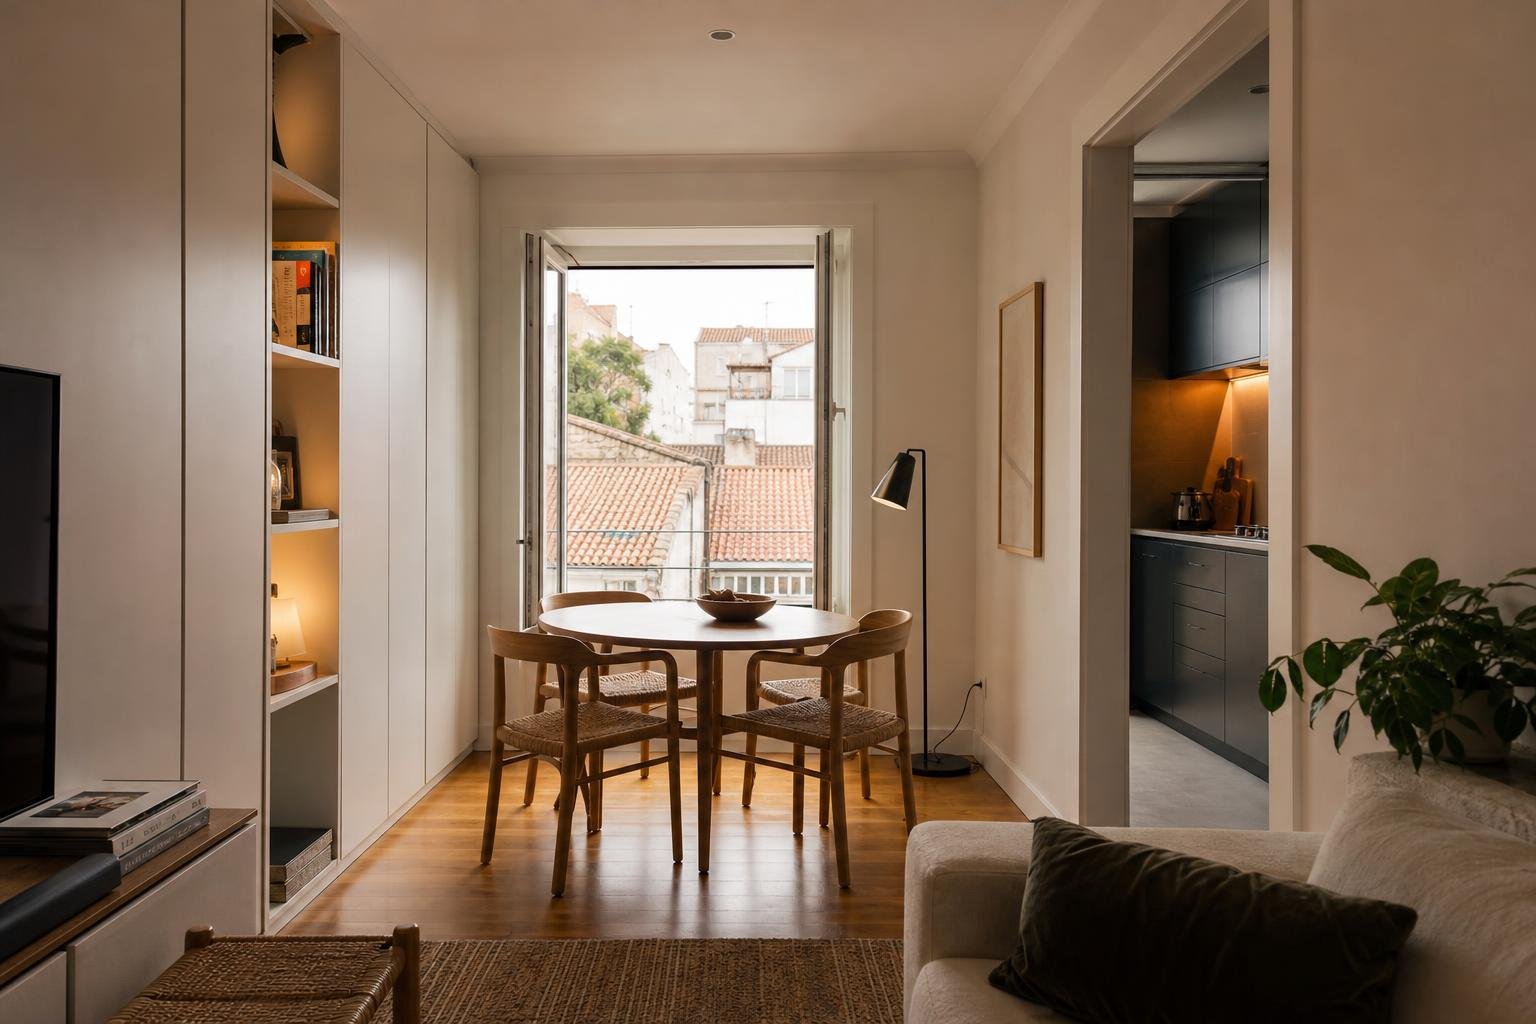

To light artwork or a textured wall well, first decide whether the priority is showing the surface, highlighting one piece, or simply guiding people through the room; each intention needs a different light position. A spotlight aimed without testing can create reflections on glazing, hard shadows and a bright patch that distracts from the wall itself. Before cutting into ceilings or ordering a track, test the effect at night with a portable light and look from the places where the home is actually used.
Contents
- Start with the wall, not the fitting
- Where to place a spotlight to avoid reflections
- How to use grazing light on a textured wall
- Colour temperature, colour rendering and output
- Plan controls, circuits and maintenance
- Run a trial before making the decision final
Start with the wall, not the fitting
Look at the wall straight on and from the side. A smooth painted wall can take soft, fairly broad light. Stone, exposed brick, timber slats or irregular plaster gain presence when light arrives almost parallel to the surface. A watercolour behind glass, on the other hand, needs more controlled light because reflections appear quickly when the source is too frontal.
Ask three simple questions first:
- What should lead at night: the artwork, the texture or the general atmosphere?
- Is there glass, glossy varnish, polished metal or a television on the same wall?
- Who will see this wall while sitting on the sofa, at the table or entering the hall?
In a narrow corridor, wall lighting also helps people read the route. Portugal’s Directorate-General of Health recommends good lighting in rooms and stairways as a basic accident-prevention measure; that matters near level changes, doors and night-time circulation. Read the DGS guidance on accident prevention before making decorative lighting the only light along a route.
If the wall includes a sideboard, leave visual room for the furniture and for people passing by. This guide to sideboards in narrow dining rooms helps coordinate furniture, circulation and lighting without squeezing the room.
| Purpose | Starting position | What to check |
|---|---|---|
| Highlight artwork | Place the spotlight slightly away from the wall and aim it at the piece | Even light, with no visible reflection from the usual viewing position |
| Reveal stone, brick or plaster | Set the fitting close to the wall, with the beam almost parallel to it | Short shadows that show relief without making it look defective |
| Soften a background wall | Move the light farther away and use a wider beam or indirect fitting | A calm surface, without bright patches or dark corners |
Where to place a spotlight to avoid reflections
For artwork behind glass, begin with the spotlight on the ceiling slightly in front of the piece, rather than directly above the frame. Then adjust the fitting until the light covers the image without sending a white reflection back to the sofa or dining table. The final position depends on the height of the artwork, the type of glazing and where it will be viewed from; there is no universal distance that can replace testing in the room.
Use a simple method: ask someone to sit in the usual place, switch on only the spotlight, then move or rotate it slowly. When that person can no longer see the reflected source, mark the position. Repeat the test standing up, especially in halls and corridors where viewpoints change often.
Avoid three common mistakes:
- aiming a narrow beam at the centre of a wide piece and leaving dark edges;
- installing a fixed spotlight before confirming the final hanging height of the artwork;
- using strong light on sensitive photographs, paper or textiles without considering prolonged exposure.
During a renovation, plan the outlet, switch or lighting control before the ceiling is closed. A wall intended for art may need a separate circuit from the main pendant, so the room is not overlit when you only want to watch television or talk.
How to use grazing light on a textured wall
Grazing light runs close to the wall, almost sideways. It works well with lime plaster, stone, brick, timber and other finishes that deserve to be read through shadow. It is also unforgiving: it reveals waves, joints, trowel marks, dust and minor repairs. Do not choose it to hide imperfections.
In a living room with a handmade textured wall, try a short ceiling track or adjustable spotlights located close to the vertical plane. Rather than lighting the whole wall with many points, begin with a small number and check whether the spacing feels coherent. Tight spacing creates repeated stripes; overly wide spacing leaves dead areas.
In Lisbon flats with generous ceiling height, the gap between ceiling and wall can make the fittings discreet. With lower ceilings, a pelmet, an upward-facing wall light or indirect lighting may be more comfortable. If there is a window on the same wall, coordinate artificial light with glazing and curtains; this guide to low-E glass in Lisbon explains choices that affect daylight, comfort and solar control.

Colour temperature, colour rendering and output
For living rooms, bedrooms and relaxed areas, warm or softly neutral light usually keeps walls welcoming and timber from looking grey. In kitchens, studios or work areas, a more neutral light may suit the task, provided it does not clash with the rest of the home. The DGS notes that people working at home should assess whether available light needs increasing or reducing, and whether local task lighting is needed. See the DGS guidance for working from home if the lit wall forms part of a reading or desk area.
Choose LED lamps or modules with good colour rendering when the aim is to see paintings, ceramics, photographs or coloured texture faithfully. Check the packaging for luminous output, colour temperature and energy information. The ADENE energy-label guide explains that packaging identifies consumption in kWh per thousand hours as well as the efficiency class.
Do not try to fix a dark room with one excessively powerful spotlight. Give the room separate jobs: general light for arriving and tidying, task light for reading or work, and accent light for the wall. You can then lower the general level without losing orientation.
Plan controls, circuits and maintenance
A feature wall works best when it can be switched on without lighting everything else. A compatible dimmer, separate control or a few simple scenes make the lighting easier to adapt for meals, resting and cleaning. Fixed lighting is included in the building-energy-performance framework; the Portuguese regulation published in the Diário da República lists lighting among the building energy uses assessed.
When choosing LED, consider maintenance too. Choose fittings where it is clear whether the source or the whole unit can be replaced, and retain the model reference, colour temperature and finish. ADENE recommends LED lighting and, where suitable, motion sensors as an energy-saving measure; see its Save Energy Together action plan.
Clean diffusers and louvres with the power isolated, using a dry or lightly damp cloth as directed by the manufacturer. Do not spray cleaner directly onto the fitting. If a spotlight overheats, flickers, makes noise or smells burnt, turn off the circuit and call a qualified electrician. Altering circuits, opening junction boxes or adding new ceiling points is not a job for improvised DIY.
Run a trial before making the decision final
The best time to make this decision is before the final coat of paint and before a suspended ceiling is closed. Bring the actual frames, a finish sample, the wall colour and a lamp at the planned colour temperature to the site visit. Photograph the result by day and at night, from the sofa, dining table and entrance.
- Mark the wall and the likely position of every piece.
- Test spotlight direction with a temporary light.
- Check reflections, shadows, routes and access for cleaning.
- Set the circuit, controls and intensity before final installation.
- Record the model, location and photographs for future maintenance.
Keep those decisions with drawings and approvals in your digital renovation folder. It is a small detail that can prevent replacing fittings, repairing ceilings or debating positions after the home is occupied.
Key takeaways
- Decide whether the wall should show artwork, texture or simply guide circulation before choosing fittings.
- Test spotlights with the actual frames and from real viewing positions before fixing them.
- Use grazing light only where the wall texture and workmanship deserve to be visible.
- Keep accent lighting separate from general lighting to control atmosphere and energy use.
If you are renovating a living room, hall or bedroom, include artwork positions, spotlights, controls and circuits in the drawings before walls or ceilings are closed. Contact Obra Lisboa to integrate these lighting decisions into your renovation planning.
Sources and further reading
- Save Energy Together action plan
- ADENE energy-label guide
- Portuguese regulation published in the Diário da República
- DGS guidance for working from home
- DGS guidance on accident prevention
Editorial image; it does not depict an Obra Lisboa project.

Obra Lisboa