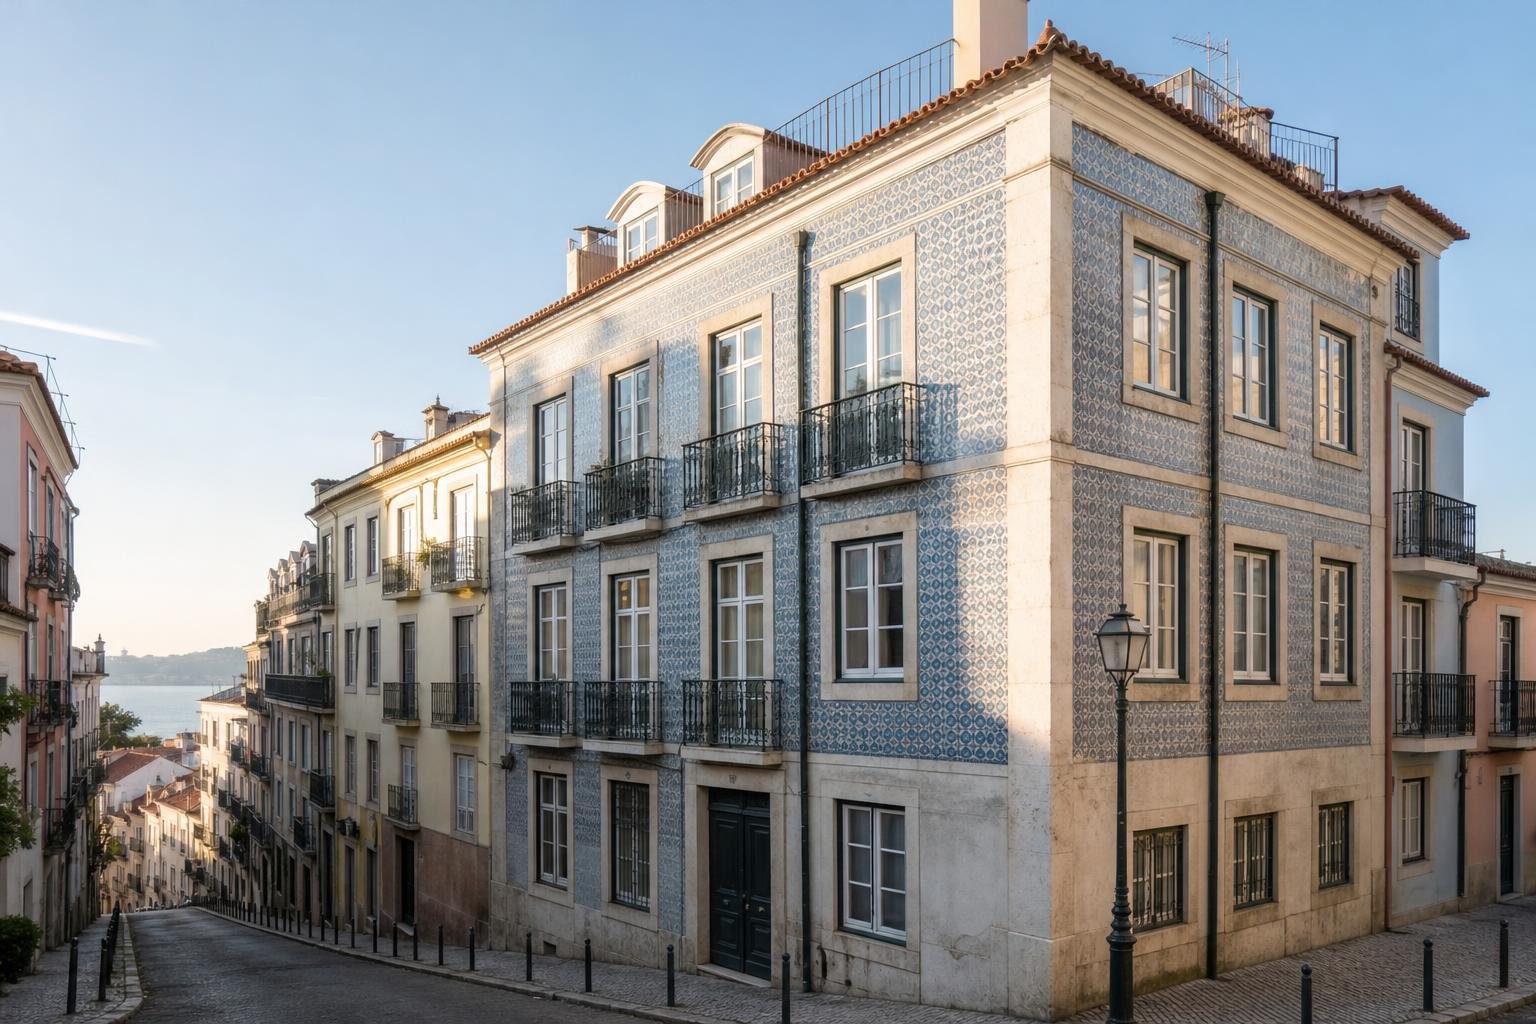

A well-organised photo record helps confirm completed work, support payments and locate services when something needs repairing years later. Taking hundreds of random phone pictures is not enough: photograph before, during and after each work stage, with the date, room and a clear reference point. In a Lisbon flat renovation, this also helps prevent disputes about reinstatement, damage to common areas and changes concealed behind finishes.
Contents
- Why should photographs be part of renovation control?
- What should you photograph before the first team arrives?
- Which images matter most before walls and floors are closed?
- How can photographs support payments without creating conflict?
- What digital structure works without making the job harder?
- Common mistakes and the handover record to keep
Why should photographs be part of renovation control?
Photographs do not replace drawings, a contract, measurement sheets or site supervision. They connect those documents to the physical work: they show the starting condition, concealed elements and the completed finish. They are particularly valuable when a wall is closed, flooring covers pipework or a utility box becomes inaccessible.
A building contract should identify the scope, price, completion period and payment terms; a visual record lets each payment certificate or request be linked to visible, confirmed work. Check the IMPIC guidance on private construction contracts before treating photographs as stand-alone evidence.
Keep images of equipment labels, serial numbers and manuals as well. If a lack of conformity arises, handover documents and a timeline of the works help establish what was there, what changed and when it was reported. The legal regime for immovable property sets five-year liability periods for non-structural defects and ten-year periods for structural elements, subject to the legal conditions in Decree-Law No. 84/2021.
What should you photograph before the first team arrives?
Start with a straightforward survey on the day before, or the day work begins. Photograph each room from all four corners, then move closer to items likely to cause questions: cracks, stains, skirting boards, windows, doors, floors, sanitaryware and meters.
- Record the corridor, stairs, lift and building entrance if materials will pass through them.
- Photograph water, electricity and gas meter readings where relevant.
- Photograph walls and ceilings before demolition, including existing sockets, water points and grilles.
- Link images to a simple plan: number the rooms and keep the same names throughout.
Do not photograph defects alone. Take a wider view first and the detail second; a crack without a location can be impossible to identify later. For work in apartment buildings, combine this survey with a renovation interface map, which identifies who signs off each wall before it is closed.
Which images matter most before walls and floors are closed?
This is the stage with the greatest long-term value. Photograph every visible service in sequence and include permanent reference points: a room corner, doorway, window, column or wall axis. Take one wide shot, one mid-range shot and one detail; there is no need to turn every cable run into a photo shoot.
- Plumbing: routes, connections, isolation valves, manifolds and inspection points.
- Electrical and data services: conduits, boxes, consumer units, cable routes and spare provision.
- Cooling and ventilation: ducts, condensate drains, grilles and maintenance access.
- Waterproofing: wall junctions, drains, thresholds, shower trays and tests before tiling.
- Reinforcement and supports: backing for wall-hung furniture, shower screens, televisions or handrails.
Include a tape measure only where the dimension matters, and note the datum used. For the reason pipe crossings and penetrations need to be clear before closure, see concealed pipes: sleeves, movement and wall crossings.
| Field | Practical example | Why it helps |
|---|---|---|
| Folder | 03_Kitchen_Electrical | Find the stage without searching an entire phone |
| File name | 2026-11-15_kitchen_north-wall_sockets-01 | Link the image to its date and location |
| Short note | Signed off before suspended ceiling was closed | Connect the photo to a decision or approval |

How can photographs support payments without creating conflict?
Agree at the outset that every payment request comes with a short list: completed work, location, quantity or area where relevant, dated photographs and outstanding items. A photograph supports a check; it does not independently prove technical quality, alignment, watertightness or operation.
Do not pay a stage simply because materials have reached site. Distinguish between material delivered, material installed and work accepted. A photo of tile boxes does not prove the finish is installed; a photo of a completed wall does not prove the waterproofing system behind it. At critical points, pair images with a visit, test, measurement or sign-off by the responsible professional.
Where a change is approved, place the approval email or message, the before-and-after images and any revised plan in the same folder. That prevents the decision being buried in a chat group. If the work requires prior communication, the supporting construction documents include information on the contractor, technical site director and supervision, as explained by the Lisbon City Council guidance on prior communication.
What digital structure works without making the job harder?
Use a shared folder with clear permissions and a structure everyone can follow. Do not rely solely on instant messages: they compress images, mix versions and are difficult to search after handover.
- Create folders by stage: 00_Starting-condition, 01_Demolition, 02_Services, 03_Waterproofing, 04_Finishes, 05_Equipment and 06_Handover.
- Within each stage, separate rooms or work fronts.
- Keep a simple log with date, subject, decision, responsible person and a folder link.
- Make a backup at the end of each week and a read-only final version at handover.
A photograph should answer three questions quickly: where was it taken, at what stage, and what does it show? If none of these is obvious, add a note to the file name or log. For works requiring an electronic site book, check the applicable route: Lisbon refers to updated requirements for site books and electronic site books on its page about use after works exempt from prior control.
Common mistakes and the handover record to keep
The most common mistake is taking many photos at the beginning and almost none during the concealed stages. Other recurring failures are blurred images, no context, unnamed files, photos stored only on one team member’s phone, and verbal decisions with no written confirmation.
At the end, select rather than deliver thousands of images. The record should include final drawings, service photographs before closure, installed-equipment photos, technical sheets, manuals, warranties, maintenance contacts, a closed snag list and handover documents. To make that information genuinely useful, connect it to the as-built drawings for the renovation; they turn site changes into a record that can be read during future maintenance.
If a leak appears, you need to fix a cabinet or replace equipment, look in the record first. Opening a wall by trial and error is expensive, creates waste and can damage a service that was already documented.
Key takeaways
- Photograph the starting condition, visible services and handover; each stage has a different purpose.
- Attach room, date, stage and decision to images so they can be found months later.
- Use photographs to support payment certificates and approvals, never as a substitute for technical checking.
- Hand over a curated record with final drawings, manuals and warranties.
If you are preparing a renovation in Lisbon, ask Obra Lisboa to include a proportionate method for recording work, validating stages and handing over documents from the start.
Sources and further reading
- IMPIC guidance on private construction contracts
- Decree-Law No. 84/2021
- Lisbon City Council guidance on prior communication
- use after works exempt from prior control
Editorial image; it does not depict an Obra Lisboa project.

Obra Lisboa