
The right primer depends on the wall’s condition, not on the final paint colour: a powdery surface needs consolidation, a non-absorbent finish needs adhesion, and a damp wall needs diagnosis before any coating is applied. In a Lisbon renovation, old plaster, patches made with different fillers and repeatedly repainted walls are common. Treating them all as new plaster often leads to patchiness, peeling or needless paint consumption.
Before buying products, identify the substrate, carry out a few small tests and ask for the full system — repair, primer and finish — to be stated in the quotation.
Contents
- What does each type of primer actually do?
- How to test a wall before choosing
- Older Lisbon walls need compatible materials
- The work sequence that avoids patchiness and rework
- When primer is not the answer
- What to ask for in a painting quotation
What does each type of primer actually do?
“Apply primer” is too vague. Different products have different jobs, and using one in place of another is a common reason why paint fails early.
- Sealer or absorption regulator: evens out a porous wall, such as new render, widespread filler repairs or prepared plasterboard. It helps the finish coat dry more consistently.
- Consolidating primer: is for friable substrates, where powder transfers to the hand or old paint layers are weak. It does not turn a decayed wall into a sound one; it only binds what is still attached.
- Adhesion primer: creates a bond over smooth or non-absorbent surfaces, such as sound old enamel, certain ceramic finishes or very closed paint films.
- Stain-blocking primer: is for specific stains, once the source has been solved. It may limit nicotine, soot or certain dry-stain migration, but it does not cure water ingress.
Always ask for the technical data sheet and check compatibility with the finish paint. For building contracts, the work, price, programme and payment terms should be set out in writing; it is sensible to add the approved paint system and materials. See the IMPIC guidance on construction contracts.
| Wall sign | Function to look for | Mistake to avoid |
|---|---|---|
| Powder or paint that crumbles | Consolidation/fixing | Painting over loose material without removal |
| Uneven absorption after repairs | Sealing and absorption control | Applying finish paint straight onto porous filler |
| Smooth, non-absorbent surface | Adhesion promotion | Assuming light sanding replaces the specified primer |
| Dry stain with no active cause | Local stain blocking | Covering damp or salt deposits with paint |
How to test a wall before choosing
The most useful tests are simple and should happen before furniture is protected or paint is ordered. Choose representative areas: beside a window, on an external wall, over a repair and on a section that looks sound.
- Hand test: run a dry palm over the wall. Persistent fine dust, loose grains or pigment transfer show that preparation is needed.
- Tape test: apply good painter’s tape, press it down and pull it away firmly. If paint comes off in flakes, primer alone is not enough: the adhesion of existing layers must be assessed.
- Water test: lightly dampen an inconspicuous area. Immediate, uneven darkening indicates strong absorption; droplets sitting on the surface can suggest a low-porosity film.
- Crack reading: fine, stable hairlines may be included in preparation; cracks that open, quickly return or follow doors, beams and corners need assessment before filler and paint.
If there is a damp smell, blistered paint, white salts or a cold wet wall, stop the sequence. Finishing should only start once water ingress, condensation or a ventilation fault has been identified.
Older Lisbon walls need compatible materials
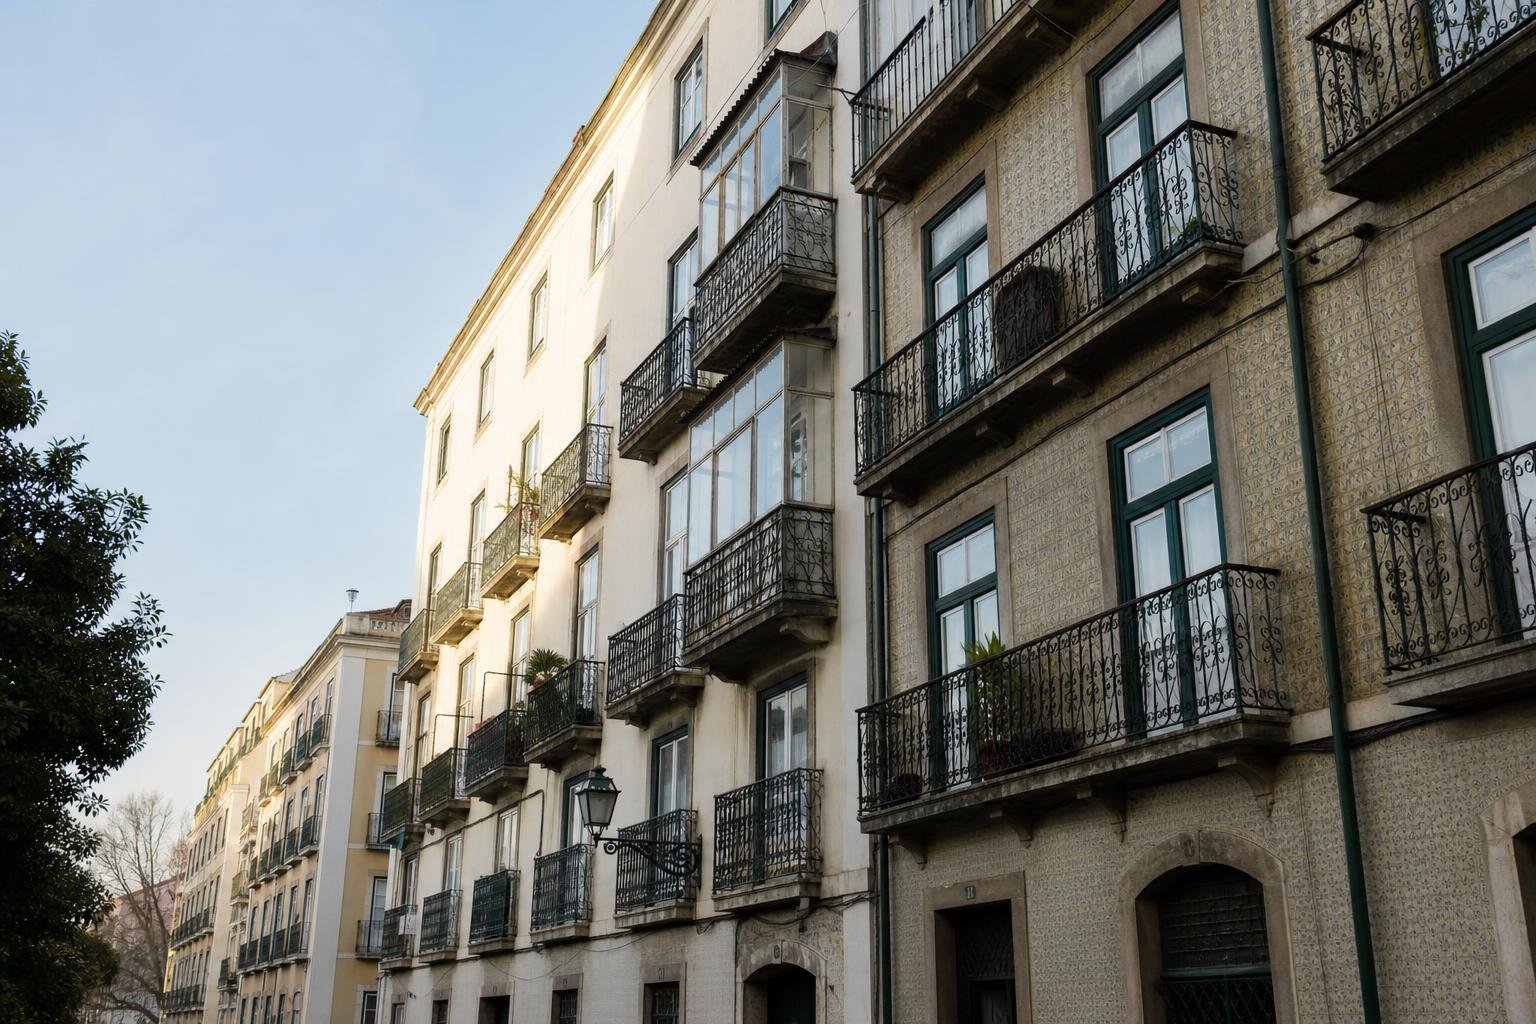
Older buildings often contain masonry and plasters that need to release water vapour. Covering a traditional wall with an overly closed system can change how it dries and lead to detachment or staining elsewhere.
The practical rule is to match the new system to the existing substrate: repair old renders with materials suited to their behaviour, allow them to dry, then choose primer and paint. A regulation published in Portugal’s Diário da República advises against using cement as the only binder in coating mortar over traditional earth, solid-brick or stone masonry and lime mortars; it also distinguishes suitable finishes for these walls. Read the Diário da República document on compatible mortars and paints.
That does not mean every old wall needs the same product. An internal stucco wall, an old masonry façade and a recent plasterboard partition behave differently. The decision should start with the actual substrate, not the building’s age alone.
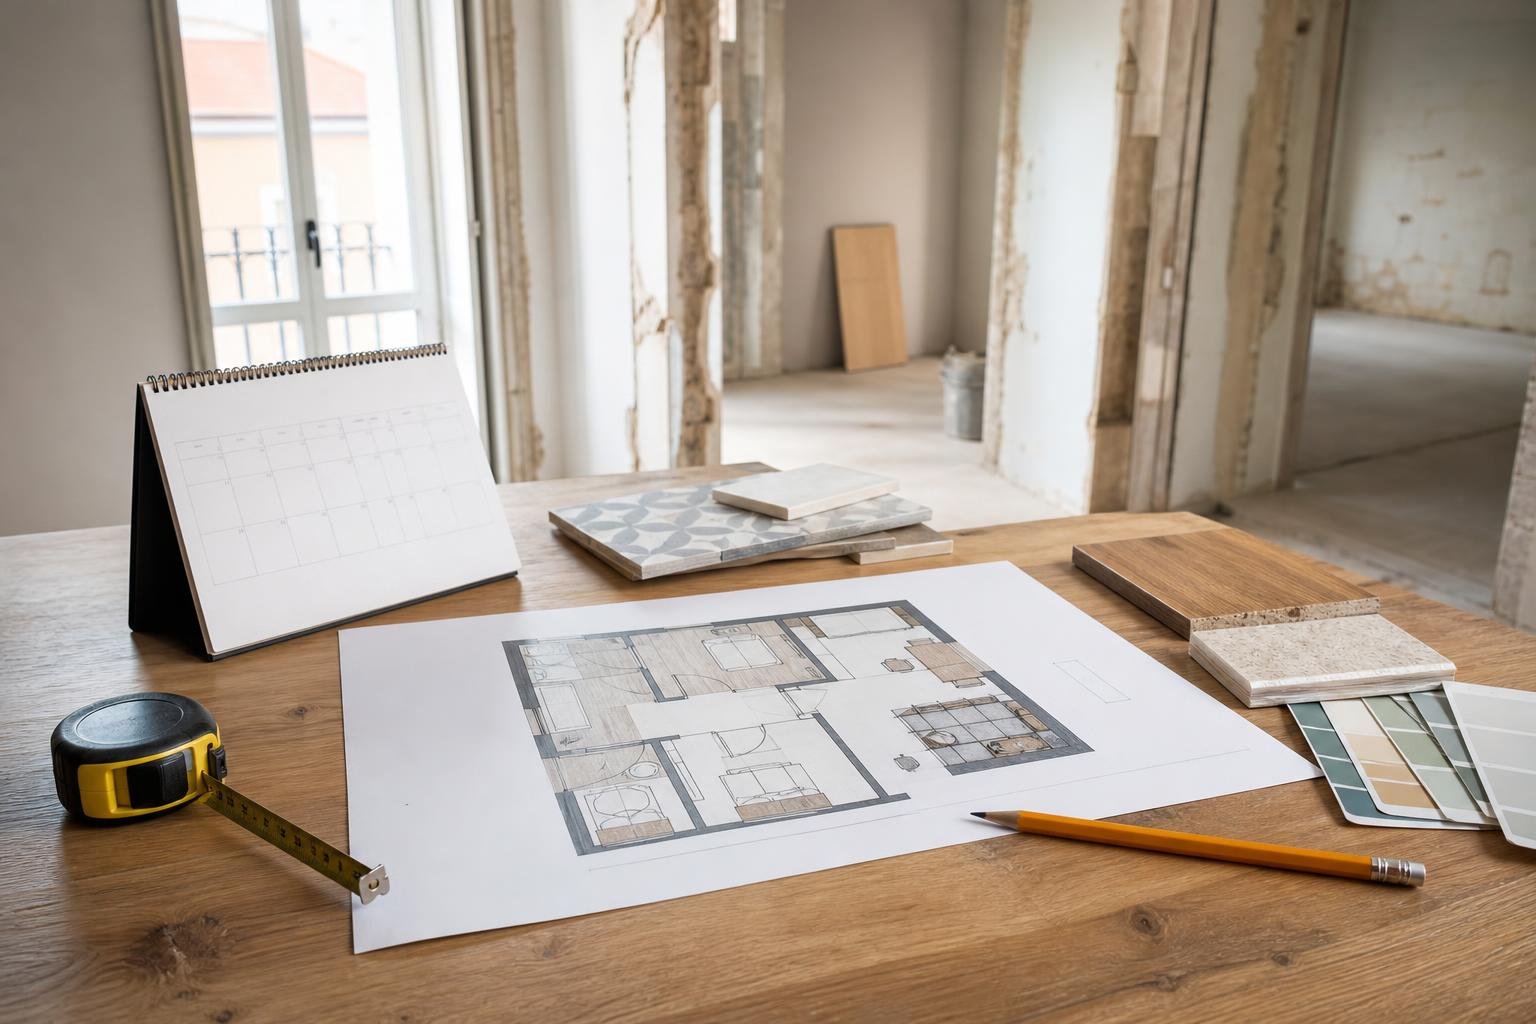
If the renovation includes work to walls, record repairs, technical boxes and service routes before finishes begin. A renovation interface map helps clarify what must be completed before finishing layers are applied.

The work sequence that avoids patchiness and rework
A durable paint finish starts well before the roller. The order matters because every layer relies on the adhesion and dryness of the previous one.
- Remove the cause of water ingress, condensation or rain penetration.
- Scrape loose paint, remove dust and clean grease or residues using a method compatible with the substrate.
- Open and repair cracks that are clearly superficial; do not blindly fill cracks with movement.
- Sand repairs until there are no visible ridges under side light.
- Vacuum the dust; a well-wrung damp cloth can suit some surfaces, but it does not replace drying time.
- Apply the specified primer at the manufacturer’s dilution and coverage rate.
- Check consistency, sand minor roughness and apply the finish coats.
Do not settle on the final colour before preparing a complete sample. Make a panel with the same background, primer and number of coats planned for the room. A pale colour can look uneven over dark patches, while matt paint can reveal flatness defects when daylight enters from the side.
If painting takes place before skirting, doors or fixed furniture are installed, coordinate those trades early. Recording changes before walls are closed or finished reduces future surprises; see how to prepare as-built drawings for a renovation.
When primer is not the answer
Some problems should not be disguised. A consolidating primer does not replace removal of degraded render; a stain blocker does not eliminate a leak; and an adhesion primer does not make poorly bonded tile safe.
- Call a professional if the wall shows distortion, persistent damp, extensive salts, rust, widening cracks or widespread detachment.
- Stop work if paint removal reveals unexpected materials, structural elements, unprotected wiring or a substrate that is breaking down in depth.
- Ask for diagnosis when the same stain returns after two painting attempts. Repetition usually means that the symptom, rather than the cause, was treated.
In Lisbon, interior alterations may be exempt from prior planning control when they do not affect structural stability, façades, the roof or other listed conditions. That does not remove the need to check the specific case, particularly if a repair becomes more than superficial. Consult the city’s information on exempt works and public-space occupation and, where changes are significant, its guidance on building-work licensing.
What to ask for in a painting quotation
A useful quotation should not simply say “repair and paint walls”. Ask for a short but checkable description for each room: planned preparation, repair areas, primer product, finish paint, number of coats, floor protection and cleaning.
Include a note explaining what happens if hollow plaster, concealed damp or non-adherent paint is found. That way, additional work is discussed before it proceeds rather than appearing as a surprise at the end.
Before the first general coat, approve a sample area under both natural and artificial light. Check flatness late in the day, when side light exposes waves and joints. At that point, inadequate preparation can still be corrected without dismantling a finished home.
For a larger project, also ask the team to identify who is responsible for each repair and to record the adopted solutions. Paint performs best when it is treated as the final layer of a properly prepared wall, rather than a quick way to hide unfinished work.
Key takeaways
- Choose primer according to absorption, cohesion and the existing wall finish.
- Damp, salts and loose paint require diagnosis or removal before any coating.
- Approve a complete sample with repair, primer and paint in the room’s real light.
- Specify preparation and products in the quotation instead of accepting “painting included”.
Planning repairs and painting across several rooms? Contact Obra Lisboa to define wall preparation, materials and the finishing sequence before the quotation is closed.
Sources and further reading
- Diário da República document on compatible mortars and paints
- exempt works and public-space occupation
- building-work licensing
- IMPIC guidance on construction contracts
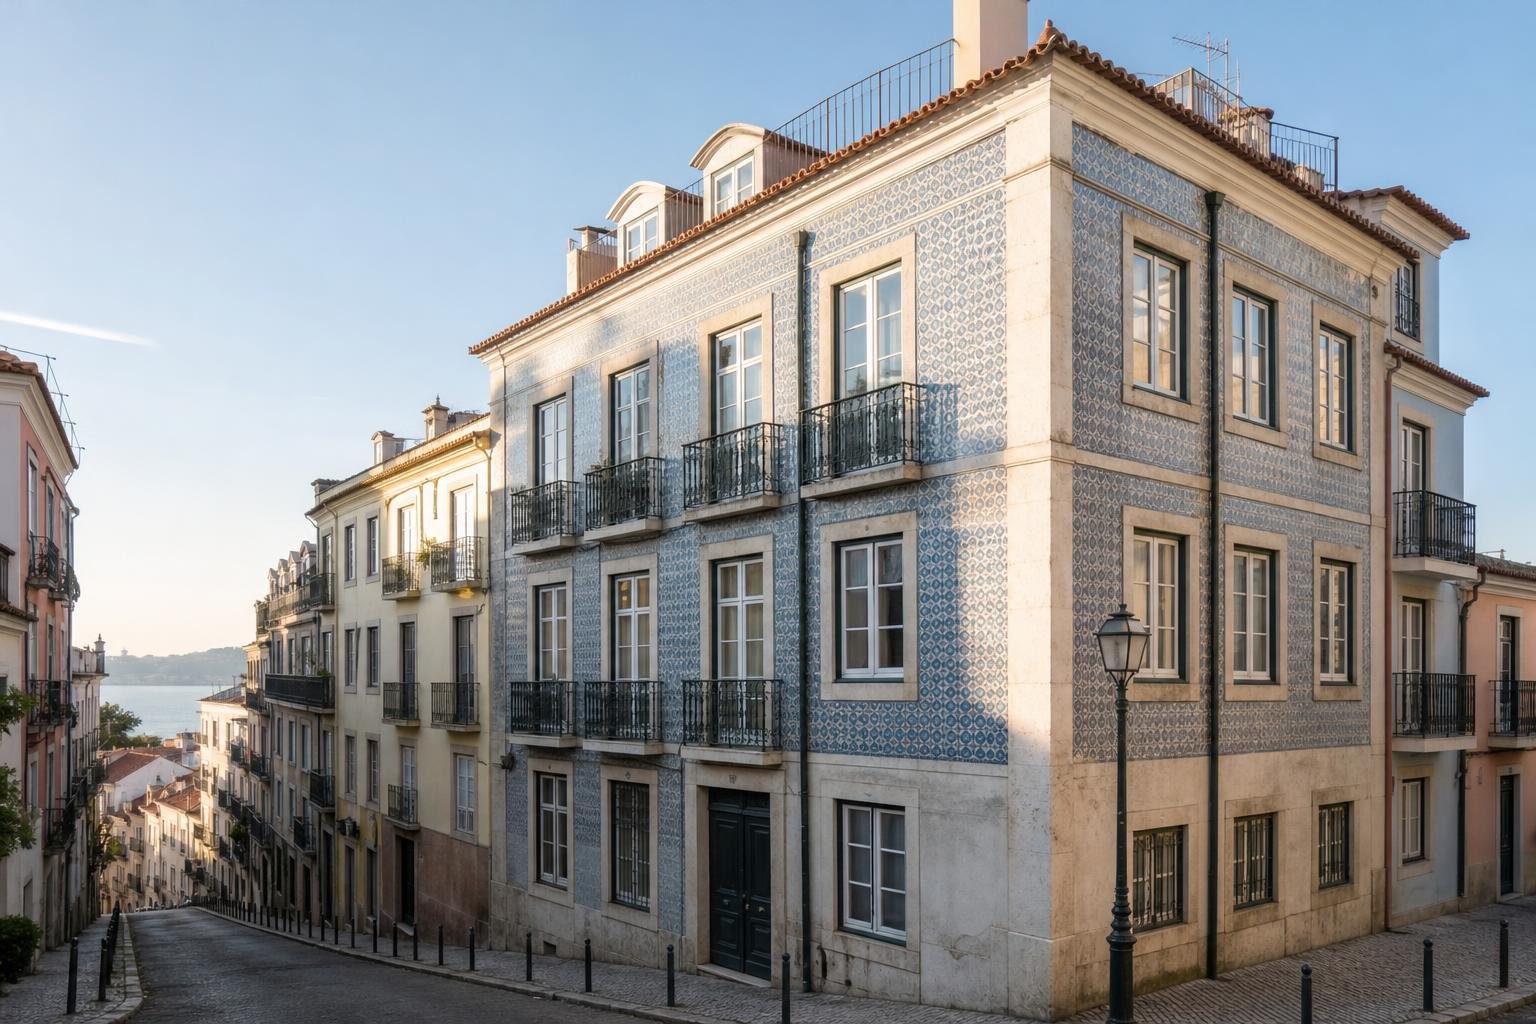
Editorial image; it does not depict an Obra Lisboa project.

Obra Lisboa