An unexpectedly high water bill does not always mean longer showers or extra laundry loads. In an apartment, a small but continuous leak can go unnoticed for weeks: a toilet cistern keeps refilling, a tap drips, a valve leaks or concealed pipework loses water before any visible stain appears.
The good news is that the first investigation does not require opening walls. It requires a method: compare meter readings, isolate uses, inspect fittings and record changes. Residential water efficiency starts with monitoring consumption and selecting appropriate devices, as explained by ADENE’s AQUA+ Residential overview. This guide helps you distinguish normal use from a likely fault, while recognising that hidden leaks require a professional diagnosis.
Start with the meter and turn suspicion into evidence
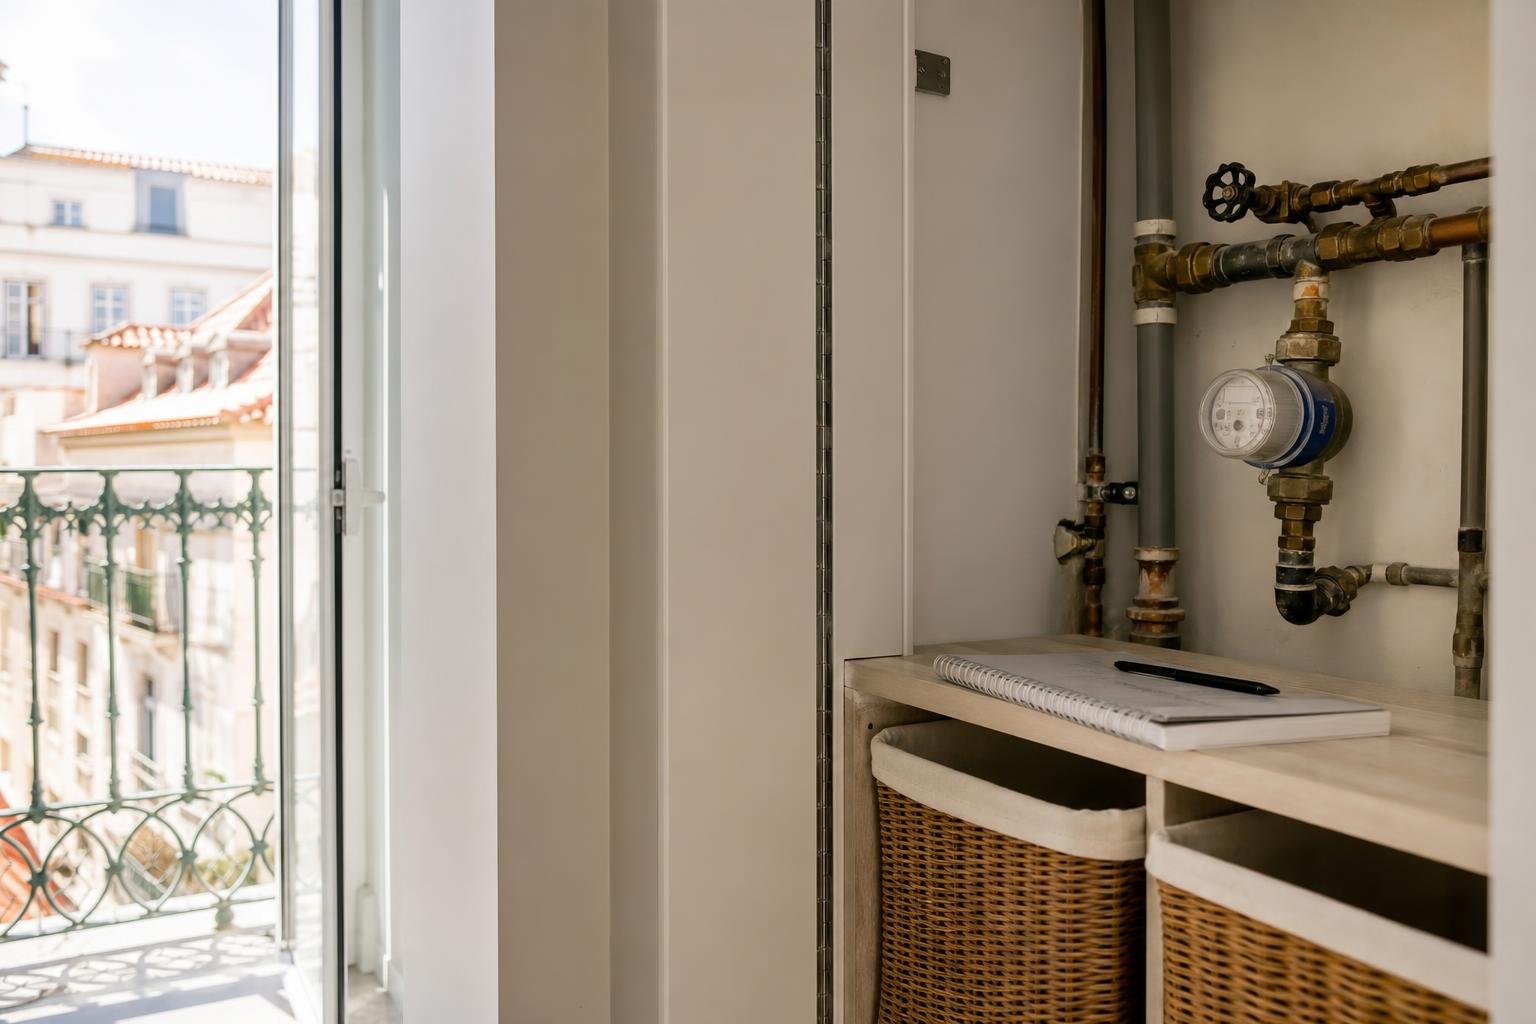
Your water meter is the best starting point because it records all water entering the apartment. Choose a period when no one will use water — overnight, or for two to three hours with no taps, appliances, flushing or irrigation. Photograph or write down every digit and, where fitted, the low-flow indicator position. Check again at the end of the period.
If the meter advances while every intentional use is stopped, there is either a leak or an appliance using water unnoticed. Do not assume immediately that a pipe has burst: a toilet cistern is a frequent and far simpler cause to check. Take readings on several consecutive days, at roughly the same time. This shows whether the issue is constant, intermittent or linked to a particular routine.
In apartment buildings, there may be meters for individual units as well as shared areas. The Portuguese Official Gazette regulation on metering and internal-network leaks establishes metering for each consumption point and states that faults detected in internal networks or fittings should be repaired by those responsible for their maintenance.
Test the toilet cistern first, even if you cannot hear it
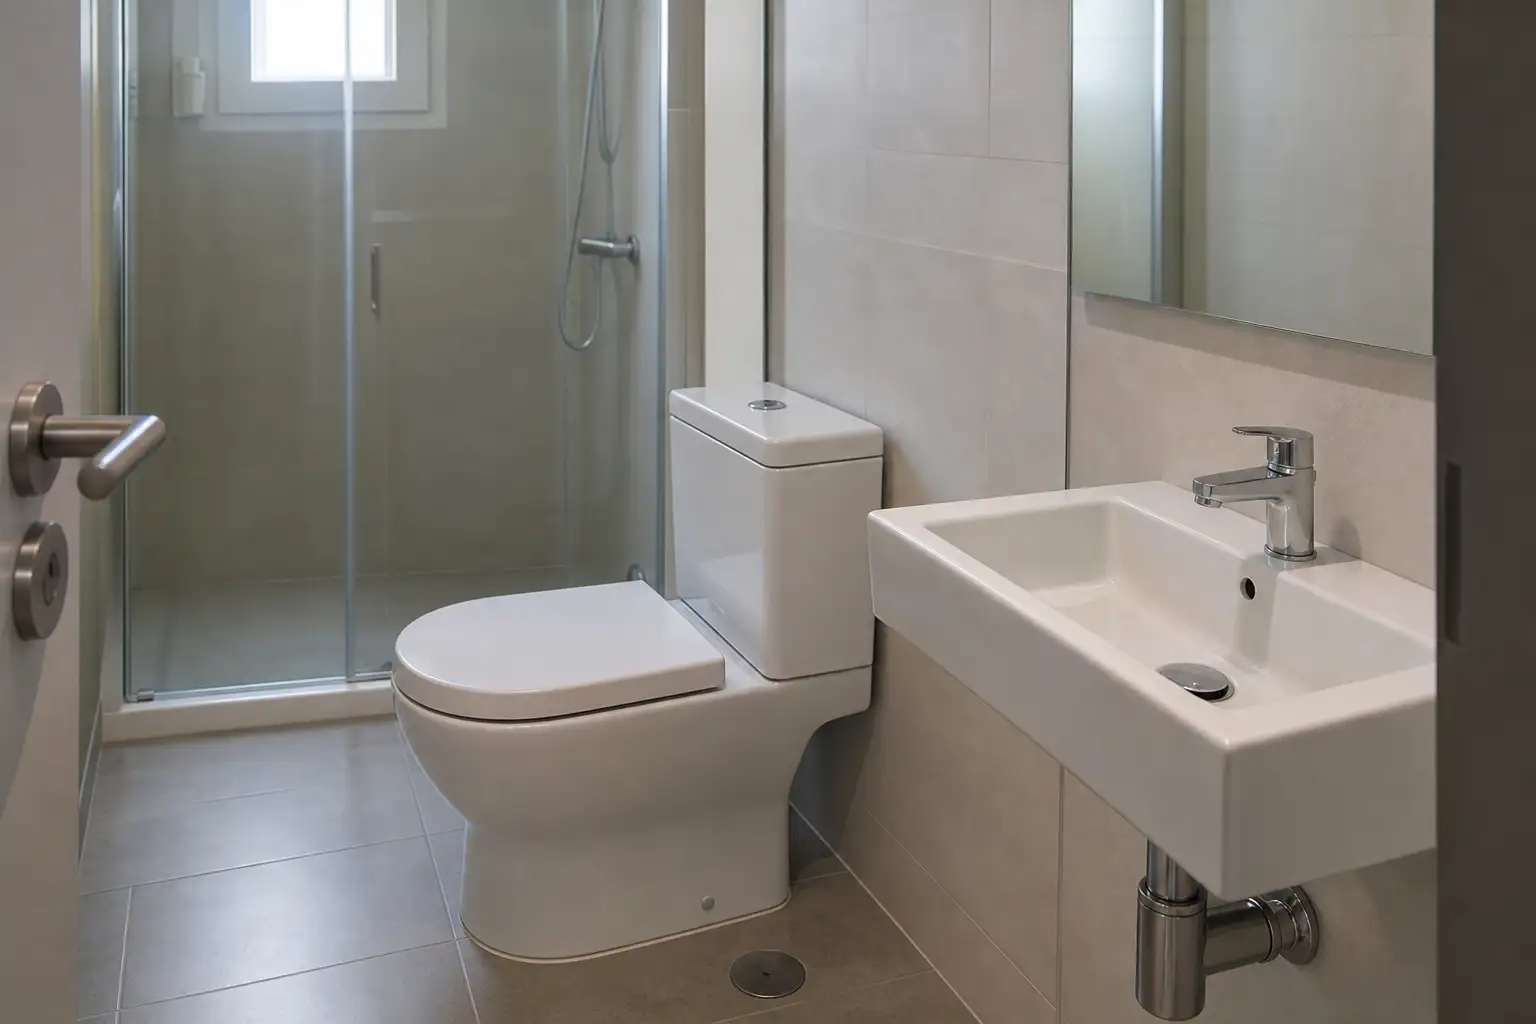
A leaking cistern may not make enough noise to attract attention. Carefully remove the lid and check whether water continues entering after the tank has filled, or whether it is flowing into the toilet through the flush mechanism. A simple test is to add a few drops of food colouring to the tank without flushing. If colour reaches the bowl after a while, water is passing through.
Common causes include a worn flush seal, incorrectly adjusted float, faulty fill valve or debris in the mechanism. Do not force old parts or overtighten plastic components. Shut off the local supply valve before working on it and, if the mechanism is degraded, ask a plumber whether repair or replacement is the sounder option.
Eliminating losses comes first, but efficient replacement options can also reduce consumption. ADENE recommends considering efficient cisterns, taps and showers as part of rational water use. The chosen model must still flush effectively and work properly with the existing installation.
Taps, mixers and valves: look for visible and concealed losses
A dripping tap deserves attention, but do not inspect only the spout. Run absorbent paper around the flexible connectors under the basin, sink joints, shut-off valves and the tap base. Recurring dampness, concentrated limescale or rust on fixings can all indicate a slow leak.
Open and close each isolation valve gently. If a valve will not close, turns freely or starts dripping after being moved, do not leave it unresolved: you may need it in an emergency. Also inspect washing-machine hoses, especially if they are kinked, brittle or rubbing against sharp edges.
Avoid the improvised response of tightening everything hard or applying sealant before identifying the source. A poor repair can move the leak inside a cabinet or wall. To avoid this kind of escalation, review the principles in How to Avoid Common Renovation Problems: inspect, plan and confirm the solution before closing up access.
Learn the warning signs of a hidden leak
Not every leak creates a puddle. A musty smell, swollen skirting boards, bubbling paint, changing stains, darkened joints or distorted timber flooring can mean water is reaching somewhere it should not. A wall that feels cold or damp deserves investigation, but it is not proof of a broken pipe: condensation, external penetration and inadequate ventilation can cause similar symptoms.
Record the location, take dated photographs and note whether the mark grows after using a particular fitting. A problem on a wall shared with a bathroom or kitchen is useful information for the technician. If it is near a façade, roof or window, the source may be entirely different. In every case, painting over the symptom before diagnosis usually only postpones the repair.
Recent INE data on housing, energy and the environment show that water entering through roofs, damp walls and deterioration in windows or floors remain relevant housing problems. Establishing the cause is what makes a lasting repair possible.
Isolate circuits carefully, without unnecessary dismantling
Once meter movement is confirmed, temporarily close the isolation valves for individual fittings, one at a time: cistern, washing machine, dishwasher and, where accessible, hot-water supply. Check the meter again. If movement stops after one circuit is isolated, you have a useful lead for diagnosis.
Do not leave general shut-off valves closed for long periods where appliances depend on them, and do not dismantle traps, taps or concealed mechanisms unless you can restore a watertight connection. In older buildings, a valve that has not been used for years may fail when operated. Keep cloths and a container nearby, and make sure you know the location of the apartment’s main shut-off valve.
When the likely source is concealed pipework, the sensible next step is a qualified professional with suitable testing and leak-location tools. This reduces trial-and-error demolition and helps define access panels that will be useful for future maintenance.
Lower water use after the repair without losing comfort
Repairing a leak is the priority; fitting efficient devices is the next stage. Assess actual tap flow by filling a measured container for a set number of seconds, check that the aerator is clean and select flow reducers that suit the available pressure. An efficient tap should not make washing uncomfortable or create splashing because it has been poorly fitted.
During a renovation, plan water as a system: access to valves, room for maintenance, insulated hot-water pipes where appropriate and equipment chosen for performance rather than appearance alone. Regular meter checks confirm that the measures are working and make a new anomaly easier to catch early.
If the work includes changes to pipework, kitchen units or finishes, coordinate decisions with the overall project. Obra Lisboa’s guide to sewer and plumbing systems before renovation is also useful, because access, falls and coordination between trades prevent expensive corrective work later.
A small leak should not dictate an entire renovation, but it should not be ignored either. If readings are abnormal, damp persists or pipework needs renewal, Obra Lisboa can help plan a clear intervention with sound technical priorities and finishes designed to last.
Editorial image; it does not depict an Obra Lisboa project.

Obra Lisboa