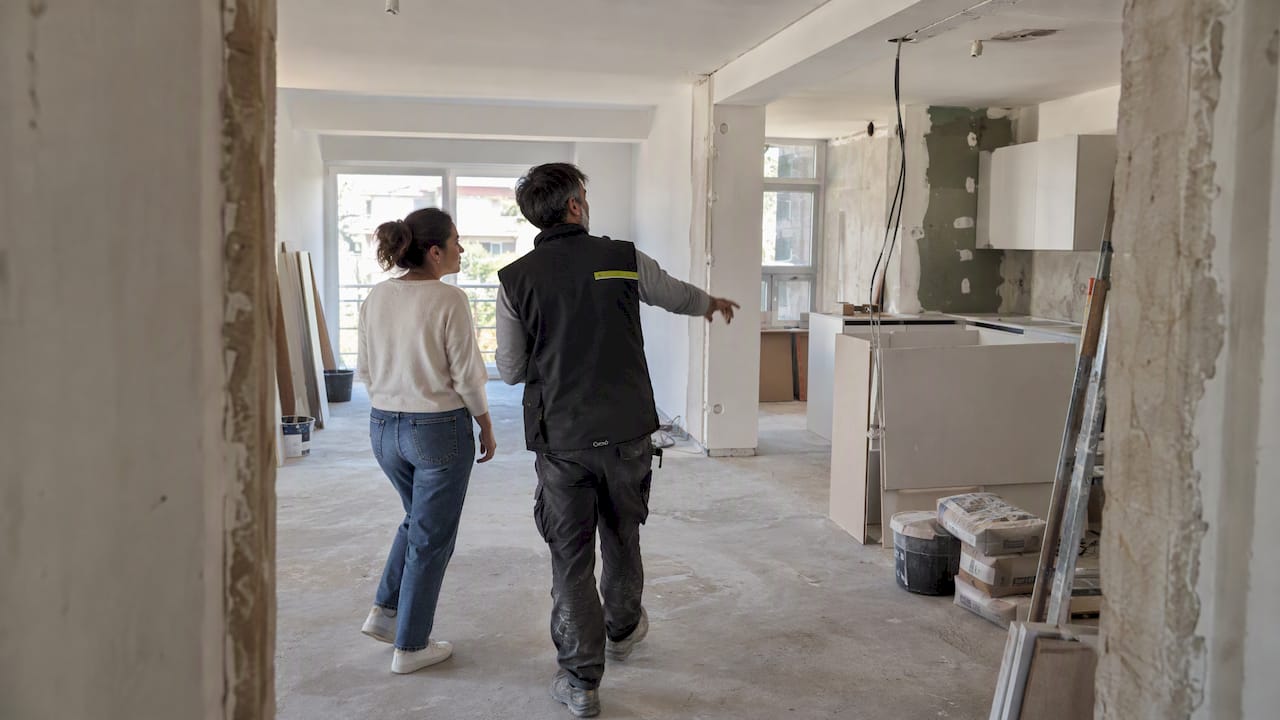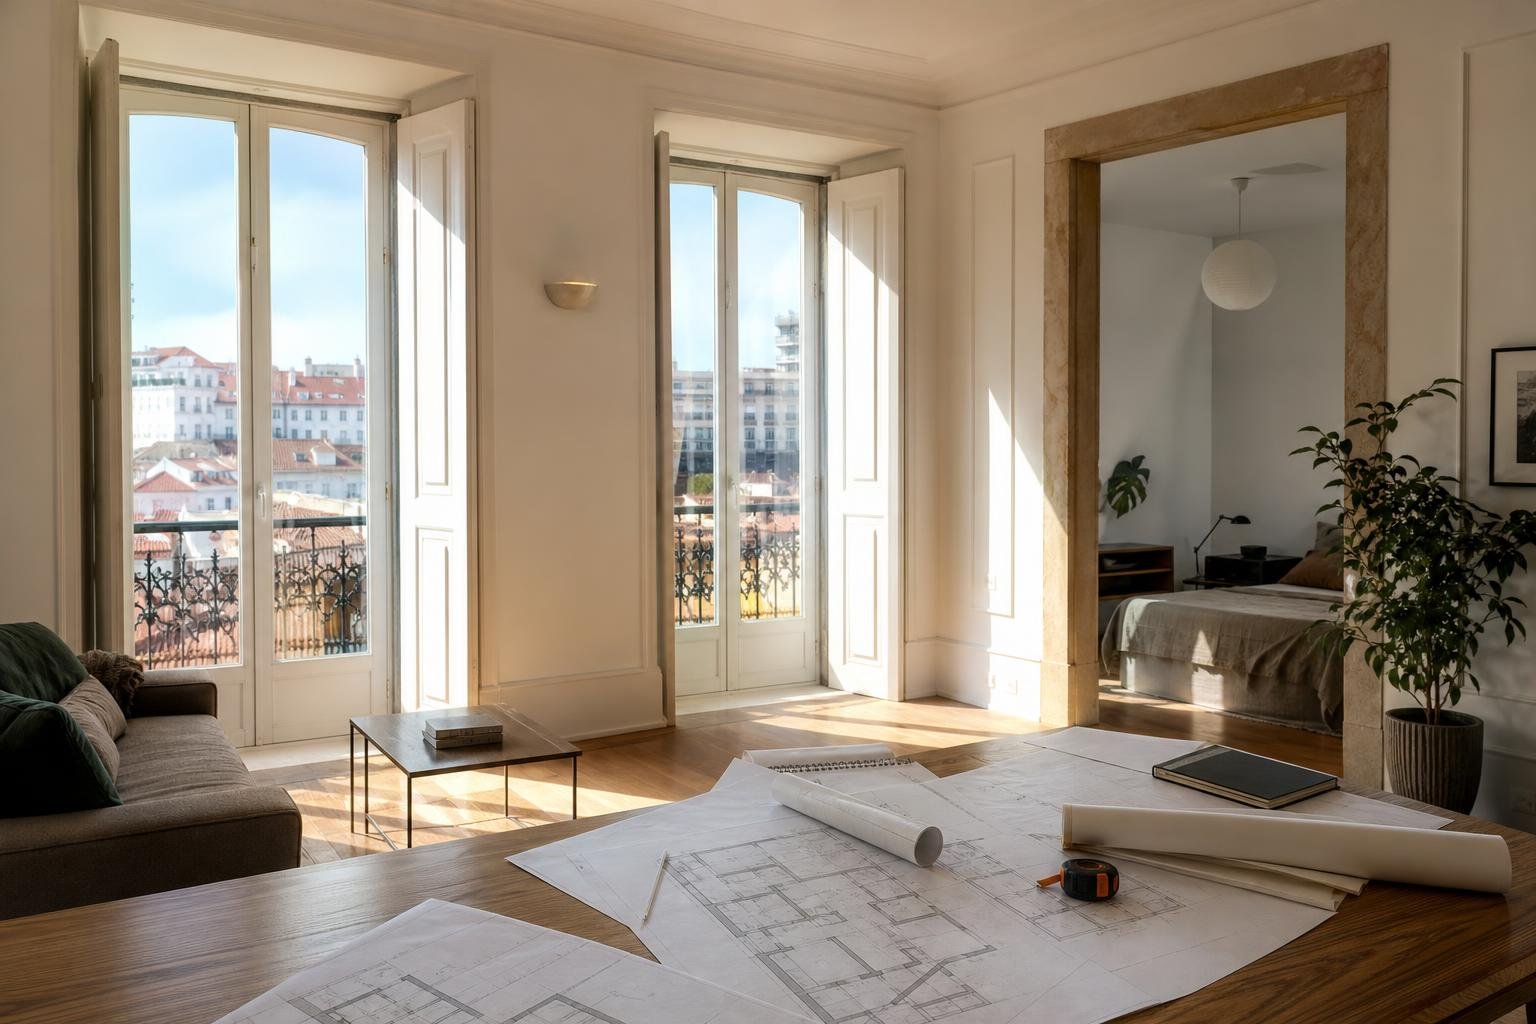

Plan the robot vacuum outlet on a dry, accessible and clear stretch of wall near the areas it will clean most often, while keeping it out of the route between rooms. It is a small choice until the dock ends up behind a door, beside kitchen splashes or dependent on an extension lead across the floor. During a renovation, choose the location from a furnished floor plan with door swings shown. The outlet can then support a daily routine without adding an obstacle to the home.
Contents
- Start with the dock, not the outlet
- Which areas work best in a small home?
- How high and where should the outlet sit?
- How to make the dock less visible without stopping it working
- Power, leads and safety: what not to improvise
- A checklist to hand to the renovation team
Start with the dock, not the outlet
The first decision is where the dock can remain permanently. Before marking the outlet, check three points: there is an uninterrupted wall, the floor is level, and the robot can approach without meeting a table leg, deep rug or a door that closes over it.
In Lisbon flats, useful locations are often a short wall in a secondary corridor, the side of a living-room sideboard or a clear section near the kitchen. Do not treat the dock as a decorative object: it must remain reachable for cleaning, emptying the bin and checking the lead.
- Draw the furniture to scale or mark it on the floor with masking tape.
- Open every door near the proposed dock.
- Test the route from the main rooms.
- Only then choose the wall and outlet.
This coordination belongs in the same survey used to plan sockets and switches before walls are closed.
Which areas work best in a small home?
In a compact one- or two-bedroom flat, the centre of the living room is rarely the best answer. Look for a discreet service area that does not take useful width from circulation. The outer side of a low cabinet can work if the dock is not trapped between furniture and a door. An open joinery niche can also help, provided there is room to remove the robot and it will not collect dust at the back.
A corridor can be a good option when it remains wide enough once the dock is in place. Do not put the equipment at a turning point, where people put on shoes or carry shopping. The Portuguese health authority links domestic safety and function with clear routes and fall prevention; the same principle applies to cables and small equipment left on the floor. See the DGS guidance on housing, comfort and safety.
In a kitchen, choose a wall away from the washing area and the opening arc of the dishwasher. A bedroom only makes sense when it is the most central point for the home and the dock will not create unwelcome light, noise or movement at night.
| Location | When it works | Main point to check |
|---|---|---|
| Secondary corridor | It links bedrooms and living areas without narrowing the route | Check open doors and clear passage |
| Side of a living-room sideboard | There is uninterrupted wall space and easy access | Do not hide it behind curtains or armchairs |
| Open utility cabinet | The dock is integrated into storage | Allow ventilation, access and cleaning |
| Kitchen | The household is organised around this area | Keep clear of water, heat and appliance doors |
How high and where should the outlet sit?
The outlet should leave the charger plug and lead accessible, without stretching the cable or sending it across the robot’s entry zone. Rather than selecting a height by habit, first check the instructions for the model you intend to buy or keep: dock shape, cable exit and required clearance differ between manufacturers.
As a rule, a low wall outlet works well when it is not hidden by the skirting board, cabinet or charger itself. Ask for it to align with the side or rear area of the dock according to the equipment lead. If the robot has a self-emptying station, confirm the larger footprint first, along with the access needed to remove bags or containers.
Portuguese technical provisions set a minimum number of outlets and lighting points in rooms where a full internal electrical network is installed. In a renovation, that minimum does not replace a map of actual uses. Read the Diário da República text on internal residential installations and add points that prevent permanent extension leads.

How to make the dock less visible without stopping it working
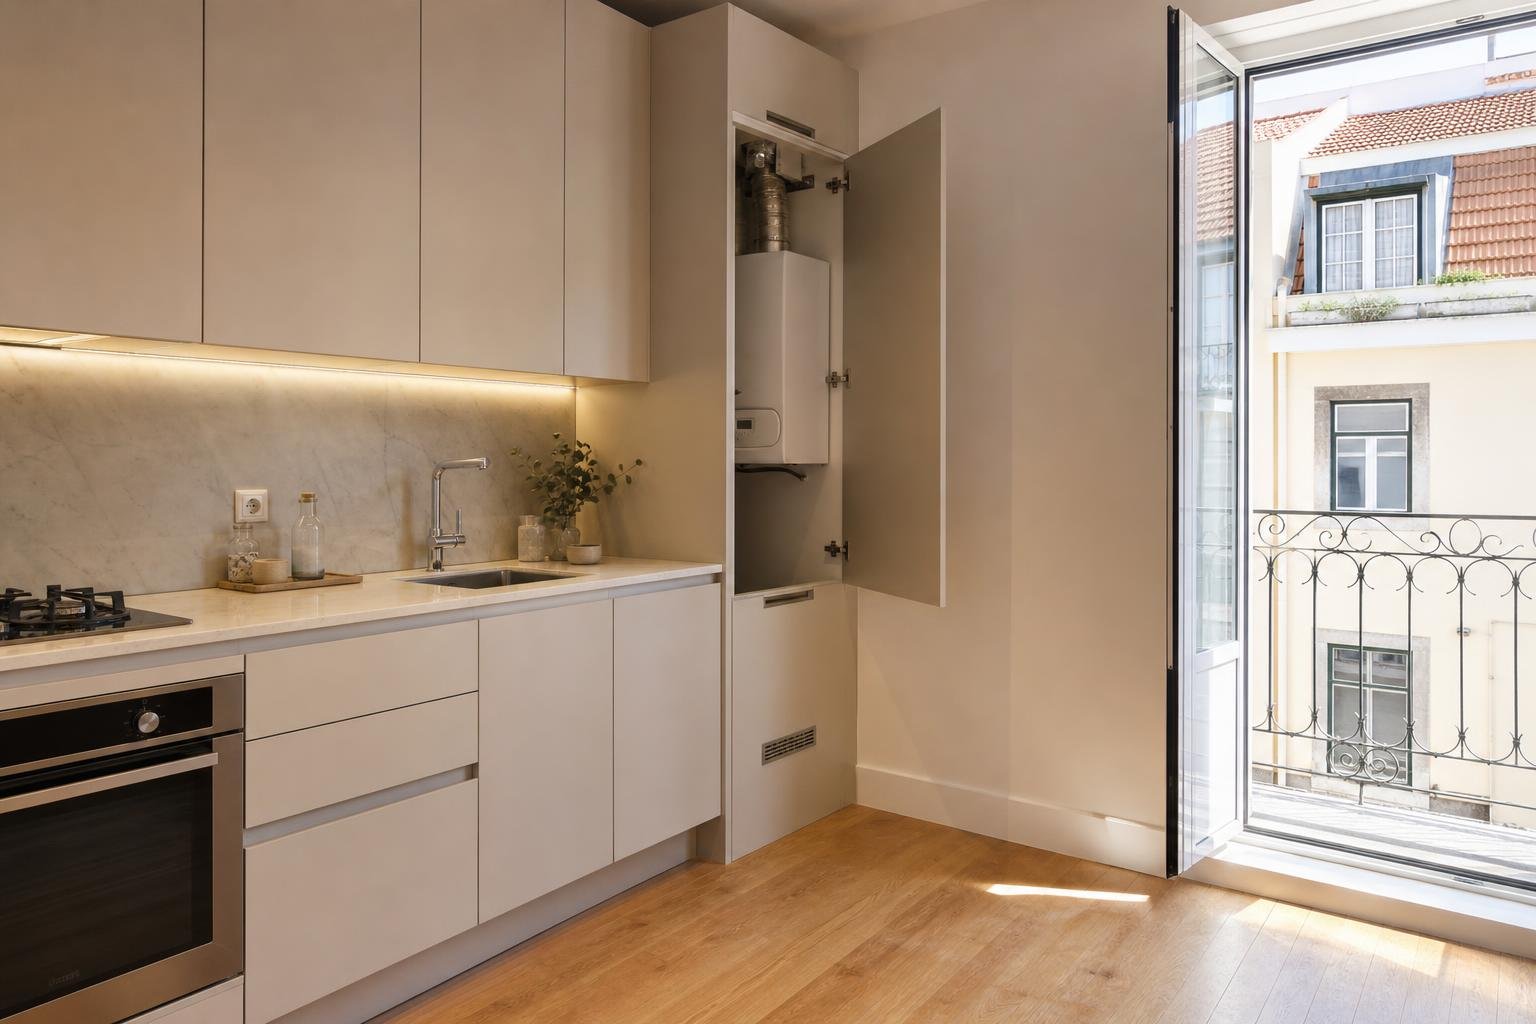
Fully hiding the dock usually creates more work than it saves. A closed cabinet door can interrupt its route, make maintenance awkward and concentrate dust. If the aim is a quieter visual result, choose open solutions: a doorless module, a wall painted to match the skirting, or the side of a cabinet with clear floor in front.
Do not place the station behind long curtains, inside a cleaning cupboard with loose products or under furniture that is too low. It should not share a niche with shoes, umbrellas or recycling boxes either: one shifted object can stop the robot returning home.
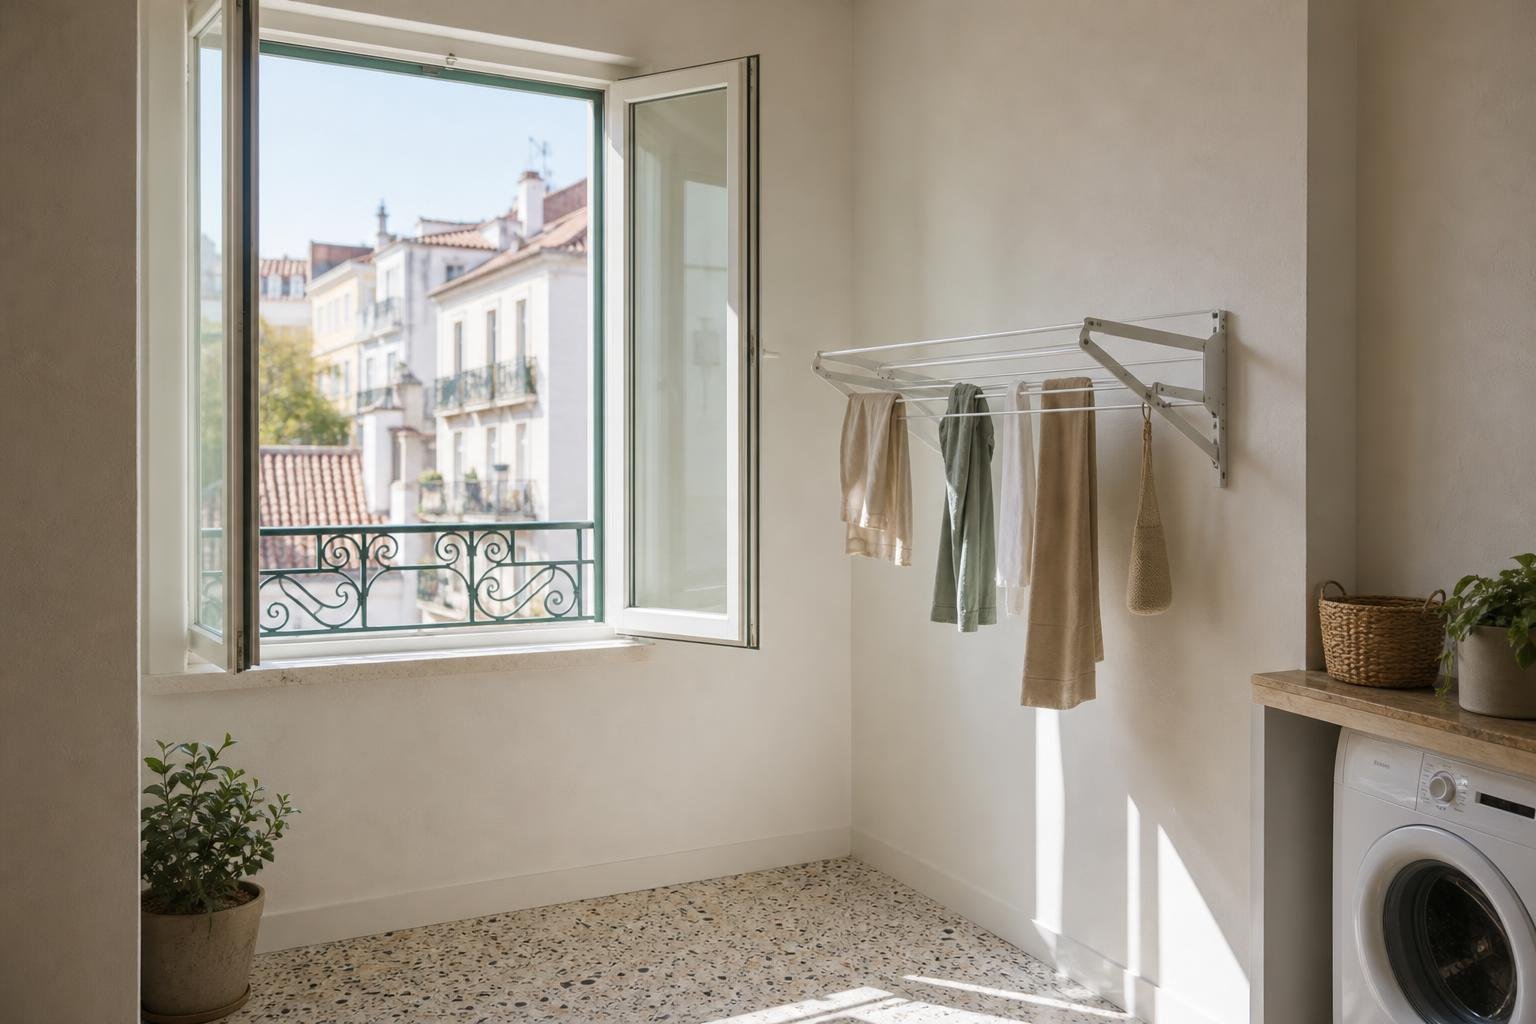
A small support unit near a service entrance or laundry area is often a practical alternative. The dock stays out of the social areas and filters, consumables and dust can be dealt with more easily. Where fixed joinery is involved, confirm the wall, clearances and cable route before installation; this guide to preparing a wall for mounted furniture helps coordinate the work.
Power, leads and safety: what not to improvise
A robot vacuum uses little electricity compared with major appliances, yet that does not make an improvised installation acceptable. Avoid permanent extension leads, multi-socket strips buried behind furniture and cables that can be crushed by doors. The outlet should also let you switch or reconnect the charger without dismantling the area.
If you use a switched power strip for other small equipment, keep it accessible and do not overload it. ADENE material on electricity notes that standby equipment still uses power and suggests switched power strips for suitable uses; with a dock that needs to keep the robot charged, switching off every day may defeat its routine. Read Why use energy-saving mode? and follow the appliance manual.
Call an electrician when a new circuit is required, walls need chasing, the consumer unit must be altered, work is close to water, or an outlet becomes hot, loose or trips protection. Do not make connections inside electrical boxes or replace protective devices by trial and error.
A checklist to hand to the renovation team
Before walls are closed or joinery is ordered, record the decision on a simple plan. State the wall, outlet position, chosen dock and nearest piece of furniture. Photograph the marked point on site before the final finish goes on.
- Dock positioned outside every door swing.
- Clear front access for the robot to leave and return.
- Accessible outlet with no permanent extension lead.
- Wall clear of splashes and frequent wet cleaning.
- Space to remove the bin, filter and lead.
- Finish coordinated with skirting, cabinet or niche.
If you have not chosen the robot yet, reserve a flexible zone rather than commissioning a made-to-measure recess. Adapting an open module is easier than changing joinery and electrics when the equipment changes.
Key takeaways
- Choose the wall where the dock can stay accessible every day; select the outlet afterwards.
- Test doors, furniture and rugs on the plan before opening walls.
- Avoid permanent extension leads and closed niches that obstruct cleaning or maintenance.
- Record the outlet and dock position on the construction drawing.
A considered outlet avoids visible fixes after moving in. If you are renovating and want to coordinate electrics, joinery and circulation from the outset, speak to Obra Lisboa about planning your project.
Sources and further reading
- Diário da República text on internal residential installations
- Why use energy-saving mode?
- DGS guidance on housing, comfort and safety
Editorial image; it does not depict an Obra Lisboa project.

Obra Lisboa