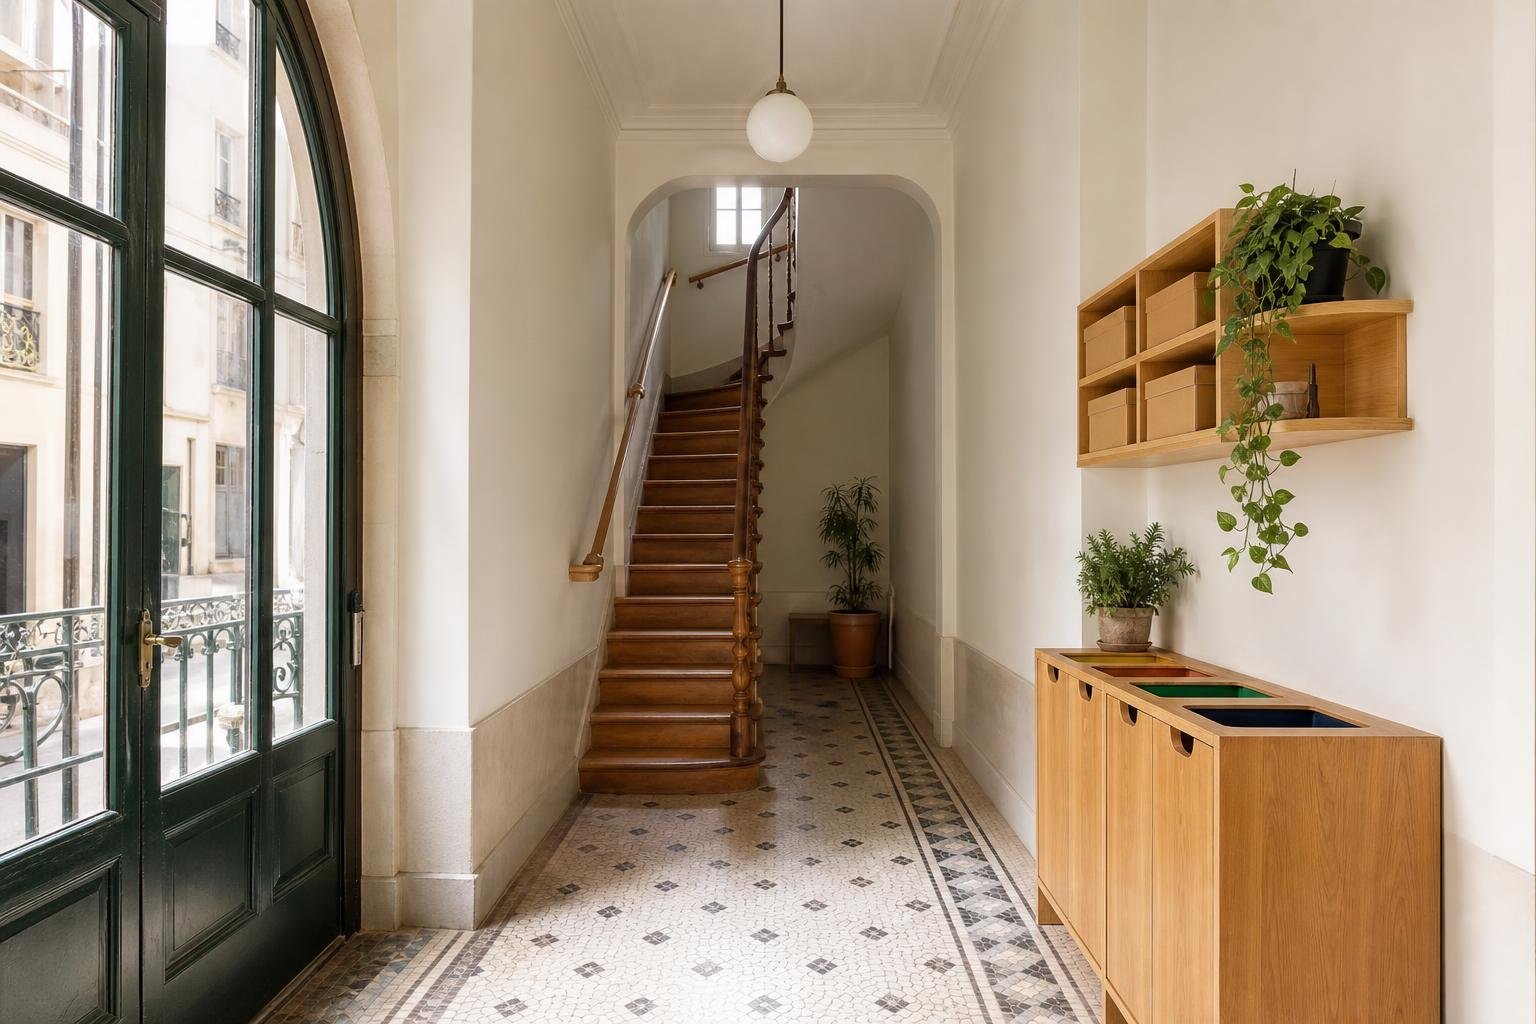
An indoor stair needs more than a handrail chosen at the end of a renovation. It is used when someone is carrying things, moving quickly, waking at night, or relying on a secure grip. In a Lisbon house with timber, stone or concrete stairs, a sound decision starts with the wall that will take the load, the line of travel and the lighting on every tread.
This guide answers a practical question: how do you install or plan a safe indoor handrail without ending up with something awkward, loose or hard to maintain? A homeowner can prepare some parts of the job — taking measurements, testing the route, marking heights and selecting a profile — but old walls, lightweight partitions and concealed services call for technical judgement. Portugal’s Directorate-General of Health advises good lighting on stairs, clear step definition, unobstructed routes and support bars where needed. Read its home accident-prevention guidance before making the decision purely on appearance.
Start with the route, not the handrail style
Walk up and down the stair in the way it is actually used. Carry a light box, try the route at night and notice where your hand naturally looks for support. The handrail should follow the flight continuously and sit on the side where it offers most help; on a wide or heavily used stair, handrails on both sides can be appropriate.
Measure from the front edge of the treads, following the stair pitch. Avoid starting too late at the first step or stopping before the landing: these are the points where people change direction and can lose balance. As an accessibility reference, the technical framework linked to Decree-Law 163/2006 treats handrail height, continuity and parallel alignment with the floor as meaningful features. Review the relevant publication in the Diário da República; in an existing home, use it as a checking framework while adapting the solution to the actual stair.
Before ordering anything, mark the proposed route with painter’s tape. It quickly reveals whether the handrail will clash with a door, window, radiator, light switch or projecting moulding.
Set a comfortable height and choose a profile that grips well
For most adults, a height close to 90 cm, measured from the line of the treads, gives a natural point of support. That figure should not override the needs of the main user, however. In a home being prepared for later life, or regularly used by children, discuss additional heights and individual requirements.
Diameter and shape matter more than a very bulky appearance. A round or oval, continuous profile without sharp edges allows the hand to close securely around it. A wide, flat piece may work as a decorative finish, yet it is usually less effective as a handhold. With timber, sand all touch points carefully and choose a finish that stands up to cleaning without becoming slippery. With metal, make sure the ends are rounded and free of burrs.
Leave enough wall clearance for fingers to pass without striking the brackets. Test a sample at the marked height: an adult hand should grip it without twisting the wrist or constantly rubbing against the wall.
Find out what is inside the wall before drilling
This is the stage that separates a durable installation from a cosmetic patch. Sound concrete or masonry needs a different fixing method from plasterboard, an old lath-and-plaster wall or a tiled surface. Do not assume a universal wall plug will solve every situation.
Locate structural backing when the wall is lightweight. In old masonry, assess whether the mortar is friable; if drilling creates loose dust or cracks the finish, stop before enlarging the hole. Stair walls often contain cables, pipework and electrical boxes, particularly near switches. A detector is useful, but it does not replace sensible reading of likely service routes or a careful inspection opening where appropriate.
If the substrate strength is uncertain, bring in a professional. Our guide to where to draw the line with DIY renovation helps distinguish a straightforward fitting job from work where a failed fixing could lead to a fall and damage the wall.

Treat brackets, screws and spacing as one system
A handrail can look excellent and still fail if brackets are too far apart, screws do not suit the wall material, or the rail flexes between support points. Start with the manufacturer’s complete system: rail, end caps, joints, brackets and specified fasteners. Mixing components without confirming compatibility creates movement that is difficult to correct later.
Mark every fixing point before drilling. Use a long straightedge or taut line to confirm that the handrail follows the same pitch as the flight. On uneven stair walls, adjustable brackets can deal with small deviations, but they should never conceal a degraded wall or a warped rail.
Carry out a dry fit. Put up the brackets, rest the rail in place and check door swings, landings and direction changes. Tighten everything only after that check. When finished, apply firm pressure at several points and check for rotation, noise or movement. A handrail is not a shelf: any looseness needs immediate correction.
Solve lighting and visual contrast together
A safe stair depends on what people can see before they reach for the rail. The DGS advises adequate lighting throughout the home and on stairs, along with clearly identified steps. Rather than placing one intense fitting at the top, spread soft light across the landings and flight so that each tread is readable without deep shadows.
Low-level night lighting, correctly adjusted sensors or downward-facing wall lights are often more useful than a central lamp that causes glare. If the stair receives strong sunlight during part of the day, choose finishes that avoid excessive reflections. On dark timber treads or uniform stone, subtle contrast at the edge can improve visibility without making the stair visually heavy.
Plan the electrical supply before closing walls or painting. For positions, circuits and fitting choices, see interior stair lighting: safety, comfort and efficiency.
When to use a professional installer and what to check at handover
Get specialist help if the stair has exposed steel structure, an old cracked wall, natural stone, glass, plasterboard without confirmed reinforcement, or if the work involves chasing walls and changing electrical circuits. It is also sensible to appoint an installer for a long, heavy or curved handrail, or one intended to support a person with reduced mobility.
For contracted work, check the company through the IMPIC register of private-works contractor licences. Keep the product sheet, fixing layout, photographs taken before any openings are closed and the load or use limits stated by the manufacturer.
At handover, use the stair in daylight and at night. Check continuity, rigidity, consistent height, absence of harsh edges and visibility at the first and last step. Remove loose mats, trailing cables and objects left on the landings. If the project is intended to work well through different stages of life, read accessibility in renovation as well.
Planning to renovate a stair or adapt a house? Obra Lisboa can help coordinate fixings, finishes, lighting and safety in one practical work plan before drilling starts.
AI-generated editorial image; it does not depict an Obra Lisboa project.

Obra Lisboa