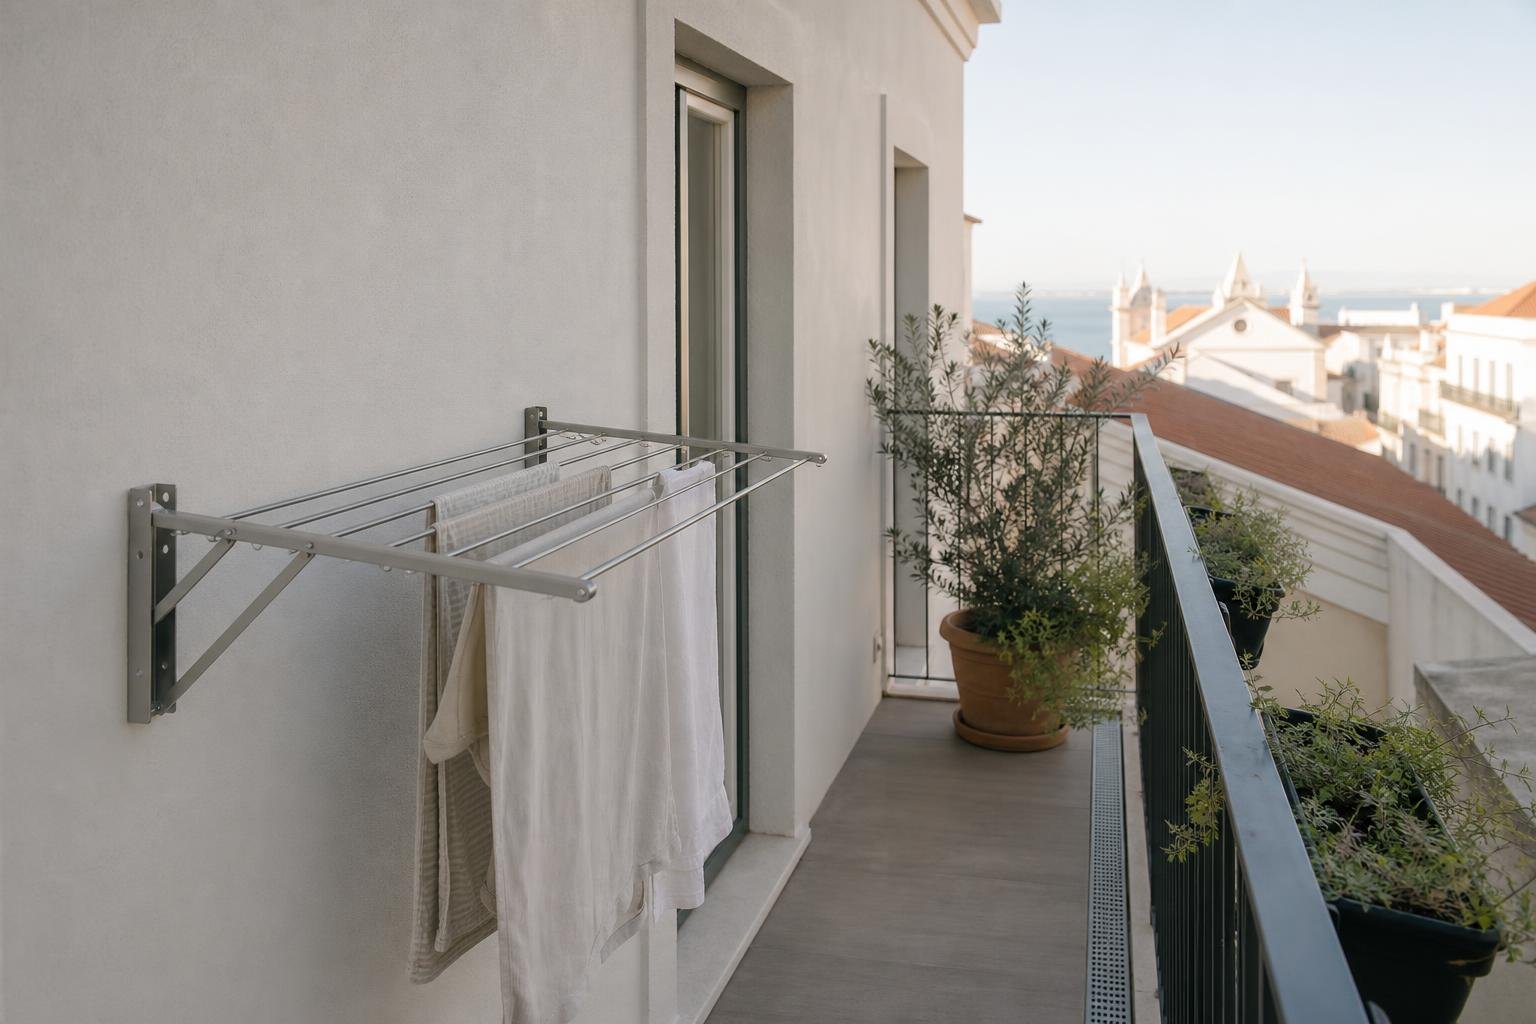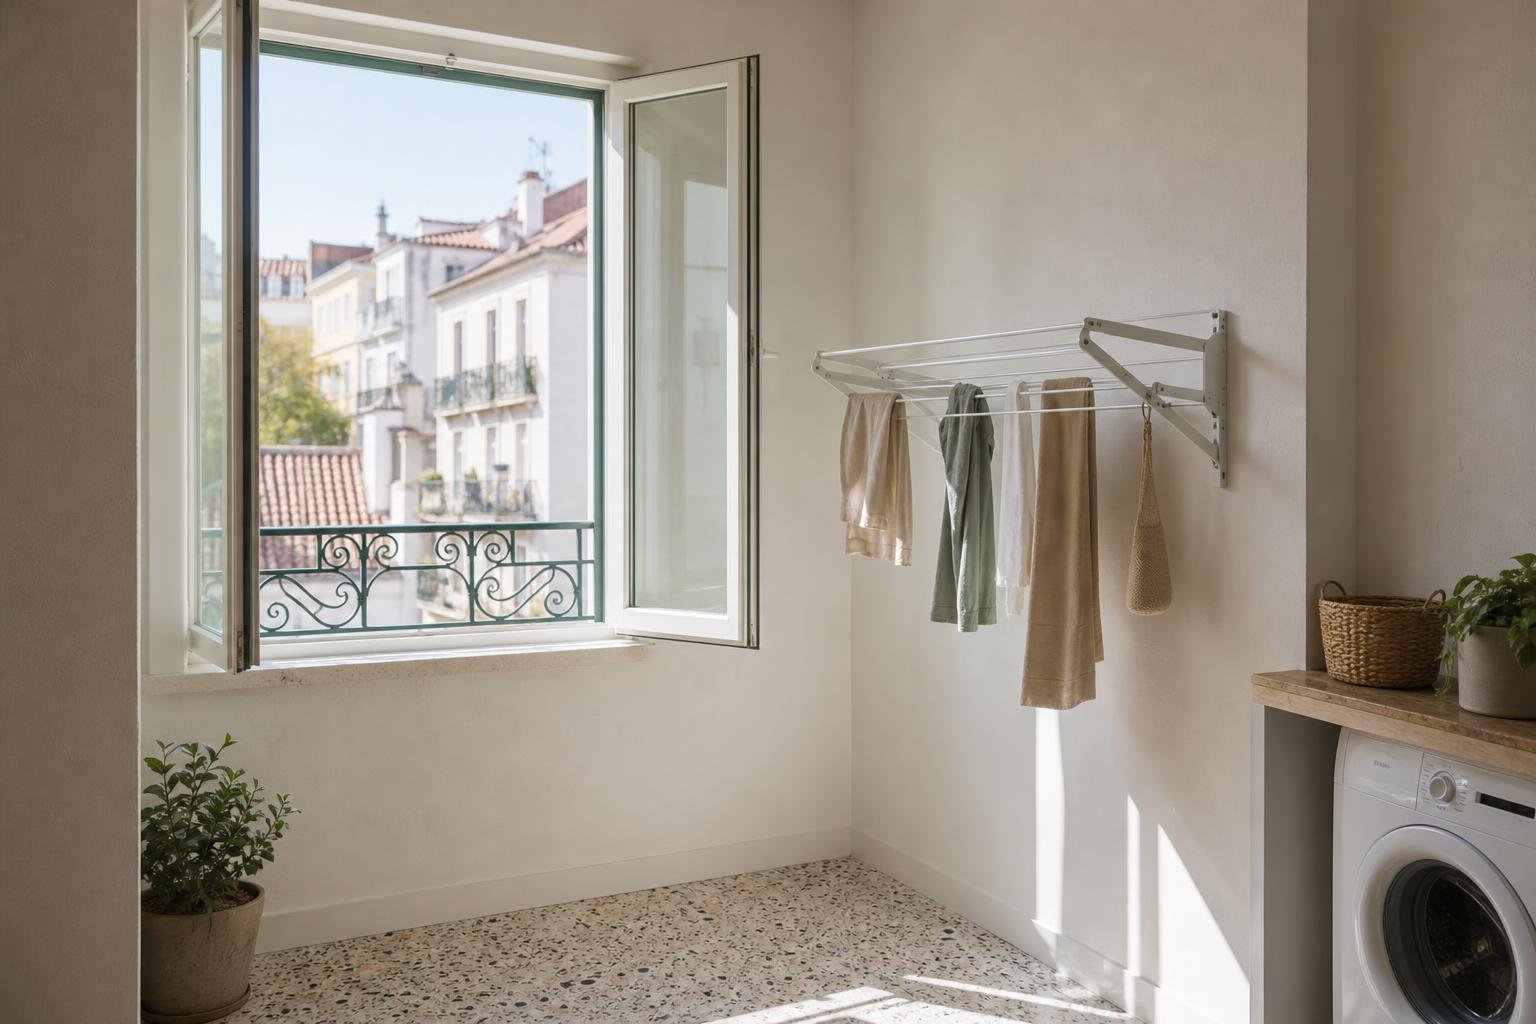
In a Lisbon apartment, drying laundry indoors is often a practical necessity, especially when a balcony is too small or cannot be used reliably. A folding wall-mounted rack can keep the floor clear and avoid having a full-size airer standing in the living room or hallway. It still needs more planning than choosing a model and drilling into the nearest wall.
Check the structure behind the finish, the opening space, the distance from doors and heaters, and how damp air will leave the room. Portugal’s Directorate-General of Health advises ventilating while laundry is being dried indoors; excessive humidity can condense on cold surfaces and encourage mould. Read the DGS indoor-air recommendations.
This guide explains where a fixed drying rack works best, what can safely be treated as DIY, and when to stop before damaging a wall, a service line or the route through your home.
Plan around use, not around the product listing
Measure the laundry you dry most often before comparing racks. Bed linen, bath towels and long trousers need much more projection than light clothing. Open a tape measure to the proposed depth and mark out the occupied zone: allow for the bars, the hanging laundry and the person who still needs to walk past.
In narrow hallways, beside the entrance or between a kitchen and enclosed balcony, an over-deep rack quickly becomes an obstruction. Portugal’s General Building Regulation used 1.20 m as the normal reference width for home corridors, with 1 m accepted in some circumstances. That is not permission to narrow an existing route; it is a useful warning against making a tight passage worse. See the RGEU text.
- Choose a wall where the closed rack will not hit a door.
- Avoid the front of cupboards, electrical boards, meters and valves.
- Keep the window handle and opening clear.
- Allow somewhere to set down the laundry basket without blocking the route.
A utility area, a well-ventilated enclosed balcony or a side kitchen wall usually works better than a bedroom. If this forms part of a larger renovation, coordinate it with power and lighting from the start. See also how to plan outlets in a laundry area.
Choose a wall that can carry the real load
The relevant weight is not the rack when empty. Wet towels, denim and bed linen substantially increase the load and pull the fixings downwards and outwards. Concrete and solid masonry generally provide more predictable fixing than a lightweight partition. In hollow brick, anchor type and embedment depth matter; in plasterboard, the fixing should be designed for the internal structure or reinforced before the wall is closed.
Do not assume a wall is solid merely because it sounds dense when tapped. Older Lisbon buildings can have thick plaster, repaired areas, service routes and different materials within the same wall. Check drawings or renovation photographs where available, identify sockets and switches on both faces, and use a suitable detector before drilling. If there is any doubt about cables, isolate the circuit for that area.
If the manufacturer specifies four fixing points, use all four. Do not replace structural screws with short timber screws or pack out a crooked wall with improvised spacers. If the backing moves, the plaster crumbles or the partition construction is unknown, ask a professional to assess it before fitting the rack.
Keep laundry away from cold surfaces and hidden damp
Drying clothes against a cold external wall, behind heavy curtains or inside a cupboard concentrates moisture where it is hardest to remove. The DGS notes that excessive humidity can cause condensation on cold surfaces and create conditions for mould. Read the DGS guidance on indoor air quality.
Leave a gap between the clothes and the wall. With an articulated-bar rack, check the clearance fully open and loaded: heavy items hang lower and sit closer to the surface. Do not install it over flaking paint, dark staining, salt deposits or a window joint that already lets in water. Find the cause first, then repair the finish.
Keep the rack away from cooking grease and steam as well. Laundry absorbs odours, while extra vapour beside a cold façade extends drying time. If the kitchen is the only viable room, place it on a side wall away from the hob and ventilate while clothes are hanging.
Ventilate the room without making it uncomfortable
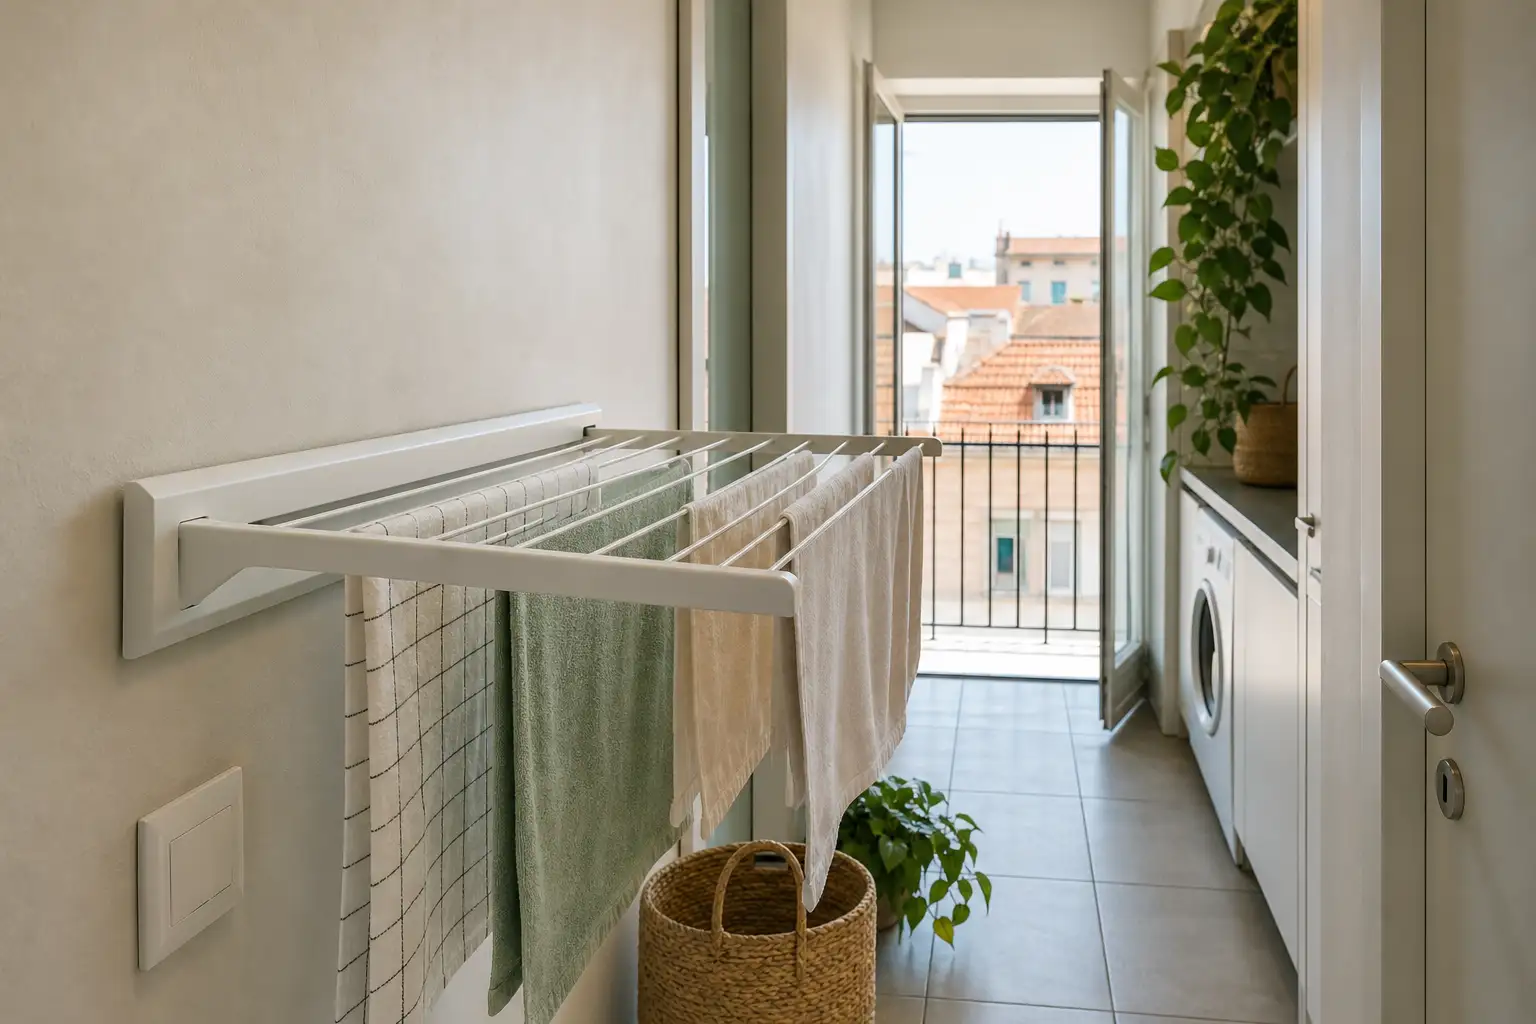
Ventilation needs to remove damp air rather than simply move it into another room. Open a window to the outside when conditions allow, and use internal doors to support air renewal without trapping moisture in an enclosed balcony. The DGS advises ventilating the home for at least ten minutes daily and while washing and drying clothes indoors. Read the full recommendation.
Do not mount the rack directly above a radiator, portable heater or gas appliance. Trying to force-dry laundry with nearby heat can raise indoor humidity and introduce unnecessary risks. If you use a dehumidifier, position it as its manual requires, leaving clear space around the air inlet and outlet, and empty its tank or arrange safe drainage. It can help manage moisture, but it will not solve water ingress, a thermal bridge or inadequate ventilation.
On humid days, wash smaller loads and spread garments over the bars. Packed clothes dry slowly and keep the room damp for longer.
Install accurately and test before the first full load
Mark the height with the rack both closed and open. A comfortable position lets you hang clothing without overreaching, while keeping the ends of towels and sheets clear of the floor. Use a level: a sloping frame concentrates load on one side and can cause the bars to operate badly.
- Confirm the centre line and holes using the manufacturer’s template.
- Check again for doors, sockets and pipework around the fixing zone.
- Drill with the correct bit for the wall and vacuum dust from the hole.
- Fit anchors suited to the substrate and tighten without crushing the bracket.
- Open and close the empty mechanism several times.
- Test it first with a moderate load and look for movement, noise or cracks.
Do not conceal a junction box, inspection cover or meter behind the rack. Technical access is worth more than gaining a few centimetres of wall. The same principle applies to any small home alteration: plan inspection access before closing off or occupying a service area.
Set up a simple maintenance routine
Once a month, wipe bars and hinges with a lightly damp cloth, then dry them thoroughly. Check for rust, loose screws, cracks around anchors and damp marks behind the bracket. If the wall darkens or paint starts lifting, remove the laundry, improve ventilation and investigate whether recurring condensation or water ingress is involved.
The DGS technical sheet on damp and mould is direct: controlling humidity and increasing ventilation are key measures for reducing mould in homes. Read the DGS damp and mould technical sheet. Do not cover a stain with anti-fungal paint without dealing with its cause; it may only delay the problem.
Finally, treat the rack as equipment for light, repeated use. Do not hang bags from it, allow children to use it for support or exceed its stated load. A well-planned installation stays unobtrusive when folded, dries laundry with less clutter and remains safe long after it first goes on the wall.
Planning a utility area, enclosed balcony or drying zone? Obra Lisboa can help coordinate fixings, ventilation, electrical work and finishes within a coherent renovation plan.
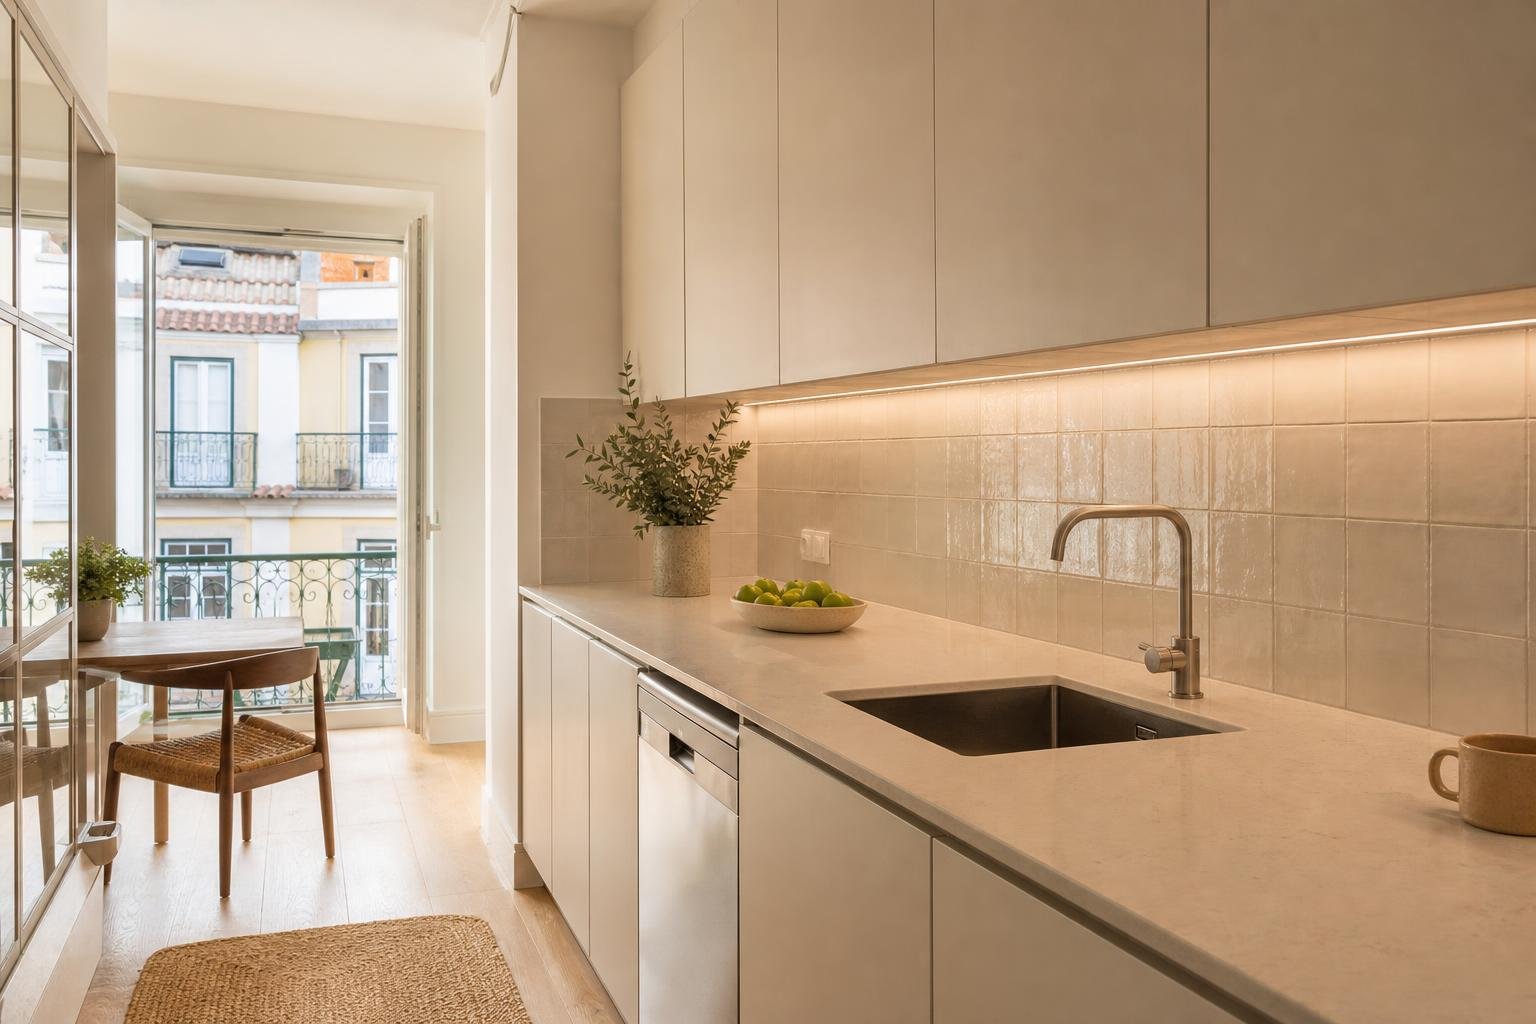
AI-generated editorial image; it does not depict an Obra Lisboa project.

Obra Lisboa