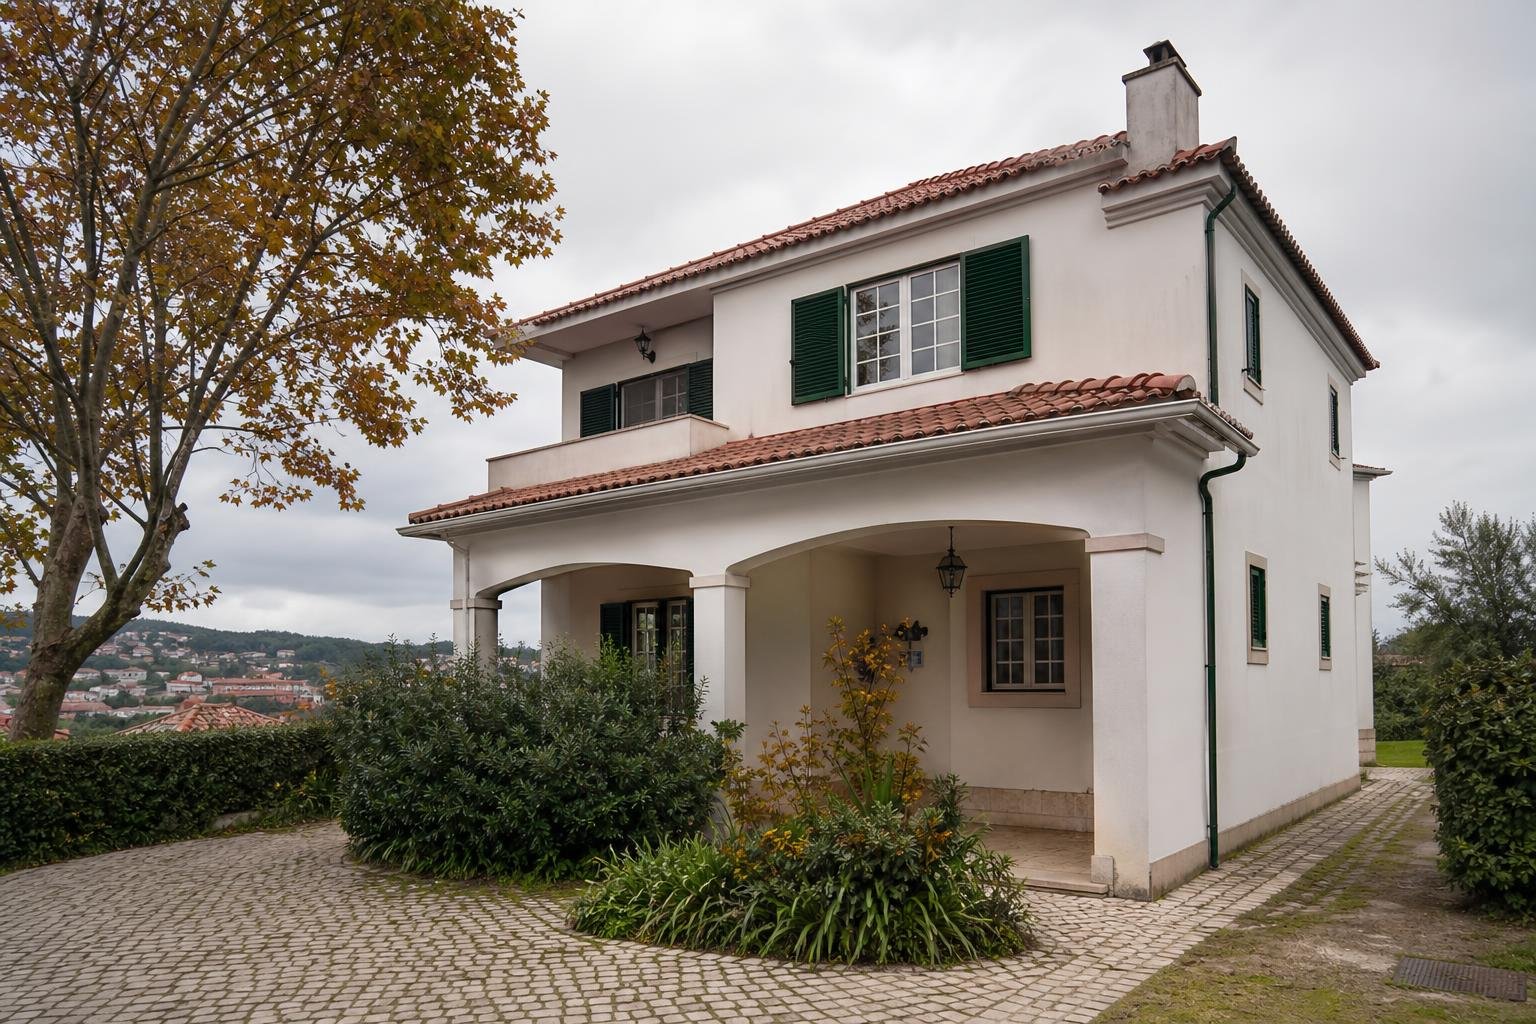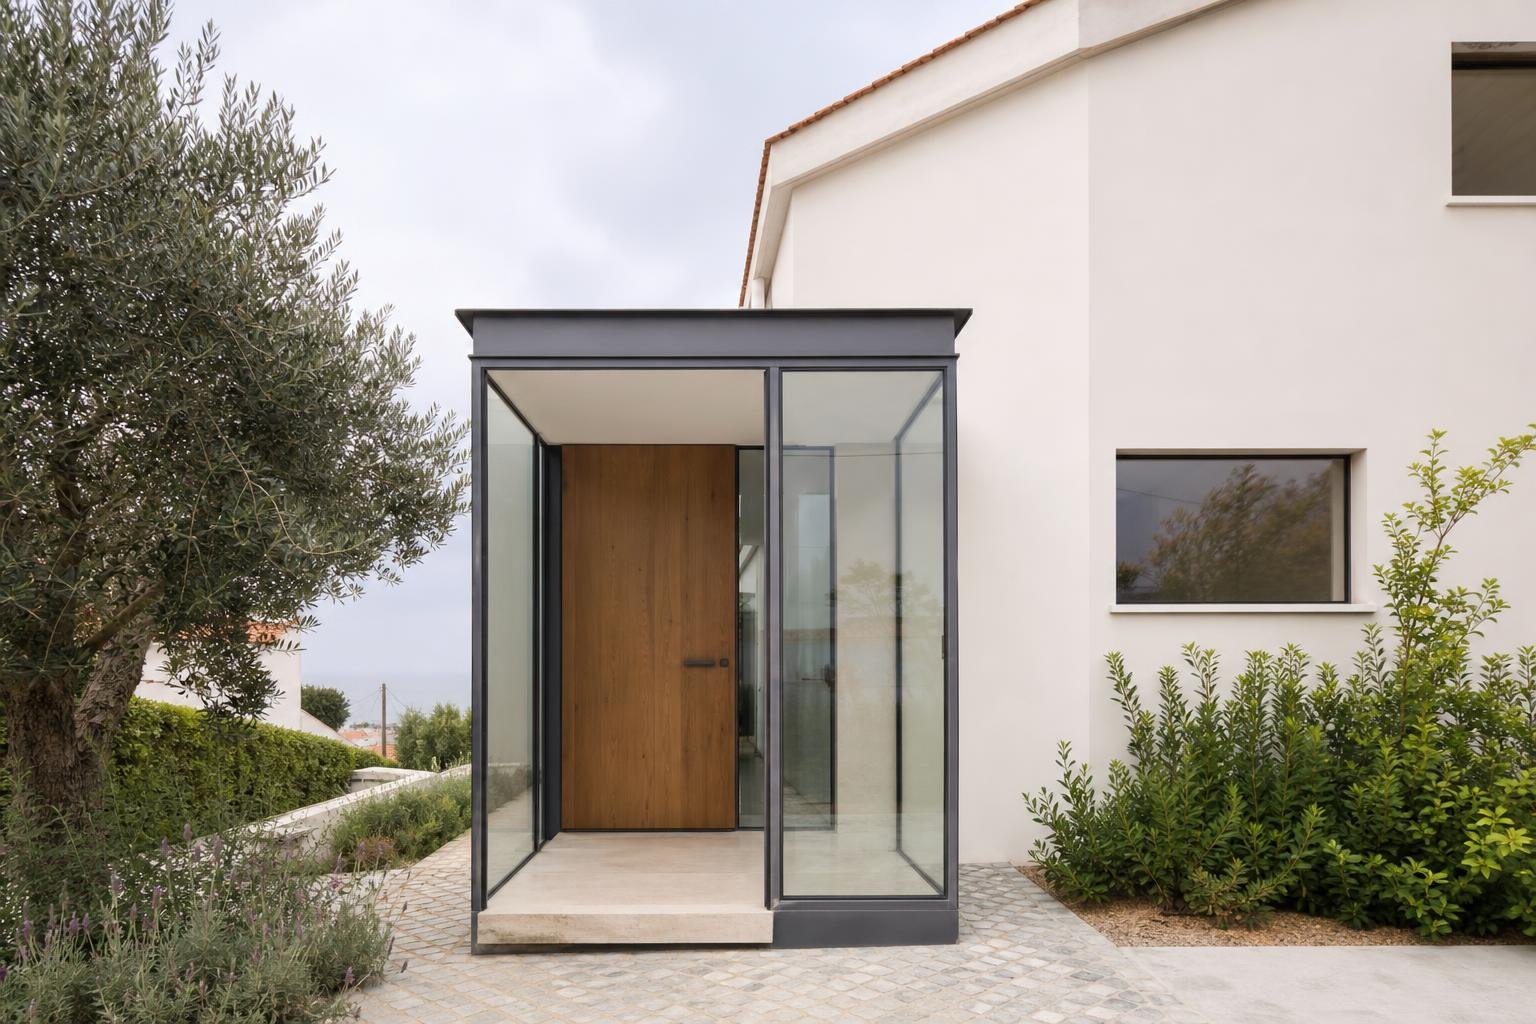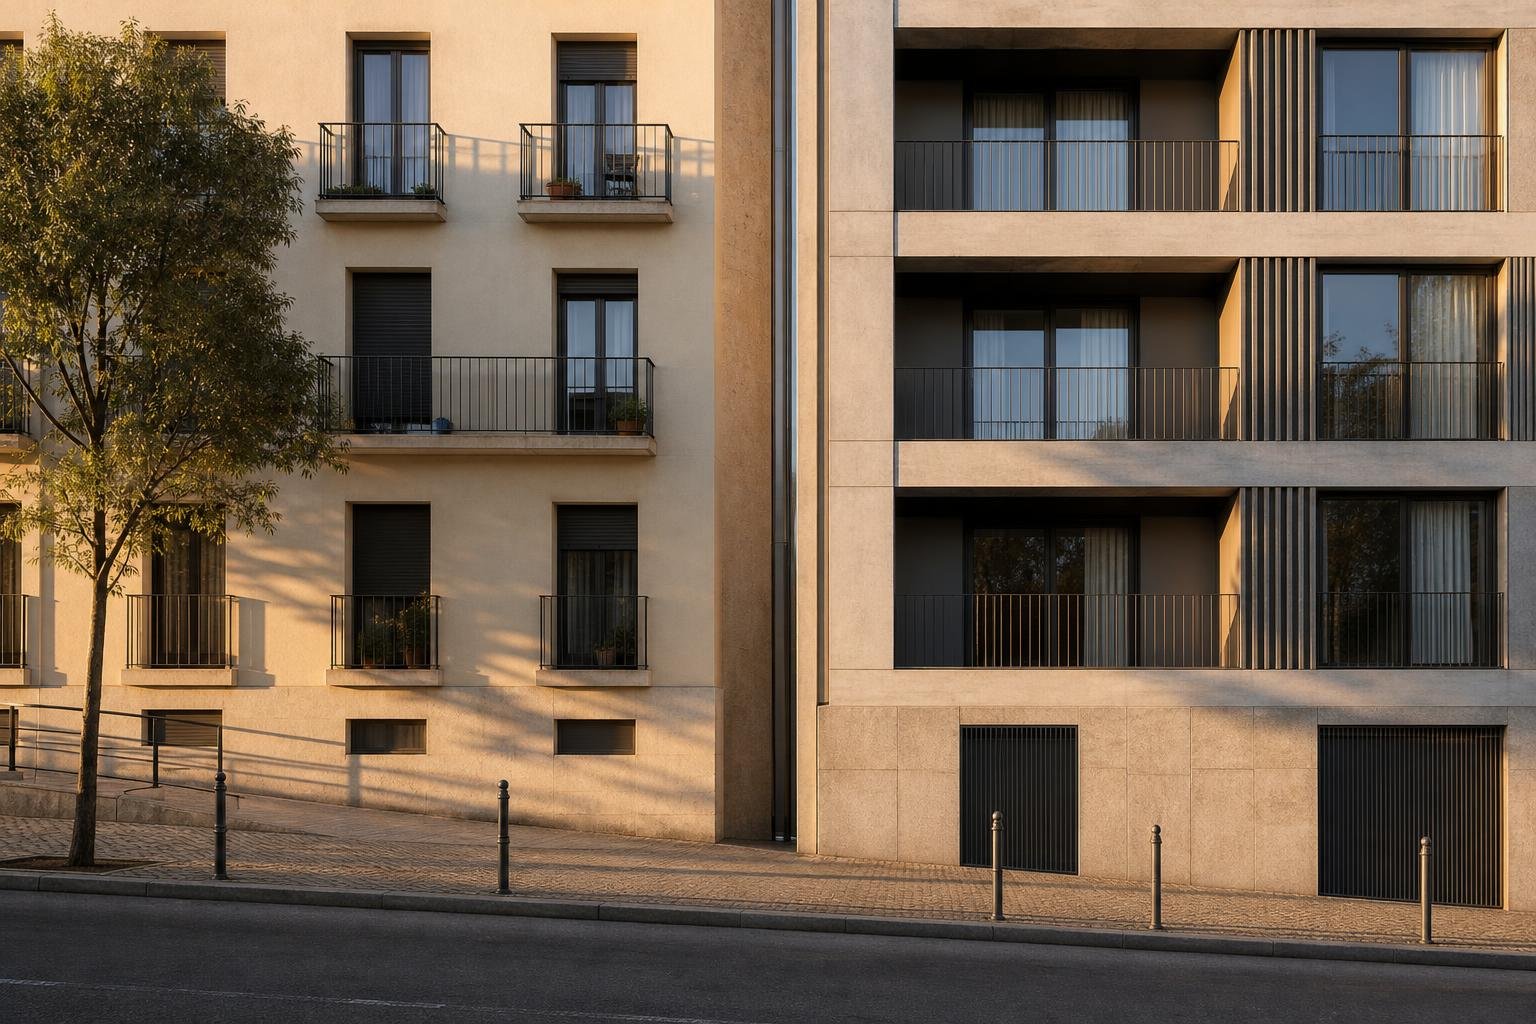
An expansion joint is a planned separation that allows parts of a building to move in a controlled way. If it is filled with mortar, rigid tile or a continuous coat of paint, the movement does not disappear: it tends to return as a crack, detachment or water ingress at the weakest point. In Lisbon, annual temperature changes, strong sun on façades and roofs, and buildings altered in different periods make this detail important before repairing a façade, terrace or shared area.
Contents
- What is an expansion joint, and why does a building need one?
- Where might you find these joints in a Lisbon building?
- Why does heat matter in such a small detail?
- Which repair mistakes damage an expansion joint?
- How can you check a joint without turning the inspection into building work?
- When should you call a professional, and how should the work proceed?
What is an expansion joint, and why does a building need one?
Concrete, steel, masonry, finishes and window frames change size slightly with temperature, moisture, material shrinkage and, in some cases, structural deformation. A joint creates a line of separation so that two panels, building blocks or materials are not forced to move as one piece.
The principle is longstanding: Portugal’s former construction safety regulation stated that, where expansion joints were used, they should accommodate the expected movements without reducing the safety of the whole structure. Current structural designs for buildings refer to the Eurocodes, including thermal actions and seismic rules. See the Portuguese Official Gazette list of structural design standards and the historical reference to expansion joints in the construction safety regulation.
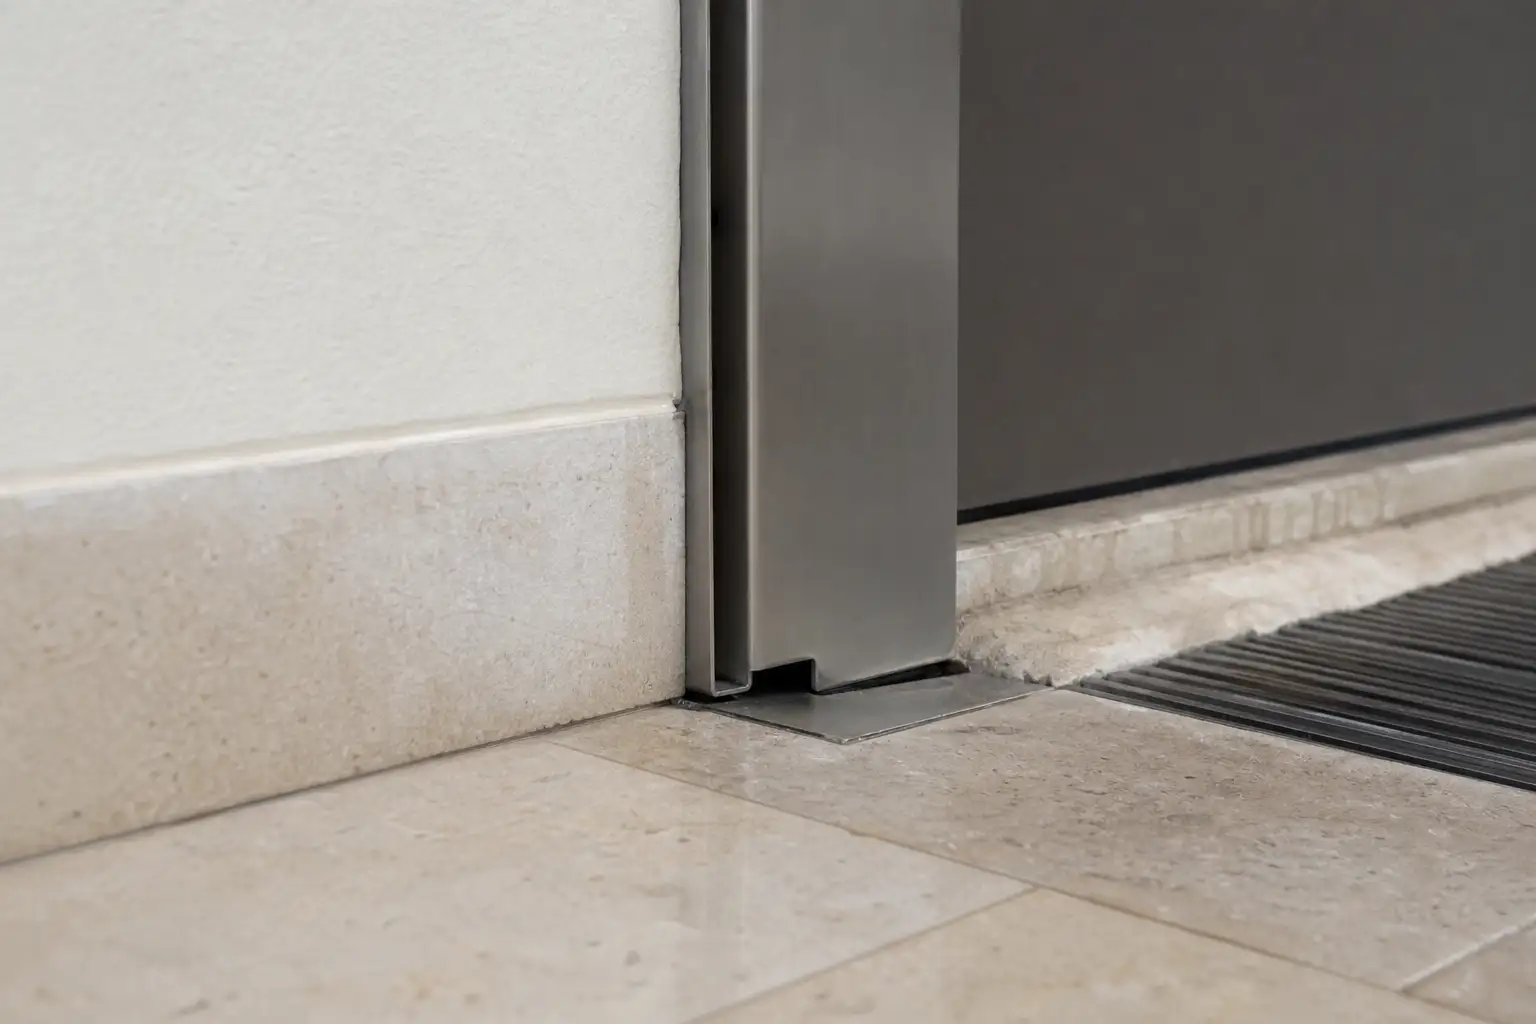
A well-designed joint is not a construction defect. It is a deliberate interruption, usually protected by a cover profile, backing material, flexible sealant, metal flashing or a purpose-made waterproofing detail.
Where might you find these joints in a Lisbon building?
The joint may be obvious as a vertical strip in a façade, a metal cover between two volumes or a continuous line in a garage floor. In other cases it sits behind a flashing, a flexible joint between tiles or a waterproofing component on a terrace.
Look for it especially in these locations:
- between building sections with different lengths, heights or structural systems;
- where an older building joins a later extension;
- on large roofs and terraces exposed to direct sun;
- on broad areas of render, stone or tiled façade finish;
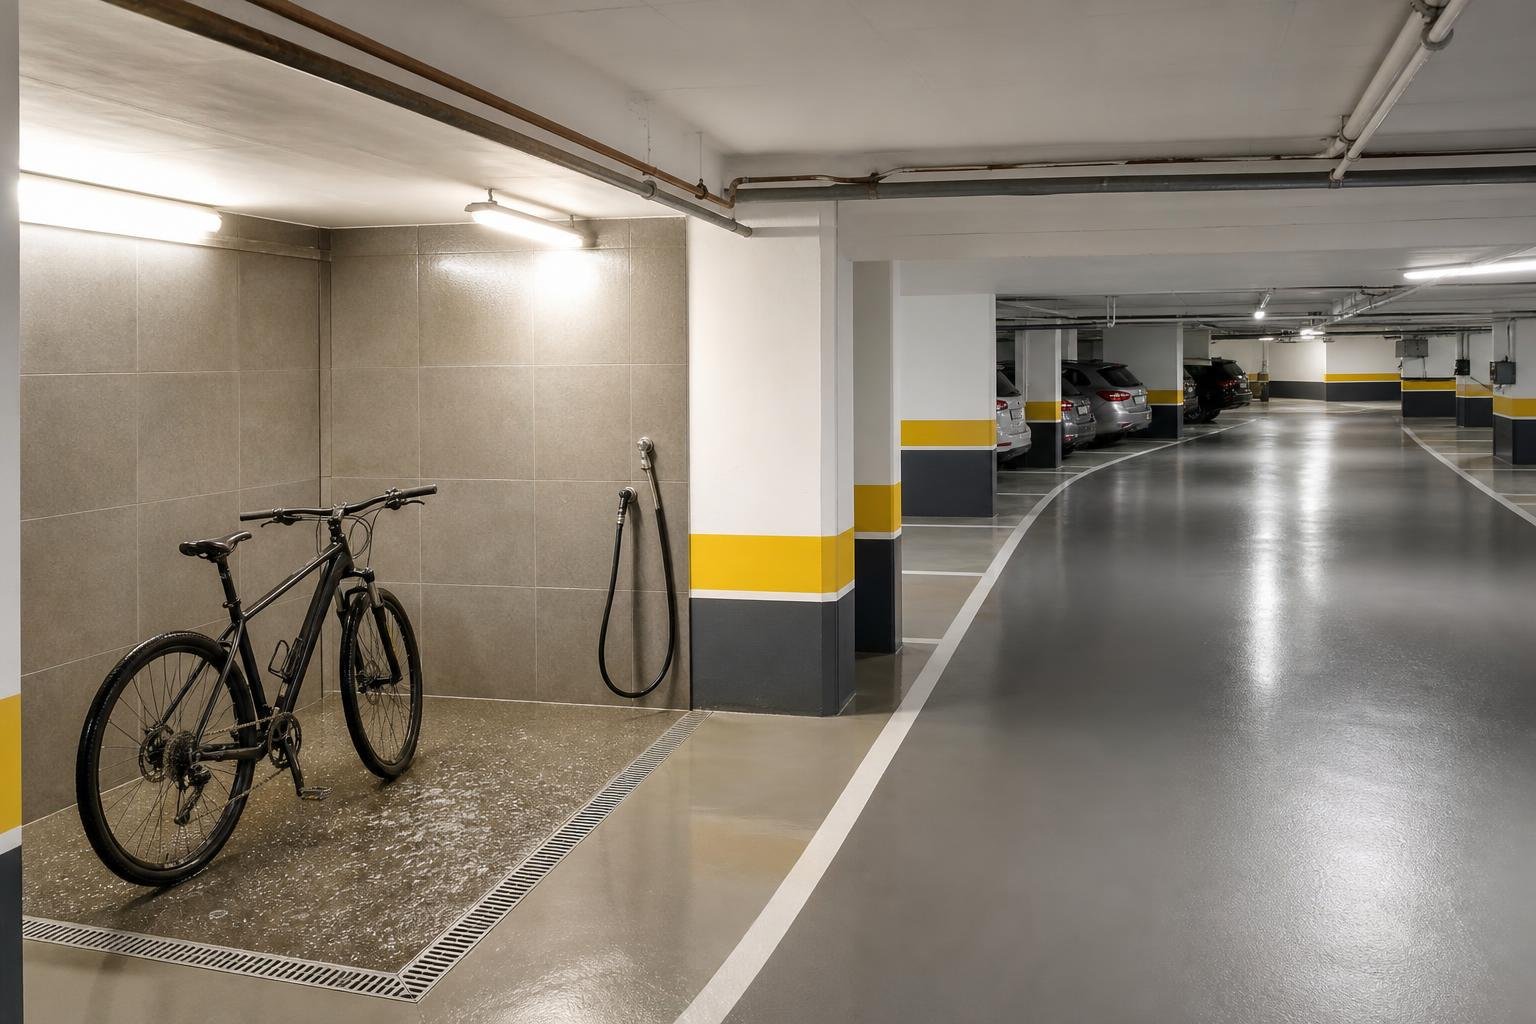
- in car parks, ramps and external paving exposed to heat, water and traffic.
In an older building with a newer rear extension, for example, the joint may separate the original structure from the added section. Trying to make both sides look continuous with rigid filler and paint usually moves the problem a few centimetres away.
If work affects structure, façades or roofs, check early whether specialist designs are required. Lisbon City Council lists structural stability design and, where applicable, seismic strengthening among the specialist design projects that may be needed in the relevant planning process.
Why does heat matter in such a small detail?
An expansion joint may only show a few centimetres of width, yet it responds to movement spread across many metres of construction. Temperature affects more than the surrounding air: a south- or west-facing façade, dark metal coping and an unshaded terrace can become much hotter than an internal wall.
Climate data gives useful context. For Lisbon/Instituto Geofísico, the 1991-2020 climate normals show average daily maximum temperatures of 15.1°C in January and 28.8°C in August; the same sheet records an absolute maximum of 43.3°C. Read the figures in the IPMA climate normal for Lisbon. These values do not replace a designer’s calculations, but they explain why an exposed flashing should not be treated as a cosmetic line.
It is also important to separate thermal movement from other causes. A diagonal crack near a window may relate to the behaviour of the masonry panel; a repeated crack along the junction of two building sections may follow a joint; a crack that grows, offsets elements or comes with deformation needs prompt technical assessment.
| Observed sign | What it may indicate | Sensible first step |
|---|---|---|
| Sealant is cracked, shrunken or detached | Loss of elasticity and possible water ingress | Record the location, check continuity and arrange assessment of the system |
| Crack parallel to the joint after rigid painting | The joint may have been bridged or filled over | Do not fill it again; confirm the original detail |
| Water or staining on the level below near a flashing | Waterproofing or drainage detail may be failing | Avoid washing that area and arrange technical inspection |
| Loose or distorted cover profile | Deteriorated fixing, excessive movement or impact | Protect the area and obtain a check before refitting it |
Which repair mistakes damage an expansion joint?
The most frequent mistake is treating the joint as an ordinary crack. The sequence looks straightforward: clean it, fill it, sand it and paint it. Yet if that location needs movement, rigid filler becomes a bridge. At the first meaningful cycle of expansion and contraction, it may crack the paint, pull away render or tear nearby waterproofing.
Avoid these shortcuts as well:
- Covering the joint with tiles bonded continuously across it. The finish can crack or debond.
- Applying sealant without preparing the sides. Dirt, moisture, friable edges and unsuitable joint geometry reduce adhesion.
- Using expanding foam as an external finish. It is not a substitute for a weather-exposed joint system.
- Filling a floor joint with mortar. In garages and terraces, water and movement make the repair short-lived and difficult to remove.
- Ignoring drainage. A roof joint must maintain continuity with waterproofing, flashings and drainage points.
Before selecting a product, establish what the gap does. It may be a movement joint, a construction joint, a junction between materials or simply a crack with no planned detail. The right decision depends on location, width, exposure and what lies behind the finish.
How can you check a joint without turning the inspection into building work?
Careful observation helps you prepare a conversation with the person who will repair it, but it does not replace an engineering or waterproofing diagnosis. Keep a simple record, particularly where the building has an accessible roof, façade detachment or repeated leaks.
- Take close and wider photographs, dated and with a discreet scale reference.
- Follow the full line: wall, roof flashing, floor, sill or connection to a balcony.
- Check for rigid material crossing the separation, broken pieces, detached sealant or loose profiles.
- Look for staining, salt deposits and places where water remains after rain.
- Compare both sides: a level difference, misalignment or a door that has started to stick deserves added attention.
Do not push tools into the joint, cut the sealant or remove protective profiles simply to “look inside”, especially on façades, balconies, roofs or garages. It can worsen water ingress and expose loose edges or components. For wider structural decisions, it is also useful to read the essential principles of foundations, because a building’s performance depends on the whole system rather than one finish alone.
When should you call a professional, and how should the work proceed?
Call a qualified professional where the joint is linked to growing cracks, water ingress, rust, loose façade elements, visible displacement or changes in an existing building. The priority is to establish whether the issue lies in the finish, waterproofing or structural behaviour before ordering sealant, tiles or paint.
In an apartment building, first confirm whether the joint belongs to a façade, roof, garage or another common element. Gather photographs, the location by floor or vertical stack, dates when leaks occur and details of previous repairs. Then ask for a solution that clearly states substrate preparation, backing material, sealant or profile, waterproofing terminations and how the joint will remain free to move.
For work requiring technical coordination, a specialist design project is where stability, rainwater drainage and other systems stop being isolated decisions. In a broader refurbishment, recognising a Pombaline cage structure also helps explain why certain cuts and connections in older Lisbon buildings should never be improvised.
Key takeaways
- Do not cover a movement joint with rigid materials simply to remove a visible line.
- Follow the joint to the roof, floor or flashings: the defect may sit away from the visible stain.
- Record cracks, water and deformation before repair; the order in which signs appear helps diagnosis.
- For façades, roofs and common elements, confirm responsibility and the technical solution before work starts.
A durable joint repair depends on diagnosis, compatible materials and careful flashing details. If your Lisbon renovation involves a façade, roof, terrace or changes that need coordination between specialist trades, speak to Obra Lisboa about technical planning before the final finish is closed.
Sources and further reading
- Portuguese Official Gazette list of structural design standards
- expansion joints in the construction safety regulation
- IPMA climate normal for Lisbon
- specialist design projects
AI-generated editorial image; it does not depict an Obra Lisboa project.

Obra Lisboa