
A bathroom extractor fan should be cleaned without blocking its grille, wetting the motor or dismantling electrical connections. If mirrors stay fogged for a long time, smells linger or mould keeps returning near the ceiling, dirt may only be part of the problem: the fan may lack extraction capacity, the duct may be obstructed or the controls may be unsuitable. Start with a safe check before deciding whether cleaning, better use or professional work is needed.
Contents
- What signs show that the extractor fan needs attention?
- What should you prepare before touching the grille?
- How to clean the grille and accessible area in five steps
- How can you check for useful extraction without instruments?
- Common mistakes that make moisture worse
- When should you stop and call a professional?
What signs show that the extractor fan needs attention?
A dust-coated grille restricts airflow and can make the unit noisier. Noise alone does not prove that extraction is working, though: a fan may turn weakly, move air only within the room or discharge poorly through its duct.
Take action when several of these signs occur together:
- the mirror remains fogged long after a shower;
- water droplets form on the ceiling, high tiles or the inside face of the door;
- mould appears at upper corners or sealant repeatedly turns dark;
- the unit vibrates, scrapes, develops a new hum, or starts and stops;
- the room smells stale despite regular cleaning.
Excess moisture can cause condensation on cold surfaces and contribute to mould growth, as set out in the Portuguese Directorate-General of Health guidance on indoor air quality. Before buying a dehumidifier or replacing finishes, establish whether the existing extraction is clear and being used at the right time.
What should you prepare before touching the grille?
Choose a time when the bathroom is dry and well lit. Gather a vacuum cleaner with a soft brush, microfibre cloth lightly dampened with water, clean paintbrush, stable step stool and, if the grille is removable, a bowl for washing it. Keep aerosol products, bleach, steam and water jets away from the unit.
- Switch the fan off at its local control.
- If you are unsure whether that switch isolates the fan, turn off the relevant circuit at the electrical panel and confirm that the unit cannot start.
- Do not stand on a basin, toilet or shower tray to reach the ceiling.
- Photograph the grille before removing it; some use spring clips while others use screws.
This is light maintenance only. A painted-over cover, grille held by cables, visible wires or signs of overheating are not situations for trial and error. For wider renovation decisions, see Ventilation in Renovated Homes: Prevent Damp and Mould Without Losing Comfort.
How to clean the grille and accessible area in five steps
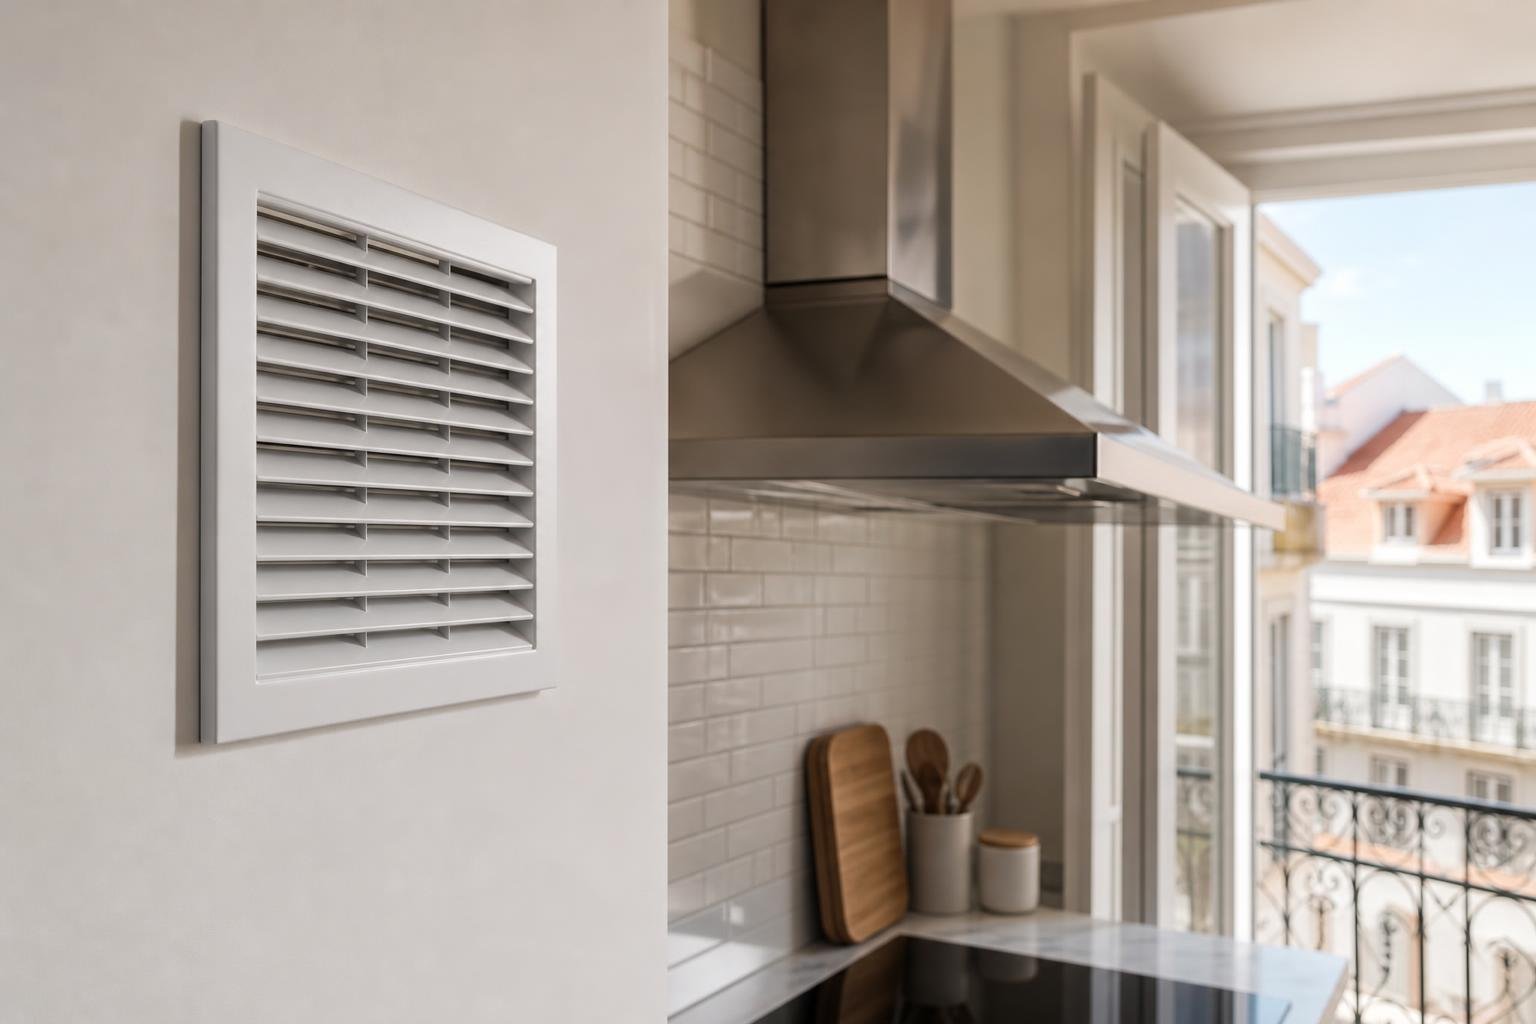
1. Remove the grille slowly. Where spring clips are used, compress them without pulling on cables. If it resists unusually, stop: old paint, sealant or accumulated dirt may be holding it in place.
2. Vacuum dry dust first. Use the soft brush around the grille, its edge and the immediately visible area. Do not push rigid vacuum tubes into the duct or force the fan blades.
3. Wash only the removable part. Warm water and mild detergent are sufficient for most grilles. Dry it completely before refitting.
4. Wipe the fixed surround. Use a cloth that is damp, not wet. The aim is to lift dust rather than allow water into the electrical housing.
5. Refit without overtightening. Check that the grille sits straight and that every louvre or opening remains clear.
The DGS advises cleaning and maintaining ventilation systems, as well as ventilating during and after bathing. Read its general recommendations for indoor air. Cleaning the grille helps, but it does not replace fresh-air renewal or solve a leak.

How can you check for useful extraction without instruments?
After refitting the grille, turn the fan on and close the door only to its usual position. Hold a small strip of thin paper near the grille without touching it or allowing it to be drawn inside. Gentle attraction suggests airflow; no movement, outward flow or erratic movement calls for further investigation. This does not measure airflow or certify the installation, but it is useful for comparing performance before and after cleaning.
Also observe the room after an ordinary shower:
- the fan should maintain a steady sound;
- fogging should begin to clear with extraction and an air path through the door gap or window;
- there should be no backflow of smells from another flat or from the duct.
In a properly designed system, air should not transfer from bathrooms to clean rooms. Technical ventilation rules identify sanitary rooms as extraction spaces and require independent exhaust networks to keep them under negative pressure relative to adjacent rooms; see Portaria No. 138-G/2021 in Diário da República. In an existing home, that is not a reason to alter ducts yourself.
Common mistakes that make moisture worse
The first mistake is turning the extractor off as soon as the shower ends. If the unit has a timer, let it complete its intended run; if it does not, air the room in a controlled way after bathing, taking account of noise, safety and outdoor conditions.
It is also wise to avoid:
- covering the grille with tall furniture, boxes or decoration;
- taping improvised filters over the air intake;
- painting the grille in place;
- using air fresheners to disguise a damp smell;
- sealing every air-transfer gap while the fan runs;
- assuming that mould is automatically the fan’s fault without checking for leaks, failed joints and cold walls.
Indoor air quality includes pollutants, ventilation, temperature and humidity, according to the ADENE glossary. A windowless bathroom may need fan maintenance, but a bathroom with a window can still suffer from condensation if surfaces remain wet, the room does not dry out or a hidden leak is present.
When should you stop and call a professional?
Arrange technical help if the fan does not start after the electrical supply has been checked, if it trips a circuit breaker, smells burnt, has dark marks, is exposed to water, vibrates strongly or has loose parts. Do the same if the duct appears obstructed, air or odours flow back into the room, or damp and mould persist despite cleaning, correct use and no visible leaks.
During a renovation, airflow capacity, location, controls and duct route should be resolved before ceilings and walls are closed. Bathroom Extractor Fans: Choosing Airflow, Position and Controls Before a Renovation can help you prepare that conversation.
Before asking for a quote, note three useful details: when fogging appears, how long the fan runs, and whether the issue changes when the door or window is open. That record reduces the chance of replacing a working fan when the real cause lies in the duct, the air path or a moisture defect elsewhere.
Key takeaways
- Clean the grille with the circuit isolated and keep water away from the fan housing.
- Use a paper strip only as an airflow clue; it is not a technical test.
- Persistent mould, abnormal noise, odour backflow or electrical tripping need professional diagnosis.
- Do not block the grille or remove the air path below the door while the fan is running.
If the bathroom remains damp or is due for renovation, collect photographs, dimensions and the symptoms you have observed before choosing a solution. To coordinate ventilation, finishes and services in one renovation scope, you can talk to Obra Lisboa about your renovation.
Sources and further reading
- general recommendations for indoor air
- Portuguese Directorate-General of Health guidance on indoor air quality
- Portaria No. 138-G/2021 in Diário da República
- ADENE glossary
Editorial image; it does not depict an Obra Lisboa project.

Obra Lisboa