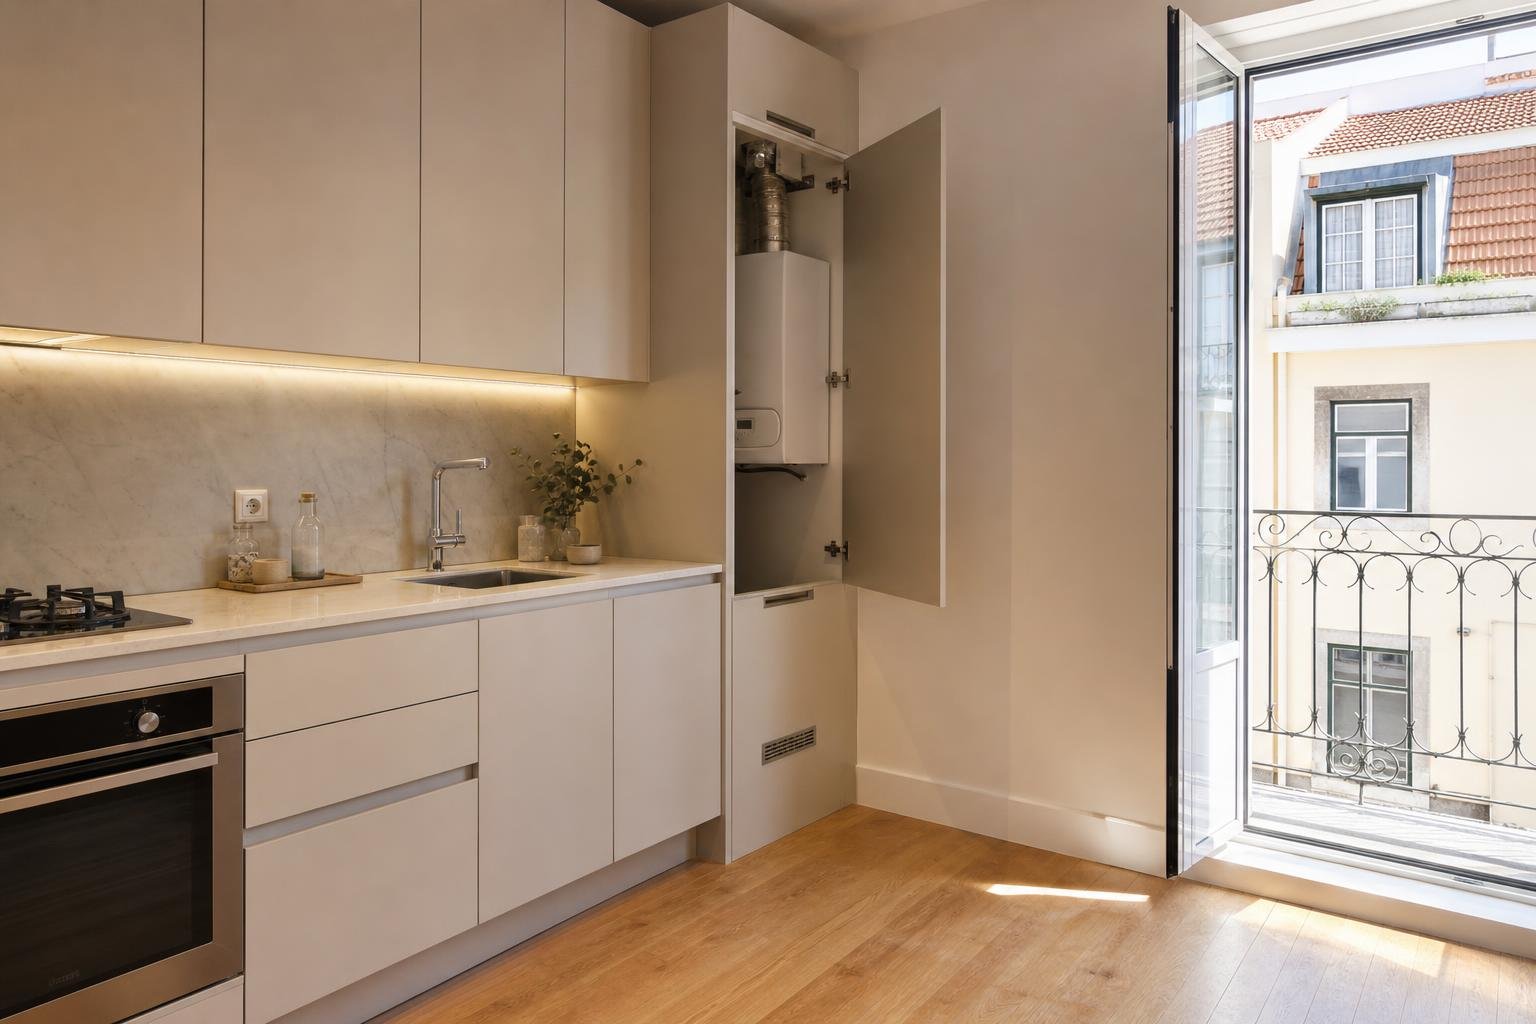

Before replacing a refrigerator that runs too often, check whether it can release heat properly, whether its door seals tightly and whether its temperature is correctly set. In a compact Lisbon kitchen, an appliance is often pushed beside an oven, enclosed in a cabinet without the required gaps or exposed to afternoon sun; each situation makes the compressor work harder. A methodical check helps separate an installation or maintenance issue from a genuine fault.
Contents
- First, decide whether the issue is the refrigerator or the kitchen
- How much ventilation space does the appliance need?
- How to test a door seal without taking anything apart
- Which temperatures and habits help keep food safe?
- When is maintenance enough, and when should you call a professional?
First, decide whether the issue is the refrigerator or the kitchen
A refrigerator that feels hot on the outside, cycles frequently or seems to keep food fresh for less time should not be judged by age alone. Watch it for two or three days: does the door fail to close because of drawers, magnets or food packages? Does the appliance receive direct sun? Is it beside an oven, hob or radiator? Has dust built up on the rear or lower grille?
Portugal’s Directorate-General of Health advises keeping refrigerators away from cookers, heat sources and direct sun, respecting the manufacturer’s ventilation clearances and keeping the external grille clean. See the guidance in the DGS sustainable-consumption manual.
Keep a simple record as well: note the temperature setting, when you hear the motor and whether excessive ice is forming. If the trouble began after changing cabinetry, enclosing a pantry or fitting an oven tower, the room alteration is an important clue. During a renovation, refrigerator placement should be coordinated with ventilation, sockets and heat-producing areas; our guide to kitchen planning can help frame those decisions.
How much ventilation space does the appliance need?
The safe answer is in the manual for the exact model, because ventilation may be at the rear, sides, base or a combination of these. Do not estimate a gap by eye or cover grilles with plinths, decorative panels or storage boxes. A freestanding refrigerator needs to transfer heat into the room; if a recess traps that heat, energy use, noise and wear are likely to rise.
Before ordering a new refrigerator or bespoke cabinetry, check five points:
- Actual width, height and depth: measure plinths, handles, projecting sockets and pipework, not merely the cabinet opening.
- Manufacturer-required clearances: compare them with the kitchen drawing and leave every grille and air outlet unobstructed.
- Door swing: make sure drawers can pull out fully without hitting a wall, island or neighbouring handle.
- Distance from heat sources: rethink the arrangement if the refrigerator will sit beside the oven or under persistent sunlight.
- Cleaning access: plan how the rear or lower area will be reached without dismantling half the kitchen.
In older flats, sockets are often directly behind the appliance. This can reduce usable depth and push the cabinet line forward. Resolve that detail in the design rather than forcing the refrigerator against the wall after installation.

How to test a door seal without taking anything apart
A dirty, distorted or torn rubber gasket lets warm, humid air into the cabinet. The motor then has to compensate, while condensation or ice may develop around the door. The simplest test uses a sheet of paper: close it between the gasket and refrigerator body, then pull gently. Repeat at several points. If the paper slides out with almost no resistance in the same area every time, clean and inspect that section.
Clean the gasket with a soft, lightly damp cloth and dry it thoroughly. Remove crumbs, grease and food residue from the contact surface. Do not use blades, harsh solvents or intense heat to “reshape” it. Also check that the refrigerator is level, since incorrect levelling can affect the door’s automatic closing action.
Some signs call for technical assistance: a cracked or detached gasket, a misaligned door, loose hinges, corrosion around fixings, water collecting inside, or a door that must be pushed firmly to close. Replacing a gasket may be appropriate; replacing the whole appliance before confirming the part number and availability can be wasteful.
Which temperatures and habits help keep food safe?
Internal organisation affects food safety as well as everyday usability. Do not pack shelves so tightly that air cannot circulate, and do not leave foods that require refrigeration on the worktop for hours. The DGS advises washing food and utensils thoroughly, keeping refrigerated products chilled and avoiding leaving cooked food at room temperature for extended periods; see its food and water safety guidance here.
During a power cut, keep the door shut and do not decide solely by appearance or smell. The DGS states that a closed freezer can keep food frozen for up to 48 hours, or 24 hours if half-full; for a refrigerator, an interruption exceeding 12 hours requires greater care and generally means discarding chilled food, with exceptions including whole fruit and vegetables. Read the specific DGS guidance for food after a power interruption.
In everyday use, open the door knowing what you need, close it without slamming and avoid blocking air outlets with tall containers. If the freezer develops a thick layer of ice, follow the manufacturer’s instructions before defrosting. Switching off the appliance, chipping ice with metal tools or pouring very hot water inside are shortcuts that can cause damage.
When is maintenance enough, and when should you call a professional?
Cleaning an accessible grille, wiping the gasket, levelling the appliance in line with the manual and reorganising the recess are reasonable household tasks. Electrical work, repairs to the refrigeration circuit, structural hinge repairs, cutting cabinetry to create ventilation or moving sockets need proper planning and, depending on the work, a qualified technician.
Unplug the appliance and seek an assessment if you smell burning, hear repeated electrical cracking sounds, find a damaged cable, notice unusual heat around the plug, see an unknown liquid leak or find that the consumer unit trips when the refrigerator starts. Do not rely on extension leads behind the appliance as a permanent solution, and do not hide a damaged socket behind cabinetry.
If you are renovating the kitchen, give the designer or contractor the chosen model’s dimensions, technical sheet and a photograph of the existing location. This allows ventilation, depth, electrical supply and maintenance access to be planned before cabinetry is fitted. For a coordinated project, learn more about Obra Lisboa and ask for these checks to be included in the kitchen brief.
Key takeaways
- Check the manufacturer’s required ventilation clearances before enclosing a refrigerator in a cabinet recess.
- Test the door seal in several places with a sheet of paper, and clean the gasket before assuming there is a fault.
- Keep the appliance away from heat sources and leave enough access to clean grilles and inspect connections.
- Electrical faults, misaligned doors and signs of overheating require professional assessment.
Planning to alter cabinetry, sockets or refrigerator placement? Gather the appliance and recess dimensions before the kitchen design is finalised. Obra Lisboa can help coordinate a kitchen renovation around practical installation and maintenance decisions.
Sources and further reading
AI-generated editorial image; it does not depict an Obra Lisboa project.

Obra Lisboa