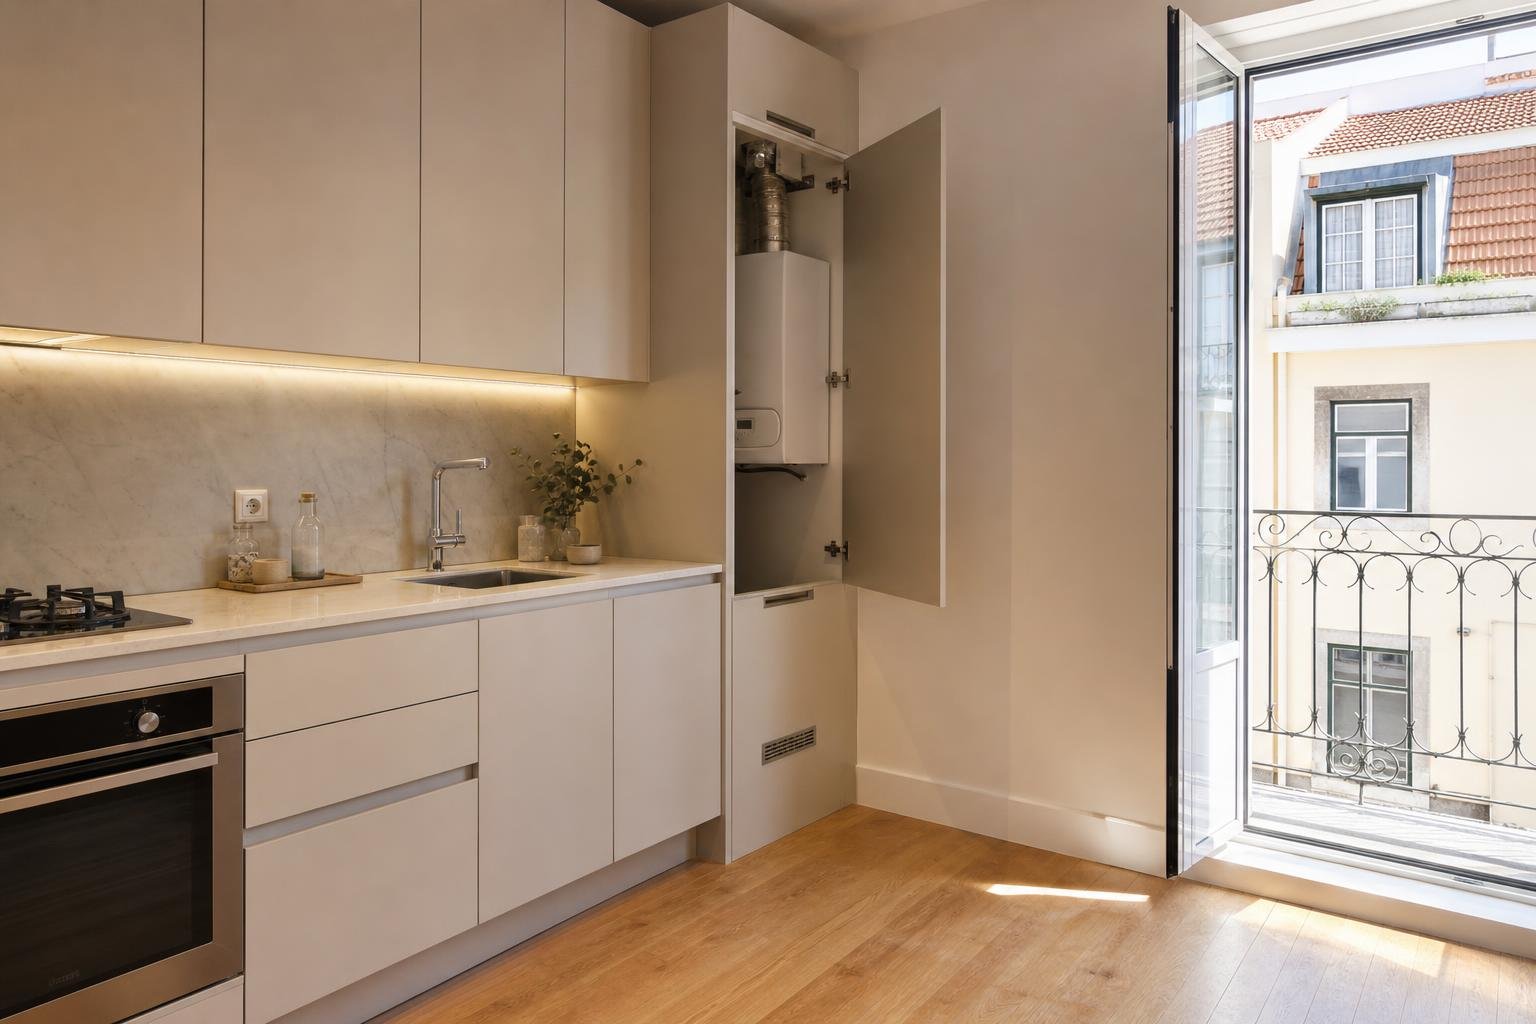

Choose linoleum for a kitchen only after checking the subfloor, the cabinet layout and the type of joint the room can accommodate. It is comfortable underfoot, visually quiet and available in useful muted colours, yet it will not conceal an uneven screed or solve water collecting below the sink. In a Lisbon renovation, the right decision starts before ordering: measure openings, check doors, set out skirting and coordinate installation with the kitchen fit-out.
Contents
- Is linoleum right for your kitchen?
- Sheet or tiles: what changes in practice?
- How should you assess the subfloor before ordering?
- Which colour and finish work best in a Lisbon apartment?
- When should it enter the renovation sequence?
- Which problems mean you should stop and call a professional?
Is linoleum right for your kitchen?
It can be a good fit if you want a continuous surface that feels less cold than ceramic tile and is straightforward to maintain in daily use. It is especially effective in a small kitchen, where one floor colour can make the preparation area, table and route through the room feel less fragmented.
Do not treat it as a cure for leaks, failed worktop seals or a dripping trap. Fix the water source first. The Portuguese Directorate-General of Health notes that materials, furnishings and household activities affect indoor air; during works, that makes suitable adhesives and sealants, plus ventilation during application and curing, worth planning.
Ask three questions before choosing: does strong sun reach the balcony door? Is the kitchen exposed to frequent wet use from pets, children or washing? Will the base cabinets remain? The answers shape colour, finish, wet-area protection and the installation sequence.
| Situation | Safer option | Detail not to miss |
|---|---|---|
| Small, dry kitchen | Sheet linoleum | Plan seams and edge details before fitting cabinets |
| Kitchen with many doorways or cut-outs | Modular format, if permitted by the manufacturer | Check stability and joint treatment |
| Uneven older subfloor | Repair and level it first | Do not use the finish to conceal unevenness |
| Leak below the sink | Delay installation | Fix the source of water before finishing |
Sheet or tiles: what changes in practice?
Sheet linoleum reads as a more continuous surface. It suits compact rooms where fewer visible lines are useful and where the installer can plan the sheet without unnecessary seams. It does demand precise measuring, careful handling and a very well-prepared base.
Planks or tiles can make a local replacement easier and may simplify work around a kitchen with many cut-outs. They create more joints, so cleaning and protecting the meeting points matter more. Do not choose from a small sample alone: ask to see the true module size and map the lines by the doorway, skirting and cabinet fronts.
Avoid placing a joint exactly where most work happens by the sink or where chairs are dragged each day. If there is a small dining table, aligning the lines with the longer side of the room often gives a calmer result.
How should you assess the subfloor before ordering?
The finish follows what lies beneath it. A crack, adhesive ridge, marked tile joint or damp patch can show through later. Remove loose furniture, clean thoroughly and inspect the surface with side light. Then check flatness with a long straightedge and note hollow, loose or moving areas.
In older Lisbon apartments, do not assume that an existing timber floor or slab is ready for a new finish. The city guide on floor repair and strengthening stresses the need to deal with degraded areas and deflection before adding layers. If the floor flexes, creaks or remains damp, obtain technical advice before levelling it.
- Check that the base is dry, clean and sound.
- Remove loose finishes and incompatible residues.
- Repair cracks, hollows and ridges for the chosen system.
- Confirm final floor height at doors, thresholds and appliances.

Which colour and finish work best in a Lisbon apartment?
Mid-tones — greyed green, muted blue, soft terracotta, mineral beige or warm grey — tend to disguise everyday marks better than pure white or uniform black. In a south- or west-facing kitchen, test the sample for several hours: strong daylight changes undertones considerably and can make a cool shade look overly blue.
Coordinate the floor with two fixed elements rather than every surface. For example, choose a shade that works with the worktop stone and cabinet timber, then allow tiles, chairs and accessories to change over time. If you are redesigning the whole room, see our practical kitchen-planning guide before fixing cabinet and appliance dimensions.
Low-emission materials are a sensible interior choice. ADENE’s SMARTER reference advises selecting paints, finishes, sealants and solvents with lower VOC concentrations, alongside suitable ventilation, to support indoor-air quality. Read the ADENE guidance on suitable materials and indoor air.
When should it enter the renovation sequence?
The sequence prevents awkward cuts and damage to a new floor. Electrical work, plumbing and subfloor levelling should be complete; heavy painting and dusty work should also be finished. The floor can then be installed and protected before final fitting.
- Set the layout, direction and edge details.
- Complete subfloor repairs and allow products to cure for the specified period.
- Install the linoleum under the temperature and humidity conditions required by the system.
- Protect the surface before cabinets, stone and appliances arrive.
- Fit skirting and trims without trapping or puncturing vulnerable finish areas.
A common mistake is fitting the base cabinets first and cutting the floor around every leg. It may save material, but it makes later replacement harder and creates awkward areas to clean. The best route depends on the design and kitchen system; decide it on the drawing, not on installation day.
Which problems mean you should stop and call a professional?
Do not proceed alone when the base is damp, cracks are moving, the existing floor deflects, extensive levelling is needed, or the system requires full bonding and welded seams. The connection between the floor, the balcony-door threshold and the sink area also deserves close attention: water and movement meet there.
A small improvement, such as replacing skirting after confirming that the floor is stable, may only need careful workmanship. For a full renovation, coordinate flooring, cabinetry, lighting and outlets as one package. Our article on vinyl kitchen floors also provides useful questions about subfloors, water and joints, although it covers a different material.
Make a simple kitchen plan now, marking doors, appliances, openings and water points, then take it when choosing the floor. Obra Lisboa can help coordinate a kitchen renovation, from subfloor preparation to final edge details.
Key takeaways
- Assess damp, stability and flatness before choosing the finish.
- Choose the format after drawing cabinets, doors and high-use areas.
- Protect joints and edges near water; flooring does not cure leaks.
- Set the installation sequence before ordering cabinets and stone.
If you are renovating your kitchen, ask Obra Lisboa for a proposal that coordinates subfloor preparation, installation, cabinetry and finishing details so that the decisions work together from the outset.
Sources and further reading
- Portuguese Directorate-General of Health notes that materials, furnishings and household activities affect indoor air
- ADENE guidance on suitable materials and indoor air
- floor repair and strengthening
AI-generated editorial image; it does not depict an Obra Lisboa project.

Obra Lisboa