If mould appears behind furniture against an external wall, pull the piece away, dry the area and establish whether the cause is condensation, water ingress or a cold wall. Paint may improve the appearance for a few weeks, yet it does not remove the moisture, leak or building defect feeding the problem. In Lisbon flats, cold external walls, limited air change and furniture placed tight to the wall often create a damp pocket where mould grows unnoticed.
The Portuguese health authority notes that excess humidity can condense on cold surfaces and encourage mould. Stop that build-up first; cleaning, repair and redecorating come afterwards.
Contents
- Why does mould grow behind the furniture?
- How can you tell condensation, water ingress and a plumbing leak apart?
- What can you check without damaging the wall?
- What works when condensation is the cause?
- When should you stop cleaning and call a professional?
- What is the right repair sequence to prevent a repeat?
Why does mould grow behind the furniture?
Furniture restricts air movement beside the wall. Where the wall faces outdoors, an unheated stairwell, a gable end or another cold area, its surface can be much colder than the bedroom air. Vapour from occupants, showers, cooking and indoor laundry can then condense in that hidden spot.
The pattern is common in a north-facing bedroom corner, behind a bed headboard or at the back of a wardrobe on an outside wall. It usually appears as diffuse dark spotting, sometimes with a stale smell, rather than a clear line of incoming water. The DGS advises daily ventilation, including while and after bathing, cooking, cleaning, washing and drying laundry indoors: all are periods of increased indoor moisture. Read the DGS guidance on ventilation and humidity control.
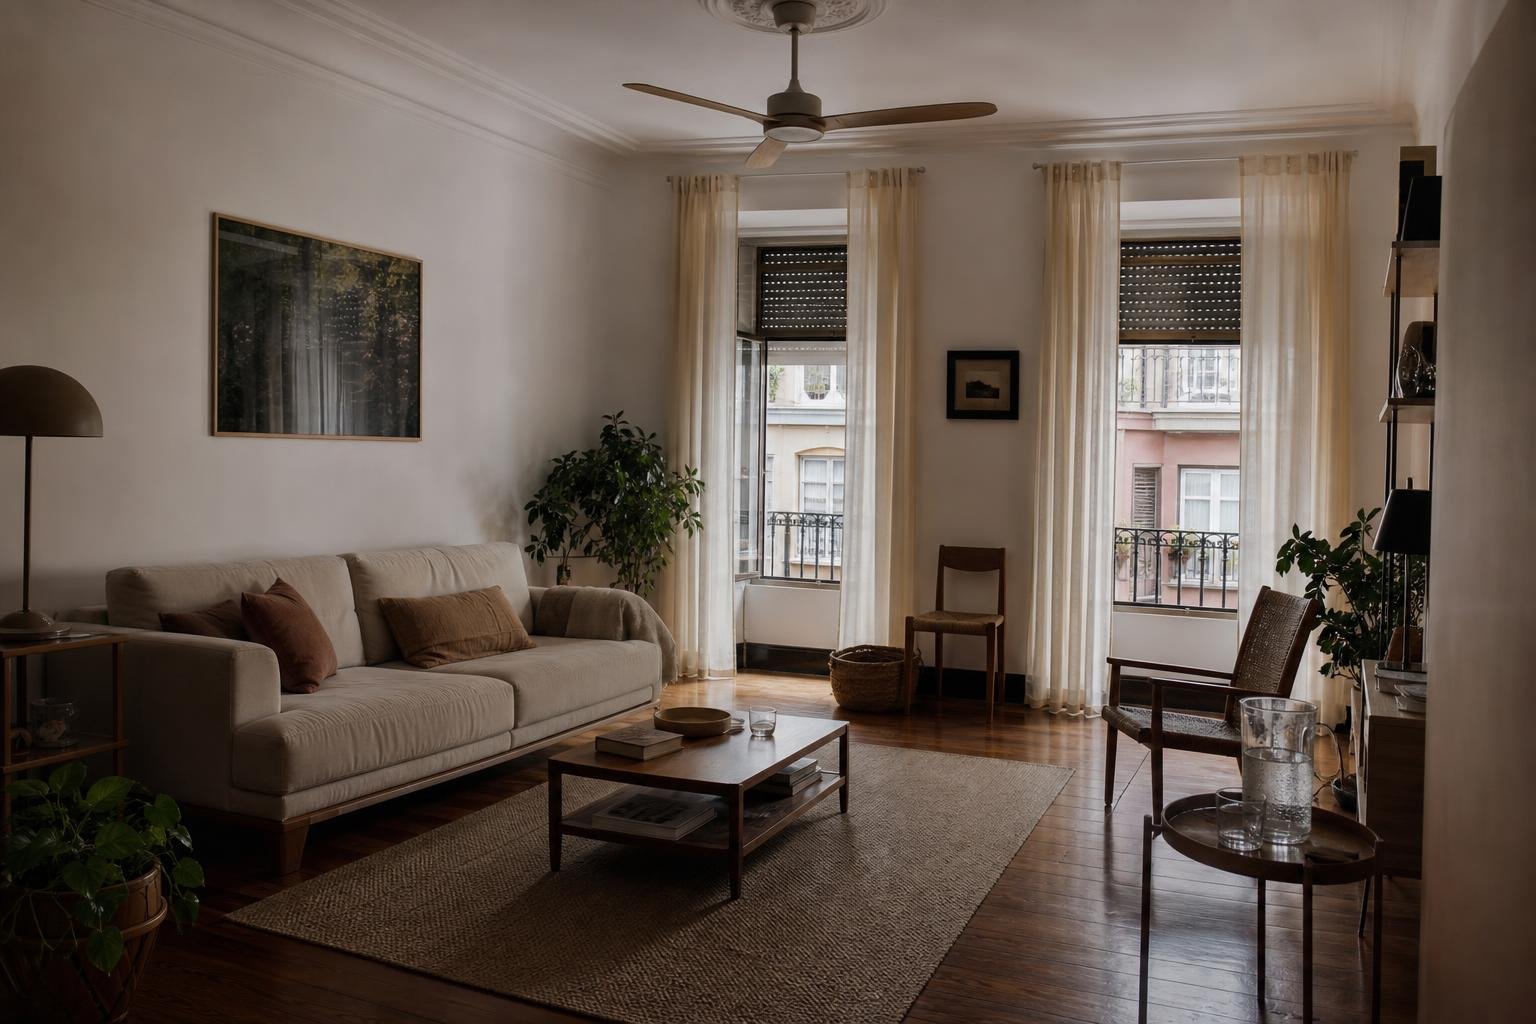
Keep a continuous gap between the back of the furniture and the wall. Do not cover existing vents or press heavy curtains into the wall behind a wardrobe. This will not cure a leak, but it helps prevent a cold surface from being cut off from the room air.
How can you tell condensation, water ingress and a plumbing leak apart?
Watch the mark for two to three weeks before stripping finishes or buying paint. Note when it appears, whether it worsens after rain, whether it changes after showering and whether it feels damp. A weekly photograph taken in the same light and from the same position makes progression easier to judge.
- More consistent with condensation: speckled mould or diffuse dark marks in corners, behind furniture and around windows; worse in winter or after poor ventilation.
- More consistent with water ingress: a yellow-brown tide mark, bubbling paint, soft plaster or a patch that worsens after rain, especially below a roof, near a balcony, window or façade.
- More consistent with a leak: ongoing damp without rain, located near a kitchen, bathroom or service riser; sometimes paired with unusual water use.
Do not assume a high-level stain always comes from the roof, or a low-level stain always means rising damp. Water can travel through concealed elements before becoming visible. For a broader view of routine building care and shared elements, see Building Maintenance: What Property Owners Need to Know.
| Observed pattern | Likely cause | First action |
|---|---|---|
| Diffuse mould behind an external-wall wardrobe | Condensation and a cold wall | Move furniture, ventilate and monitor humidity |
| Mark that grows after rain | Water ingress through the envelope | Inspect roof, façade, sill or sealant |
| Persistent patch by kitchen or bathroom | Water or drainage leak | Isolate the relevant service and seek technical diagnosis |
| Peeling paint with visible salts | Prolonged moisture within the substrate | Do not repaint before finding the source |
What can you check without damaging the wall?
Use reversible checks first. Pull the furniture away and leave the area exposed for several days. Carefully remove loose dust, clean the surface following the chosen product instructions and dry it. Do not sand weakened plaster or use a waterproof coating as a diagnostic shortcut.
- Place a hygrometer in the room, away from windows, radiators and the damp patch itself.
- Compare morning and evening readings for a week and note showers, laundry drying and rain.
- Look for failed window seals, visible external cracks and signs on the ceiling, skirting or adjacent wall.
- Check whether the furniture has a closed base, a full back panel or stored items pressed against the wall; all restrict airflow.
- Check inside the wardrobe for odour or dampness, particularly in low corners and among winter clothes.
A hygrometer cannot identify a leak on its own, but it reduces guesswork. The DGS technical note on damp and mould identifies indoor humidity control and greater ventilation as key measures, while recognising that causes can include household routines, inadequate ventilation, construction characteristics and structural defects.

What works when condensation is the cause?
Reduce moisture at its source and let air reach the cold surface. Ventilate effectively when outdoor conditions allow, especially after showering and cooking. Keep the bathroom door shut while showering and extract humid air outdoors or through the designed ventilation route rather than releasing it into the corridor and bedrooms.
If laundry dries indoors, keep it in a ventilated area and avoid using the affected bedroom. A dehumidifier can lower airborne moisture and speed drying, but it is a supporting measure: where rainwater is entering the wall or a pipe is leaking, it only conceals the symptom.
Position furniture deliberately. For a wardrobe on an external wall, leave a gap behind and at the sides, avoid filling the base completely and never store damp clothes. Internal insulation needs an assessment of the substrate, continuous insulation and vapour control; installed without a proper design, it can move condensation into the wall build-up. Portugal’s energy-performance framework sets requirements for renovated or replaced envelope elements where work has significant impact. See the published energy-performance rules for buildings.
When should you stop cleaning and call a professional?
Arrange a technical assessment before repair if the affected area is spreading quickly, plaster is loose, water is actively present, cracks accompany the damp, the ceiling is distorted or the mark is close to electrical services. Switch off the affected circuit where water is near sockets, switches or equipment, and do not re-energise it until it has been checked.
In an apartment building, the source may be a façade, roof, service riser, balcony or downpipe that is not solely part of the flat. Gather simple evidence — dated photographs, exact location, progression after rain and affected areas — then notify the building manager in writing. Do not accept an internal paint job as the only answer to water entering through a shared external element.
Take added care where children, older residents or people with respiratory conditions use the home. The DGS links indoor air quality, temperature and humidity to comfort and health, and notes that excess moisture can favour mould. Treat the mark as a building condition, not merely a decorative flaw.
What is the right repair sequence to prevent a repeat?
The sequence avoids wasted work: locate the source, correct water entry or excess vapour, allow the substrate to dry, remove unsound material, repair with compatible products, then prepare and paint. Where condensation keeps returning, make ventilation, furniture placement and the wall’s thermal performance part of the same decision.
Avoid three common mistakes: applying anti-mould paint to a damp wall; making the home more airtight without planning air renewal; pushing the wardrobe back immediately after painting. When finishes are being renewed, also read Preparing Interior Walls Before Painting, because adhesion and durability depend on the true condition of the background.
A well-planned repair leaves the wall dry, ventilated and accessible for observation. That makes it possible to spot a recurrence early, before clothing, skirtings or furniture carcasses are damaged.
Key takeaways
- Move the furniture and inspect the wall before cleaning or repainting.
- Marks that worsen after rain require an envelope inspection; hidden diffuse mould often points to condensation.
- A dehumidifier can help, but it cannot replace correction of a leak, water ingress or thermal bridge.
- Keep dated photographs when the issue may involve shared building elements.
If damp has returned after a previous repair, plaster is losing adhesion or the work needs a coordinated diagnosis, finish repair and protection plan, Obra Lisboa can incorporate these tasks into a renovation or maintenance intervention. Learn about Obra Lisboa, then begin by gathering photographs, the exact location of the mark and notes on what happens after rain, bathing or indoor laundry drying.
Sources and further reading
- Portuguese health authority notes that excess humidity can condense on cold surfaces and encourage mould
- DGS guidance on ventilation and humidity control
- DGS technical note on damp and mould
- published energy-performance rules for buildings
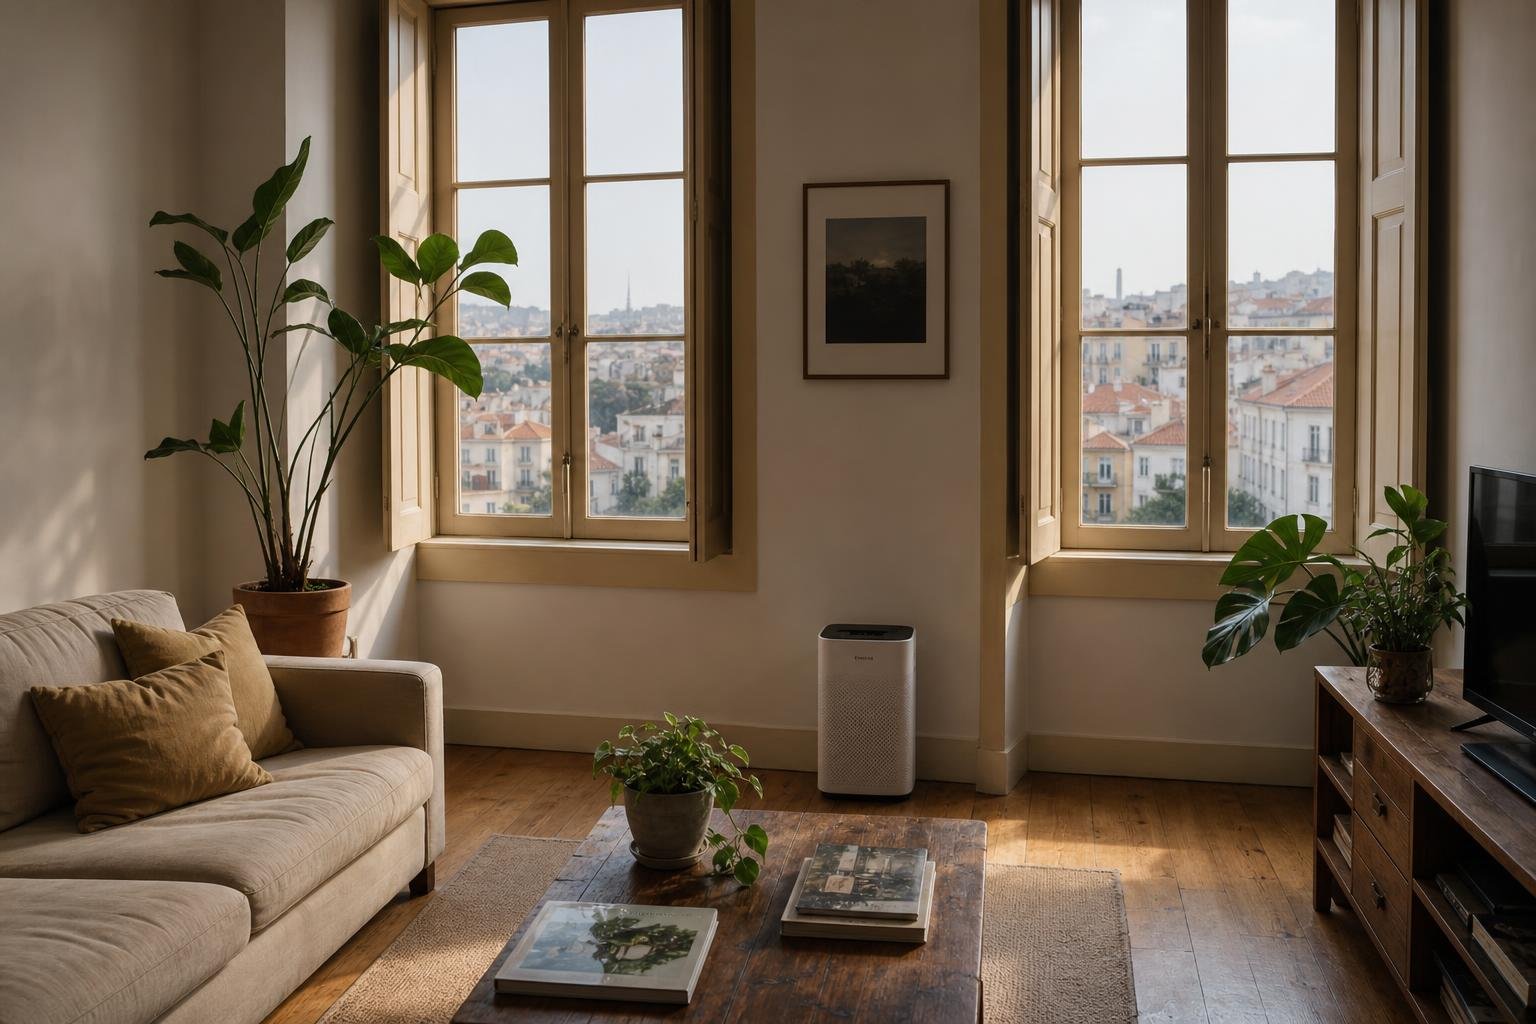
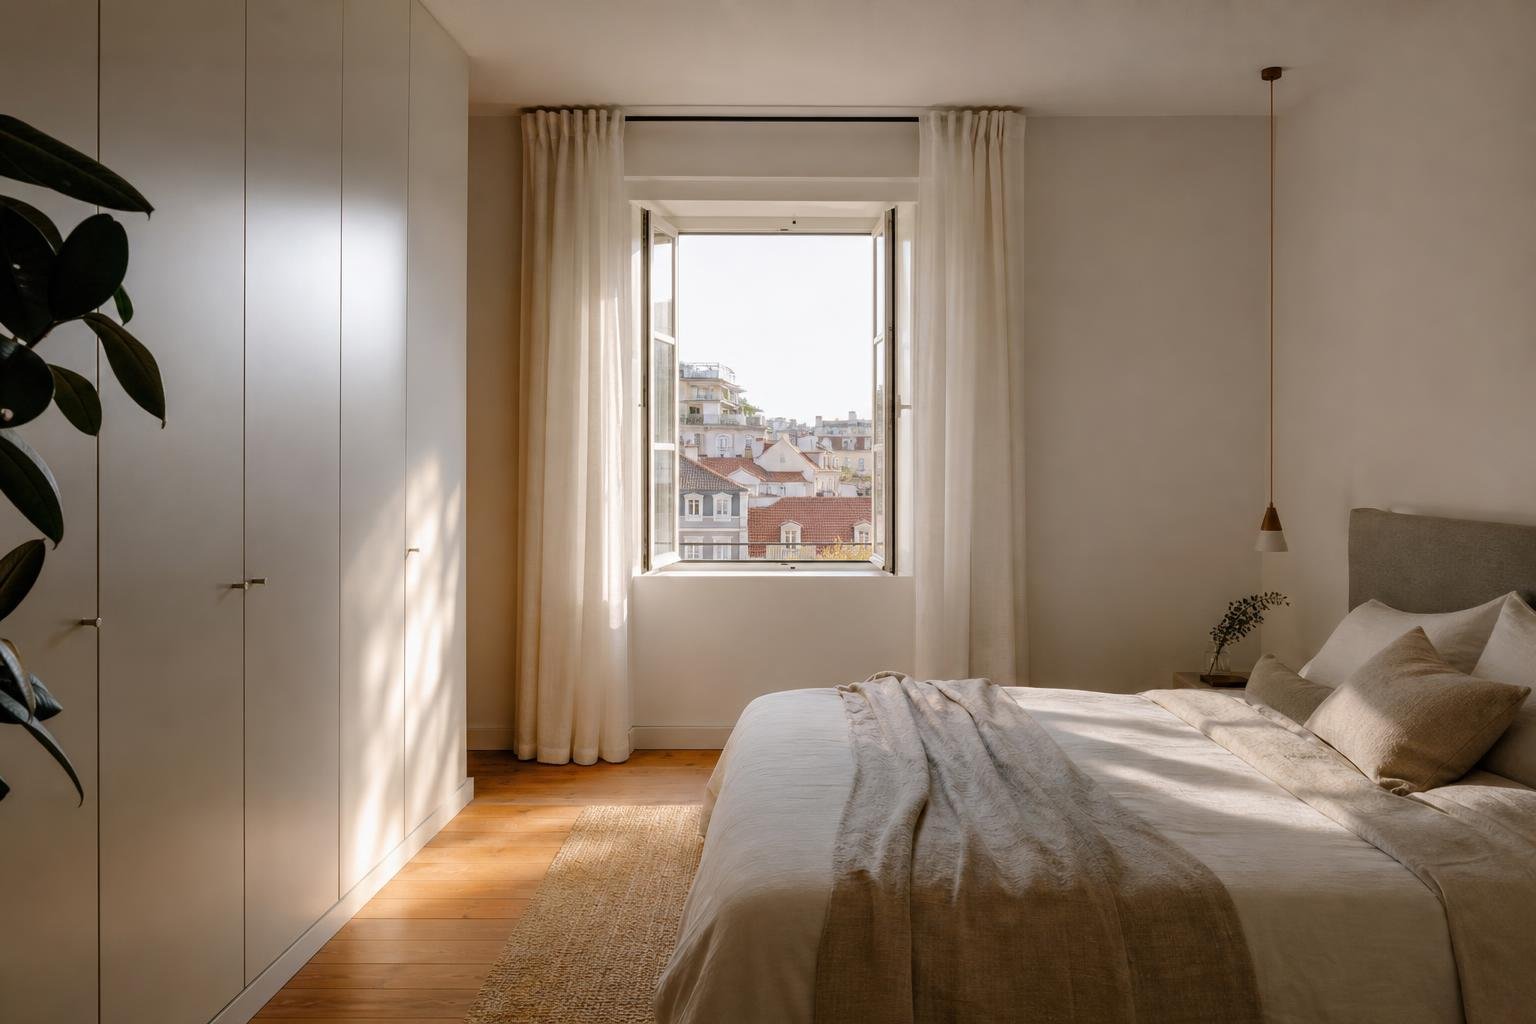
AI-generated editorial image; it does not depict an Obra Lisboa project.

Obra Lisboa