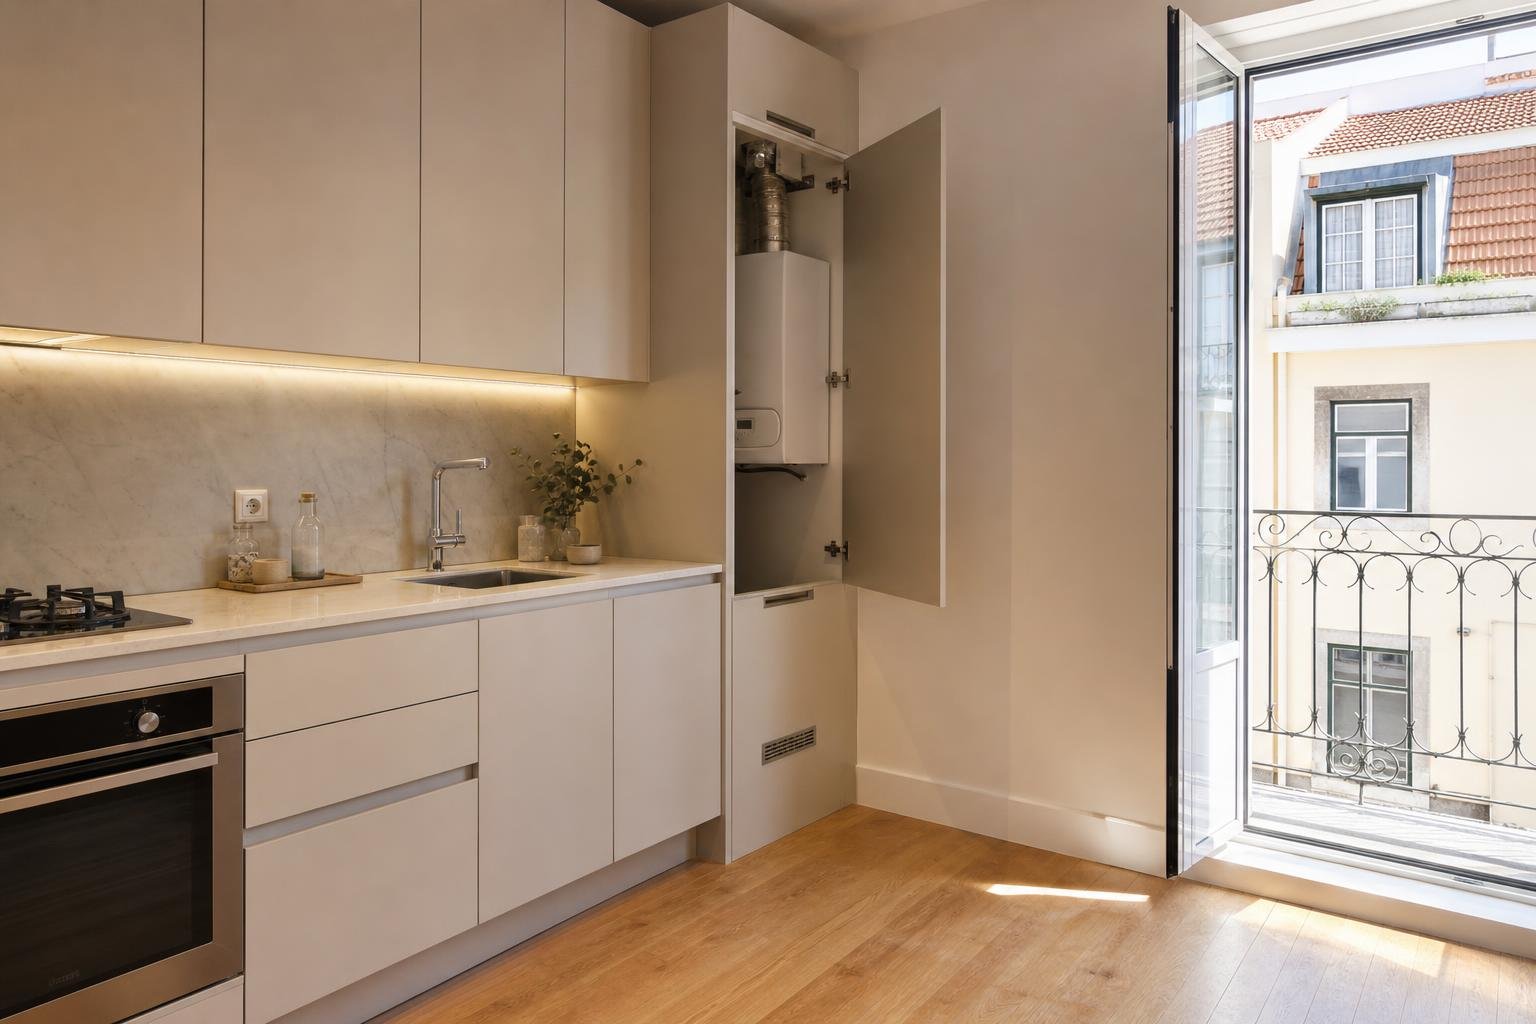
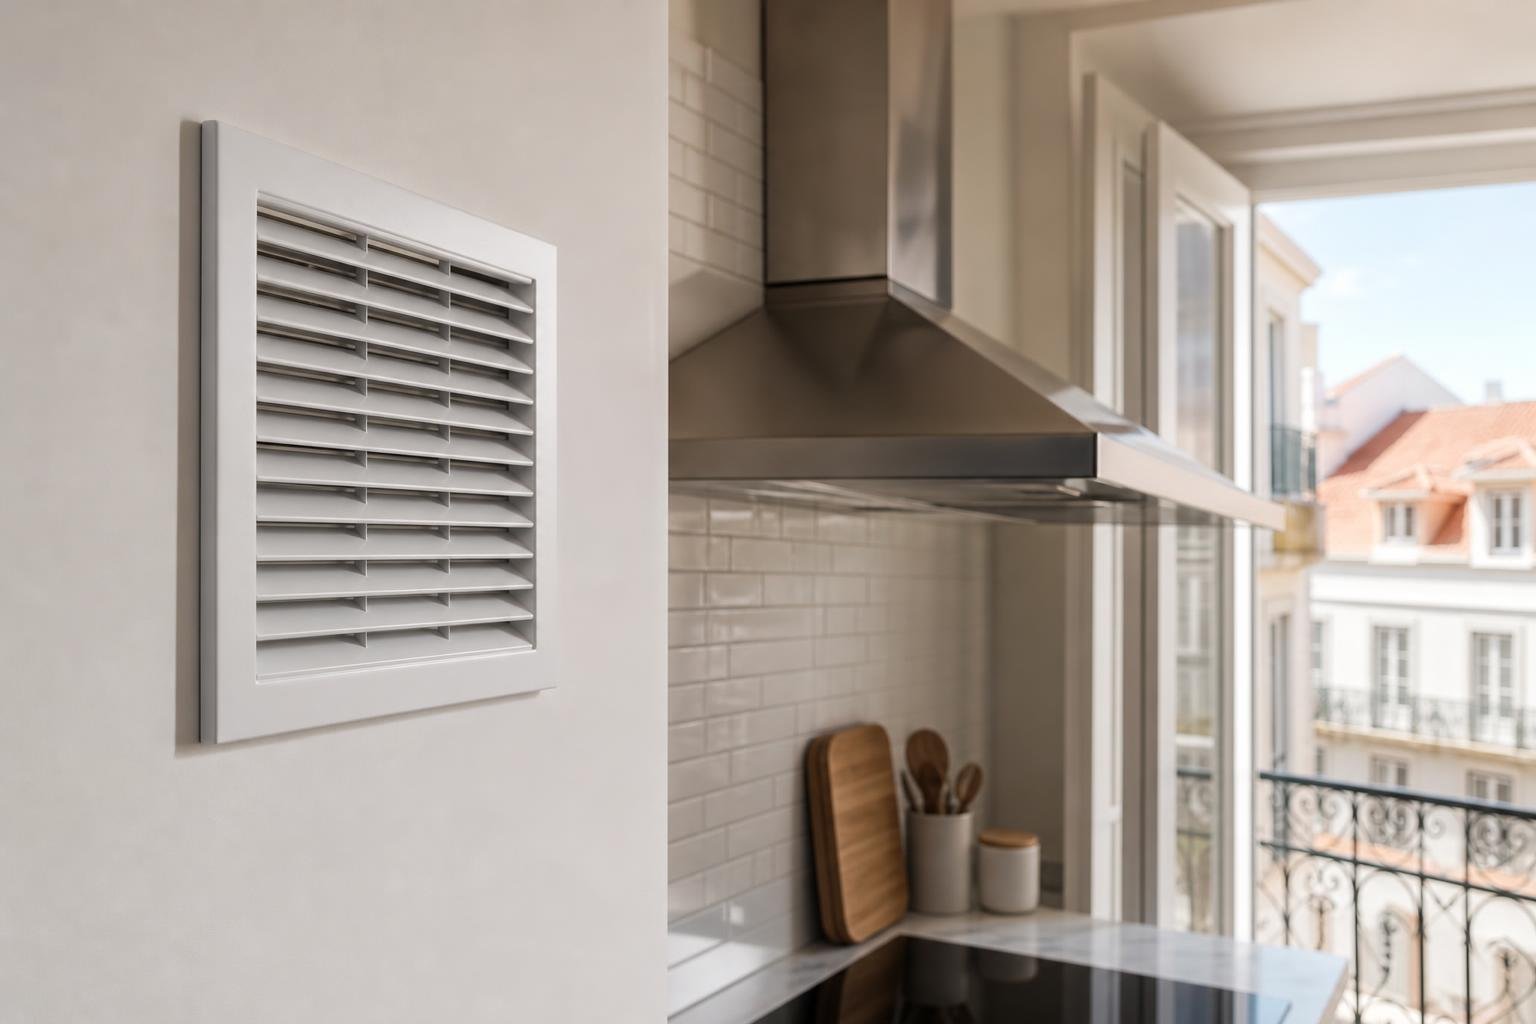
Clean only the accessible face of ventilation grilles, using gentle vacuuming and a lightly damp cloth; do not dismantle ducts or block air inlets. It is a straightforward household task, yet rushed cleaning can push dirt further inside, bend a grille or reduce air renewal. In Lisbon apartments, where kitchens and internal bathrooms often rely on extraction, it is useful to separate routine cleaning from equipment maintenance.
Contents
- Why does a dusty ventilation grille matter?
- Which grilles can you clean without dismantling anything?
- What is the safest cleaning method?
- What should you never do to an extract vent?
- How can you tell dirt from a fault?
- When should you call a professional?
Why does a dusty ventilation grille matter?
A grille collects dust, textile fibres and grease in different ways around the home. In kitchens, sticky residue holds particles in place; in bathrooms, steam and dust can form a more compact layer. That does not automatically mean the system has failed, but it can leave the opening less clear and the room poorly maintained.
Indoor air quality is shaped by pollutants, humidity, temperature and ventilation. The ADENE definition of indoor air quality includes these factors. Portugal’s Directorate-General of Health notes that cooking, bathing, drying laundry indoors and using cleaning products add to the indoor air load, so vents and extract points need to remain clear.
Do not permanently close an air inlet because it feels cold or lets in noise. What seems inconvenient may form part of the home’s intended air-renewal route.
Which grilles can you clean without dismantling anything?
First identify what you are looking at. A fixed wall or ceiling grille, a removable extractor cover and a window air inlet are different components. A cautious rule works well: clean the surface you can see and remove without tools; do not pull on ducts, cables, valves, springs or bonded parts.
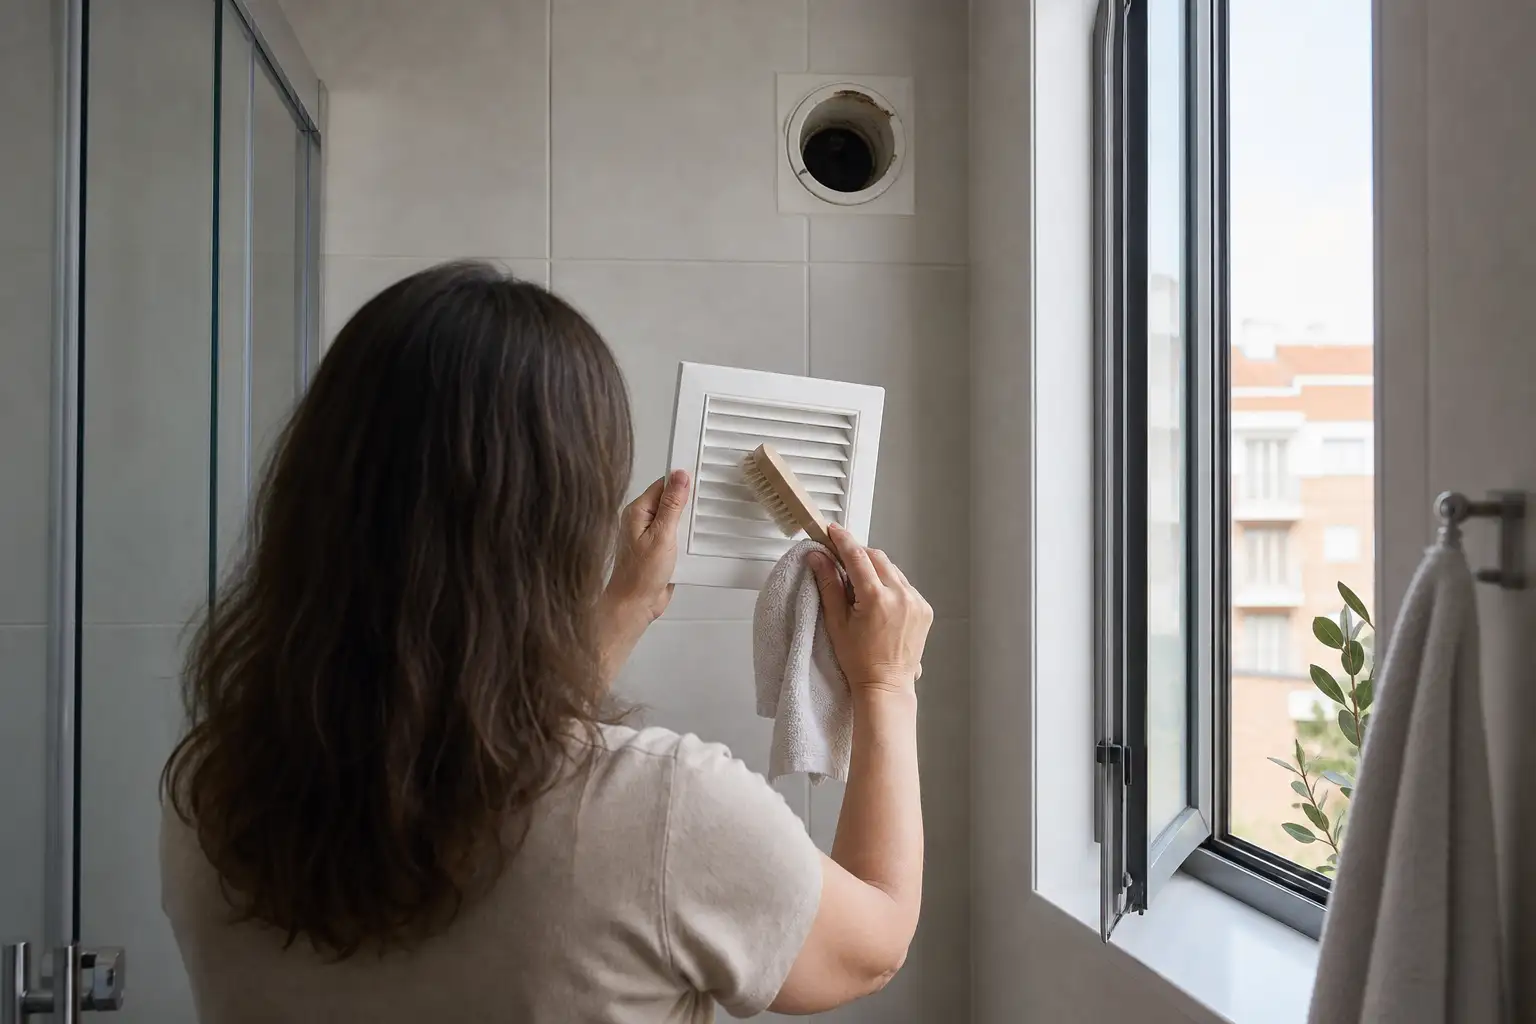
- Fixed grille: vacuum with a soft brush and wipe the slats with a well-wrung cloth.
- Extractor front cover: isolate the unit at its relevant switch or consumer unit, check the manual confirms that the cover is removable, then wash it away from the appliance.
- Window air inlet: remove dust with a soft brush or narrow vacuum nozzle, without foam, sealant or adhesive tape.
- Accessible external outlet: remove leaves and cobwebs only from a safe position; never lean out of a window or unprotected balcony.
If bathroom ventilation is part of your renovation planning, see this guide on choosing and positioning a bathroom extractor fan.
What is the safest cleaning method?
Set aside fifteen minutes, good lighting and simple tools: a vacuum with a brush attachment, a soft paintbrush, a microfibre cloth, warm water and mild detergent. Avoid water sprays, concentrated bleach, harsh degreasers and metal tools on the slats.
- Inspect the grille before touching it: look for rust, cracks, water marks or loose screws.
- If there is a motor, isolate the power supply. Switching it off at the control is not enough if you are removing a cover near electrical connections.
- Vacuum dust gently, without pressing the nozzle hard against the grille.
- Loosen material in the slots with a dry soft brush.
- Use a lightly damp cloth only. It must not drip into the duct or appliance.
- If the cover is washable, dry it completely before refitting it.
- Restore power and check that the unit is not vibrating, rubbing or making a new noise.
The Directorate-General of Health advises keeping ventilation and air-conditioning systems maintained and clean, as well as airing rooms during and after moisture-producing activities. See its general indoor-air recommendations.
What should you never do to an extract vent?
Four mistakes are common. First, pushing a vacuum hose or rod into the duct: this can move dirt into an inaccessible area, damage an adjusted valve or strike an internal part. Second, sealing the grille with plastic, tape or furniture pressed against it. Third, changing the setting of an adjustable valve without noting its original position. Fourth, treating the grille as a cure for mould: cleaning the visible face does not fix a leak, thermal bridge or inadequate extraction.
Do not stand on improvised platforms over baths, worktops or chairs. If the grille is high, there are water marks near a light fitting or the appliance has an electrical noise, stop. Safety comes before cleaning.
To limit condensation, do not replace air renewal with leaving a window slightly open for hours in winter. An ADENE guide advises regular cross-ventilation for 3–5 minutes or direct ventilation for 5–10 minutes, and warns that tilted windows can cool walls while bringing in little fresh air. Read the ADENE ventilation and heating guide.
How can you tell dirt from a fault?
After cleaning, make simple observations without trying to measure airflow. In a bathroom, check whether the extractor starts when it should, whether its sound is steady and whether the mirror remains fogged for a long time after an ordinary shower. In a kitchen, notice whether the grille becomes greasy again within days, whether smells return or whether steam travels through the rest of the home.
Write down the date, room and change you noticed. That small record helps explain the issue during a technical visit and avoids repeated work without diagnosis. Where a home has damp, it is also important to establish whether it comes from condensation, a plumbing leak or water ingress before painting or applying anti-mould products. Read how to identify the cause of damp walls before choosing a cosmetic repair.
The Directorate-General of Health notes that excessive humidity can cause condensation on cold surfaces and encourage mould. A clean grille supports the routine; it does not replace fixing the source.
When should you call a professional?
Call a qualified technician if there is a burning smell, unusual heat, a tripped breaker, water in the appliance, strong vibration, continuing lack of extraction, broken ductwork or recurring mould despite appropriate ventilation habits. Do the same if the grille is linked to gas appliances, central mechanical ventilation for the building or common areas.
In a condominium building, do not independently alter a shared duct, façade outlet or equipment that may serve other flats. Photograph the symptom and notify the building manager before opening ceilings or walls.
If cleaning coincides with renovation work, put grilles, maintenance access and the air route on the checklist before finishes are closed up. The Directorate-General of Health explains that carbon dioxide can indicate inadequate ventilation and that humidity, occupants and household activities all influence indoor air. Read its page on indoor air quality.
Key takeaways
- Clean the accessible face of the grille only; do not put tools or liquid products into ducts.
- Isolate extractor fans before removing a cover, and refit parts only when completely dry.
- Never seal an air inlet or outlet to deal with cold, noise or odours before understanding its purpose.
- Water, a burning smell, continuing failure or recurring mould mean that cleaning is no longer the answer.
A clean grille helps, but effective ventilation also depends on layout, ducts, air inlets and renovation finishes. If you are renovating a kitchen, bathroom or Lisbon apartment, explore Obra Lisboa’s construction and renovation services and ask for ventilation points and maintenance access to be planned before walls and ceilings are closed.
Sources and further reading
- indoor air quality
- general indoor-air recommendations
- ADENE ventilation and heating guide
- ADENE definition of indoor air quality
AI-generated editorial image; it does not depict an Obra Lisboa project.

Obra Lisboa