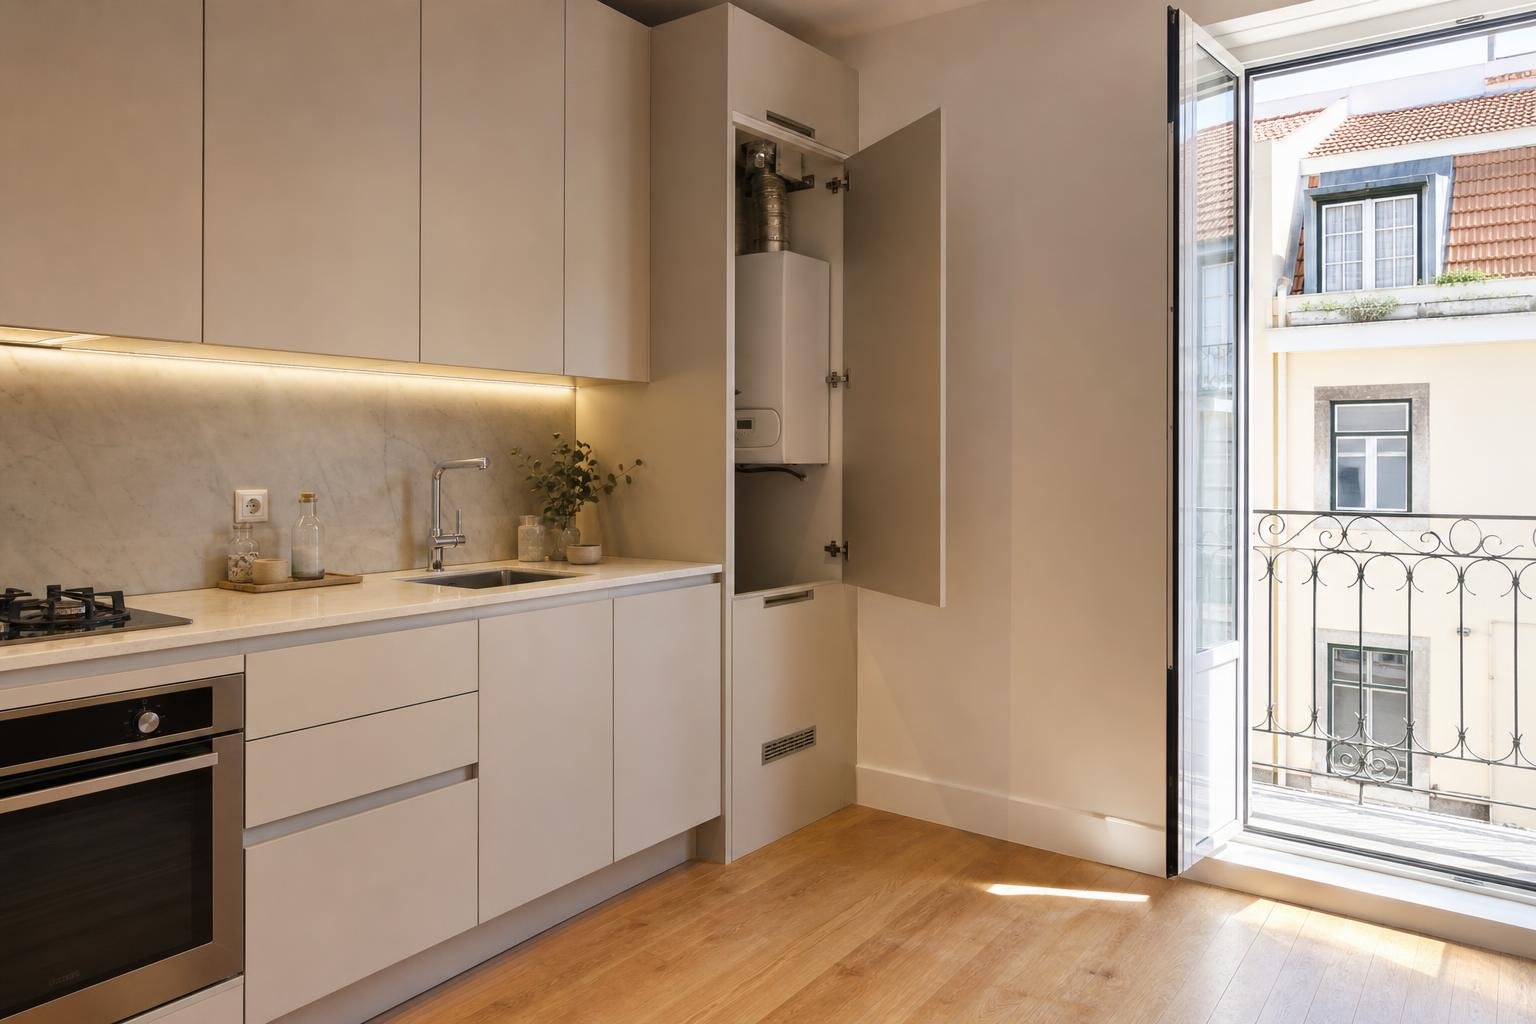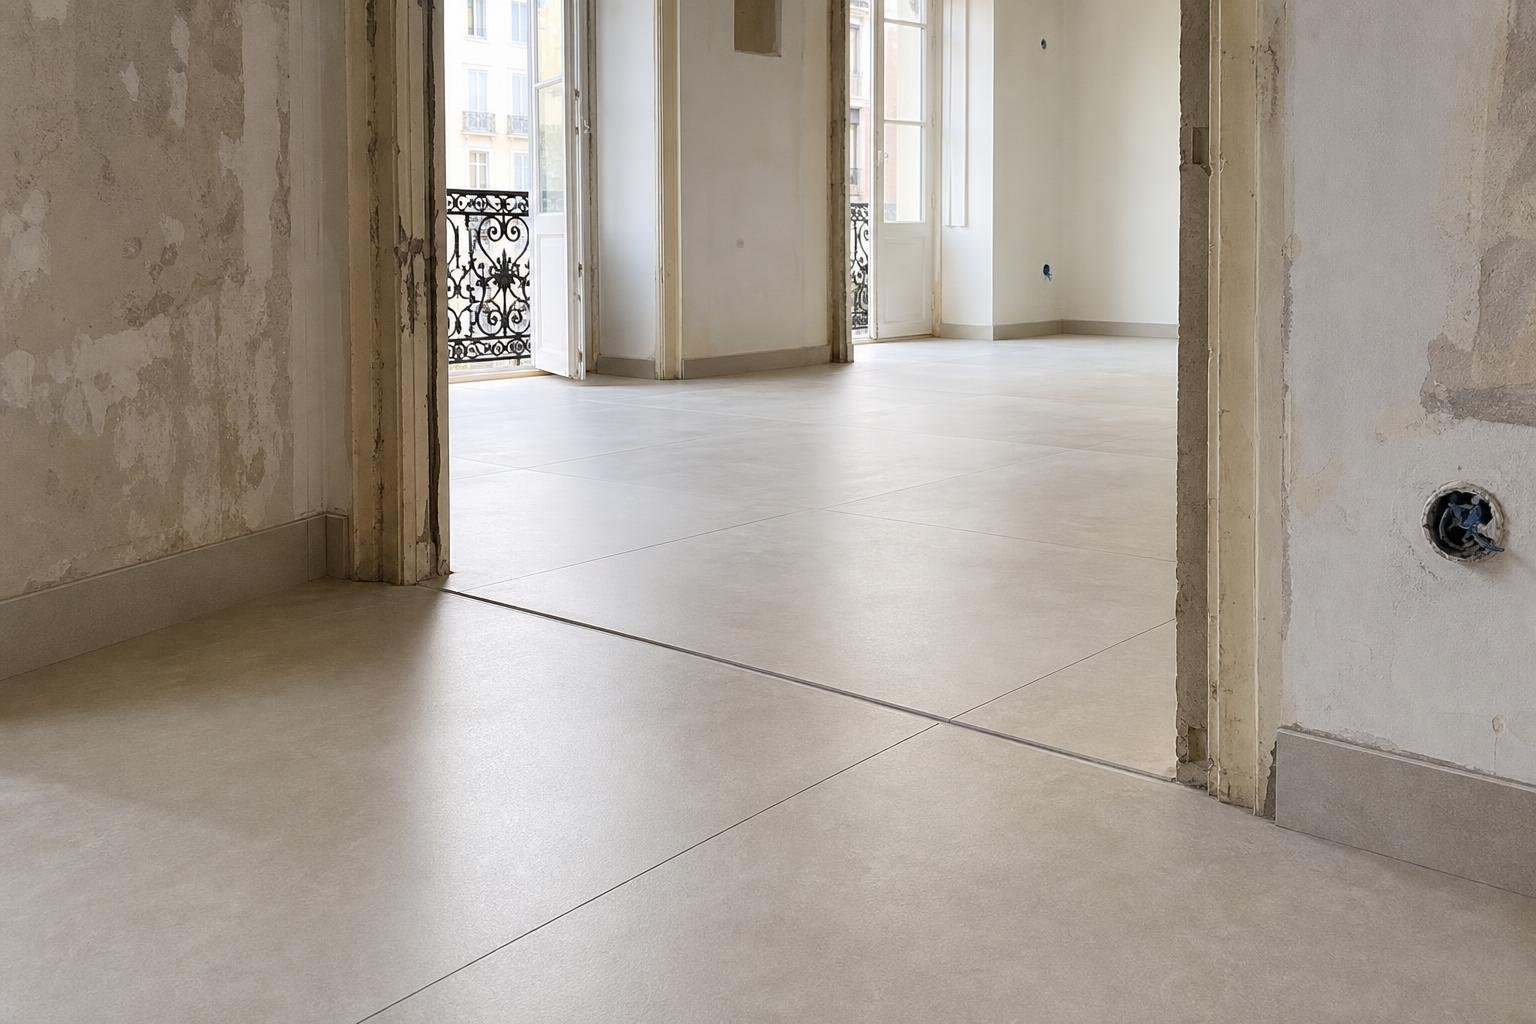
A new floor can look flawless on handover day and, a few months later, show cracks, loose tiles, lifting at wall edges or damaged transition profiles between rooms. The issue is not always the chosen finish. It often starts earlier: there was no room for the system to move, the substrate was still damp, a threshold was poorly detailed, or a continuous surface was forced across areas with different materials and conditions.
Expansion joints — also called movement, perimeter or transition joints depending on their role — are planned gaps that allow small dimensional changes and substrate movement without transferring all stress to the visible finish. They do not replace a sound screed, proper waterproofing or careful substrate preparation. However, they are one of the details that separates a floor that simply looks good from one designed to last.
In an apartment renovation, this decision needs coordination with doors, skirtings, fixed furniture, thresholds, heating, plumbing and acoustic layers. Before choosing a profile or ordering tiles, it is worth understanding where continuity is desirable and where it can become a risk.
What a movement joint solves — and what it cannot solve
Floor finishes, adhesives, screeds and the building structure itself do not respond in exactly the same way to temperature, moisture, load and time. A joint creates a controlled place for that movement to occur. Rather than allowing stress to find an unpredictable route through a ceramic tile or grout line, it is concentrated in a planned detail that can be inspected and maintained.
That does not mean every crack can be solved by adding profiles at the end of the work. If the substrate is cracked, uneven, contaminated, inadequately dry or unstable, the cause must be diagnosed before any finish is installed. The same applies to leaks, distorted timber or adhesion failures. A joint does not repair a defective base; it reduces the risk of a finish being rigidly restrained against foreseeable movement.
It is also important to distinguish decorative breaks from functional joints. A metal strip between two finishes may only be a visual trim. It performs as a movement joint only if its width, elasticity and continuity are appropriate for the system. The detail should be designed early and checked against the instructions for the finish, adhesive and profile.
Existing building joints must not be overlooked. Portuguese rules for gas installations, for example, state that embedded pipes must not cross expansion or break joints — a useful reminder that these locations represent real movement and require their own solution. Review the Diário da República regulation on gas installations before coordinating chases or technical networks.
Where to plan joints in an interior floor
The first principle is to respect structural or movement joints already present in the building. They should not be covered with tile, timber, microcement or a rigid levelling layer as though they did not exist. The floor finish needs to reproduce their position through a compatible detail; otherwise, movement is likely to return as a crack.
Then come perimeter joints. With floating floors, including many laminate, click-vinyl and timber systems, leaving a clearance around walls, columns, door frames, pipes and fixed furniture is essential. This clearance is usually concealed by a skirting board or suitable trim; it should never be rigidly filled with mortar, unsuitable sealant or foam without a considered detail.
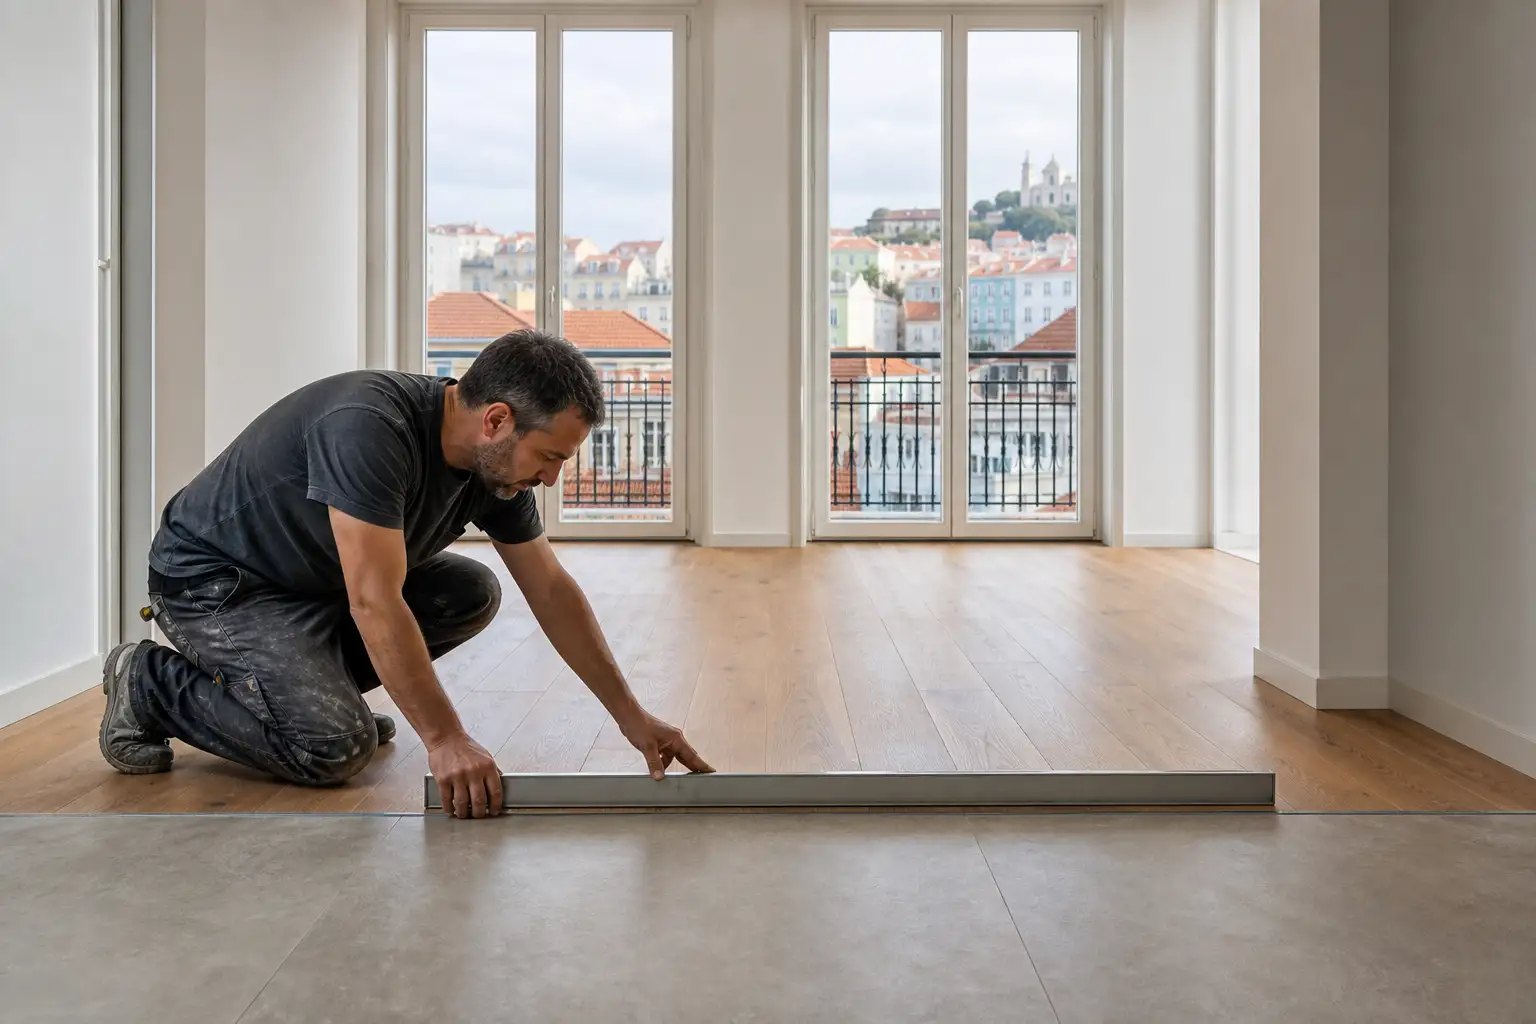
Transitions also deserve attention at door openings, room changes, changes in geometry, narrow passages and junctions between finishes with different behaviour. An open-plan room may accept a continuous solution if the system and substrate allow it. A kitchen meeting a timber area, an entrance exposed to water, or a passage over different substrates requires more specific assessment.
Where works only change interior finishes and do not affect structural stability, façades, roof form or other protected elements, they may fall within works exempt from prior control. Site organisation and any use of public space can still be regulated. Check Lisbon City Council guidance on public-space occupation for works exempt from prior control before arranging skips, deliveries or scaffolding.
Ceramic, timber and vinyl do not behave in the same way
Ceramic tile and stone are rigid finishes. A movement joint needs to continue through the finished surface rather than being hidden only in the screed. Large tiled areas are sometimes installed with no visible interruption because a line is thought to spoil the pattern. Yet a discreet joint aligned with the layout or located at a threshold is preferable to a difficult diagonal crack.
For timber floors and floating systems, the critical issue is perimeter expansion and freedom beneath furniture, jambs and thresholds. Trapping the floor between a kitchen unit and a wall can prevent normal movement. The result may be noise, gaps between boards or local lifting.
Vinyl requires close attention to format and installation method. There are glued, floating and technical systems with different requirements. In every case, do not assume a thin product removes the need for substrate preparation or movement planning. Read the technical data for the complete system, rather than only the visible finish.
If you are comparing options for your home, our guide to flooring options for construction projects can help place the benefits, limits and typical uses of each material family in context.
The substrate, moisture and layout determine half the outcome
Before installing the finish, check flatness, surface strength, existing cracking, finished floor levels and residual moisture. A new floor can fail because its base was not ready, even when the joint is correctly located. This is especially relevant after recent levelling works, plumbing repairs or any construction stage that introduced water into the building.
The tile or board layout should be designed together with the joints. A joint cutting through the middle of a large tile is harder to execute and maintain; one aligned with a grout line, threshold or natural change of finish is generally easier to understand and less visually intrusive. The goal is not to hide every detail, but to integrate it without compromising performance.
In homes affected by impact noise, the floor build-up may include a resilient layer, levelling layer, finish and acoustically separated skirting. A rigid connection at the walls can create acoustic bridges and reduce the benefit expected from the system. Read our article on acoustic floors in apartments to see why layers and edge details must be treated as one assembly.
Accessibility requirements also reinforce the value of careful detailing. Where floor gaps exist, including expansion joints, Portuguese accessibility rules set limits intended to prevent obstacles to circulation. The Decree-Law no. 163/2006 published in Diário da República is a useful reference when assessing these details, particularly in shared routes or renovations intended to improve independence.
Profiles, sealants and skirtings: choose for performance
Available options include open joints, metal or synthetic profiles, joints filled with elastic sealants and details covered by thresholds. The best choice depends on the required width, floor type, water exposure, traffic level and cleaning needs. An entrance, kitchen and passage between a living room and corridor do not receive the same demands.
Avoid filling a functional joint with rigid grout. Equally, do not treat silicone as an automatic solution for every situation: products can be suitable for elastic sealing, but adhesion, depth, compatibility with the finish and movement capacity all need to be assessed. In wet areas, the detail must also work with waterproofing and drainage.
Skirting boards need particular attention. They can conceal the perimeter clearance, but they must not restrain a floating floor. Where acoustic insulation is included, the floor-to-wall junction should avoid unnecessary rigid connections. A well-designed skirting detail is visually small and technically important.
- Request profile samples while selecting the finish.
- Define transitions before ordering special pieces.
- Confirm who installs each layer and who approves the substrate.
- Photograph joints and technical services before walls or floors are closed.
Common mistakes and a safer decision sequence
The most common mistakes are running a finish over an existing joint, tightly butting tiles or boards against walls, filling gaps with mortar, installing over a damp base, changing materials without a transition detail and deciding on profiles only on the final day. Another mistake is assuming a small room needs no planning: columns, kitchen islands, fixed wardrobes and doorways can restrict movement even in a compact area.
A safer sequence starts by recording visible joints and cracks, identifying existing materials and checking levels at doors. Then assess the substrate, choose the floor system, draw the layout and transitions, and only then order materials. During installation, protect the planned clearances, check adhesion and do not relocate details without considering the consequences.
In renovations involving damp, insufficient ventilation or replacement windows, flooring should not be decided in isolation. A more airtight home may need a ventilation strategy that limits condensation and protects finishes. Read our guide to ventilation in renovated homes before treating mould as merely a surface-finish problem.
Ultimately, the best joint is one planned early, positioned where the floor genuinely needs to move and integrated into careful workmanship. It is not a sign of weakness in the design. It is a margin of safety that allows materials to perform without damaging one another.
Planning to renew floors, open up spaces or change finishes in a Lisbon home? Obra Lisboa can help coordinate substrates, materials, transitions and workmanship, so that the details you barely see protect the final result.
Editorial image; it does not depict an Obra Lisboa project.

Obra Lisboa