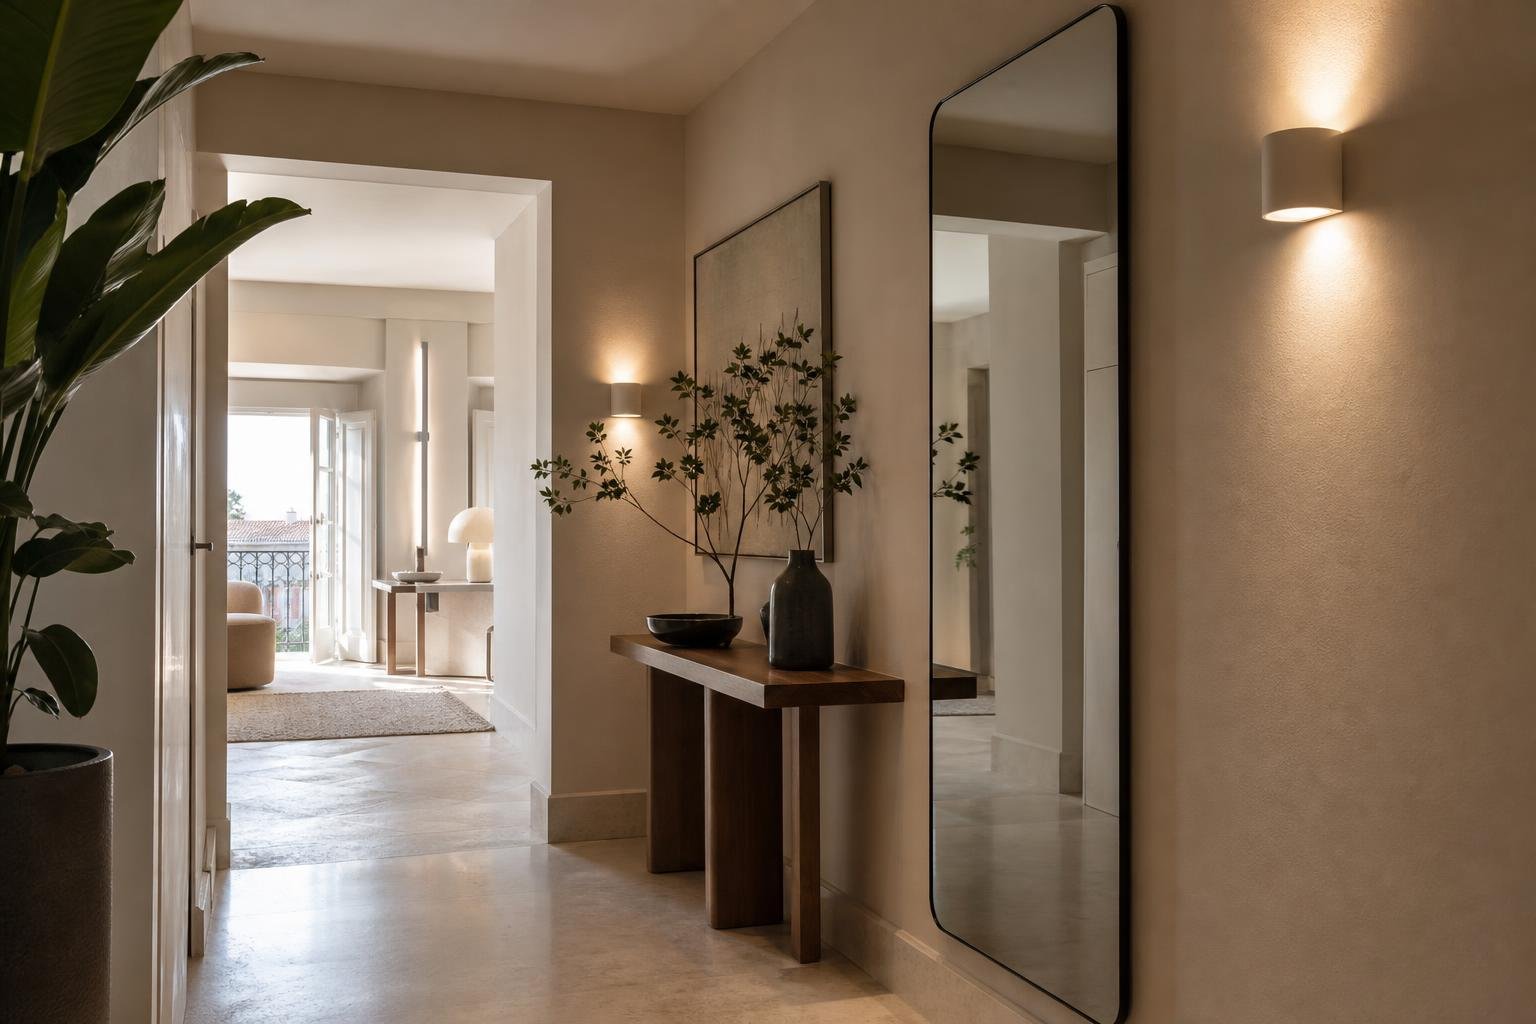
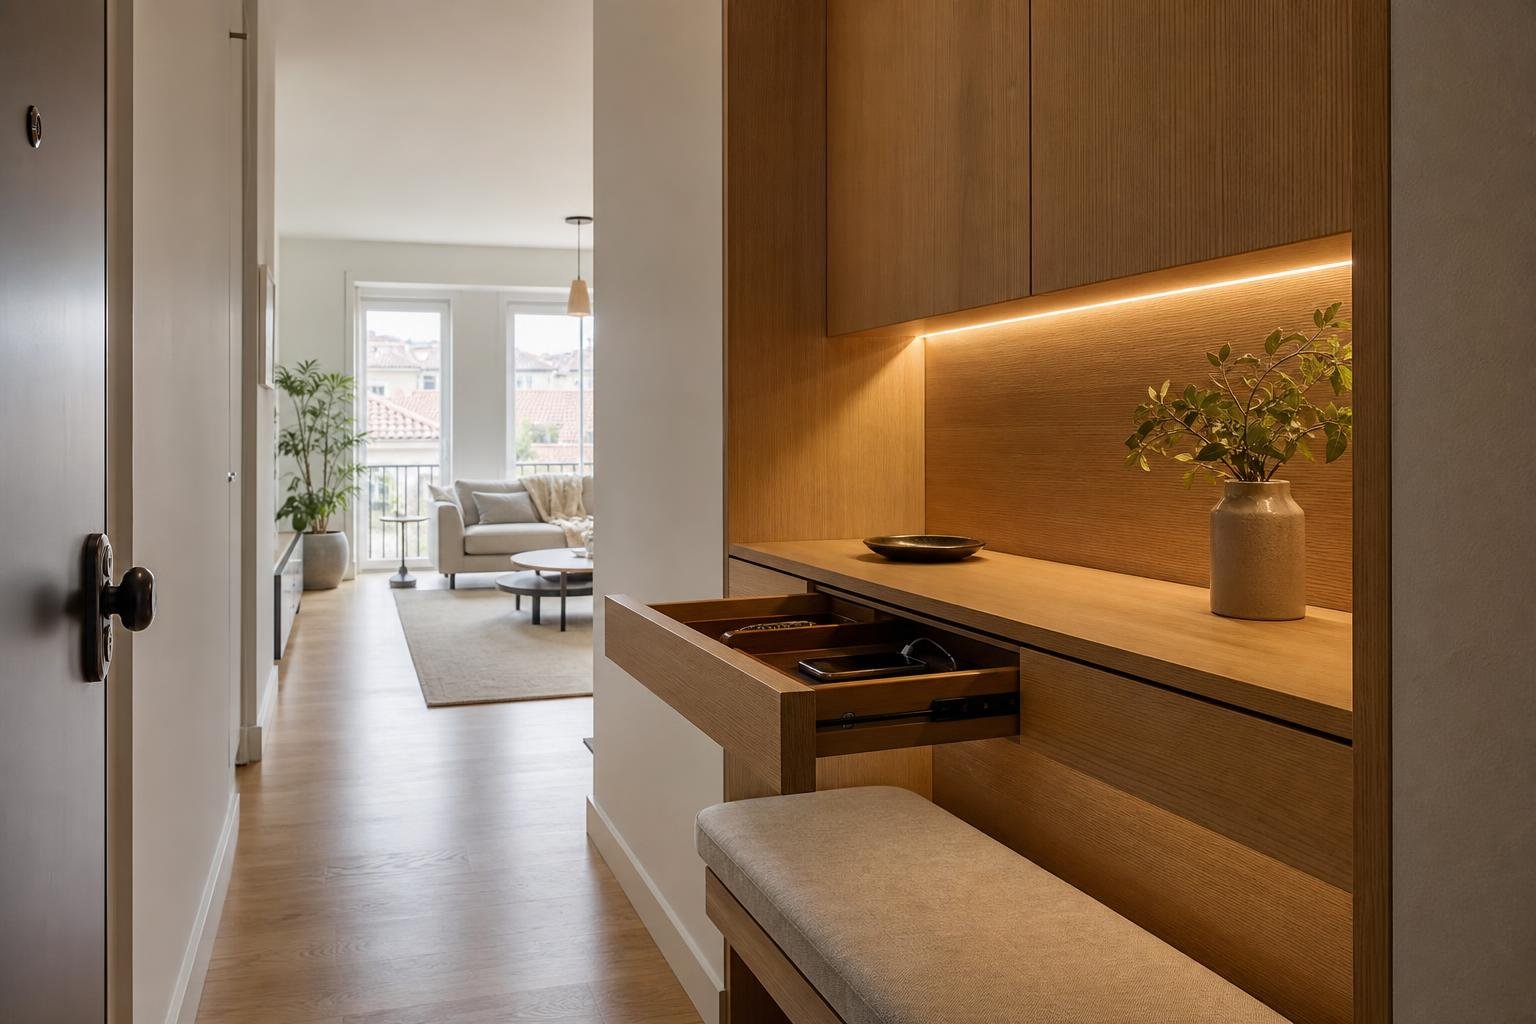
Wall-mounted furniture may look like a finishing decision, but the important choices happen much earlier. Kitchens, vanity units, television modules, entrance consoles and storage cabinets transfer load into the wall through a small number of fixing points. If that wall is closed without reinforcement, coordinated pipework or a confirmed height, the final installation may depend on improvised anchors, repeated drilling and unattractive compromises.
In a Lisbon renovation, this deserves particular care. Older homes can have irregular masonry, lightweight partitions added during previous works, concealed service boxes and vertical risers that cannot be treated as a blank surface. The aim is not to make every wall unnecessarily heavy. It is to prepare the specific load-bearing zone while knowing what will be fixed, where it will be fixed and what runs behind it.
This guide sets out the decisions to make before plasterboard is closed, finishes are applied or painting begins. Where the work could affect structure, façades or protected elements, technical and planning checks must come before site work.
Start with the actual unit, not a vague idea
The first mistake is asking for “a reinforced wall” without defining the furniture. A narrow book shelf does not need the same preparation as a kitchen cabinet full of crockery, a wall-hung vanity with a stone top, or a television panel carrying equipment. Ask for the manufacturer’s technical sheet or, for bespoke joinery, establish the width, depth, self-weight, expected contents and suspension system in advance.
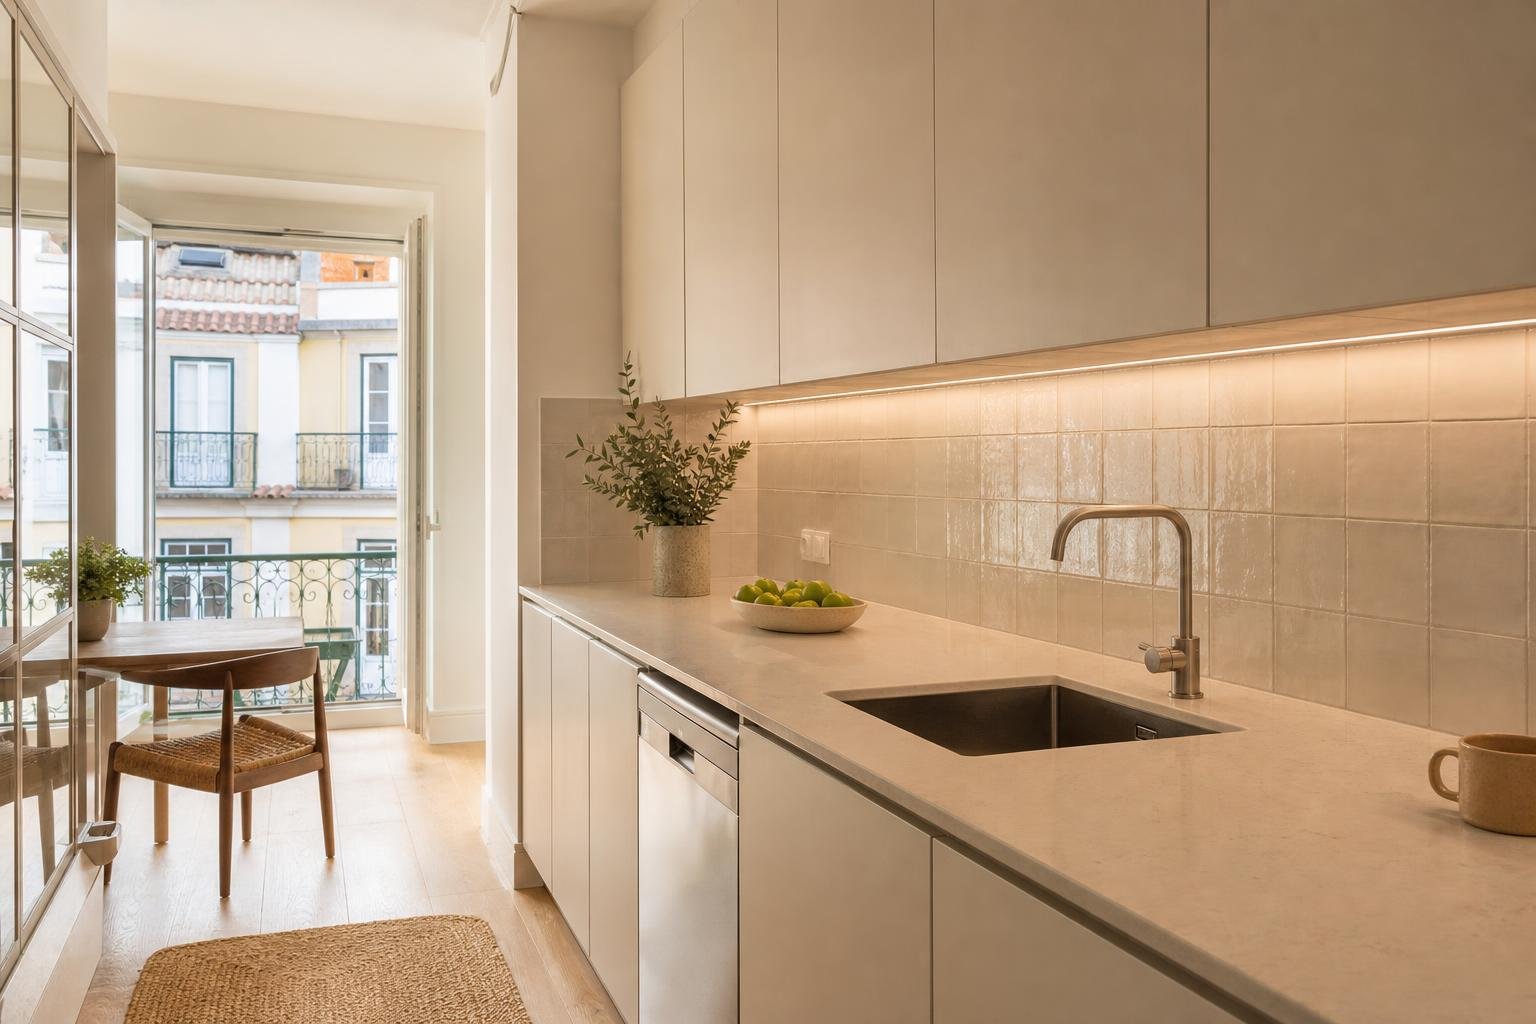
Mark three lines on the wall: the finished height of the top or cabinet, the zone where rails or fixing plates will sit, and the area concealed by the unit. The last one is particularly useful because it allows reinforcement and access points to be placed where they remain reachable without being visible. In kitchens, coordinate worktop height, plinths and wall finishes; in bathrooms, confirm the final positions of the basin, trap, mirror and lighting.
Do not confuse a bracket’s stated capacity with the capacity of the wall. The complete assembly is only as safe as its weakest part: fitting, screw, anchor, reinforcement board, stud or existing substrate.
Where the unit is part of a larger renovation, coordinate this choice with planning sockets and switches before walls are closed. An outlet hidden by a drawer or a switch trapped behind a cabinet is an easy mistake to prevent on the drawings.
Identify the wall build-up before selecting fixings
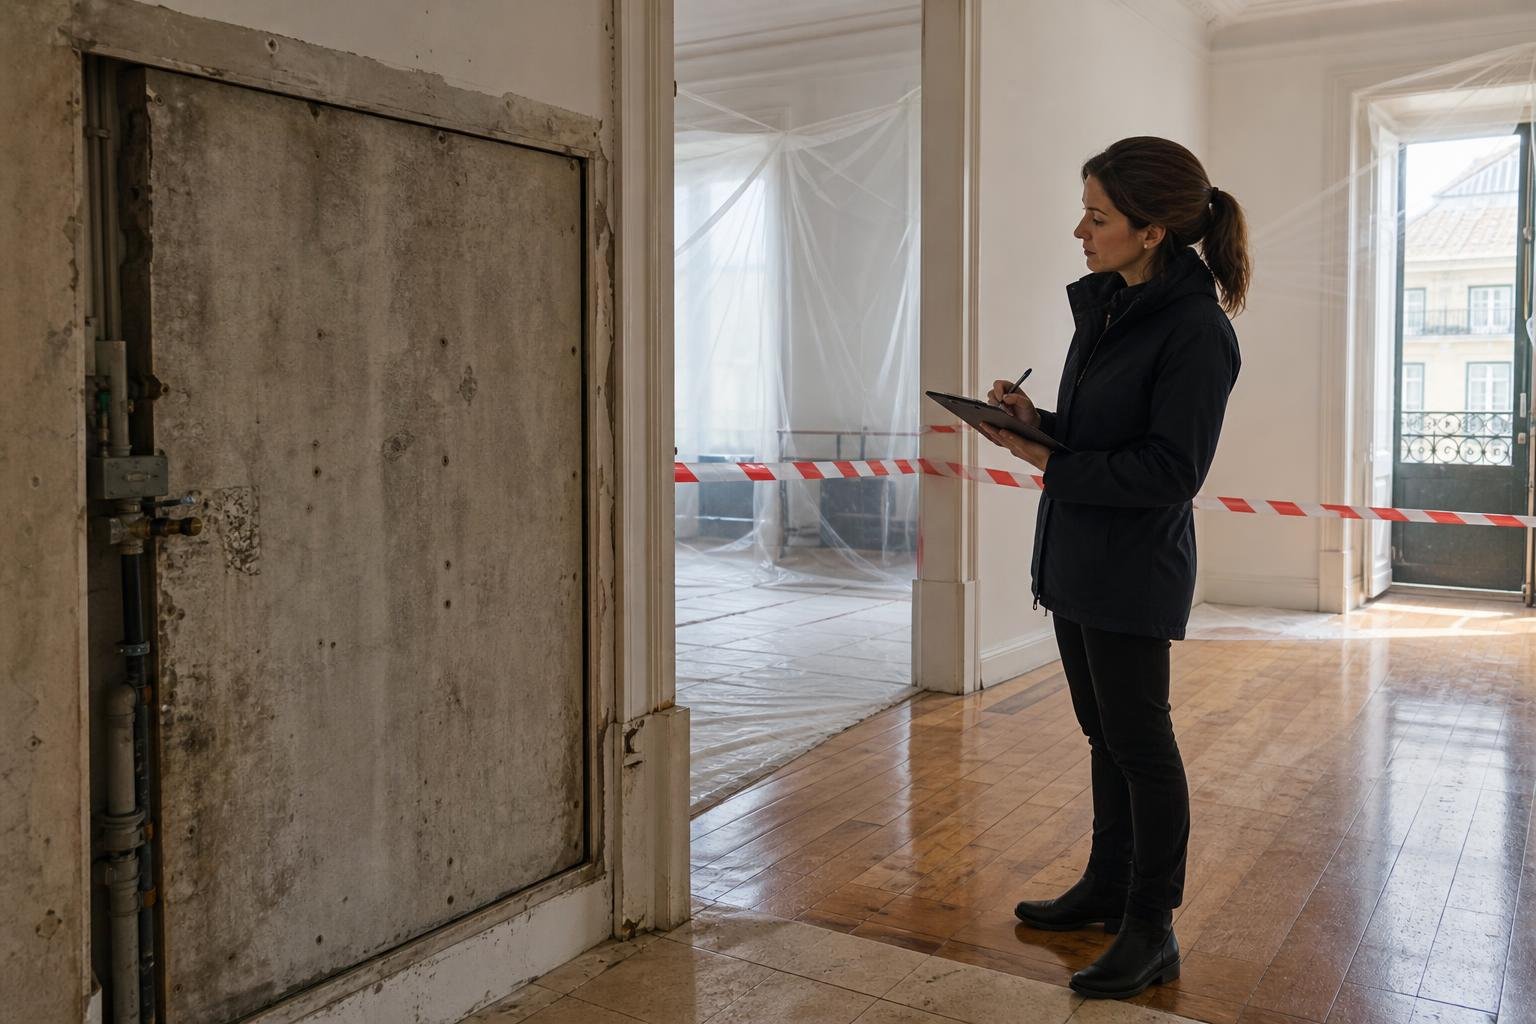
Solid masonry, a cavity wall, hollow brick, plasterboard partitioning and an older wall with deep plaster all behave differently. Do not select an anchor simply by drill diameter. First look for renovation drawings, open a discreet trial area, or arrange an on-site assessment whenever there is doubt.
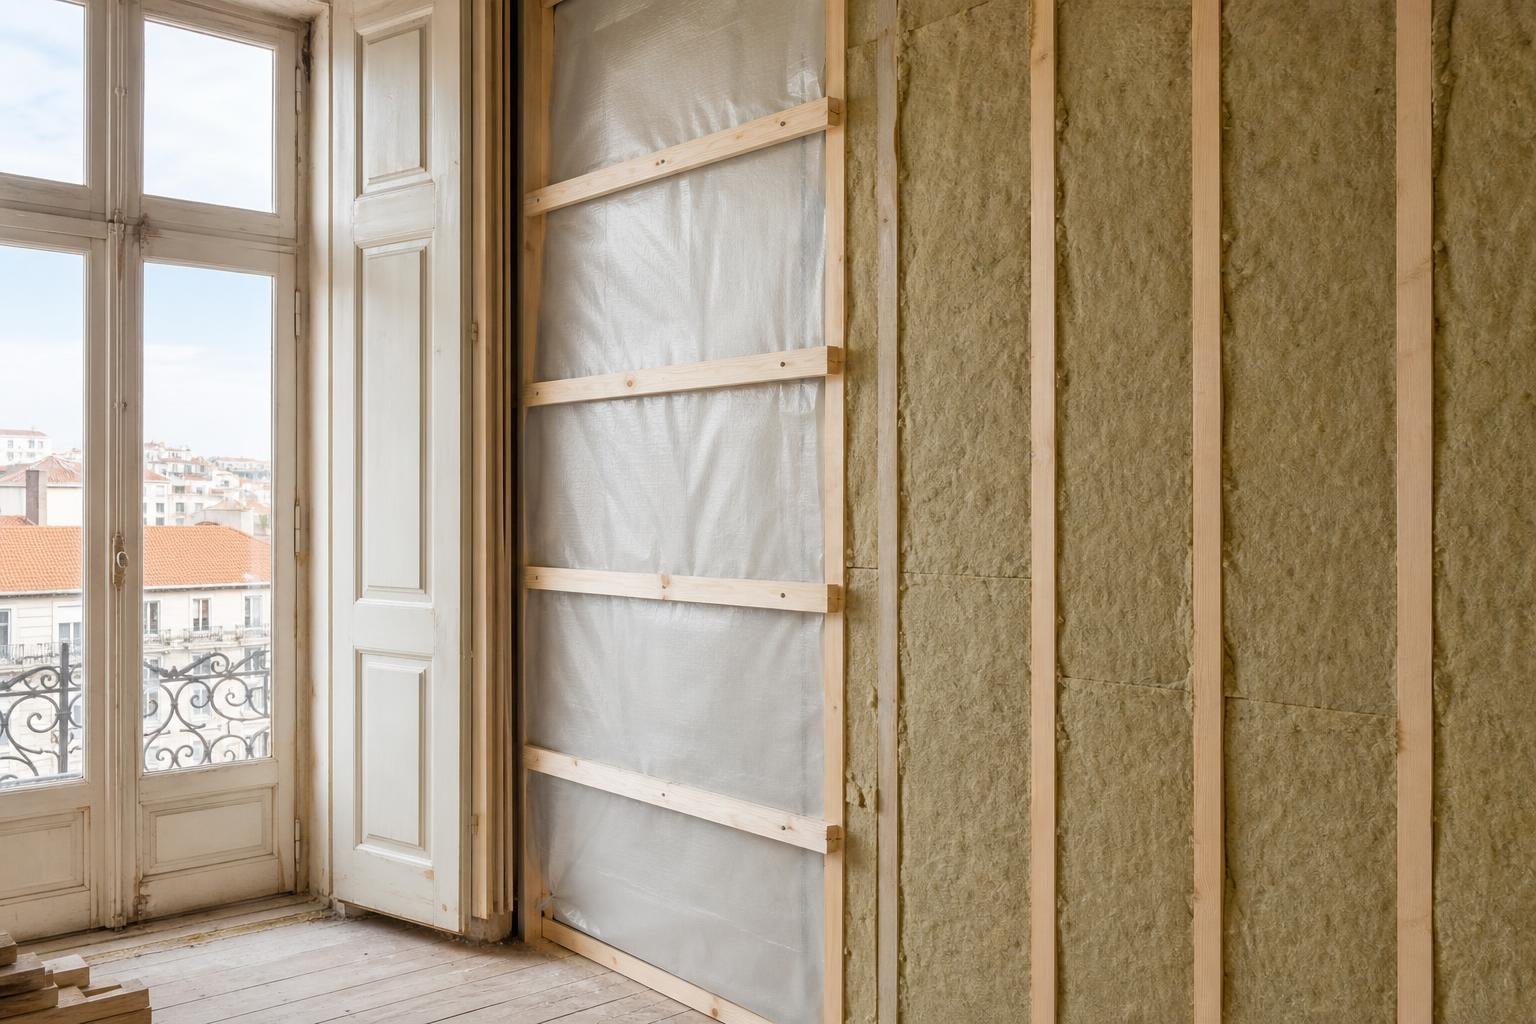
In masonry, resistance can vary widely between mortar joints, hollow units, stone and patched areas. With plasterboard, the board alone should rarely carry a meaningful concentrated load; the answer may be fixing into studs, adding structural plywood or metal reinforcement between studs, or building an independent support frame for the unit. Where a wall shows damp, active cracking or loose material, resolve the cause before hanging weight from it.
A thicker wall is not automatically a suitable wall. In older Lisbon buildings, thickness may include plaster, infill or a construction build-up that is difficult to predict. Equally, do not cut deep chases just to “find something solid” without understanding whether the area contains a structural wall, a riser or technical services.
When existing walls need to be opened or changed, check the scope first. Lisbon City Council explains that internal work may be exempt from prior planning control when it does not affect stability, façades, the roof or other protected elements; that exemption does not make a structural wall free to cut or drill without judgement. See the city’s guidance on works exempt from prior control.
Build continuous reinforcement across the load zone
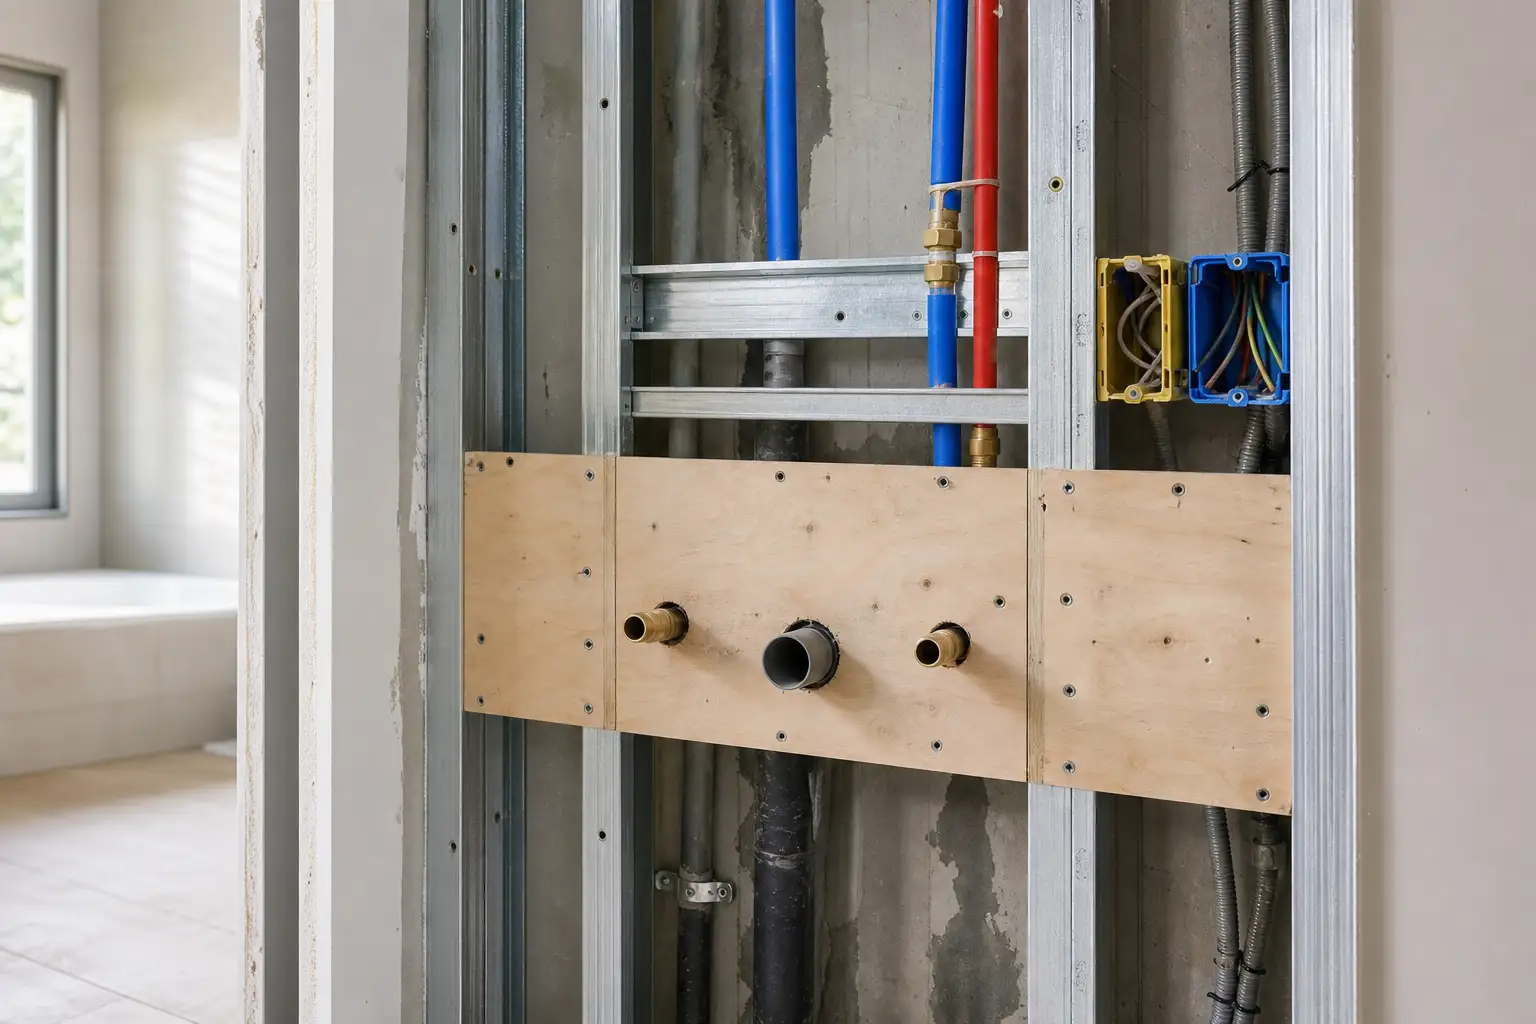
For wall-mounted furniture on lightweight walls, reinforcement should line up with the actual fixing points, rather than merely with the visual centre of the cabinet. A suitable structural plywood board properly secured to the frame, or a metal profile designed for the intended fixing system, spreads load over several studs. It should be tall and wide enough to allow small fitting adjustments without forcing the installer to find a narrow strip with screws.
Mark the finished face of the wall. This reference prevents the reinforcement sitting too far back after boards, adhesive, tiles or decorative finishes are added. In a bathroom, for example, a few millimetres can alter screw engagement, concealed tap positioning and the line of the vanity. Take photographs with a tape measure visible before closing the wall; they can be invaluable years later when adding a shelf, changing hardware or locating a service route.
In masonry, a long suspension rail or plate with distributed fixings may be preferable, provided it is compatible with the identified substrate. Avoid concentrating everything on two screws at the extremes. If the manufacturer specifies a particular system, follow it. Changing anchors or hardware without understanding the load and wall material can undermine the whole arrangement.
This preparation is especially valuable on television walls, where articulated brackets, cables and equipment create additional demands. See how to coordinate outlets, cables and ventilation in a television feature wall before the finish is closed.
Coordinate plumbing, drainage, electrics and data
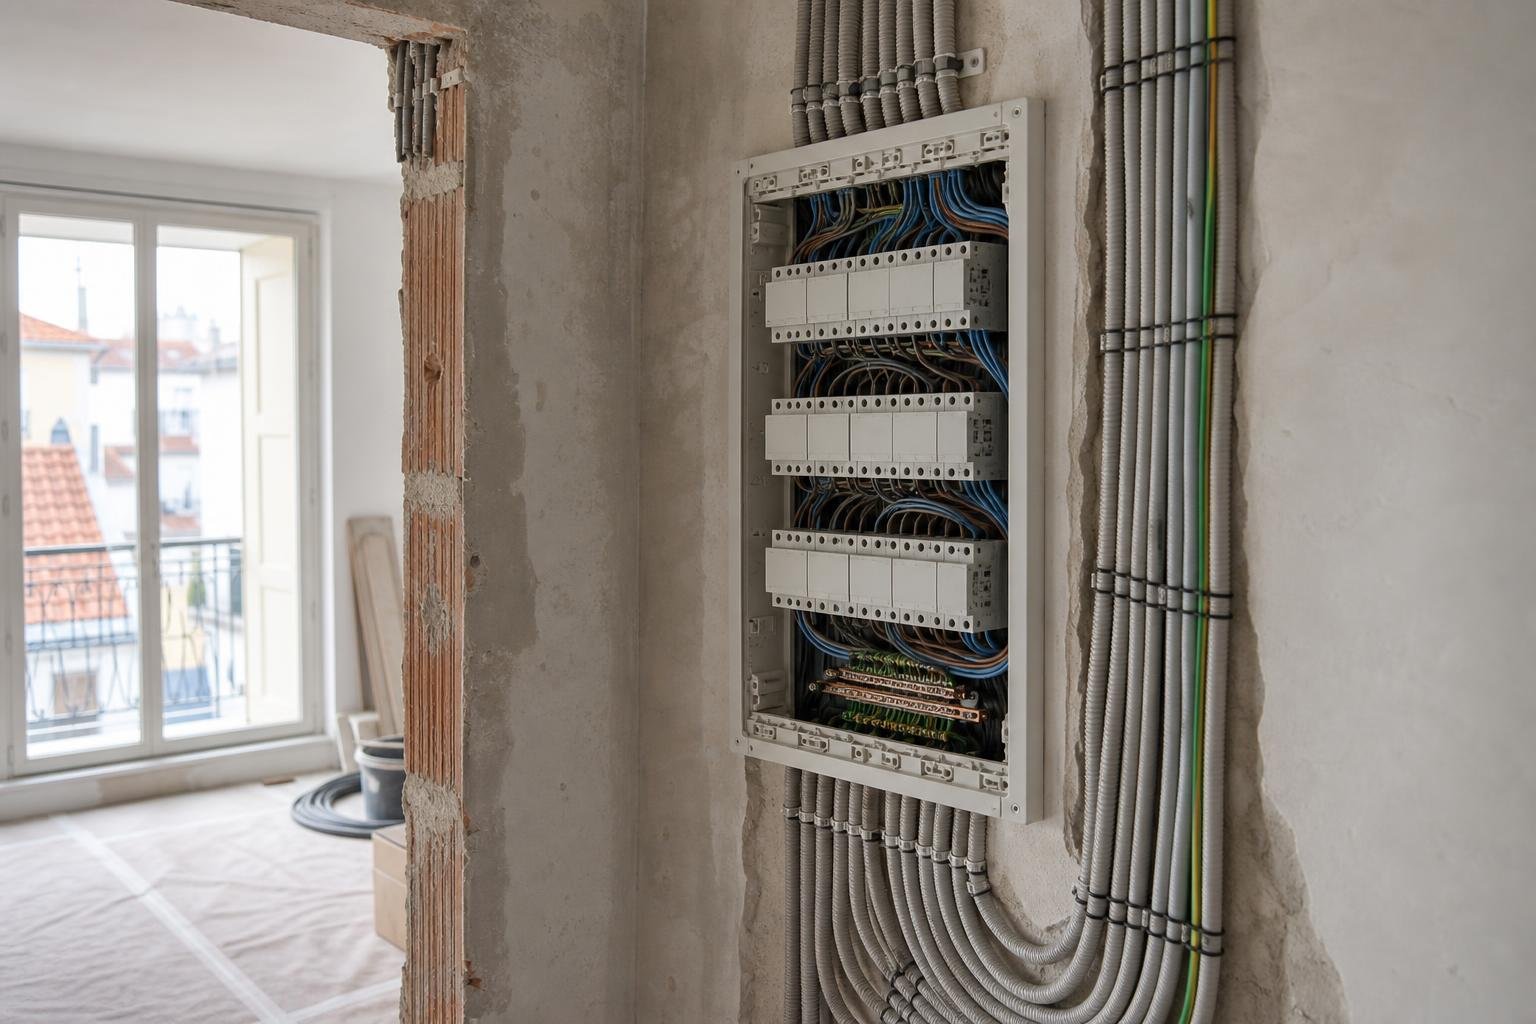
A strong fixing is of little use if a screw hits a pipe or cable. Before the wall is closed, draw the horizontal and vertical routes for water, drainage, electricity, communications and extraction. Identify valves, joints, junction boxes and any components likely to require maintenance. Furniture should not block access to parts that will one day need checking or replacement.
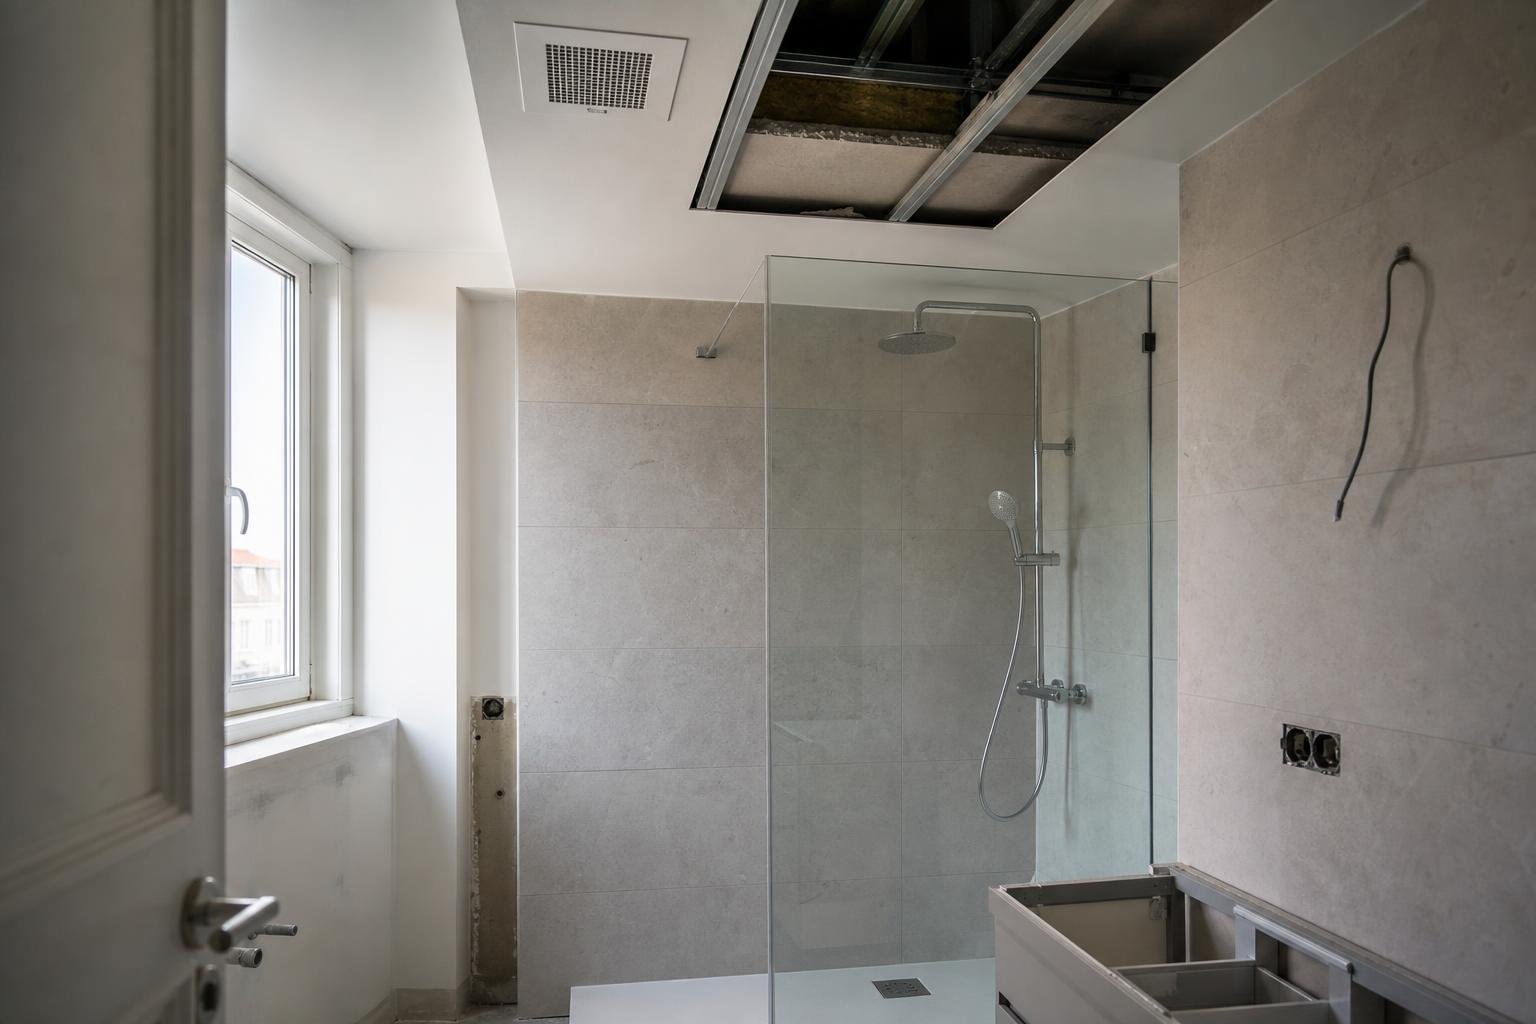
In a bathroom, agree the drainage level, supply heights and trap space within the cabinet with the installer. A wall-mounted tap, for example, needs close coordination between its concealed body, the finished-wall thickness and basin position. In a kitchen, allow room for outlets, appliance feeds and hose runs without crushing cables behind cabinets.
Use discreet access panels where valves, specialist traps, boxes or joints cannot safely become permanently inaccessible. This is not a way to hide poor workmanship; it is a way to keep maintenance possible without demolishing a finished wall. The article on inspection access panels for concealed plumbing can help identify where access is genuinely useful.
Finally, give the owner a simple drawing or labelled photographs. A well-documented wall greatly reduces the chance of random drilling in the future.
Set the height around everyday use
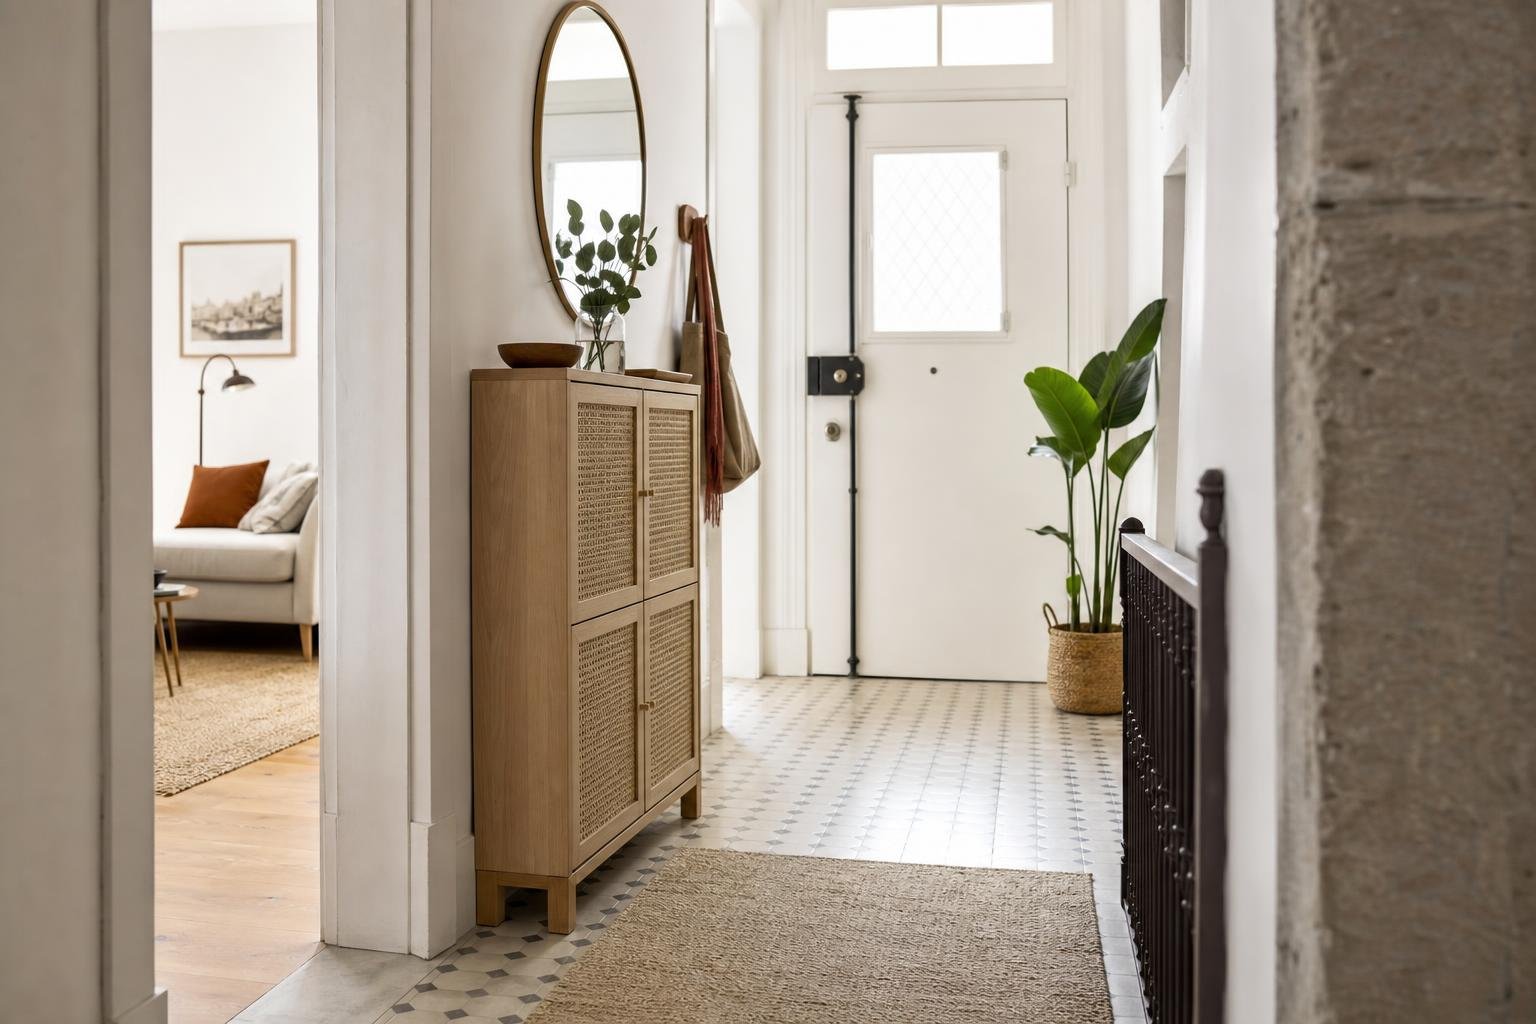
The right height does not come from a catalogue dimension alone. Consider who uses the room, what will sit on the unit, how doors and drawers open, and the circulation space in front. An entrance console may need room for bags without narrowing the passage; a vanity should allow comfortable cleaning and mirror use; upper kitchen cabinets should be reachable without turning the worktop into a step.
Make a full-size setting-out using masking tape or cardboard. Simulate depth with a box and act out door openings. Check junctions with skirting, sockets, switches, window frames, rails, taps and mirrors. In a narrow corridor, a few centimetres of projection may matter more than the extra storage volume.
Also consider the sequence of finishes. If the cabinet sits over tiling, check whether drill points cross joints or tiles, whether the hardware accommodates the finish thickness and whether the perimeter looks clean. For painted walls, prepare the surface before fitting rather than trying to cut in paint around a cabinet already installed. Base preparation affects both the final appearance and the crispness of visible junctions.
Where the furniture will serve someone with reduced mobility, children, or a person planning to remain in the home as they age, adjust reach and height at the outset. Accessibility is often gained through small choices made before the wall disappears behind finishes.
Close the wall with clear records and responsibilities
Before closing the wall, make one final check: confirm the furniture model, reinforcement locations, fixing points, service routes, technical-box positions and final wall thickness. Record everything in frontal and angled photographs, ideally with measured references. This simple control avoids disputes when the installer arrives several weeks later.
If the work goes beyond straightforward internal preparation, or there is uncertainty about stability, structural components, heritage constraints or planning requirements, do not decide from a photograph or a single trial hole. In Lisbon, notice of the start of works must be handled in good time; the municipality states that it is made up to five days before work begins, whether or not the work is subject to prior control. Check the page on notifying the start of works to confirm the applicable procedure.
For construction work, also check the credentials of the company responsible for installing the support system. The IMPIC consultation service allows searches for companies and their relevant registrations or titles. An informed appointment does not replace good design, but it helps ensure the work is assigned to a business that can be accountable for it.
The best result is almost invisible: a level, secure cabinet, protected services and maintainable access. That peace of mind depends far more on what was prepared inside the wall than on the hardware seen at the end.
Planning a kitchen, bathroom or storage wall with wall-mounted furniture? Obra Lisboa can help coordinate supports, services and finishes before the wall is closed.
AI-generated editorial image; it does not depict an Obra Lisboa project.

Obra Lisboa