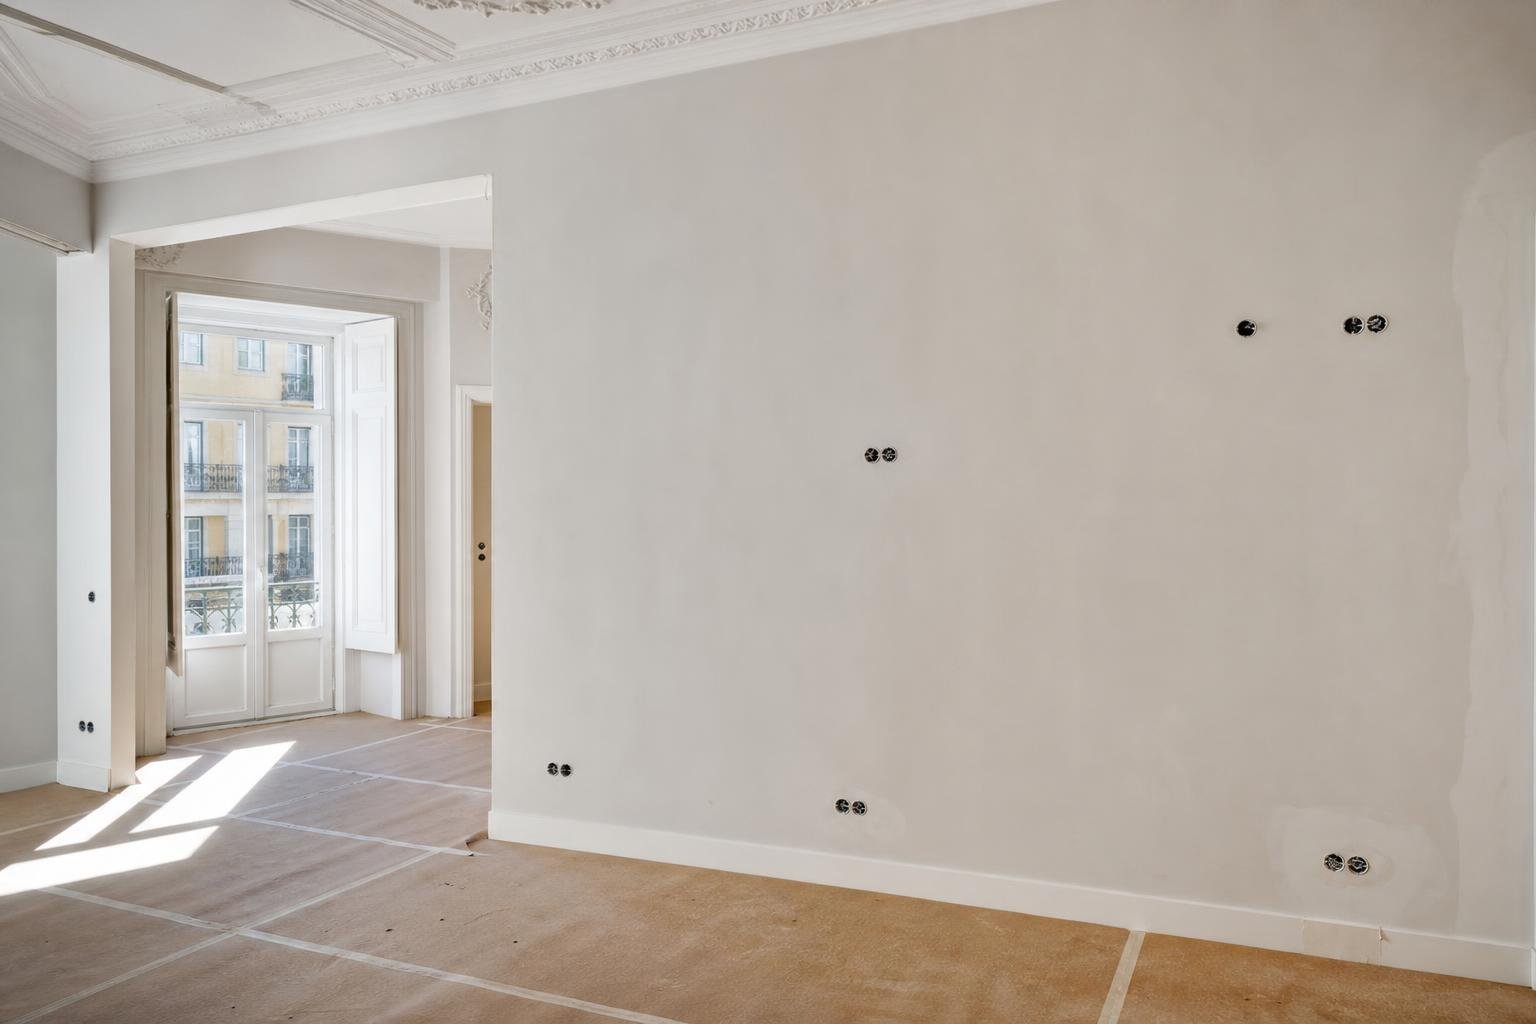
Some renovation decisions look minor but shape everyday comfort for years. The position of a socket, the side from which a light is switched on, or the presence of a dedicated circuit can be the difference between an intuitive home and one full of extension leads, adapters and improvised fixes.
The best time to decide is before chasing and closing the walls. At that stage, furniture, appliances, household routines and electrical capacity can all be considered together. Portugal’s Low-Voltage Electrical Installation Technical Rules provide the key technical framework; consult Ordinance no. 949-A/2006 in the Diário da República. This article will help you prepare a useful brief for the designer and electrician, without replacing a proper design or work by qualified professionals.
Start with real routines, not a generic socket layout
Before placing symbols on a drawing, walk through a normal day at home. Where will a phone be charged? Which wall will hold the sofa? Will anyone work from home? Are there table lamps, a cordless vacuum, a food processor, coffee machine, television, router or air-conditioning equipment? A socket is useful only when it is in the right place and available when needed.
Create a room-by-room list and link every appliance to a likely position. In the living room, consider television, internet, supporting lighting and charging near seating. In bedrooms, consider both sides of the bed, a desk, wardrobe and possible integrated bedside lighting. In the kitchen, count appliances that may run at the same time, not only those that fit on the worktop.
This routine-based exercise prevents two common mistakes: clustering too many points on one “tidy” wall and forgetting the areas that will genuinely be used. To coordinate wiring with furniture, doors and circulation, 2D and 3D project visualisation can expose clashes before work begins.
Draw the furniture before setting heights and positions
There is no single universal height that works in every home. Heights and alignments should follow use, proposed furniture, applicable technical rules and the specific conditions of the space. That is why an electrical layout without a furniture plan is incomplete: a socket hidden behind a fixed wardrobe, an open door or a media unit with no cable route soon becomes useless.
Mark the actual width of beds, sofas, sideboards, kitchen worktops and bathroom furniture on the walls. Check door swing, drawer movement, mirrors and wall finishes as well. Rather than simply asking for “more sockets”, state what each point should supply and allow room for bulky plugs, transformers and cables that should not be crushed.
For more substantial work, specialist design documentation may include electrical installations among other technical components. Lisbon City Council’s information on specialist projects explains that their content varies according to the work and that they are submitted within the applicable planning procedures.
Think in circuits: separation reduces overload and simplifies faults
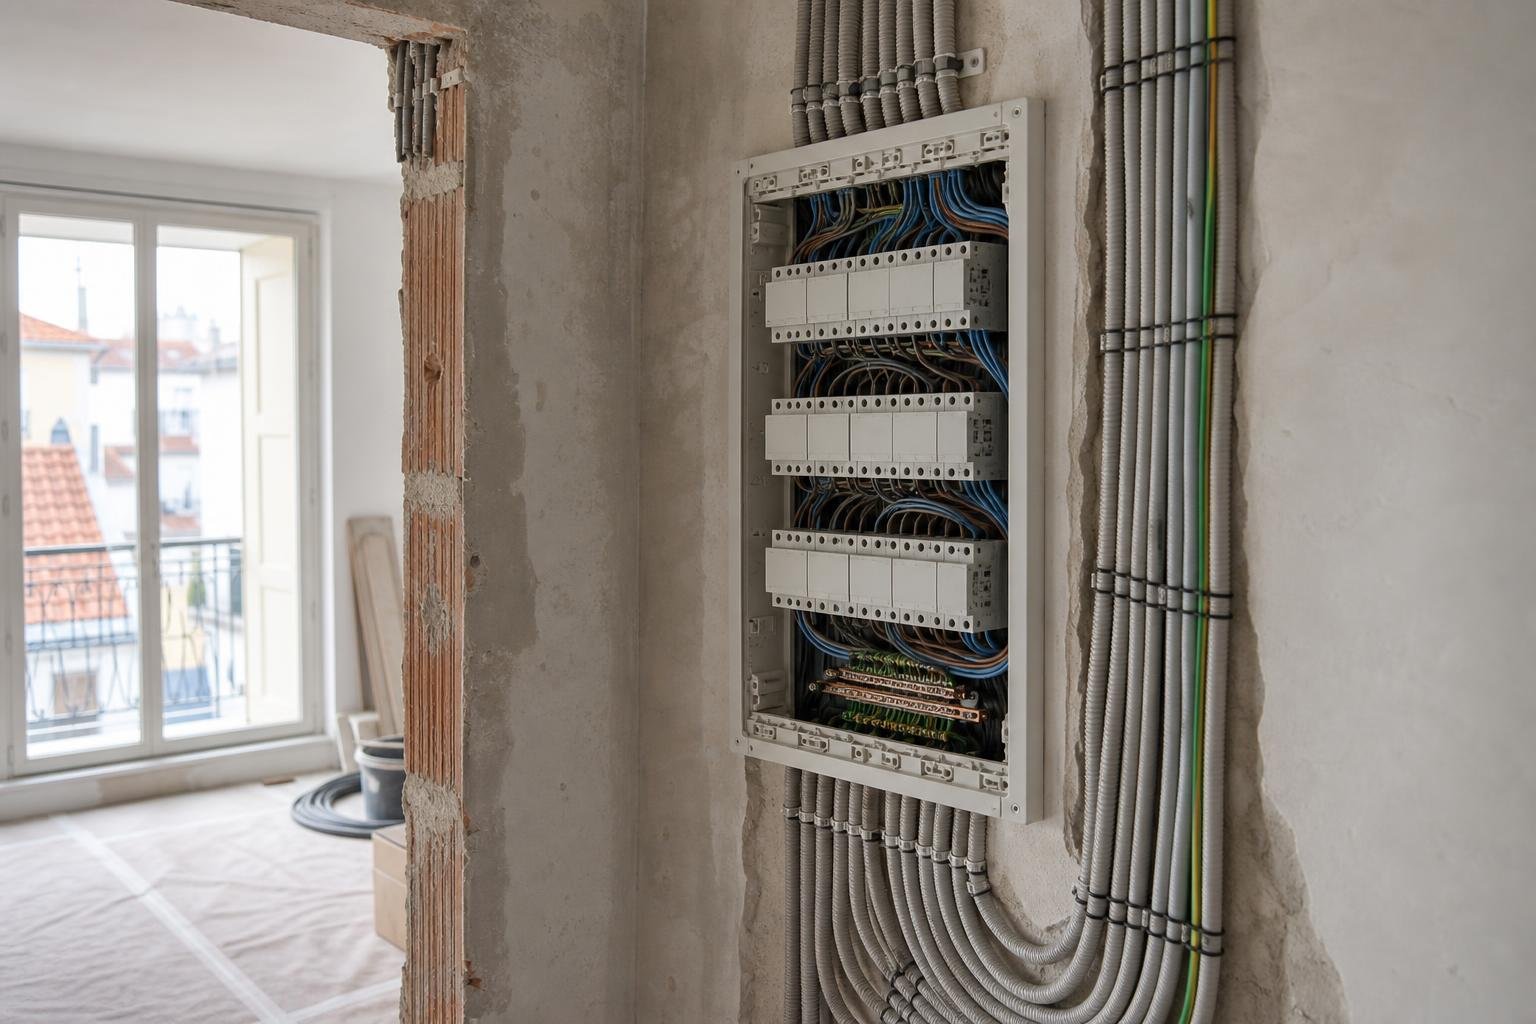
A good installation is not defined only by the number of wall plates. The electrical panel, circuits, protective devices and available power should be planned as one system. Putting high-demand equipment on the same circuit can lead to trips and restrict simultaneous use; creating circuits without a clear purpose can also make the installation harder to understand and maintain.
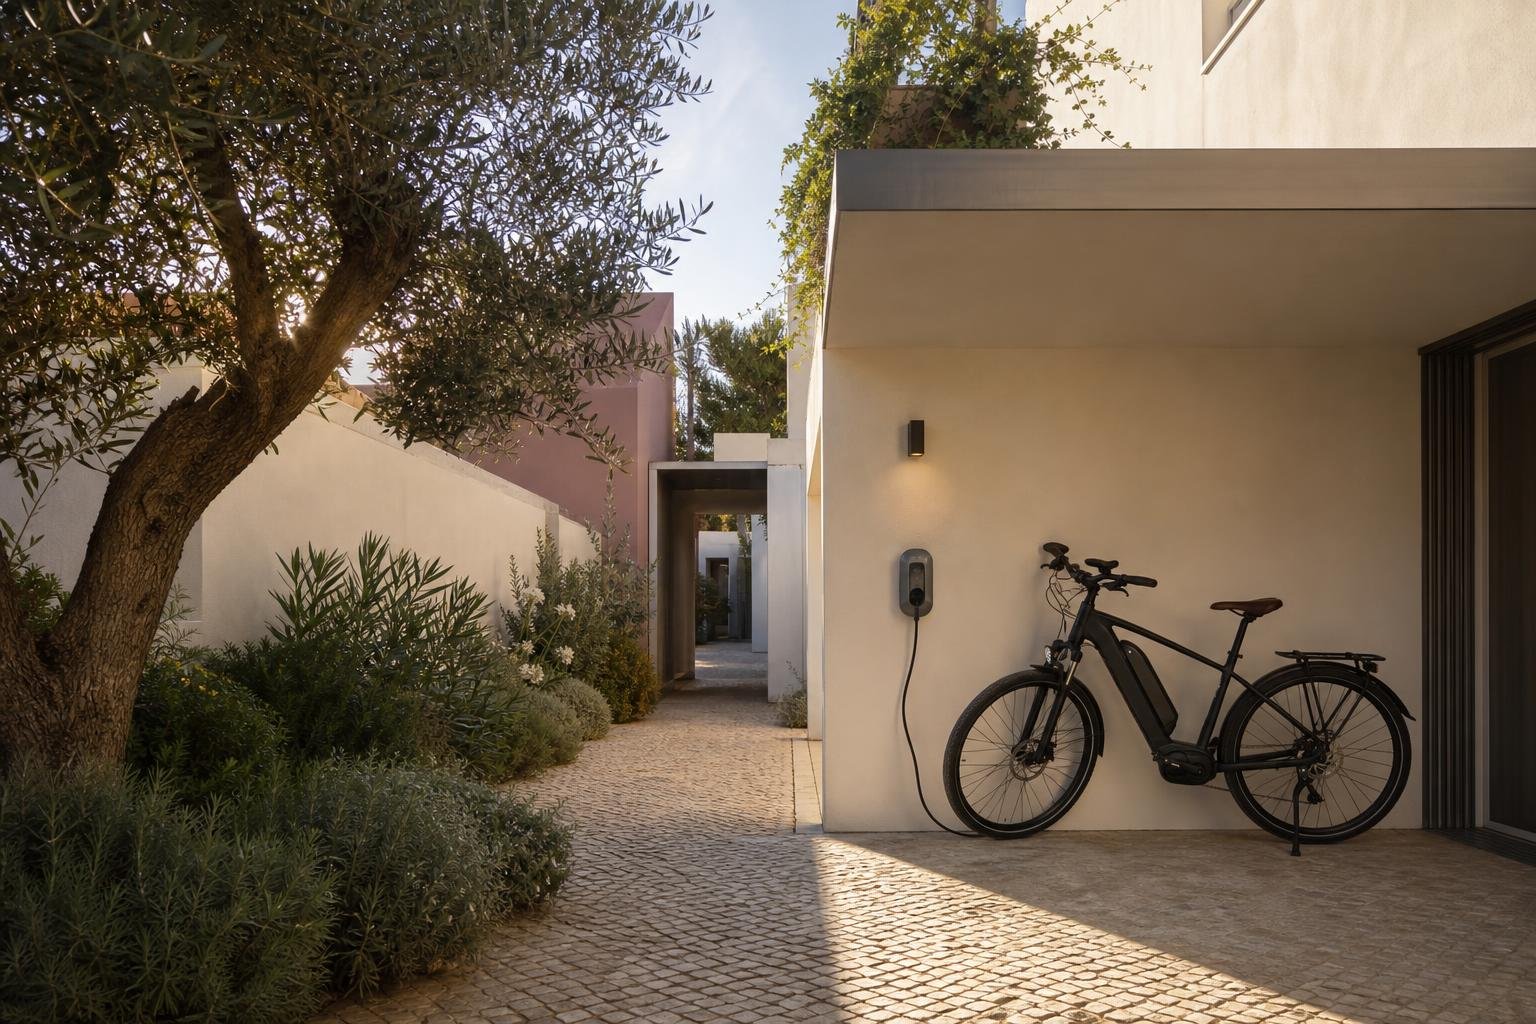
Discuss foreseeable demand early: hob and oven, dishwasher, washing machine, dryer, hot-water cylinder, heat pump, air conditioning, electric-vehicle charging or office equipment. Some of these uses may justify dedicated circuits designed by the responsible technician. The aim is not to predict the future perfectly, but to leave sensible capacity for how the home will actually be used.
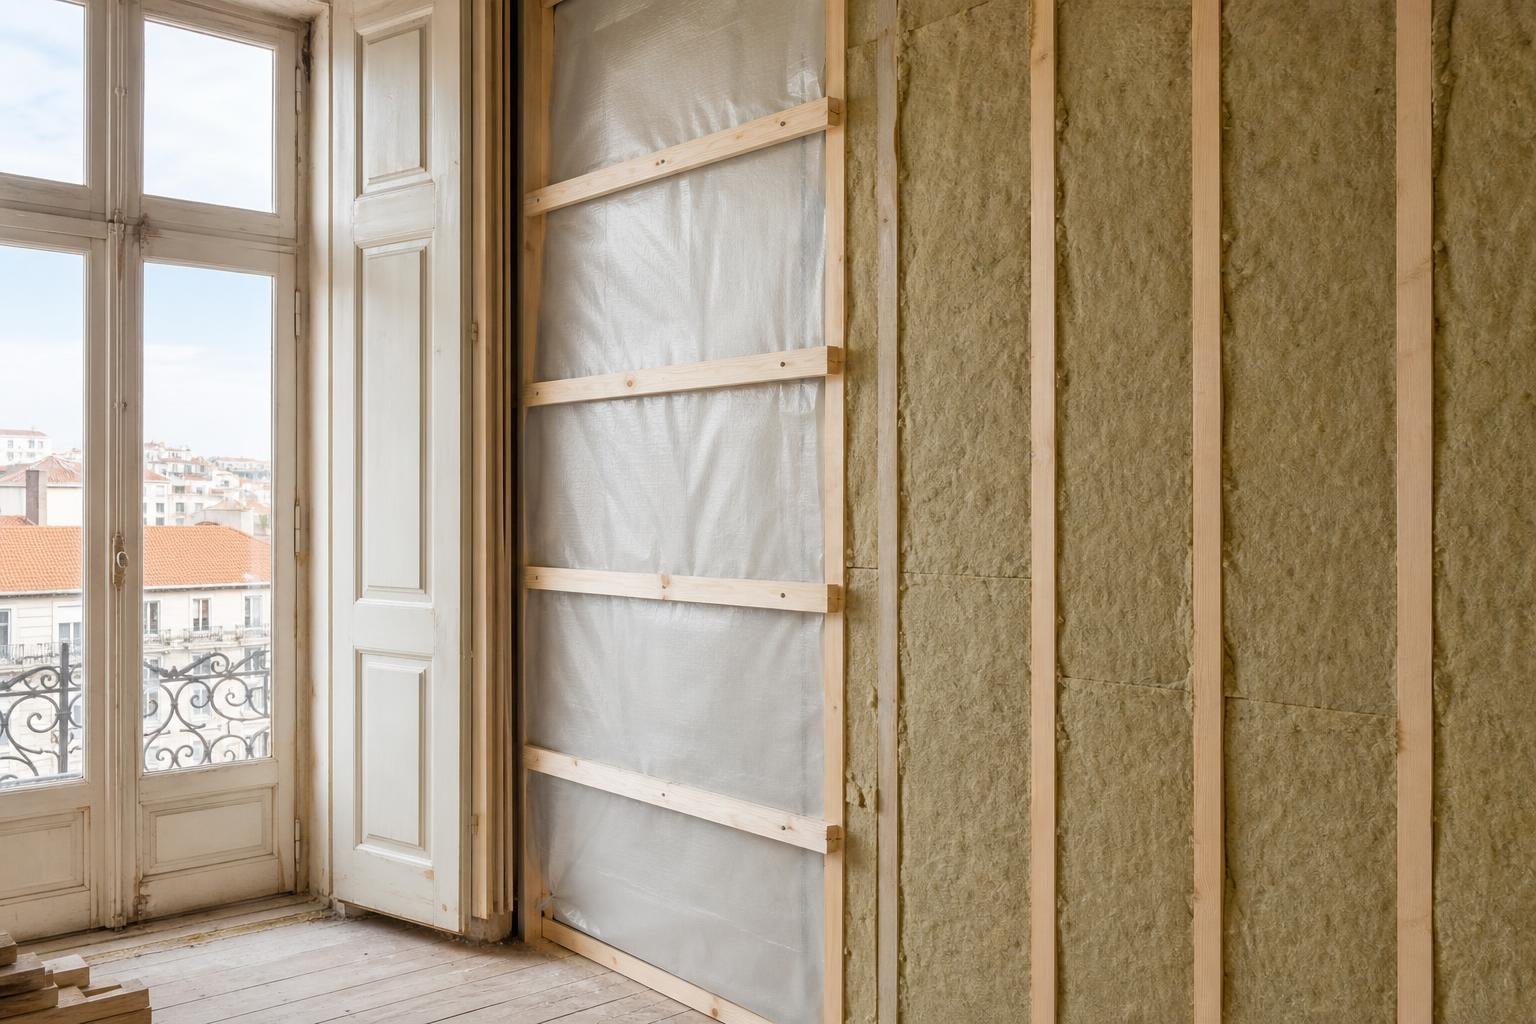
Keep a copy of the final layout, label circuits clearly at the panel and photograph the walls before they are closed. This record will be valuable for future work and supports careful planning of what sits behind the walls, from cabling to pipework and service routes.
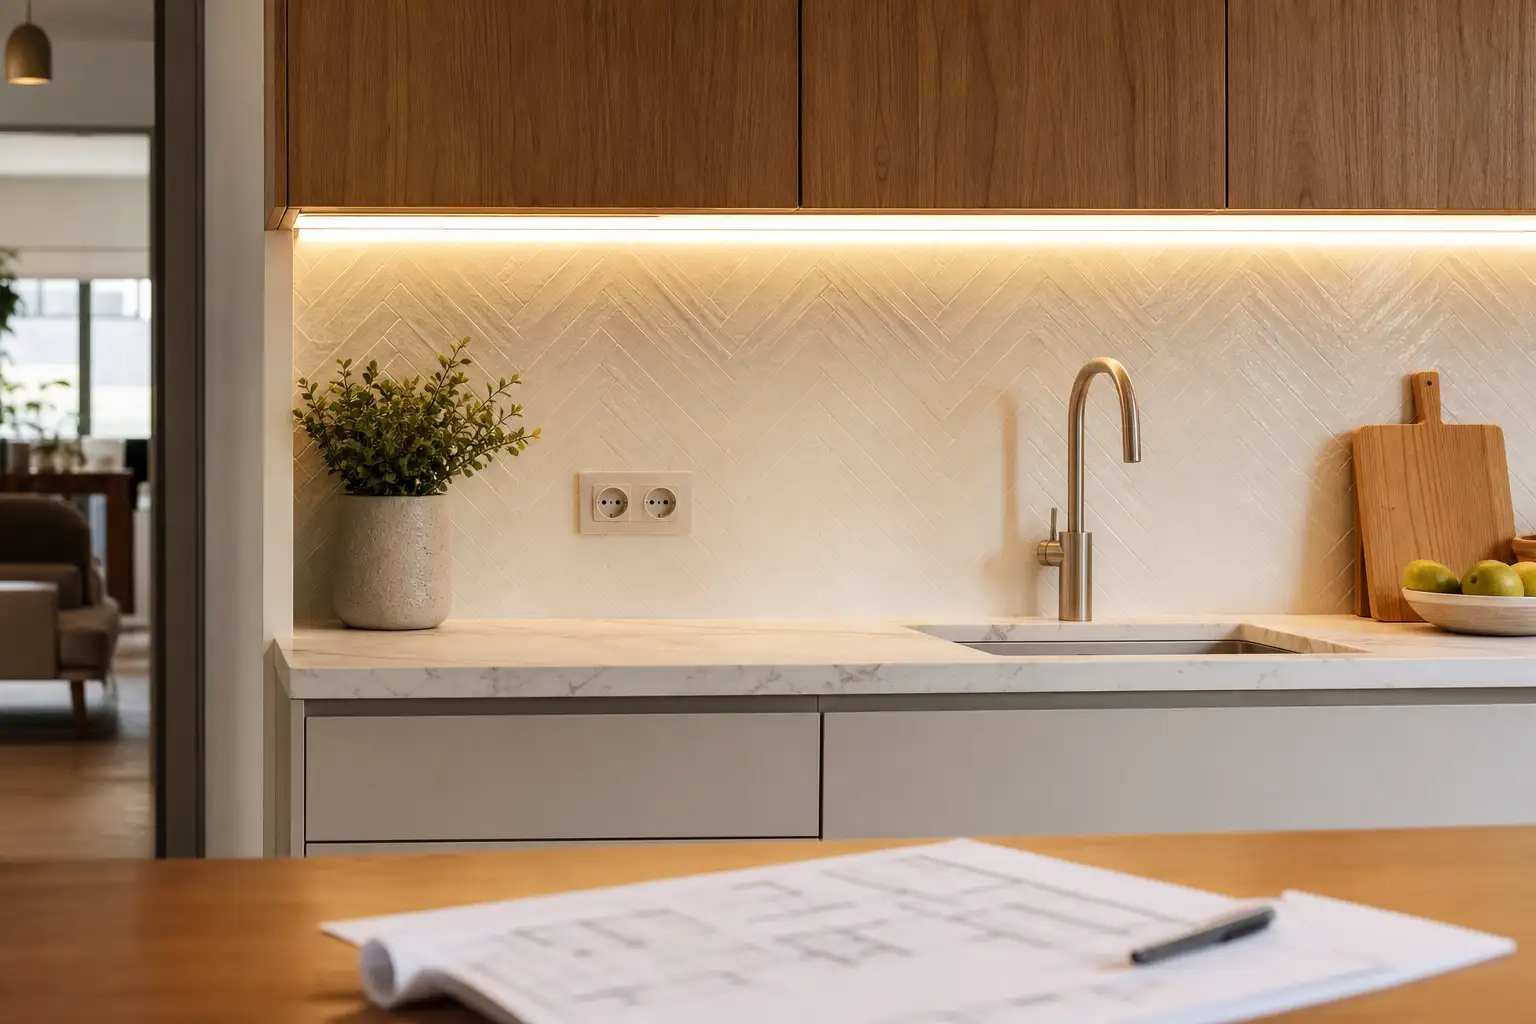
Switches: turning on a light should be obvious
Switches should follow natural routes through the home. When entering a bedroom, bathroom or storage area, the control should be easy to find without walking through the space in the dark. In rooms with two entrances or long circulation routes, ask the professional whether controlling the same light from more than one point would make sense.
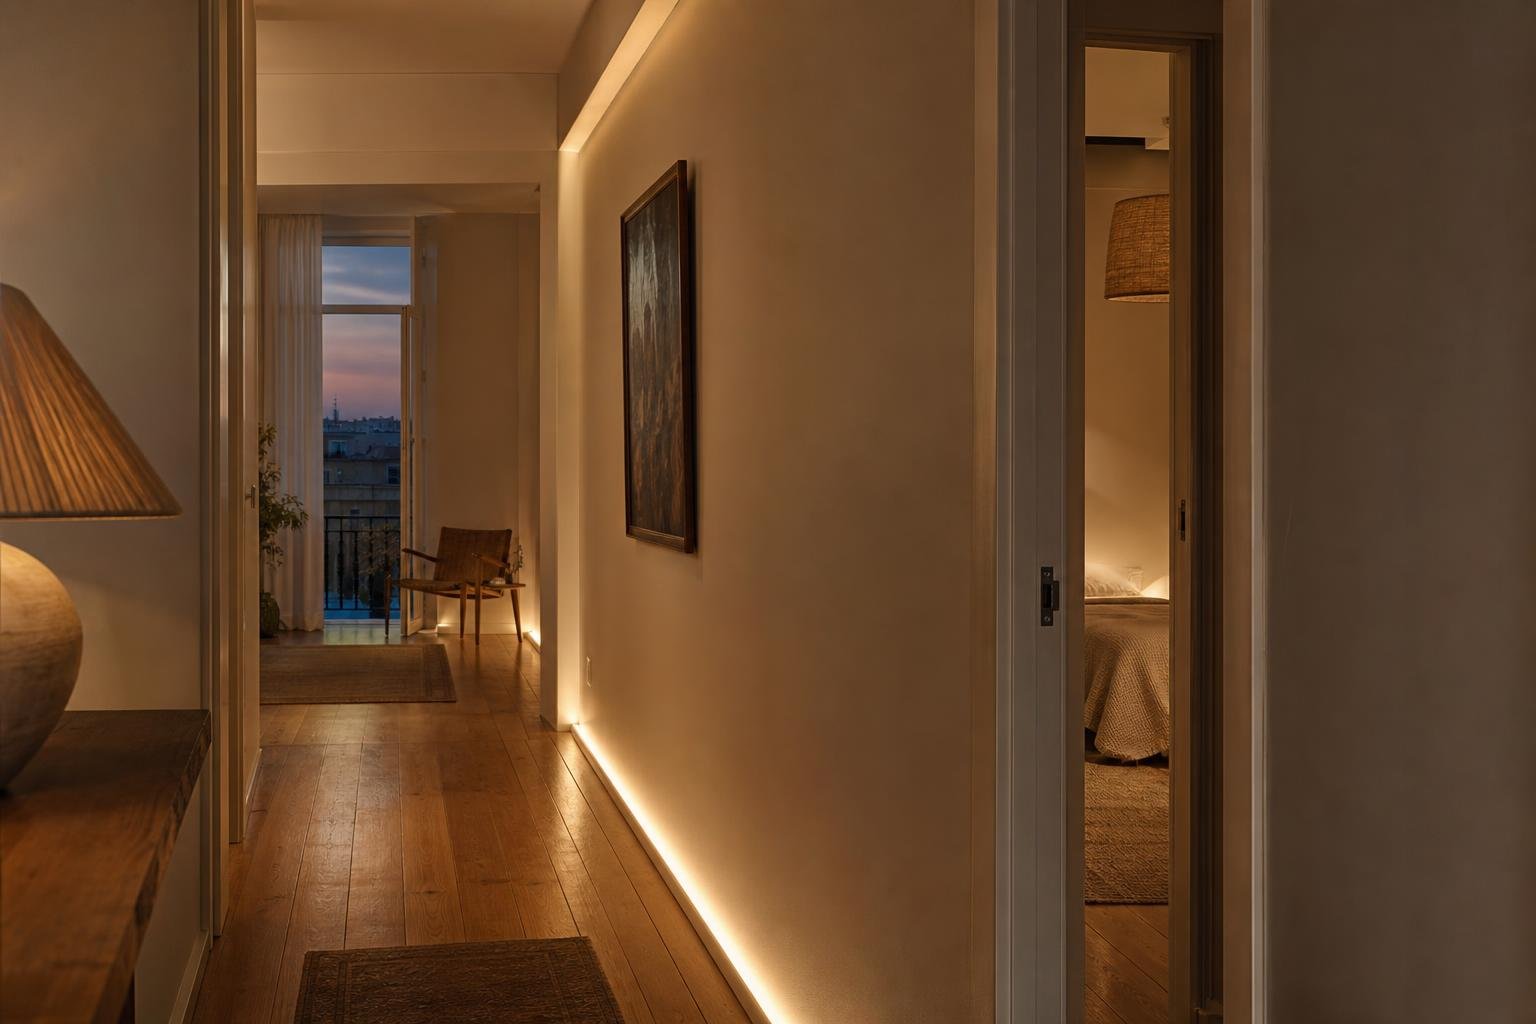
It is also useful to separate general lighting, task lighting and ambient lighting. One central fitting rarely meets every need: cooking requires visibility on the worktop; reading needs focused light; moving around at night benefits from a softer level. Planning straightforward lighting scenes can improve comfort without making the installation unnecessarily complicated.
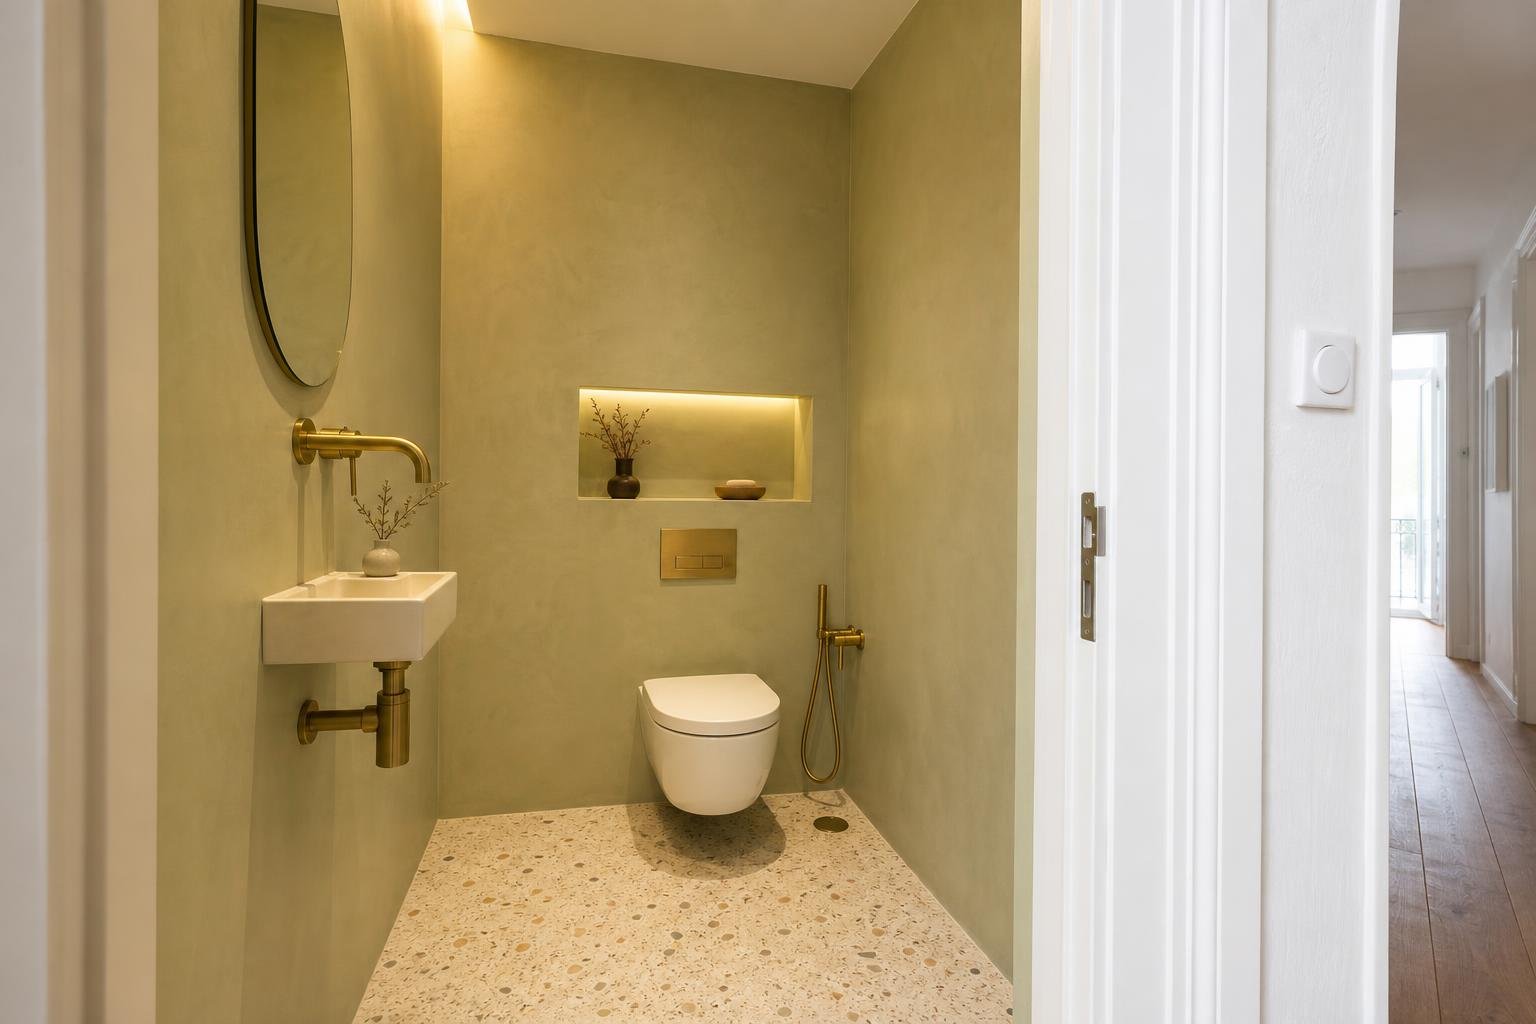
Choose the visual finish last, after function is resolved. A minimalist switch plate does not compensate for a poorly placed switch. Also consider easy-clean finishes, compatible mechanisms and enough space within back boxes for the intended devices. In wet areas, equipment selection and location require particular attention to safety rules and should be set by someone with the appropriate technical competence.
Give the kitchen, bathroom and laundry room their own review
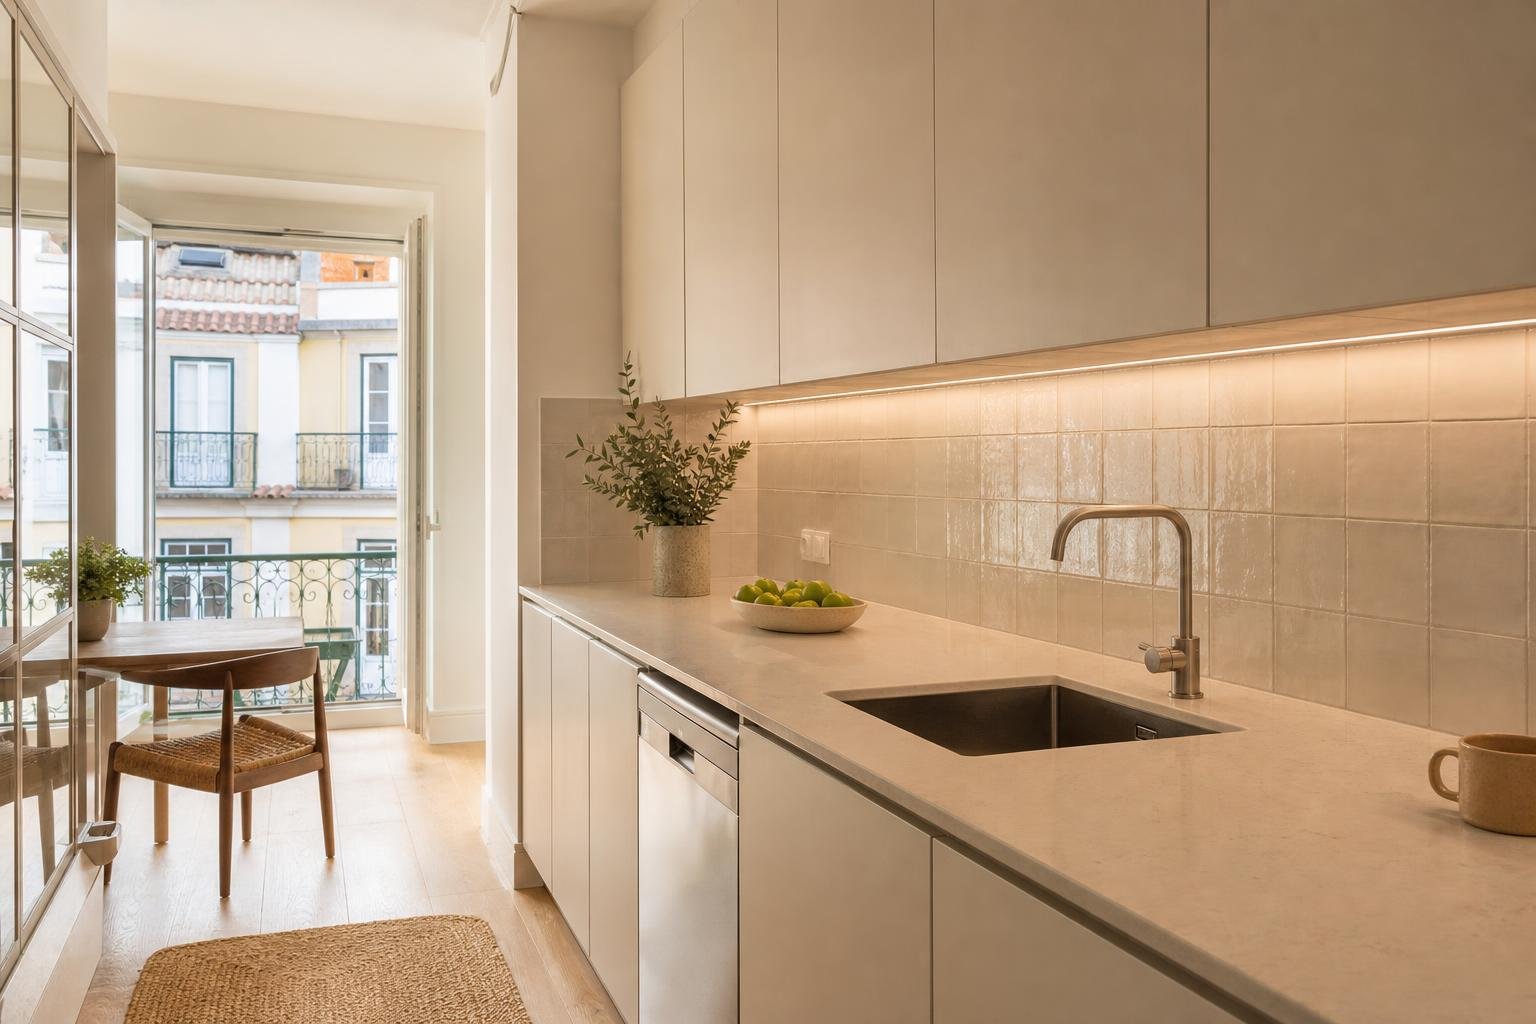
These rooms combine water, heat, steam and higher-demand equipment. In the kitchen, draw the worktop, sink, hob, oven, fridge, extractor and small appliances first. Only then should socket locations be fixed. This helps avoid a socket directly behind a built-in appliance, too close to splash-prone areas, or impossible to access when equipment needs to be disconnected.
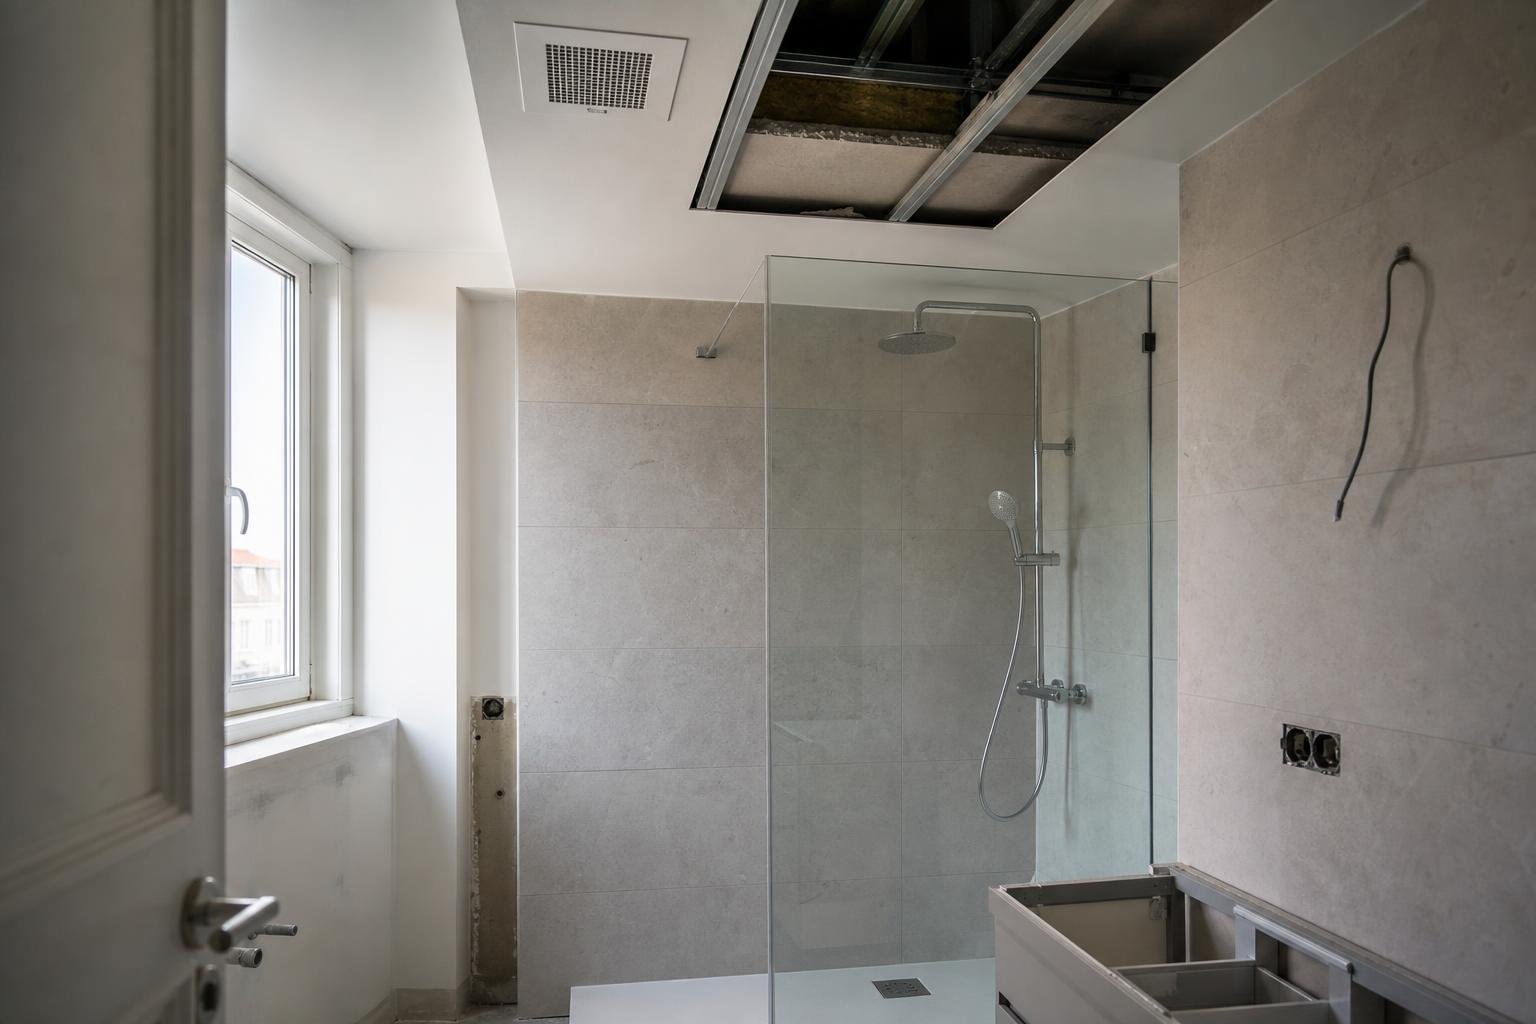
In the laundry area, consider ventilation, access to plugs, maintenance space and the possibility that the washer and dryer will operate at the same time. In the bathroom, do not improvise positions: distances from the bath, shower tray and basin, together with the type of equipment used, must be assessed during design and installation.
If the renovation includes more efficient equipment or upgraded lighting, LED technology is commonly recommended as a way of reducing lighting consumption. See the efficiency guidance published by ADENE on efficient lighting, while remembering that efficiency complements safety rather than replacing it.
Finish with testing, records and qualified professionals
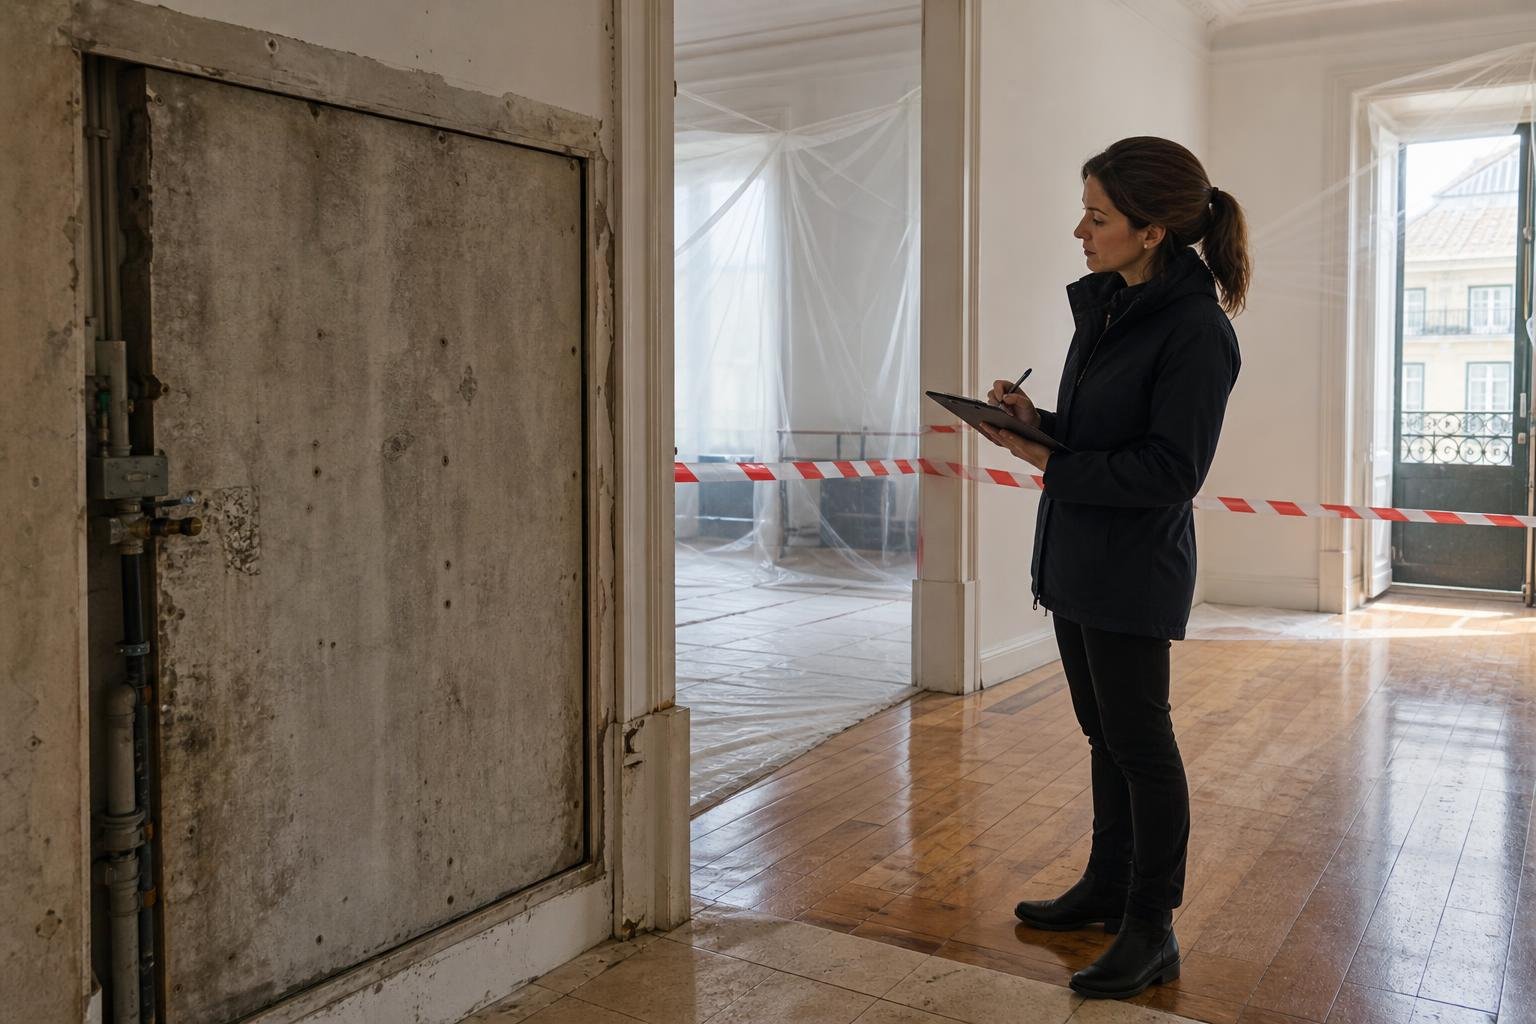
Before painting and fitting final finishes, walk through the property with the plan in hand. Check that every socket is accessible, that switches operate the correct lights and that planned appliances have a supply. Test motorised blinds, worktop lighting, extraction, data points and any integrated solution before furniture conceals access points.
Avoid late electrical changes made for visual convenience, or by someone not qualified to carry out the work. Portuguese legislation establishes requirements for entities and professionals responsible for electrical installations; Law no. 14/2015 sets the framework for access to and practice of these activities. Ask for a clear record of the installed solution, verify the applicable technical responsibilities and retain the documents provided.
Where a question involves safety, circuit changes, increased capacity or work in wet areas, it is not a good place for DIY experimentation. It is equally important to know when to call a professional rather than carry on alone. A well-prepared decision before walls are closed costs less than correcting a finished installation.
Planning a renovation in Lisbon? Obra Lisboa can help turn everyday needs into clear work coordination, aligning layout, specialist systems and execution so that technical decisions are made at the right time.
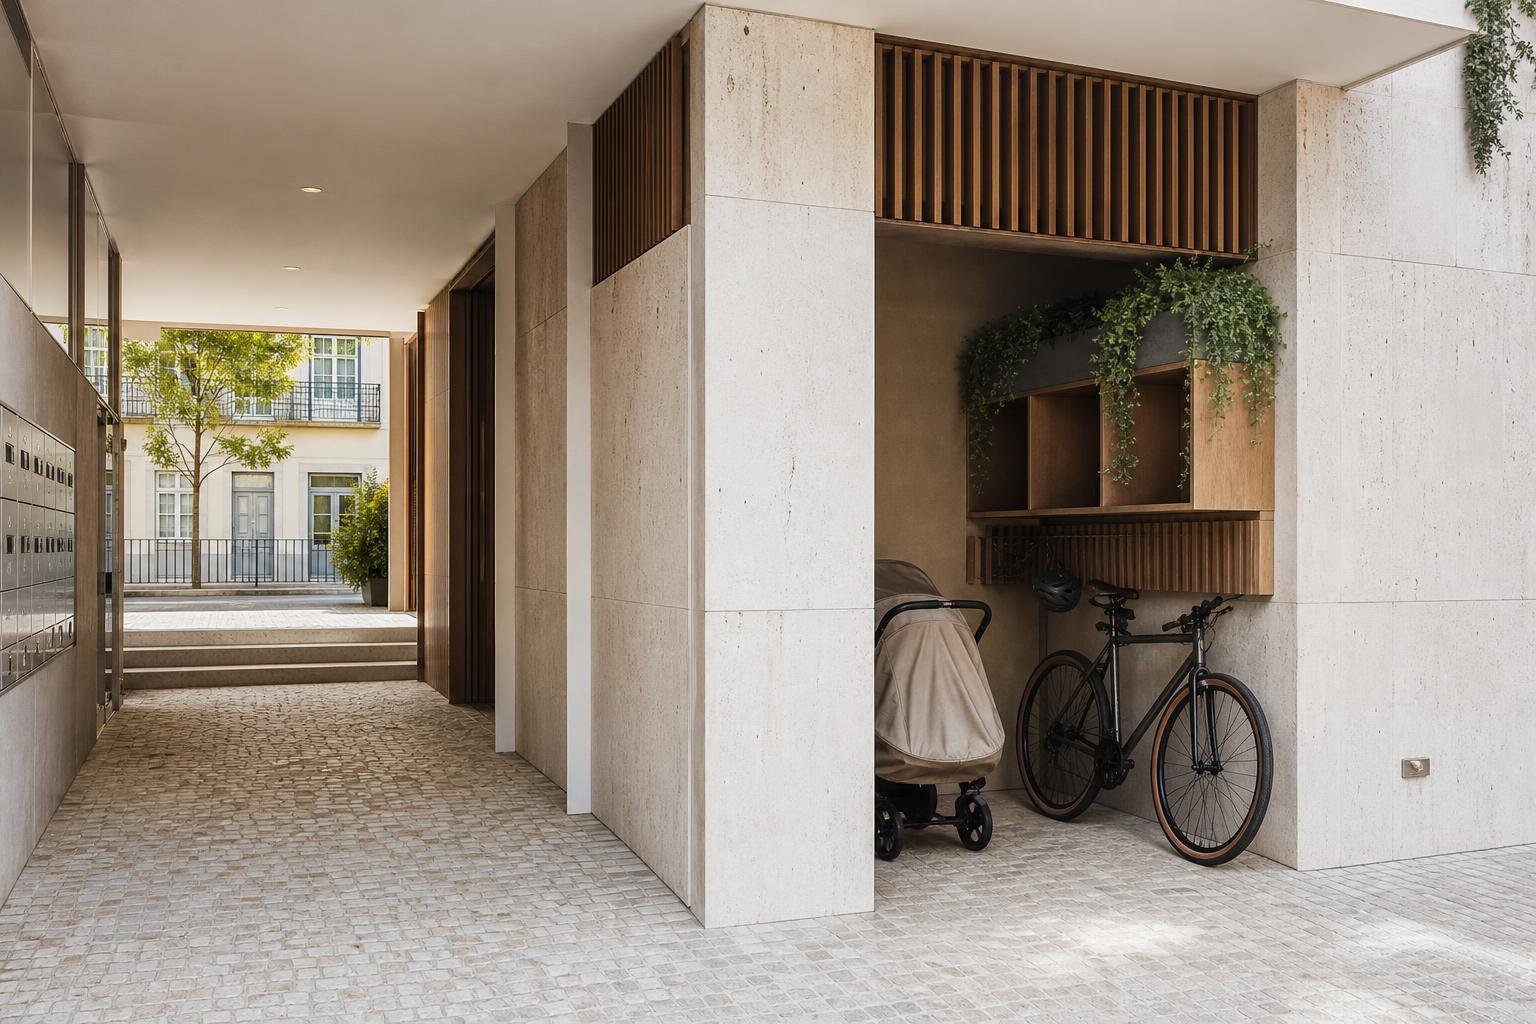
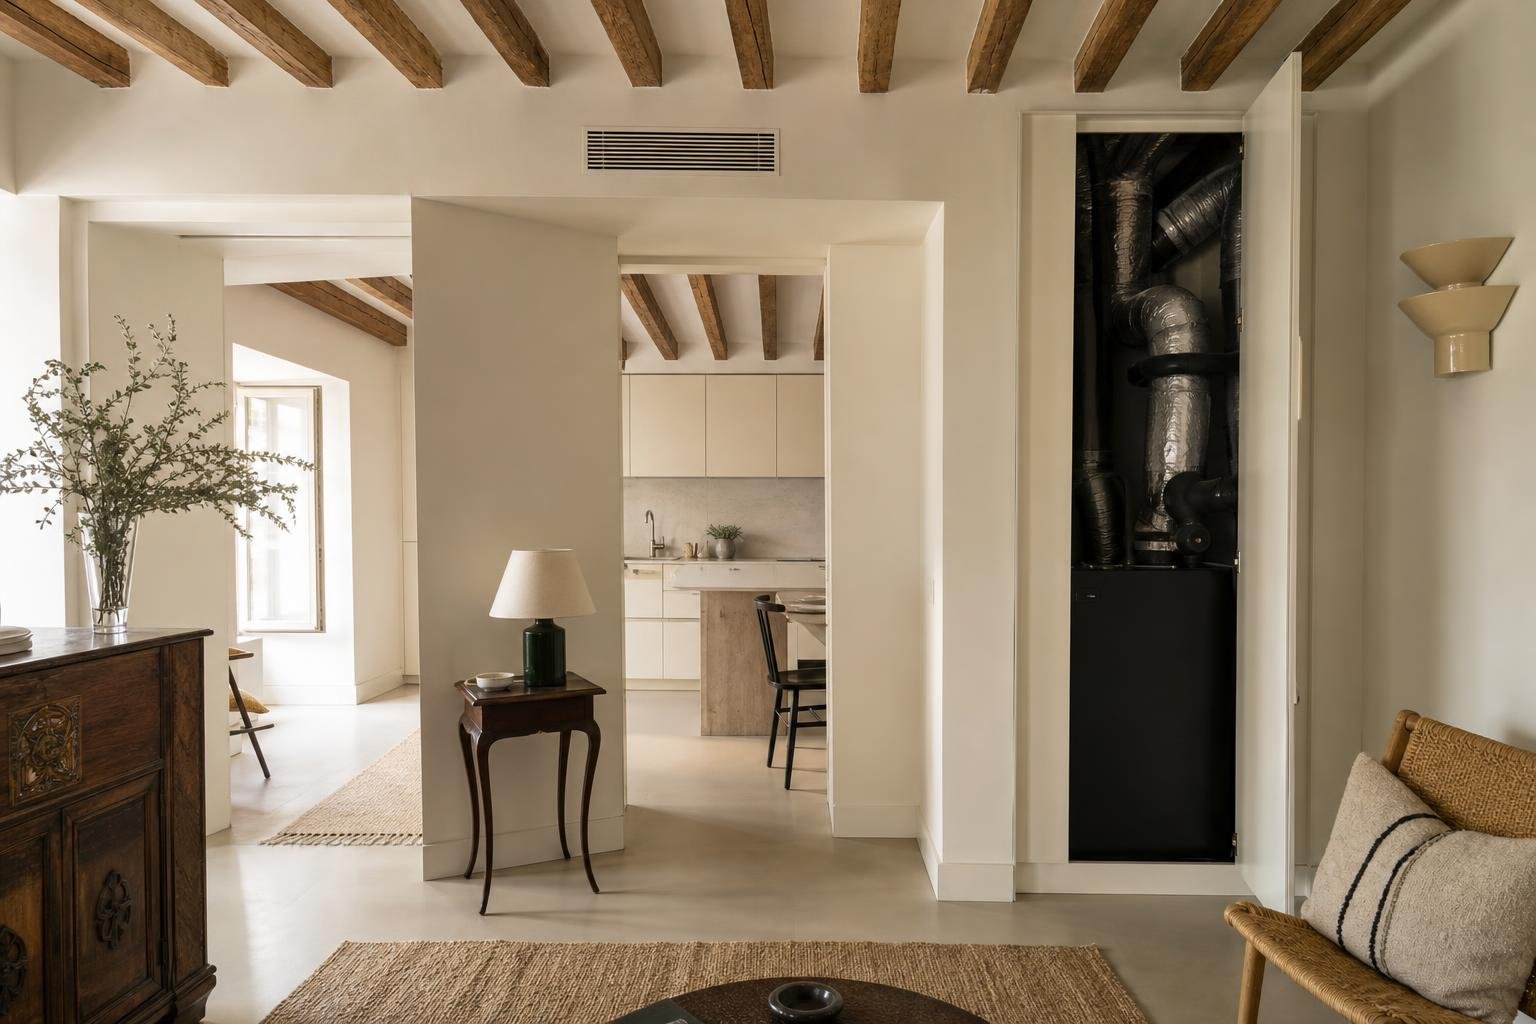
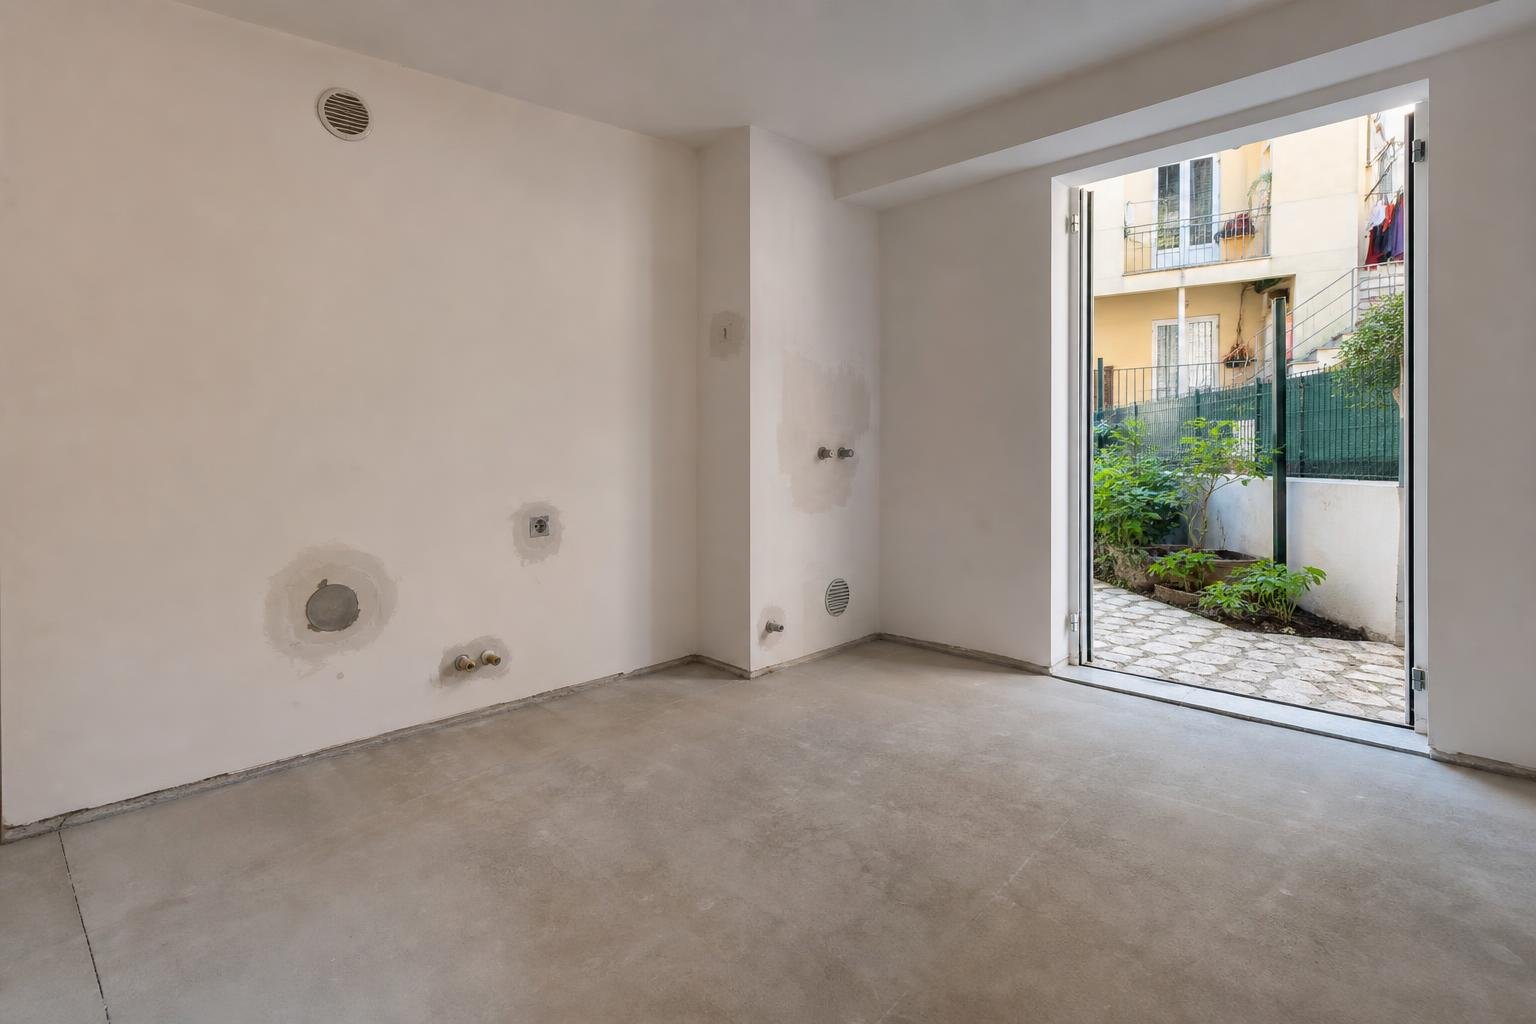
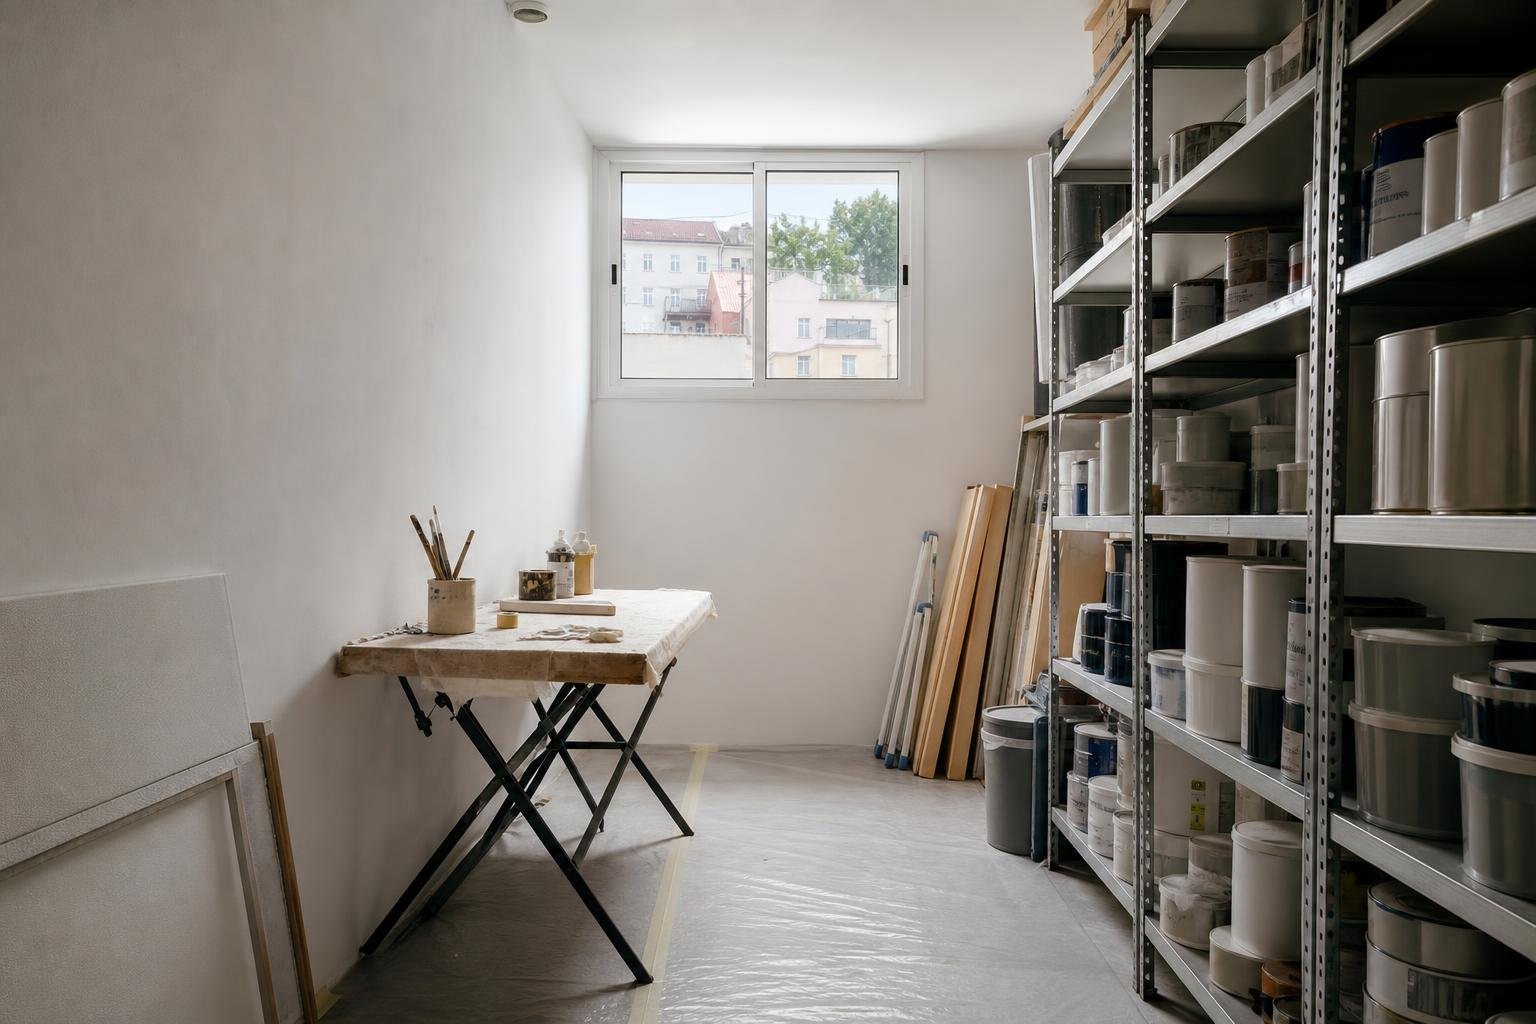
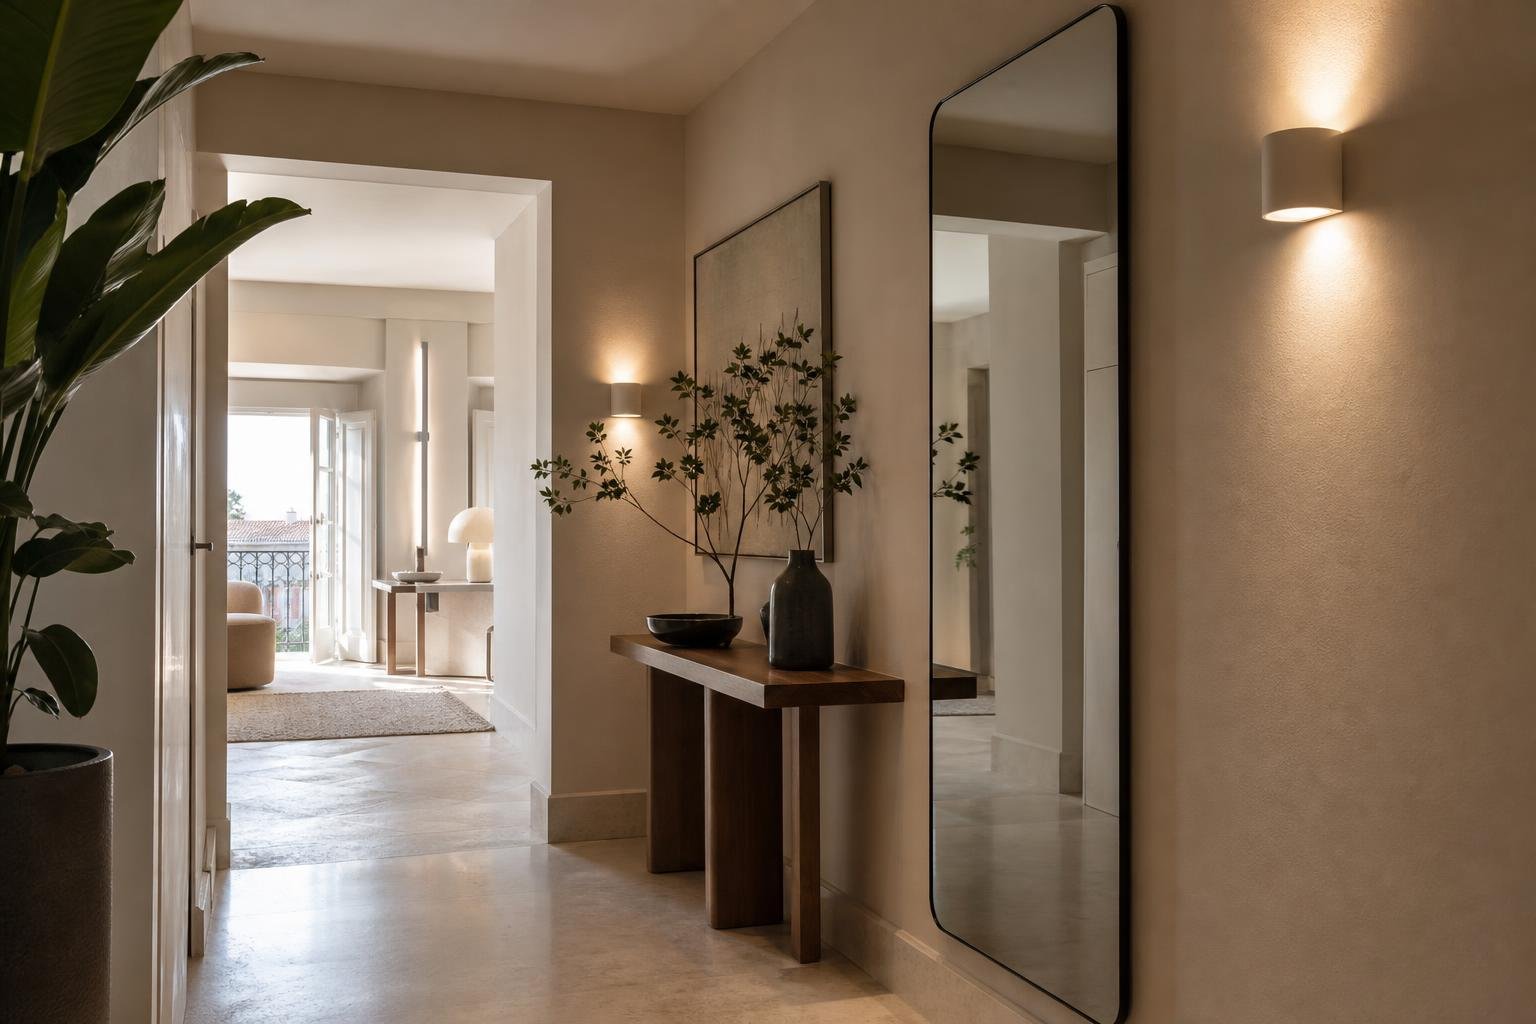
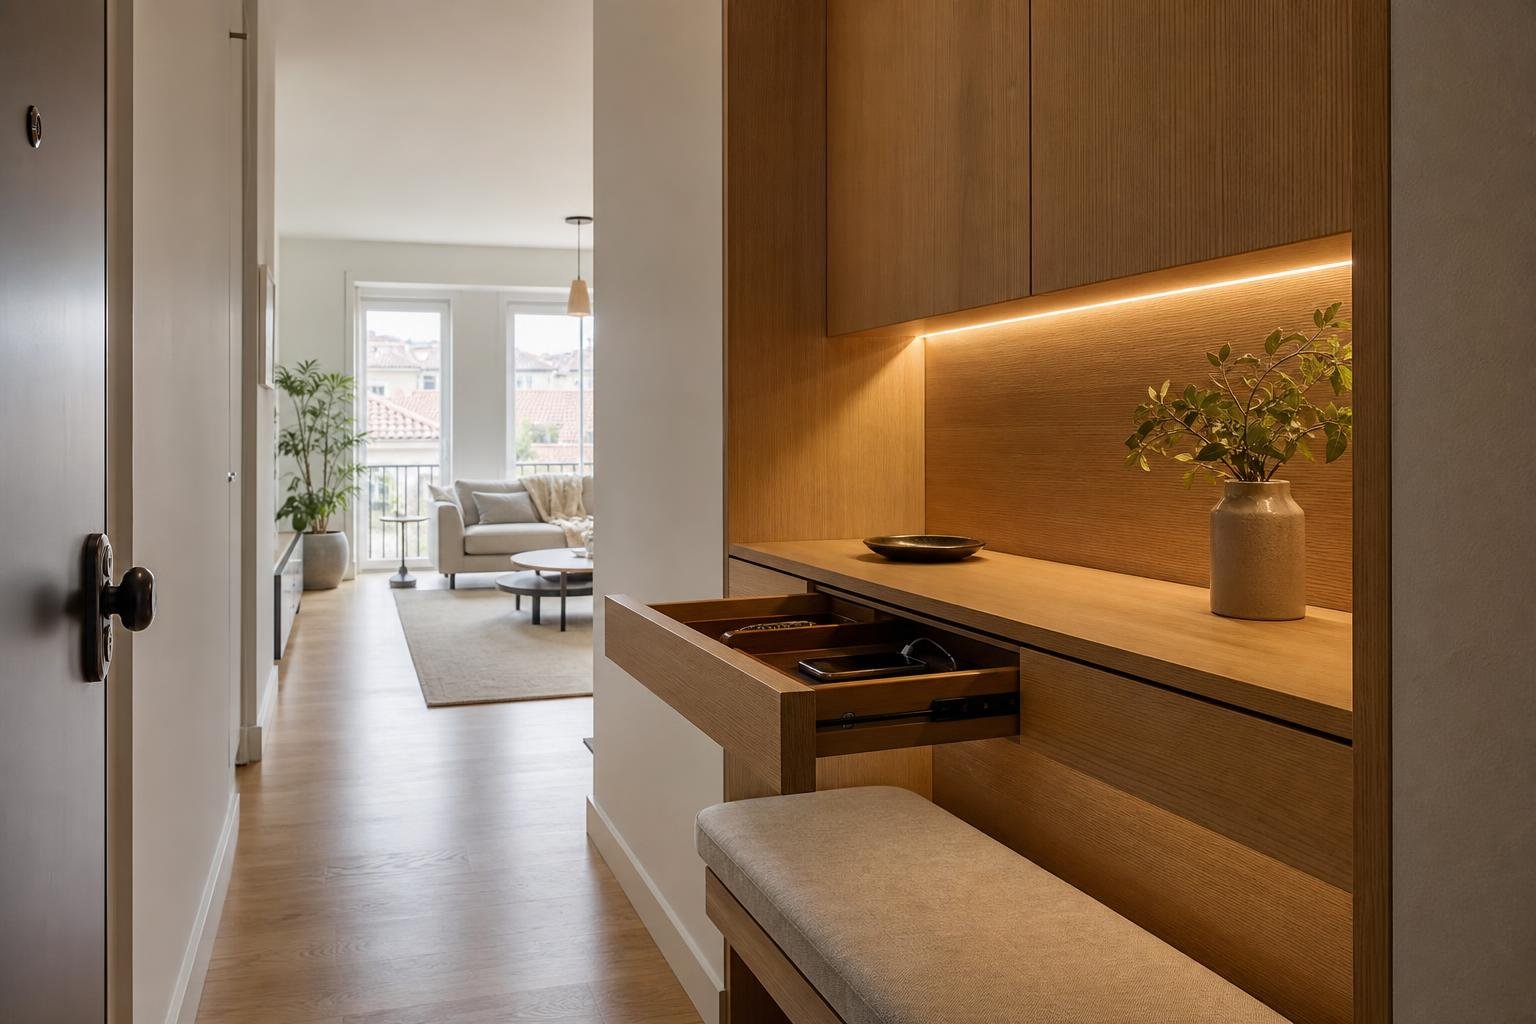
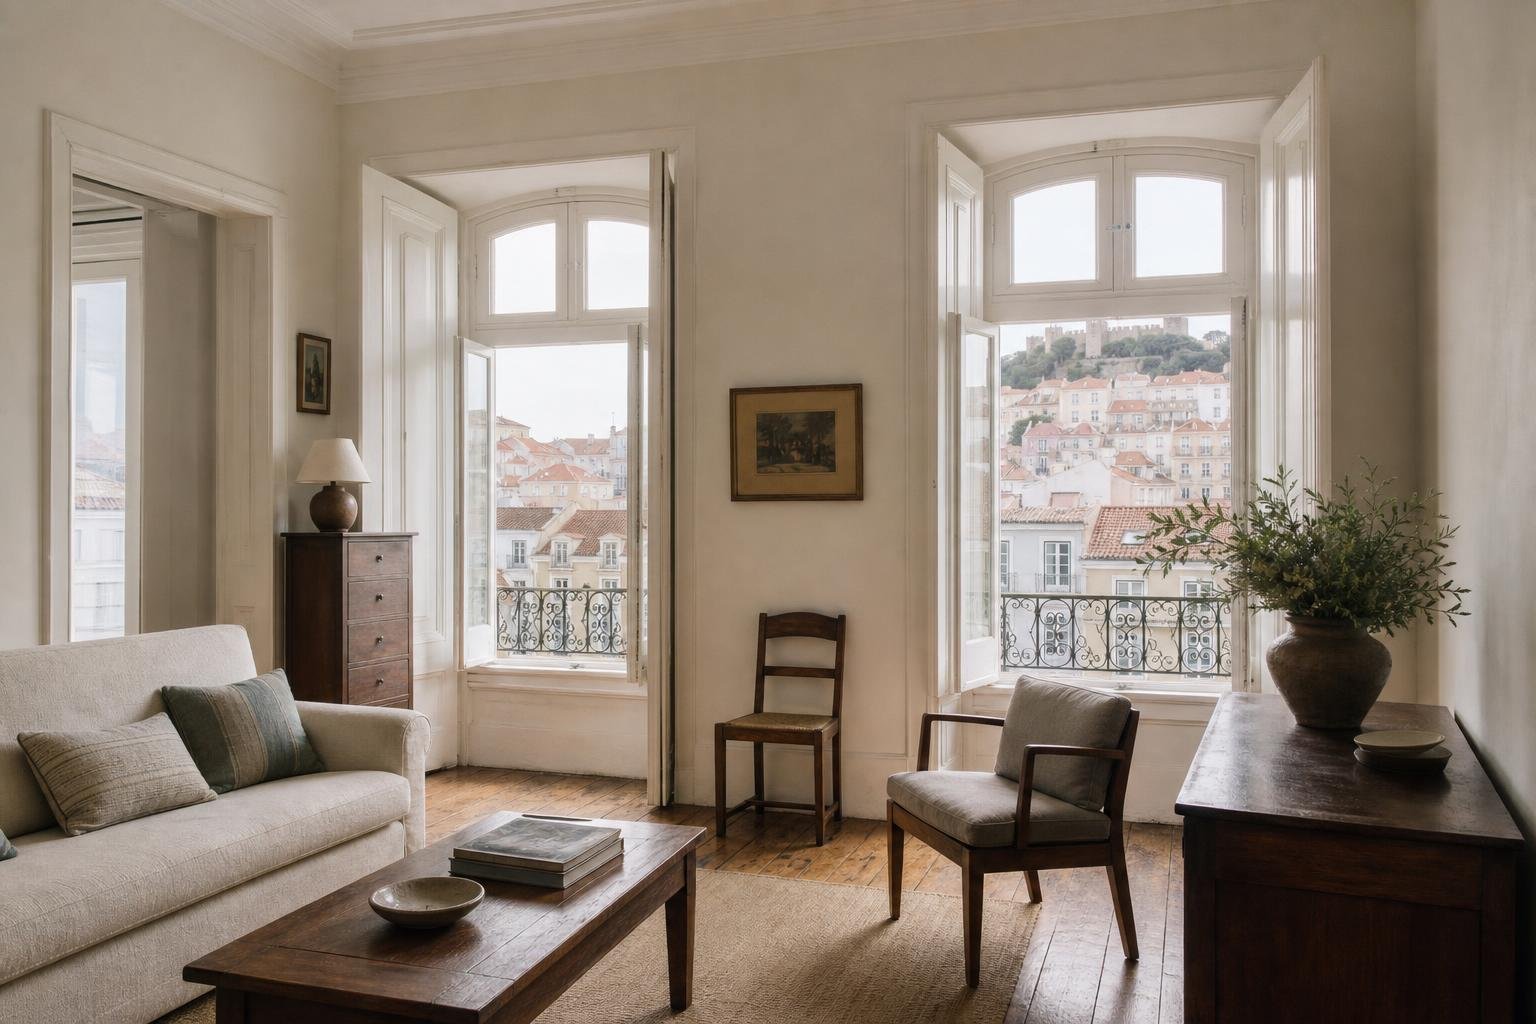
AI-generated editorial image; it does not depict an Obra Lisboa project.

Obra Lisboa