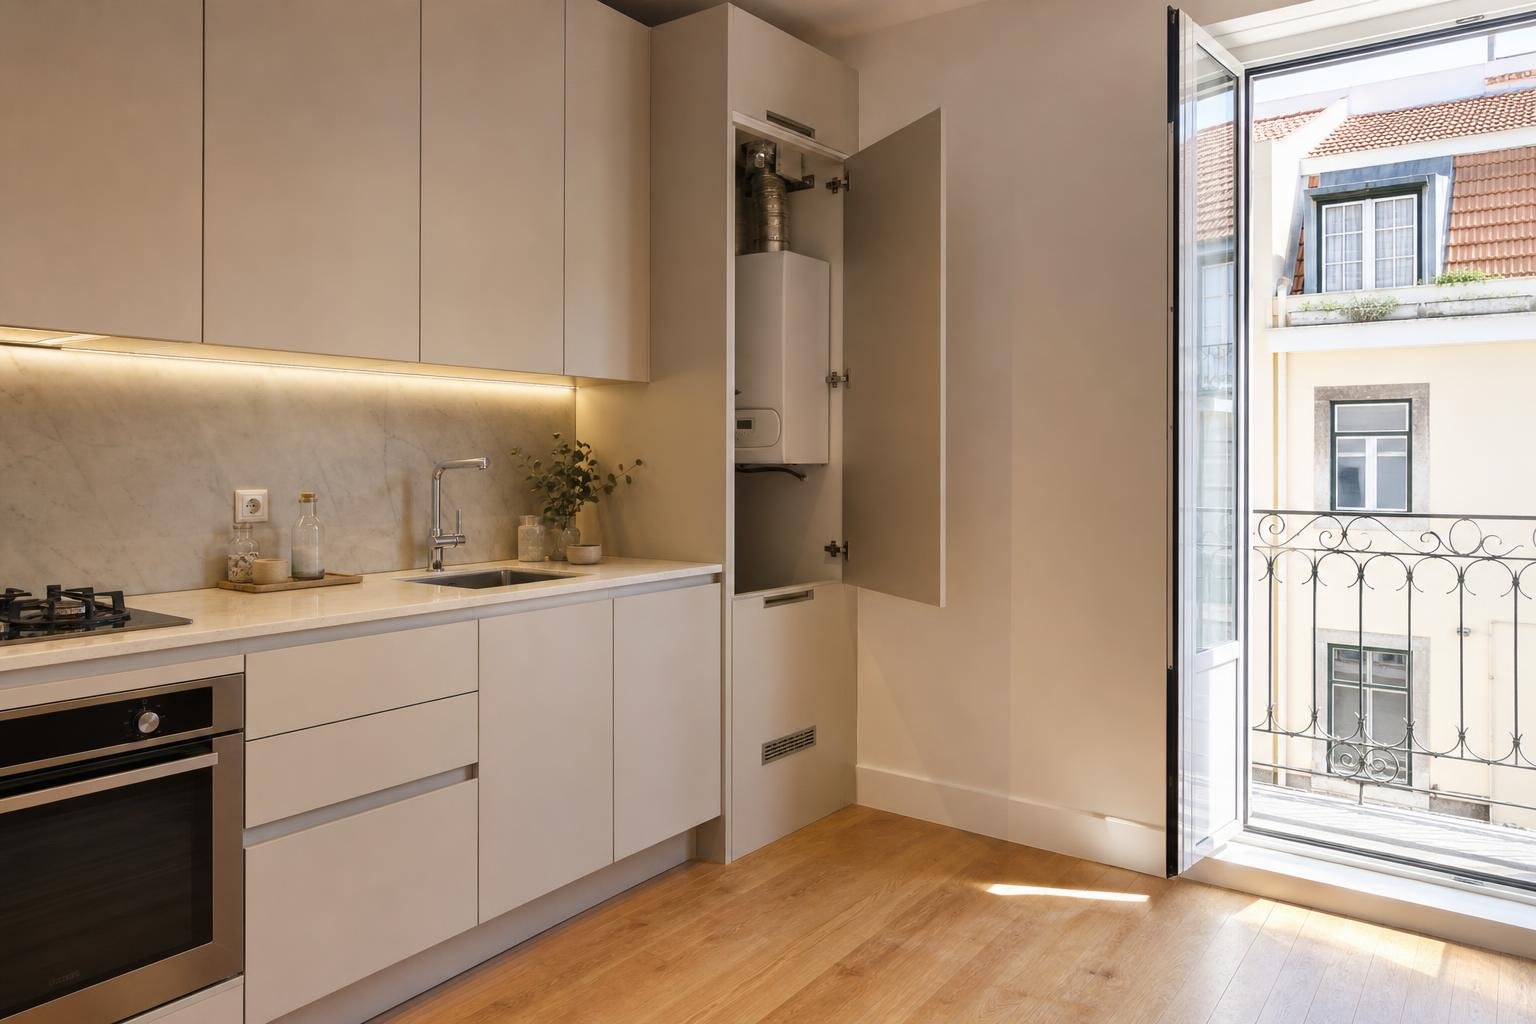
Vinyl flooring can be a practical choice for a renovated kitchen: it is comfortable underfoot, comes in many visual styles and, when properly selected and installed, makes everyday cleaning easier. But the right decision does not begin with a sample board or colour. It begins with the condition of the subfloor, how water is used in the room, transitions to adjoining spaces and the standard of installation.
In a kitchen, small failures quickly become important. An uneven base can telegraph through the finished surface; a slow leak below the sink can affect plinths, joints or cabinetry; and a poorly resolved clearance at a doorway can become a wear point. Materials, adhesives and finishing products should also be chosen with indoor conditions in mind. The Portuguese Directorate-General of Health guidance on indoor air quality notes that construction materials, furniture and domestic activities can contribute to indoor pollutants.
This guide approaches vinyl flooring as part of a complete system — subfloor, moisture, joints, cabinetry and maintenance — rather than as a simple decorative layer.
First, identify which type of vinyl floor you are considering
“Vinyl” describes a family of systems, rather than one single product. There are click-lock planks or tiles, glued-down systems and options designed to be installed over certain existing bases. Each behaves differently when faced with unevenness, occasional water, temperature changes and heavy foot traffic.
Click systems can make phased refurbishment easier and reduce the use of adhesive, but they require a very even base and careful compliance with the manufacturer’s perimeter-clearance instructions. Glued-down systems can suit particular layouts and designs, but depend even more on subfloor preparation and correct adhesive selection. It is not safe to assume that every floor described as “water resistant” is suitable for every kitchen: surface water resistance does not mean that flooding, infiltration or a long-running leak cannot damage other parts of the assembly.
Before comparing prices, request the technical sheet and verify intended use, installation method, compatibility with underfloor heating where relevant, temperature limits and cleaning instructions. Documentation matters too: Portuguese rules for construction products require, where applicable, a declaration of performance, CE marking and safety instructions in Portuguese. See the Official Gazette framework on construction-product documentation.
Assess the subfloor before ordering any material
A new floor does not correct a defective base. Before installation, the subfloor needs to be checked for dryness, soundness, cleanliness and sufficient flatness for the selected system. Adhesive residue, raised tile joints, cracks, hollow areas, level changes and signs of moisture should be dealt with before a new layer conceals the issue.
In older kitchens, installing directly over ceramic tile is often tempting. It can work in particular cases, but only where the tiles are firmly bonded, joint relief has been addressed and the final floor height will not interfere with doors, plinths, appliances, window thresholds or necessary ventilation. The decision must also account for the door swing, dishwasher height and the connection to the floor in the adjoining room.
Carry out a practical check before appointing the contractor: measure heights at doorways and cabinets, locate cracks, look for leak evidence and identify who is responsible for subfloor preparation. In the quotation, list levelling, primer, self-levelling compound, removal of the existing floor, skirtings and transition profiles separately. This prevents the visible flooring price from hiding essential work or rushed decisions on site.
Preparation should be coordinated with other trades. If the refurbishment includes new electrical points or equipment changes, plan those services first, as discussed in our guide to sockets and switches before walls are closed, before final finishes begin.
Water in the kitchen: protect critical zones, not just the middle of the floor
A kitchen is not a bathroom, but it is a room with water, steam, frequent cleaning and appliances connected to water supply and drainage. Real protection depends less on broad promises and more on details: dishwasher connections, an accessible isolation valve, trapwork, hoses, sealing around the sink and the way plinths are designed.
The floor should be treated as an easy-to-clean surface, not as an absolute barrier against every leak. Do not leave standing water at joints, around cabinet bases or at transitions to other rooms. If a leak occurs, dry the area, identify the source and open up what is needed for inspection; covering the evidence with silicone or replacing only one plank may merely postpone a larger problem.
Check in particular how the floor will meet lower kitchen units. Installing cabinetry on top of a floating system may prevent the floor from expanding as intended. With many systems, heavy fixed cabinets and islands must be handled according to the manufacturer’s instructions, which may require cabinets to be fitted first or a specific detail. It is also worth reviewing under-sink cabinet ventilation.
The Portuguese health authority recommends ventilating while and after activities that increase humidity, including cooking and cleaning, and resolving moisture issues when they first appear. Read the general DGS recommendations for indoor air.
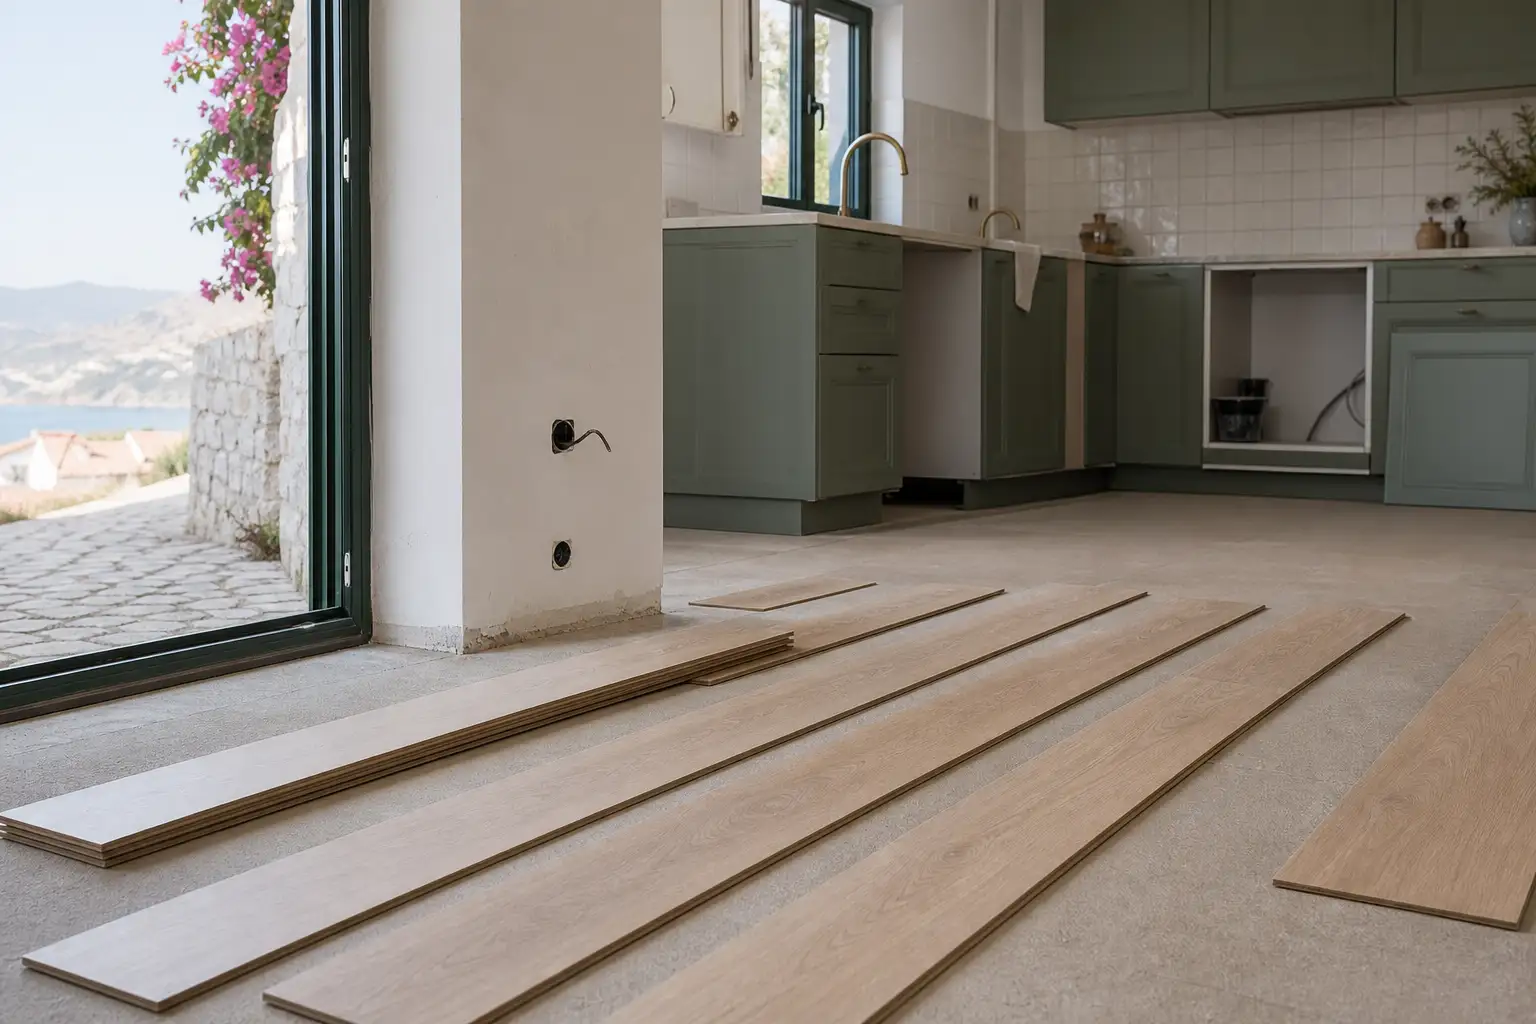
Joints, clearances and transitions determine the final result
Joints are not only aesthetic. In a click system, perimeter clearance allows for modest floor movement; in a glued-down system, the requirements differ, but doorways, junctions and material changes remain sensitive areas. Ignoring the relevant guidance can lead to lifting, open joints or pressure against walls and cabinetry.
Plan plank direction, the width of the final row and transitions to the hallway, living room or enclosed balcony from the outset. A very narrow finishing strip or an improvised joint at a doorway weakens both the appearance and long-term performance. Profiles should be selected for the difference in levels and installed without preventing the floor from behaving as its system requires.
Do not use sealant as an automatic answer for every perimeter. It may be specified at certain locations; elsewhere, it can restrict required movement or create a dirt-trapping edge. The safe approach is to follow the product’s technical detail and record decisions before work begins. A sample viewed in place, in both daylight and artificial light, also helps reveal whether the chosen texture will disguise crumbs, minor scratches and water marks without making the kitchen feel visually heavy.
Choose durability for real use, not appearance alone
A busy family kitchen, a rental property and a weekend apartment do not face the same pattern of use. When comparing options, ask about the stated wear performance, suitability for residential areas, stain resistance and maintenance requirements. Consider texture as well: an overly smooth surface may show marks easily, while very deep texture can require more attentive cleaning.
Colour is functional too. Very pale wood effects, uniform greys and high-contrast patterns can each behave differently with dust, grease and scuffs. Take samples home, place them near the worktop, sink and entrance, and view them at different times of day. That exercise is more valuable than deciding solely under showroom lighting.
Durability also means repairability. Keep spare boxes from the same batch, record the reference and retain technical sheets, warranties and care instructions. If a plank needs replacing years later, the colour or locking profile may no longer be available. For a wider overview of how to compare materials, see our article on flooring options for construction projects.
Coordinate installation with ventilation and kitchen handover
A technically sound installation begins before the planks arrive on site. The room must be prepared, dusty work should be complete and the manufacturer’s conditions for acclimatisation and application must be followed. Installing too quickly to recover programme time can compromise a surface expected to perform for many years.
It is equally important to balance airtightness, comfort and fresh-air renewal. Improving the performance of buildings and their technical systems is an aim of Decree-Law No. 101-D/2020 on the energy performance of buildings. In practice, for a renovated kitchen, this means considering extraction, ventilation and equipment maintenance together, rather than sealing every air path without a clear strategy.
At handover, inspect in daylight: check alignment, joints, skirtings, cuts around frames, profiles, door operation and access to valves. Test appliances and look for signs of leaks during the first uses. Request written guidance on cleaning, products to avoid and the procedure for spills or damage. A well-documented handover protects the investment and makes future maintenance simpler.
Renovating a kitchen and want to choose flooring based on the subfloor, daily use and installation details? Obra Lisboa can help coordinate the construction decisions so that the final finish is attractive, practical and durable.
Editorial image; it does not depict an Obra Lisboa project.

Obra Lisboa