Keeping bicycles outdoors can seem straightforward until rust appears, brakes remain damp, tyres lose shape, circulation becomes awkward or there is nowhere genuinely secure to lock the frame. At a house, a well-planned shelter tackles those problems and makes everyday cycling much easier to sustain.
The answer does not need to be a miniature garage. It may be a lightweight structure, a covered recess beside a side entrance or a properly organised part of the garden. What matters is treating the shelter as a small building project: establish its position, water management, materials, ventilation, fixings and access before purchasing a canopy or rack.
Lisbon combines rainy periods with strong sunlight and wind. The IPMA climate normals for Lisbon/Instituto Geofísico are a useful reminder that an outdoor solution must cope with both rainfall and heat. This guide explains how to turn that need into a durable, convenient and maintainable space.
Start with the daily route, not the shelter itself
Before drawing the shelter, rehearse the entire routine: opening the gate, bringing the bicycle in, setting down shopping, removing a helmet and bag, locking the frame and leaving again. The best position is usually the one that avoids steps, tight turns and crossing the main outdoor living area. A shelter at the far end of the garden may be protected, but it is less likely to be used.
Allow room to manoeuvre without pedals, handlebars or bicycles colliding. For bikes stored side by side, account for handlebar overlap as well as tyre width. If you choose hanging storage, make sure the lifting height is manageable for everyone in the household and that the wall can take the intended loads.
Do not narrow a route needed for doors, meters, bins or garden maintenance. It is worth coordinating this choice with the access logic explained in external pedestrian gates for houses: clear circulation improves both convenience and safety.
- Keep the route short from the street, garage or entrance to the shelter.
- Avoid moving bicycles over grass, loose gravel or areas that collect water.
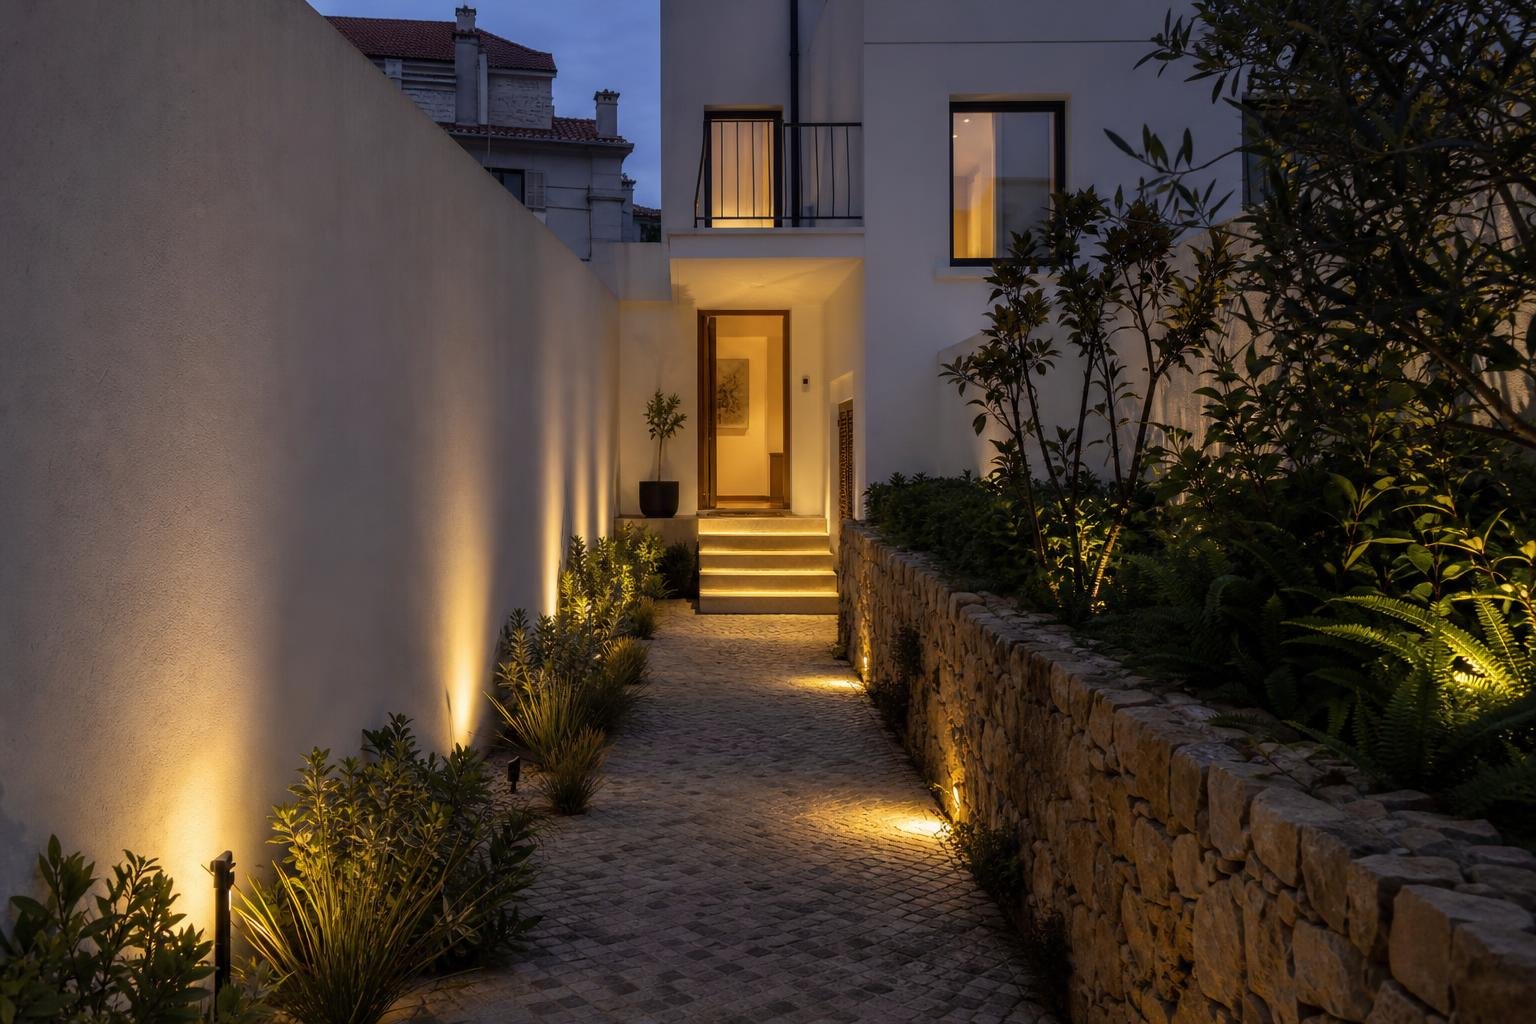
- Provide enough lighting for use at the end of the day.
- Leave space for cleaning, quick repairs and access to locking hardware.
Roofing and siting: provide cover without an improvised structure
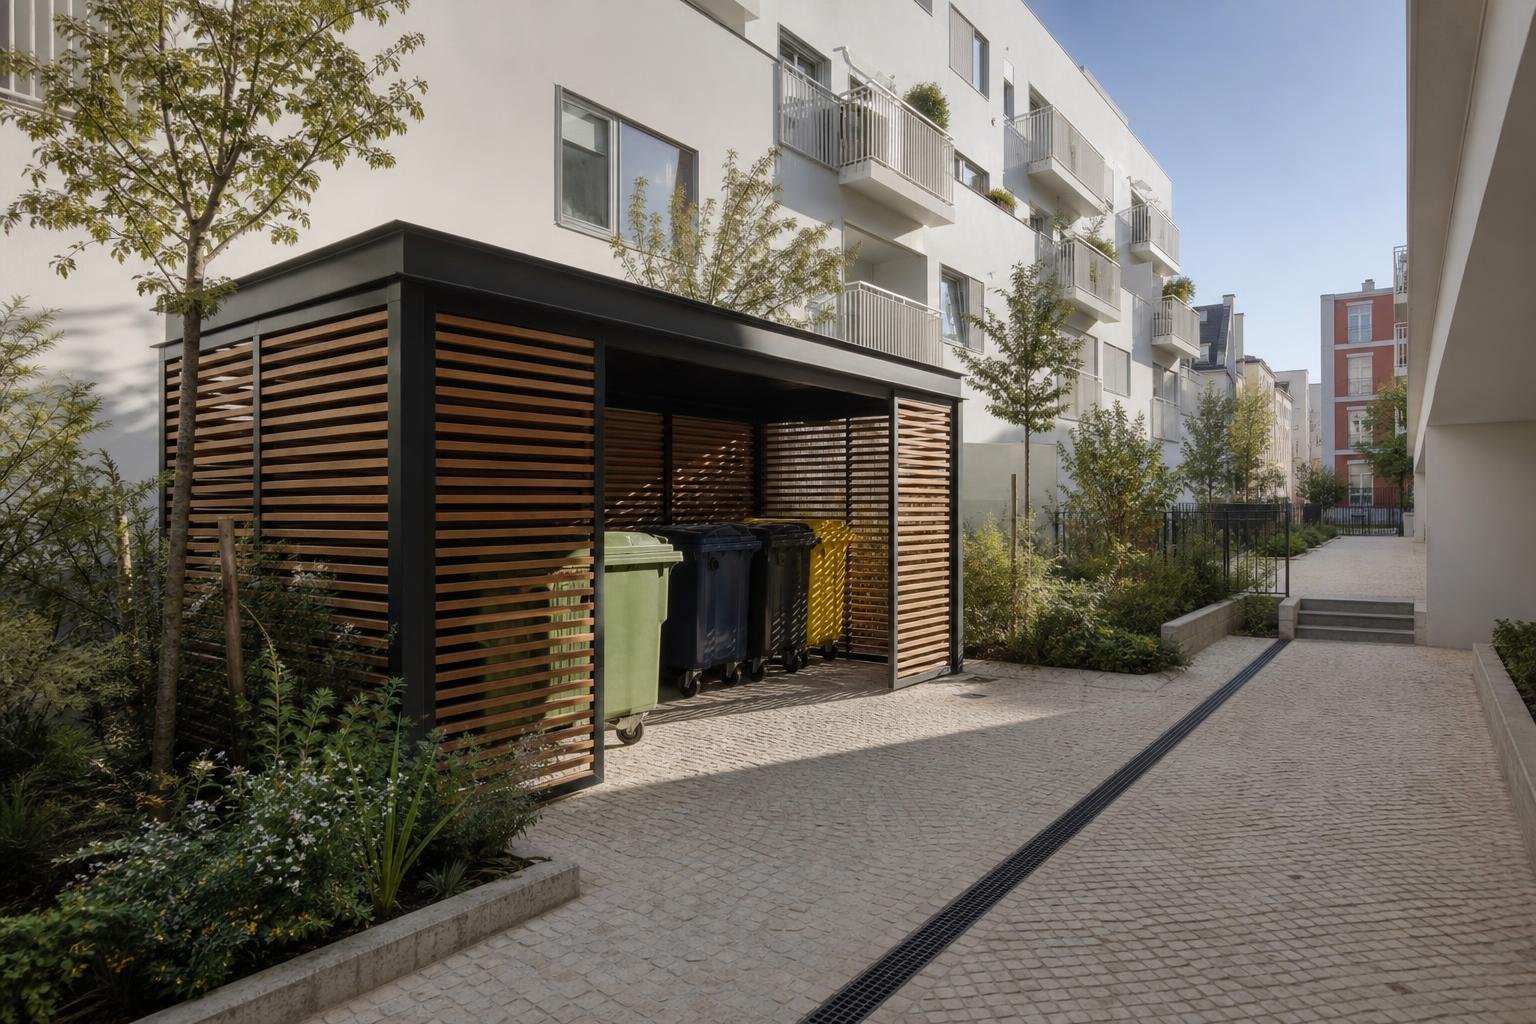
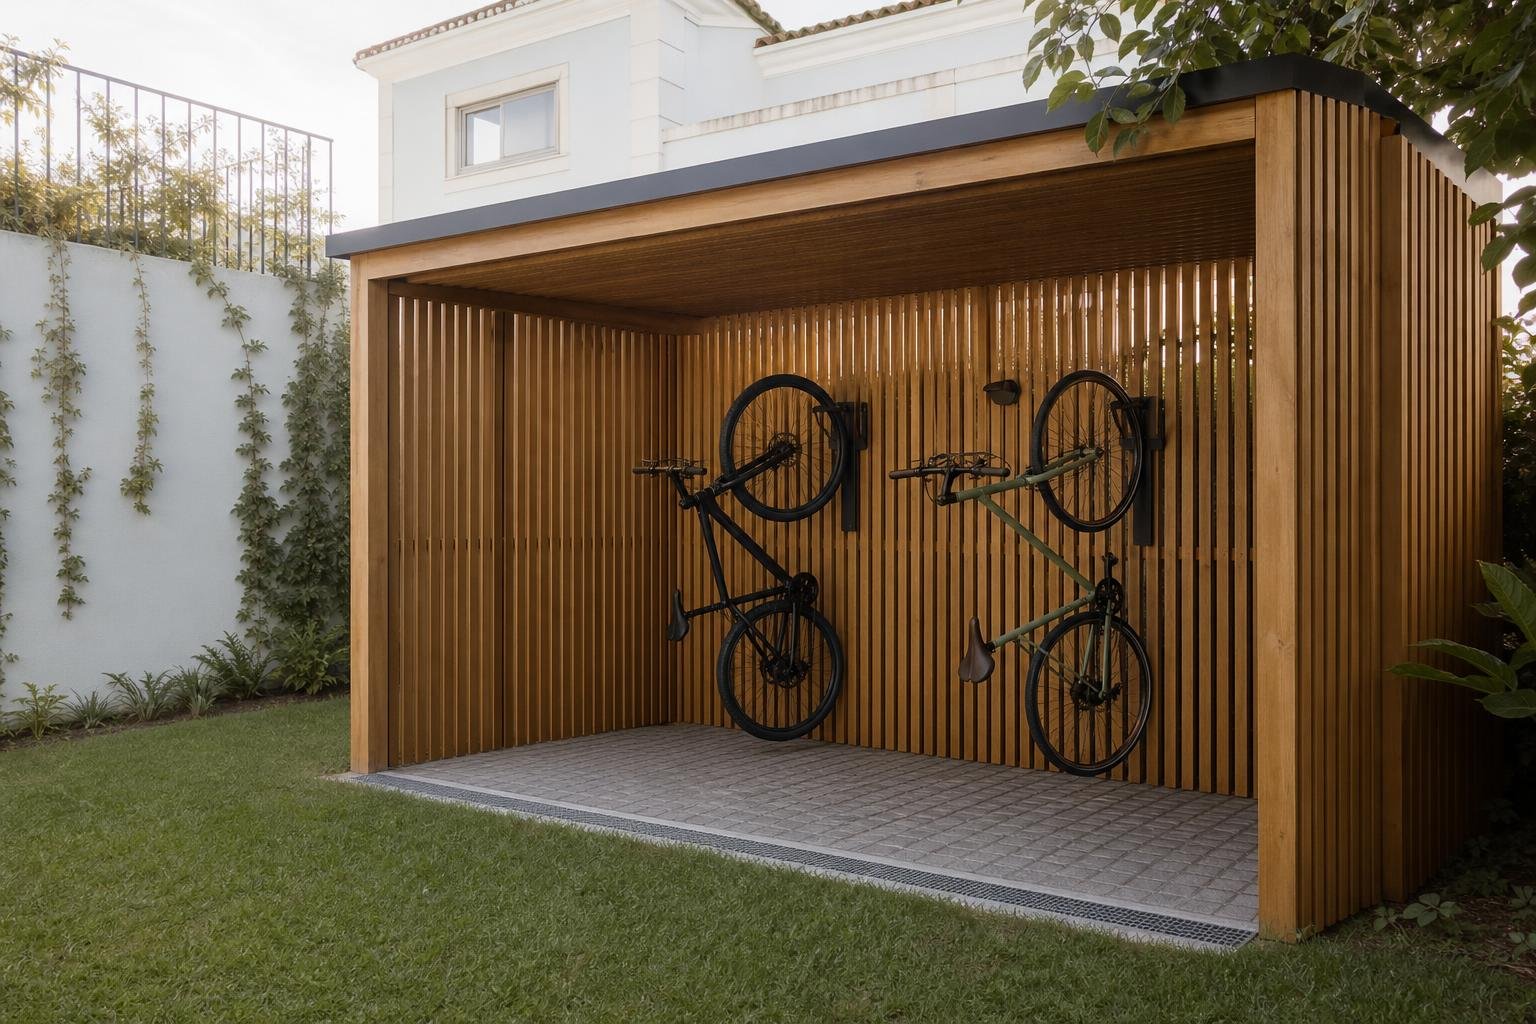
A roof should keep off direct rain and reduce long exposure to sun, but it does not need to seal every side. Properly proportioned overhangs, a fall that leads water to a controlled area and side screens on the most exposed elevation often work better than a completely airtight box.
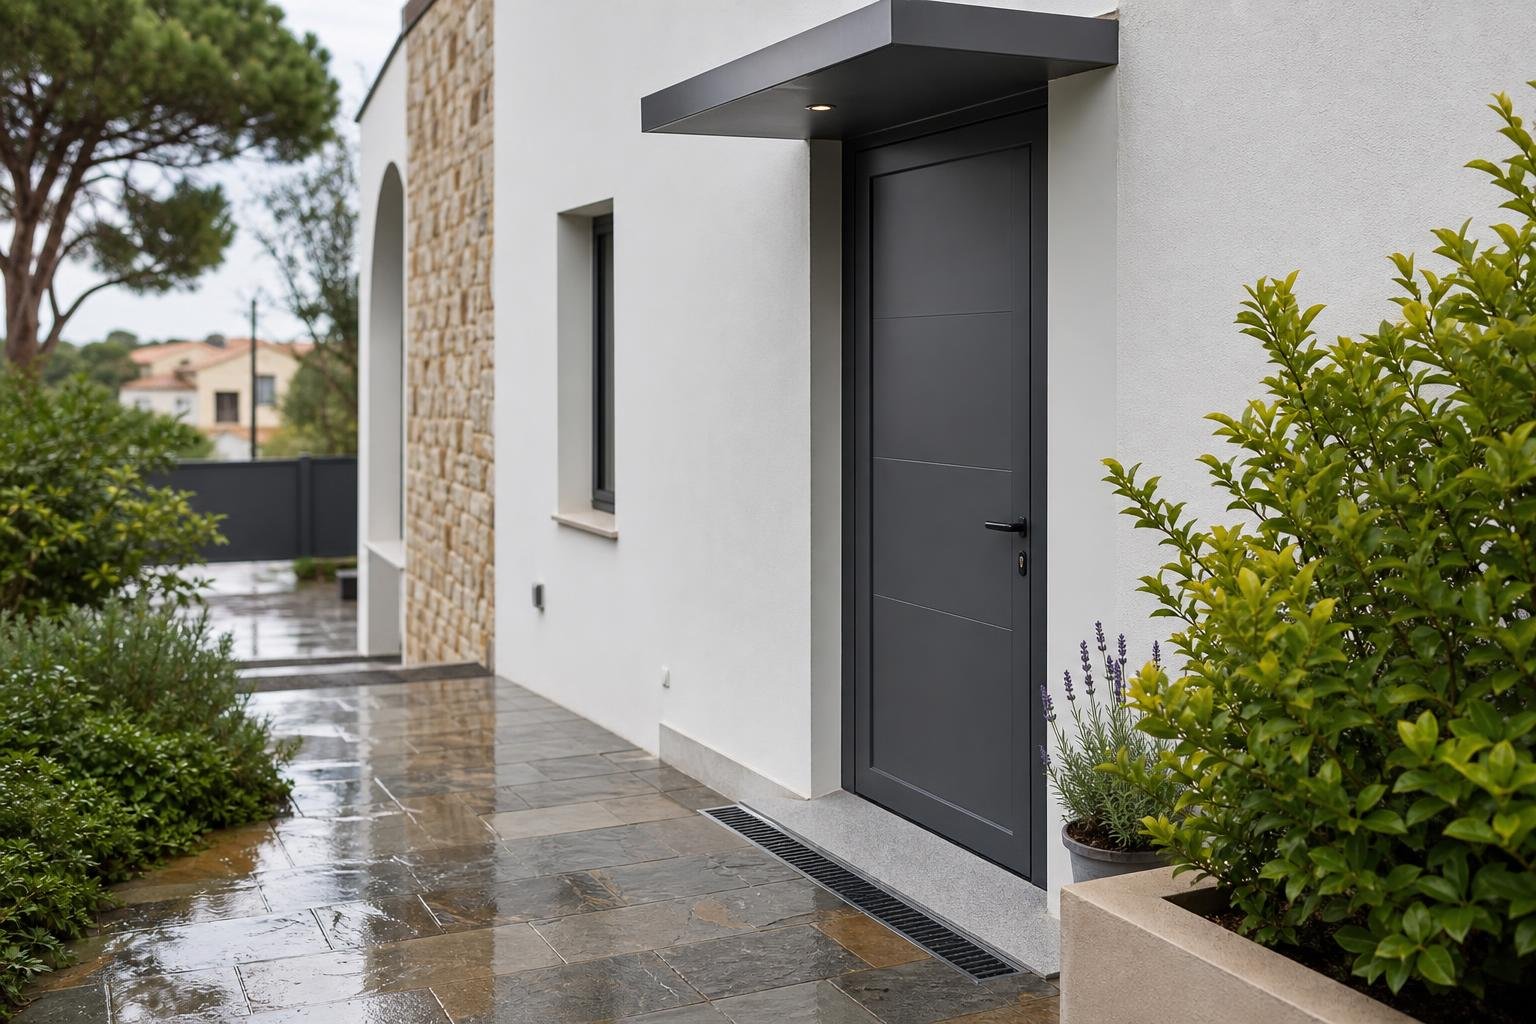
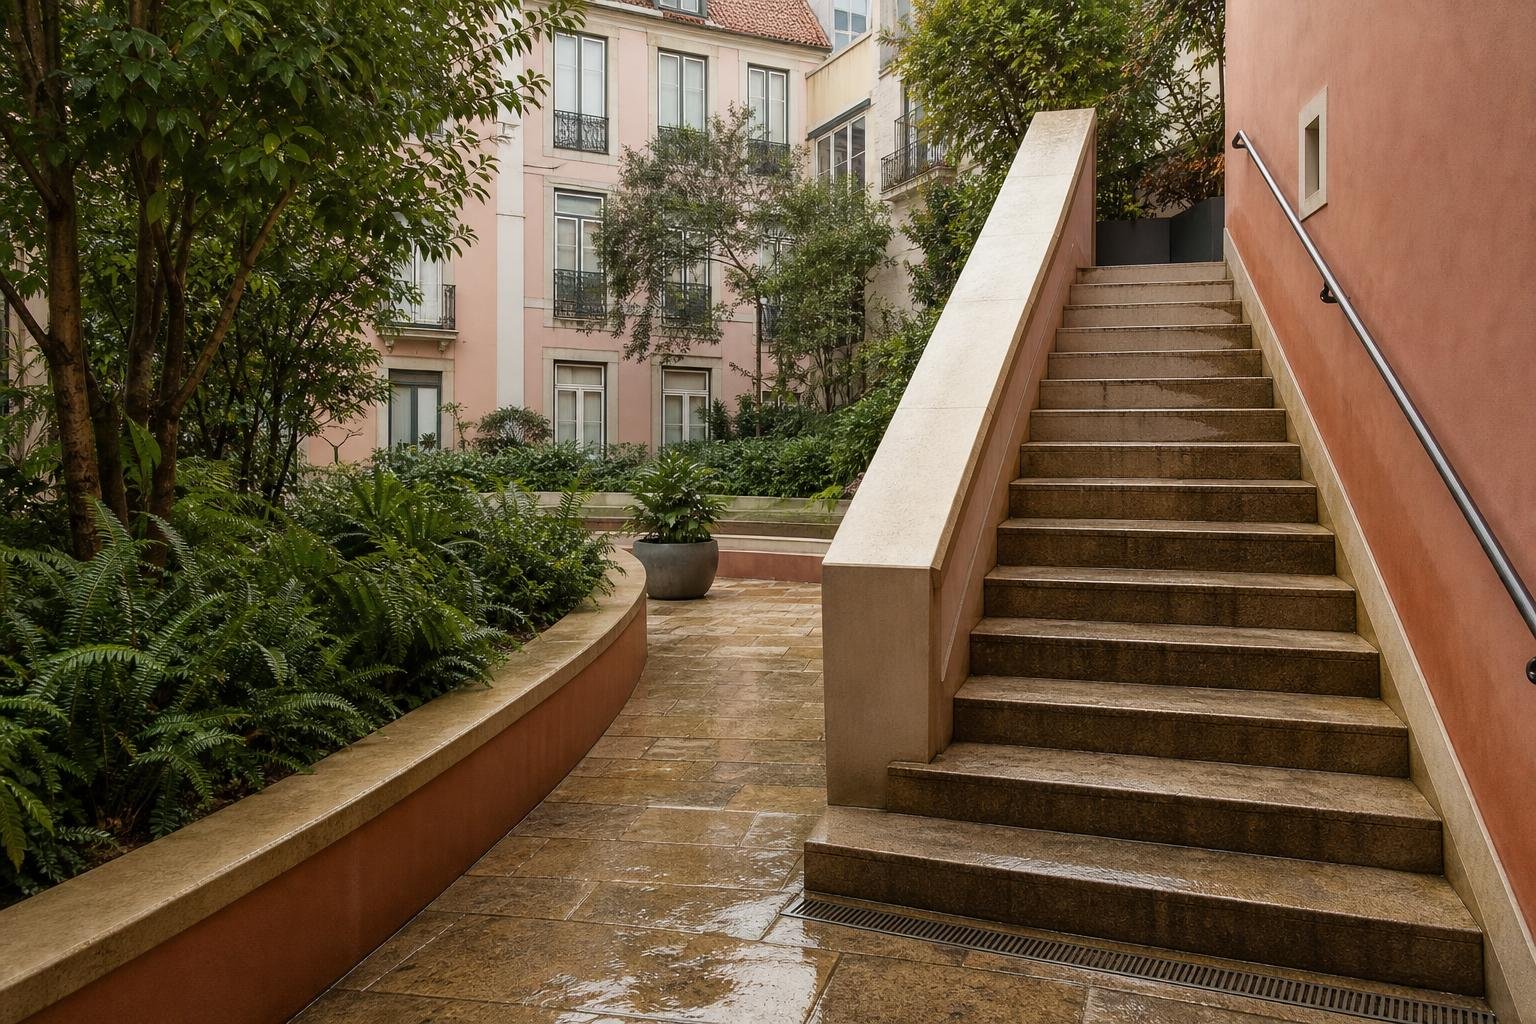
Do not discharge roof water next to walls, thresholds or foundations. It should be directed towards suitable drainage, without leaving puddles by tyres or causing continuous splashback onto bicycles. If the shelter sits on a new base, decide the levels, falls and connection to drains at the outset. The principles in courtyard and patio drainage in Lisbon help prevent a small structure from creating leaks across a wider area.
Also check whether the proposal materially changes the footprint, impermeable area, setbacks or appearance of the property. In Lisbon, construction, extension and alteration works can be subject to applicable planning procedures; consult the municipality’s page on building works and prior notification before starting. The sensible approach is to confirm the requirements for the specific property before ordering materials.
Ventilation: the detail that protects bicycles and finishes
The aim is not to make a heated room, but to stop moisture becoming trapped. A fully enclosed shelter, particularly one with a rarely opened door, can hold condensation after wet weather or when wet bicycles are stored. That moisture speeds corrosion on chains, bolts, discs, cables and fixings, while also damaging timber and lower-grade panels.
Provide air inlets and outlets on opposing sides, or use slatted screens with controlled gaps. A perforated door, discreet grilles or a ventilated strip beneath the roof may be enough. The shelter should stop wind-driven rain where required while still allowing natural drying. Do not block vents with boxes, wet covers or equipment placed against walls.
Choose materials suited to external exposure: galvanised or properly treated structure, corrosion-resistant screws, stable panels and details that do not form water traps. Timber placed directly over damp paving and metal sheets with no rear ventilation are shortcuts that often lead to early repair work.
Where condensation is persistent, a slightly raised floor with joints or a suitable draining base can prevent permanent contact with water. Clear leaves and soil from around supports, as they obstruct drainage and keep the base of the structure wet.
Security: lock the frame, not only a wheel
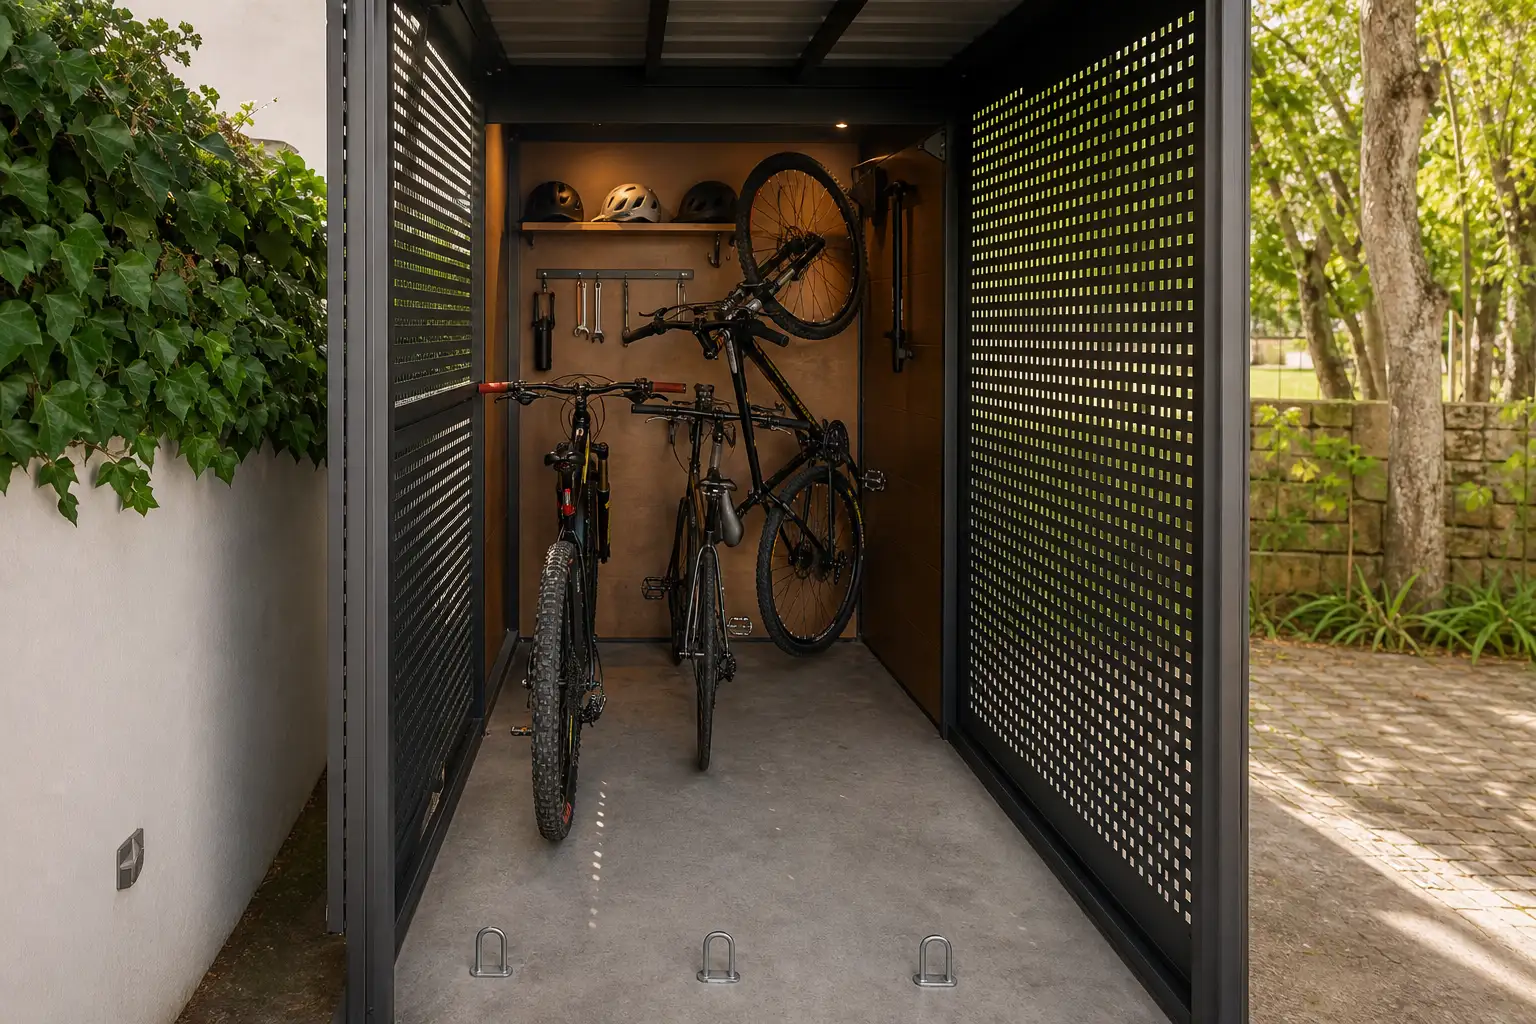
An expensive lock cannot make up for a weak anchor point. Plan a robust mechanical anchor fixed to a suitable structural element or to a concrete base designed for the purpose. It should allow the frame and, where possible, at least one wheel to be secured. Lightweight decorative racks, tubes screwed into finishes or rings fixed only into thin timber do not provide the same resistance.
Place the bicycle so the lock can be used without resting on the floor, sitting in water or being hidden behind another bike. Sensor lighting improves usability and can make the space less vulnerable, but it does not replace sound enclosure, controlled visibility and correct fixings.
Urban regulations recognise the value of accessible bicycle storage protected from theft and deterioration. The Lisbon Municipal Urbanisation and Building Regulation published in the Diário da República provides for covered, easily accessible bicycle spaces in new housing for exactly that purpose. An existing house shelter is a different case, but the principle remains useful: easy access, weather protection and security must work together.
- Install anchors before walls are closed or final finishes are applied.
- Select hinges, screws and locks designed for exterior use.
- Avoid concealed spaces with no useful visibility from the house or street.
- Record bicycle serial numbers and retain proof of purchase.
Storage that does not turn the shelter into clutter
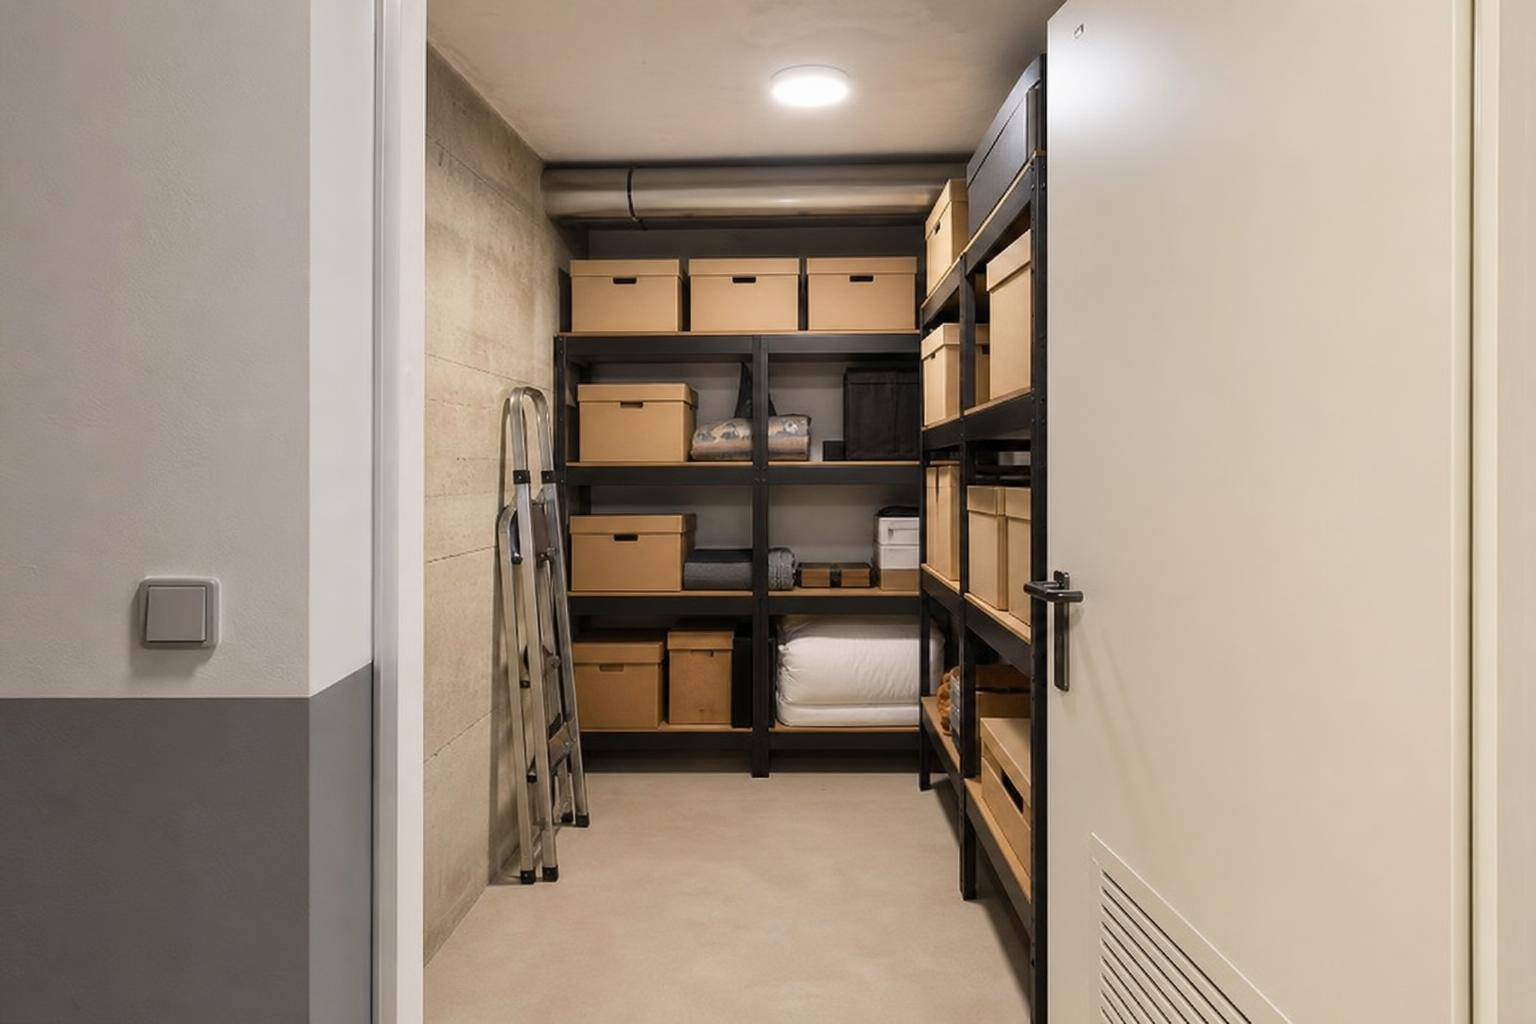
The shelter works best when every item has a defined place. Separate bicycles, helmets, pumps, locks, covers, tools and cleaning products. Heavy items belong low down; daily-use items should be easy to reach; chemicals and sharp tools need a closed cabinet or box, particularly where children are present.
Vertical racks free floor area, but need headroom and a secure way to stabilise the wheel. Ground-level parking is easier for children, electric bicycles or anyone who does not want to lift weight. A mixed layout is often the best answer: one low position for the everyday bicycle and vertical storage for occasional bikes.
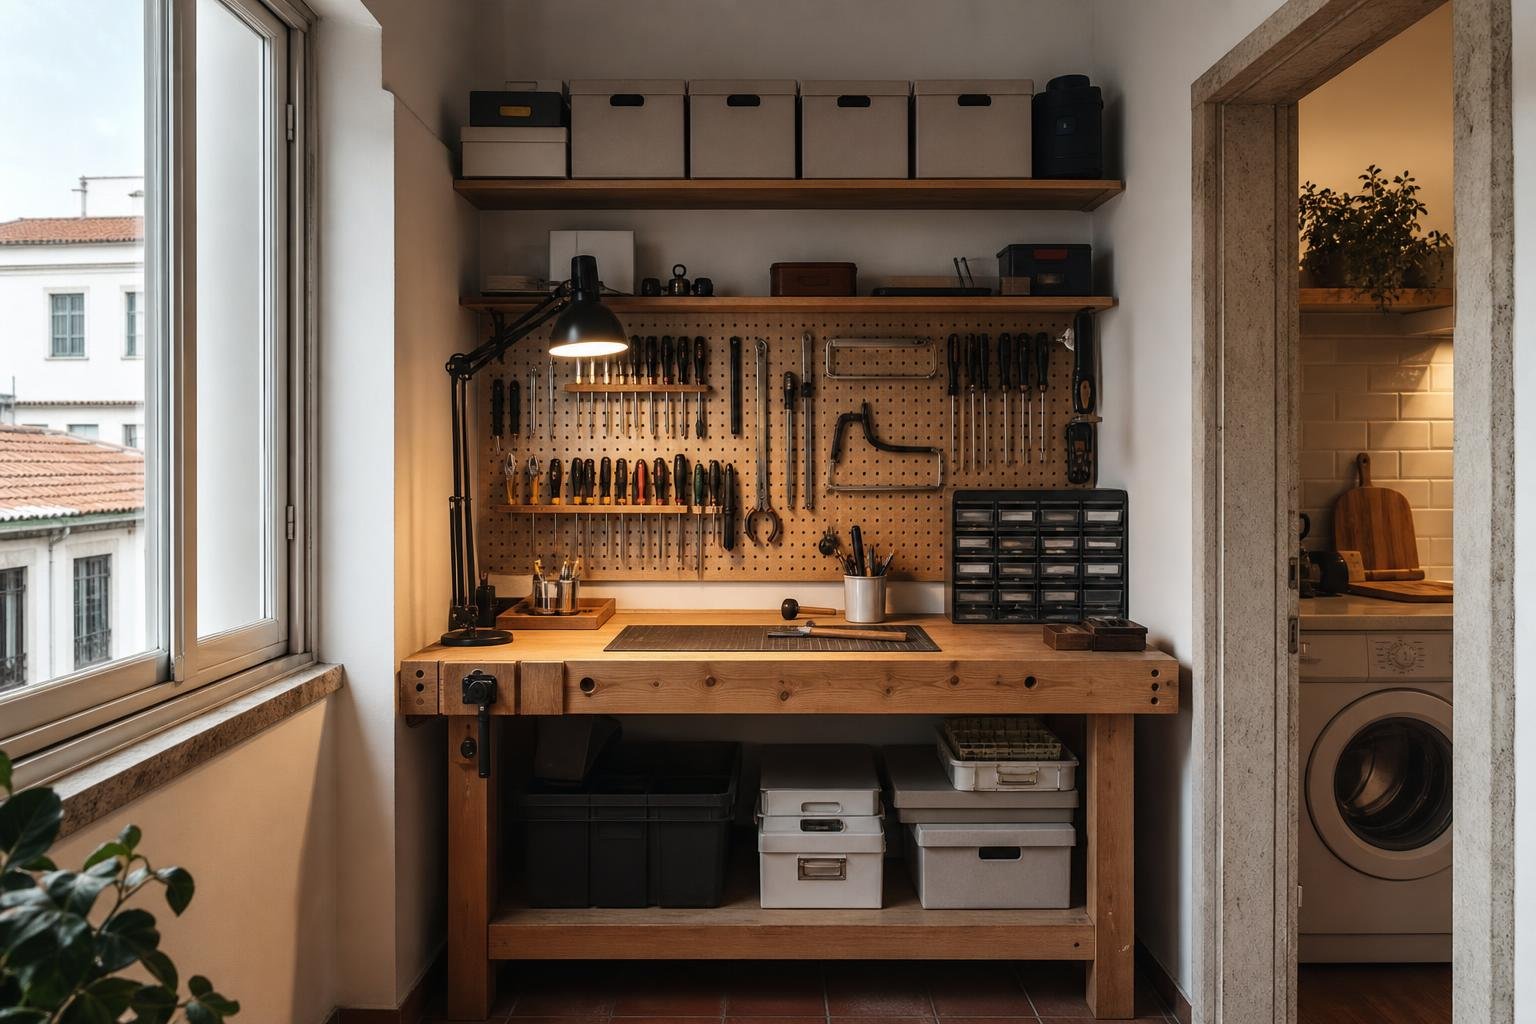
Do not fill the shelter with things unrelated to cycling. The more cluttered it becomes, the harder it is to dry, inspect for leaks and remove a bicycle safely. If you need tool storage, organise it as its own working area; see how to plan a home tool area for practical ideas.
Include a small washable surface for accessories and a place where a wet cover can dry without touching frames. Do not store e-bike batteries where they are exposed to damp, extreme heat or direct sunlight; always follow the manufacturer’s instructions.
When to use professionals and how to prepare the work
A modest structure can involve foundations, façade fixings, exterior electricity, drainage or roof alterations. If there is uncertainty about stability, waterproofing, planning status or electrical connections, obtain technical advice before work begins. Photographs, dimensions, levels, the location of existing pipes and cables, and a list of intended uses make a professional assessment quicker and more reliable.
Ask for a proposal that separates the structure, base, roof, drainage, anchors, locks, paintwork and electrical work. This makes solutions easier to compare and prevents vital details being left until the end. For contracted work, you can use the IMPIC register of private construction contractor licences to check eligible companies.
Before handover, test the door with every bicycle inside, confirm that water does not run towards the house, check that anchors are firm and inspect flashings, screws and ventilation openings. A well-executed bicycle shelter is not judged only by appearance: it should keep access fast, reduce weather exposure and remain easy to clean and maintain for years.
Reorganising the outside of your house? Obra Lisboa can help bring shelter, drainage, paving, lighting and storage into one coherent construction plan, without overlooking the details that protect both the property and the bicycles.
AI-generated editorial image; it does not depict an Obra Lisboa project.

Obra Lisboa