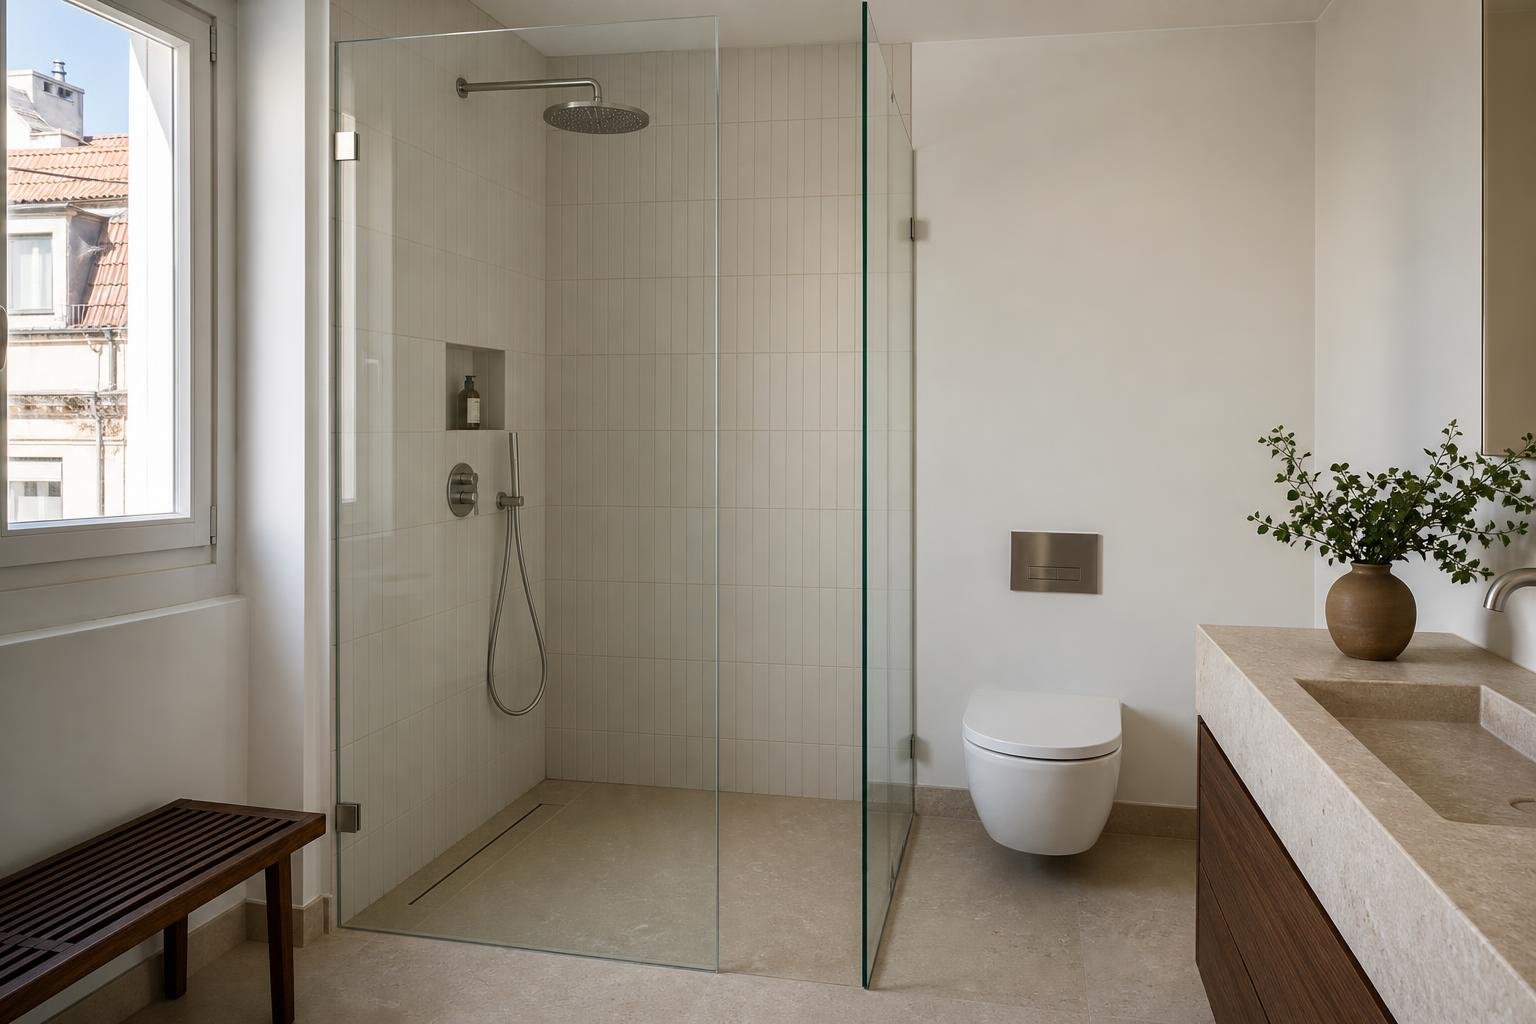
A shower enclosure may look straightforward: glass, profiles, a door and a bead of silicone. Yet many difficult-to-trace leaks begin exactly where those components meet. Water can travel behind a profile, through an open joint, beneath a poorly detailed threshold or into a waterproofing failure concealed below the tiles. By the time the issue appears on a neighbour’s ceiling, along a hallway skirting board or as a persistent damp smell, it is rarely a small repair.
During a renovation, sealing should be treated as a continuous system: a stable base, correct drainage, compatible waterproofing, properly installed finishes, an enclosure fitted without careless penetrations, and ventilation that dries the room after every shower. Portugal’s Directorate-General of Health notes that bathrooms are a significant source of household moisture and advises preventing leaks and standing water in corners. Read the DGS guidance on indoor air in homes.
This guide explains what is routine maintenance, what must be resolved before fitting or replacing an enclosure, and when an apparently minor joint points to a deeper construction issue.
Follow the water path before reaching for silicone
Silicone is a local finishing and sealing joint; it does not replace a waterproof substrate or correct an inadequate floor fall. Before selecting an enclosure, consider where water goes when it lands on the wall, runs down the glass and reaches the floor. The drain should receive that water without leaving puddles beside profiles, at wall junctions or at the door.
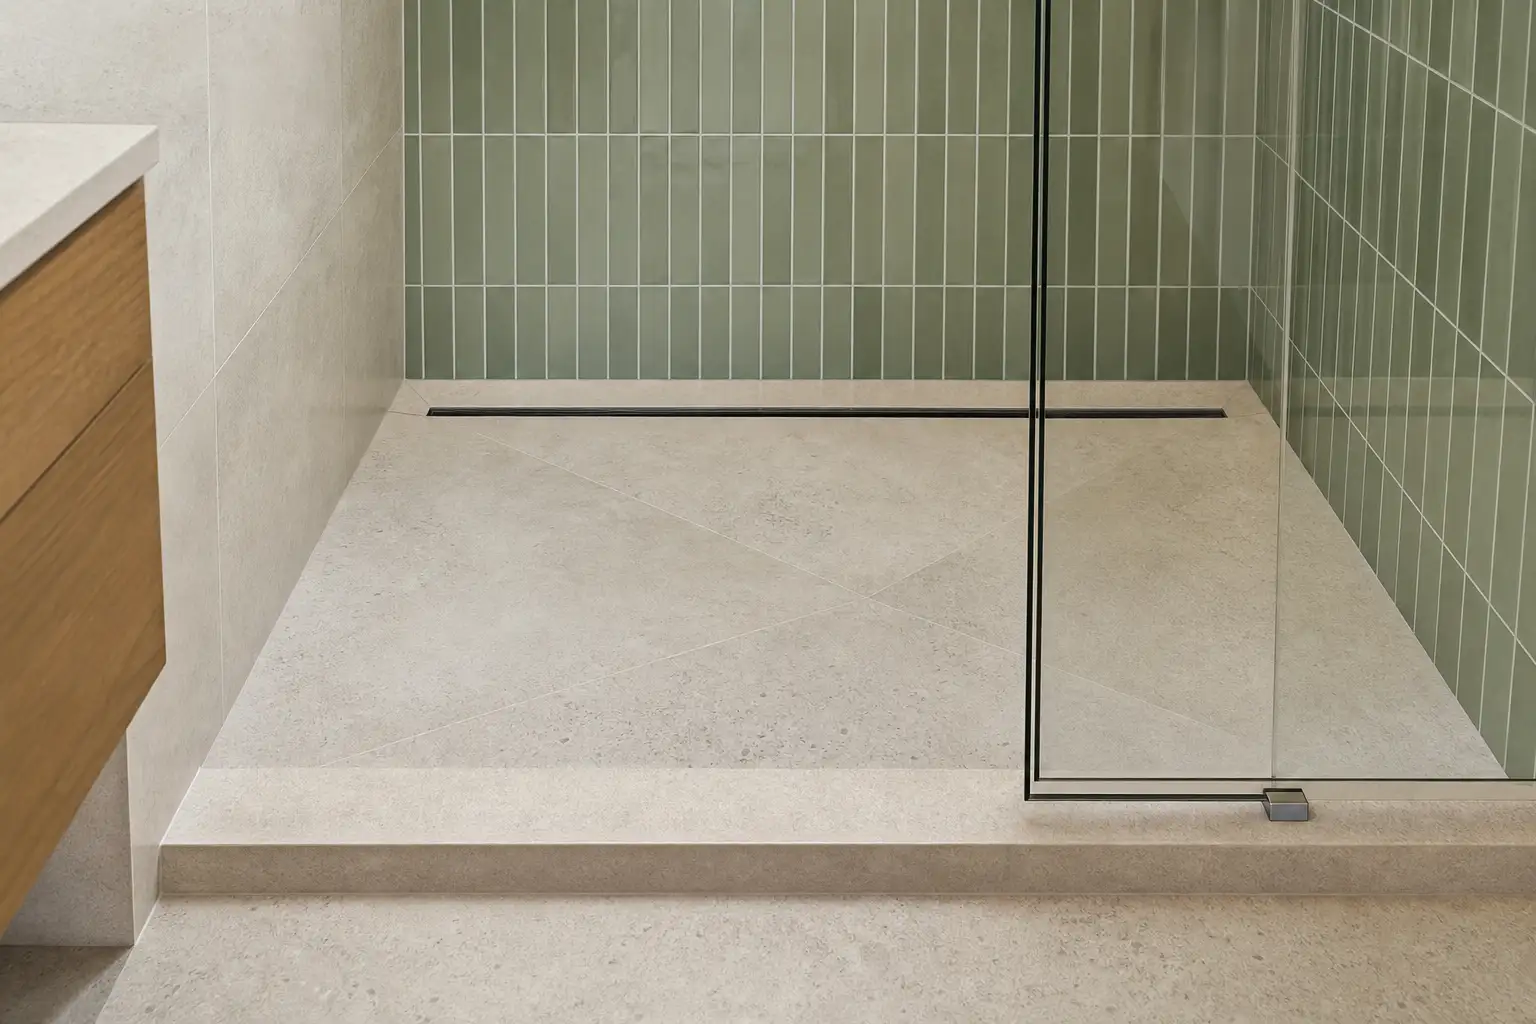
In a level-access shower, the tiled fall and drain position are fundamental. With a shower tray, check that it is fully supported, level and does not flex. A tray that moves slightly underfoot can split the wall-to-tray joint, even where the silicone looked perfect at handover.
It is also worth testing the shower before the final enclosure fit: run water across different areas, check for flow back towards the opening and make sure the door closes without rubbing. Correcting drainage at this stage is far easier than dismantling glass, profiles and finishes later.
Where the shower includes niches, benches or complex junctions, review the principles in Bathroom Wall Niches: Useful Detail or Hidden Risk?. Every additional corner needs genuinely continuous waterproofing, not simply a visible bead of sealant.
Install continuous waterproofing before the finish
Tiles, mosaics and cement-based grout are not, on their own, a watertight barrier. Protection against water must sit behind the finish, with particular care at shower walls, floors, corners, pipe penetrations and transitions between different materials. The chosen system — liquid membrane, sheet membrane or another manufacturer-specified solution — should include suitable tapes and preformed components for corners and penetrations.
This is especially important on plasterboard walls, older masonry and partitions where a small leak may remain hidden for a long time. Applying product only to the central area is not enough: water finds breaks, holes and junctions between planes. Ask the installer to identify the complete system being used, observe drying times, and document this stage before tiles are laid.
Property drainage systems must be kept in proper working and sanitary condition, and the owner or usufruct holder is responsible for their maintenance, repair and renewal. See the Diário da República regulation on building drainage systems and leak-tightness tests. Although an enclosure is a finishing item, its longevity depends directly on these concealed layers performing properly.
Profiles, screws and joints: where common failures begin
Vertical wall profiles should be fitted in accordance with the enclosure system and the substrate behind the tiles. Drilling through tiling without assessing what lies behind it can compromise waterproofing. Where mechanical fixing is required, holes should be drilled carefully, cleaned and sealed with a compatible product before the screw and profile are installed.
It is common to apply excessive silicone inside and outside every channel. However, many enclosures use small drainage paths within their profiles; sealing these indiscriminately can trap water in the frame and make it emerge elsewhere. The practical rule is to follow the instructions for the exact model, keep designed drainage points clear, and seal only the faces specified by the manufacturer.
Use sanitary-grade silicone suitable for wet areas, on clean, dry and dust-free surfaces. The joint needs enough depth to accommodate small movements, but should not become an uneven ridge that holds dirt. Masking tape helps create a tidy line; more importantly, allow the full curing time before the shower is used.
If a wall needs opening to repair pipework or valves, plan for future access. Inspection Access Panels for Concealed Plumbing explains why a discreet, accessible solution can prevent needless demolition later.
The connection between enclosure, tray and wall
The junction between glass and shower tray deserves close inspection. Water should not stand beside the lower profile or escape through the door opening when the shower is directed towards the entrance. In frameless or minimally framed screens, the glass geometry, bottom seal and floor fall become even more important.
For hinged doors, check floor clearance, seal positions and opening direction. For sliding doors, ensure rollers are correctly adjusted, lower tracks can be cleaned, and retained water has a route out. A visually elegant system that cannot be cleaned will collect limescale, soap residue and dirt; over time, these deposits degrade seals and prevent reliable closing.
In older bathrooms, do not assume apparently straight walls are truly plumb. Measure at several points. Small variations can be accommodated by adjustable profiles; larger ones may require correcting the finish or choosing a made-to-measure enclosure. Forcing glass to follow an uneven wall creates stress in the hinges, profiles and joints.
Ventilation and cleaning: protection continues after installation
A watertight enclosure limits water passing into adjacent areas, but it does not remove the moisture generated by showering. Excess humidity can condense on cold surfaces and encourage mould, according to the DGS information on indoor air quality. The bathroom therefore needs effective ventilation: a window used properly where available, or mechanical extract ventilation that is correctly sized and maintained.
After showering, leaving the enclosure door slightly open, using a squeegee on the glass and removing water from tracks reduces the time surfaces remain wet. Clean seals with non-abrasive products and avoid solvents that can make them brittle. If dark marks appear on silicone, assess ventilation and water retention first; replacing the joint without addressing the cause merely postpones the problem.
For a broader approach to drying rooms and controlling condensation, read Ventilation in Renovated Homes: Prevent Damp and Mould Without Losing Comfort. It is a decision that should accompany bathroom design, rather than a reaction once staining has appeared.
When it is a simple repair — and when to call a professional
Replacing a worn door seal, cleaning a track or renewing an accessible superficial joint may be routine maintenance. Signs such as loose floor finishes, silicone that repeatedly opens, water outside the shower tray, staining on the adjoining wall, a damp ceiling below or a persistent odour call for diagnosis before applying more sealant.
A professional should establish the water source: a leaking connection, drainage failure, cracked tray, interrupted waterproofing, substrate movement or condensation. Testing in stages — drain and tray first, walls next, doors afterwards — prevents one type of leak being mistaken for another. Photographs of concealed layers, material data sheets and a record of work carried out are highly useful if repairs are needed in the future.
In Lisbon, interior work that does not affect structural stability, façade form, roof form or other municipal conditions may be exempt from prior control; however, placing works equipment in public space can still require its own procedure. Check Lisbon municipal conditions for exempt works and public-space occupation. In an apartment building, also inform the condominium management where work may affect common elements, vertical service risers or neighbours.
A durable bathroom comes from coordinated decisions before the glass is installed. If you are renovating and want to assess waterproofing, drainage, finishes and enclosure fitting as one system, Obra Lisboa can help you plan the details that prevent repeated repairs.
Editorial image; it does not depict an Obra Lisboa project.

Obra Lisboa