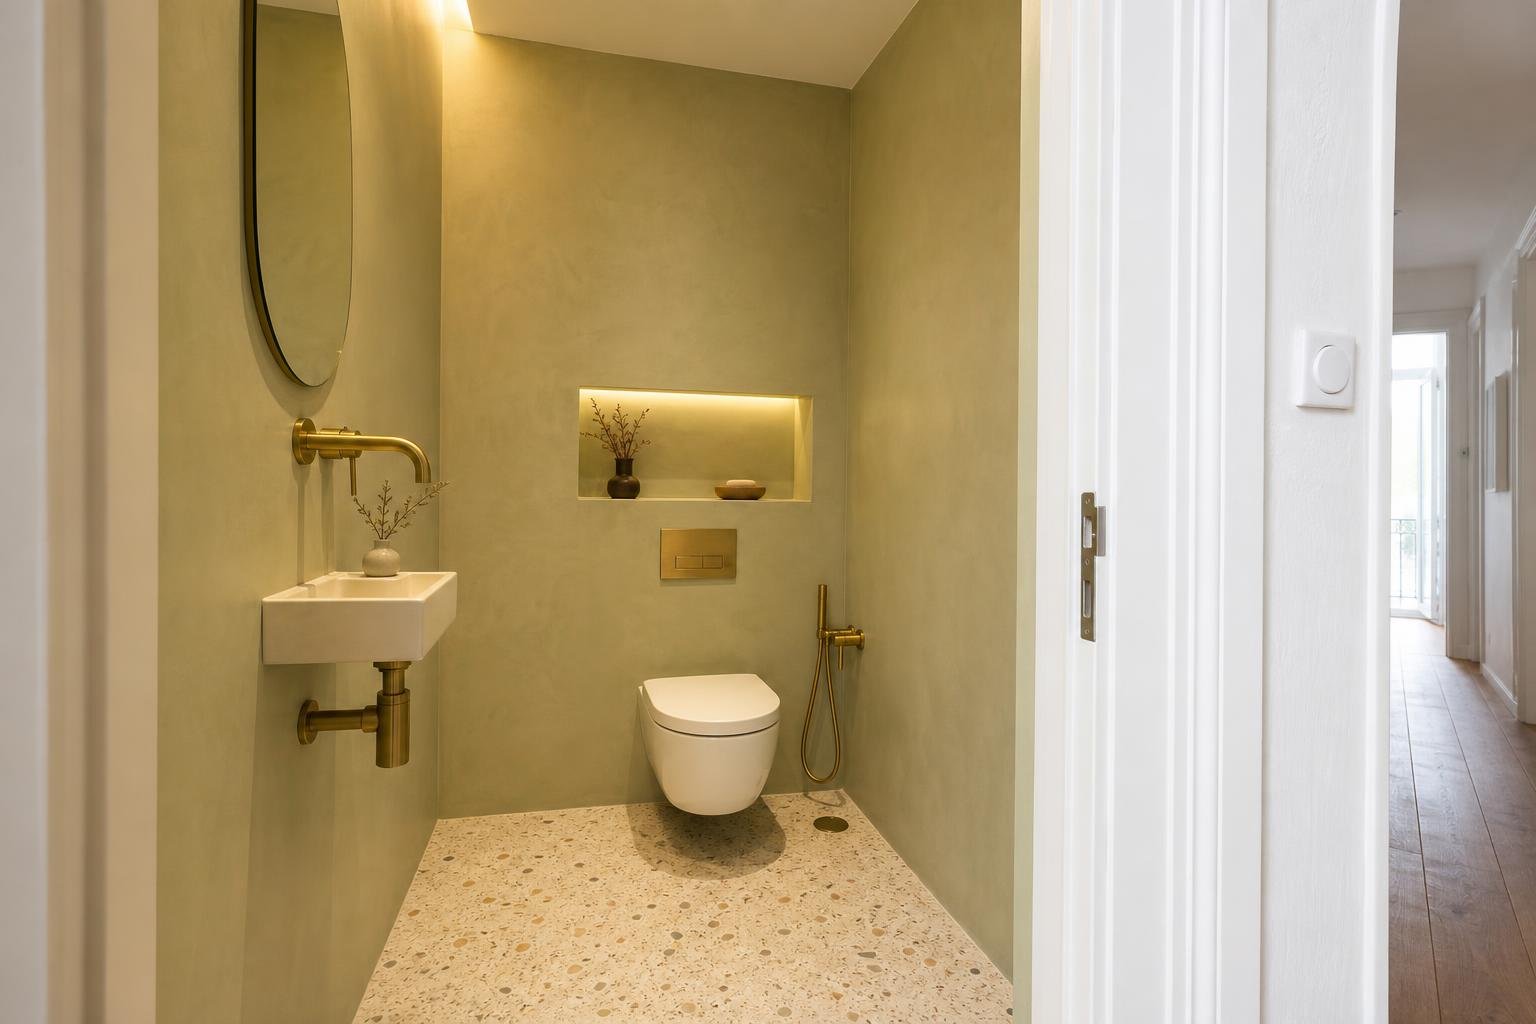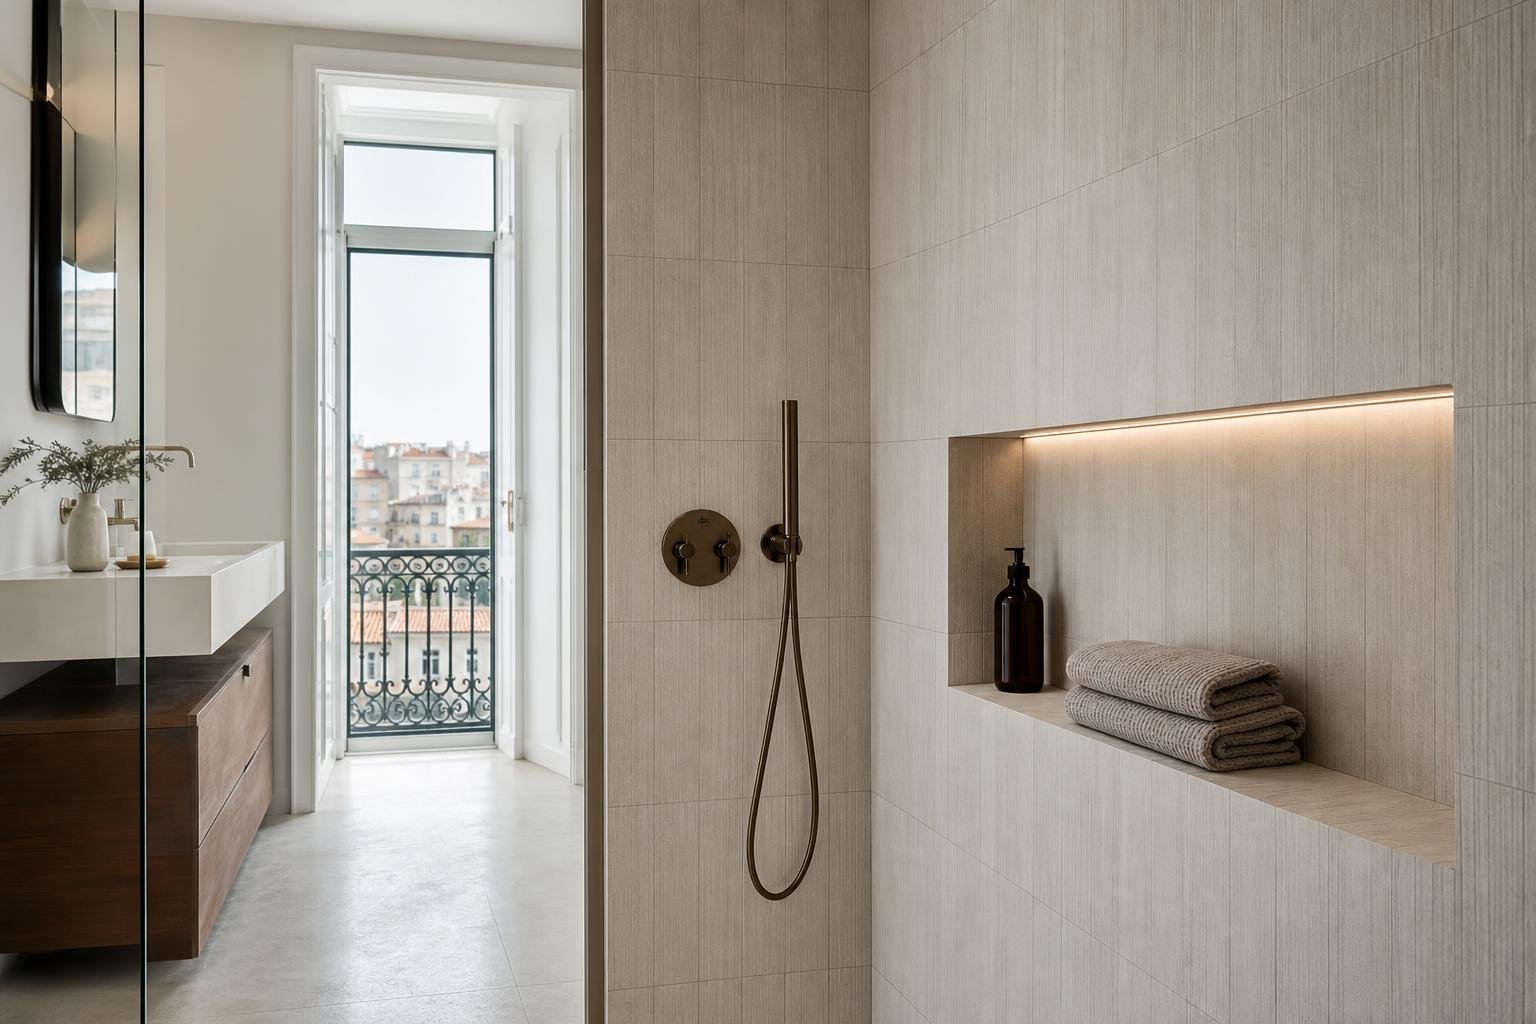
A recessed wall niche may look like a small design detail, yet it can make a tangible difference to how a bathroom works. In a shower, it removes hanging baskets, projecting shelves and bottles left on the floor; beside a basin, it can provide everyday storage without making the room feel visually crowded. But cutting a void into a wall that receives water creates a detail that needs careful design, coordination and workmanship.
The most common mistake is treating a niche as a simple opening in the tile finish. In reality, it is a small box within a wet area: it has junctions, corners, a base, finishes and often structural or service elements nearby. Portugal’s Directorate-General of Health notes that bathrooms are a significant source of moisture in the home and recommends ventilation during and after bathing, as well as prompt action on water ingress. Read the DGS guidance on indoor air.
This guide will help you decide whether a niche suits your renovation and discuss it more clearly with your designer and construction team. For the wider waterproofing strategy, see our guide on how to waterproof a bathroom properly.
Start with use, not with the photograph
Before setting dimensions or selecting tiles, ask what you actually need to store. In a daily-use shower, a niche may hold shampoo, shower gel and soap; in a guest bathroom, it may have a largely decorative role. This distinction prevents two common outcomes: an opening that is too small for the products people use, or one that is oversized, awkward to clean and out of scale with the wall.
A niche generally works best when it can be reached without forcing the person showering to twist or stretch beyond a comfortable position. Where the shower layout allows it, it should also sit away from the direct spray. This is not about keeping water out — the waterproofing must be designed for water — but about reducing constant pooling and making the surface easier to dry.
In a compact renovation, a niche can replace a projecting shelf and keep circulation clearer. The same principle applies to every fixed element in a small room: each centimetre should support daily use, rather than only the finished photograph. If the proposal affects water supply or drainage, coordinate it with the plan for sewer and plumbing systems before renovating.
Choose the right wall before creating the opening
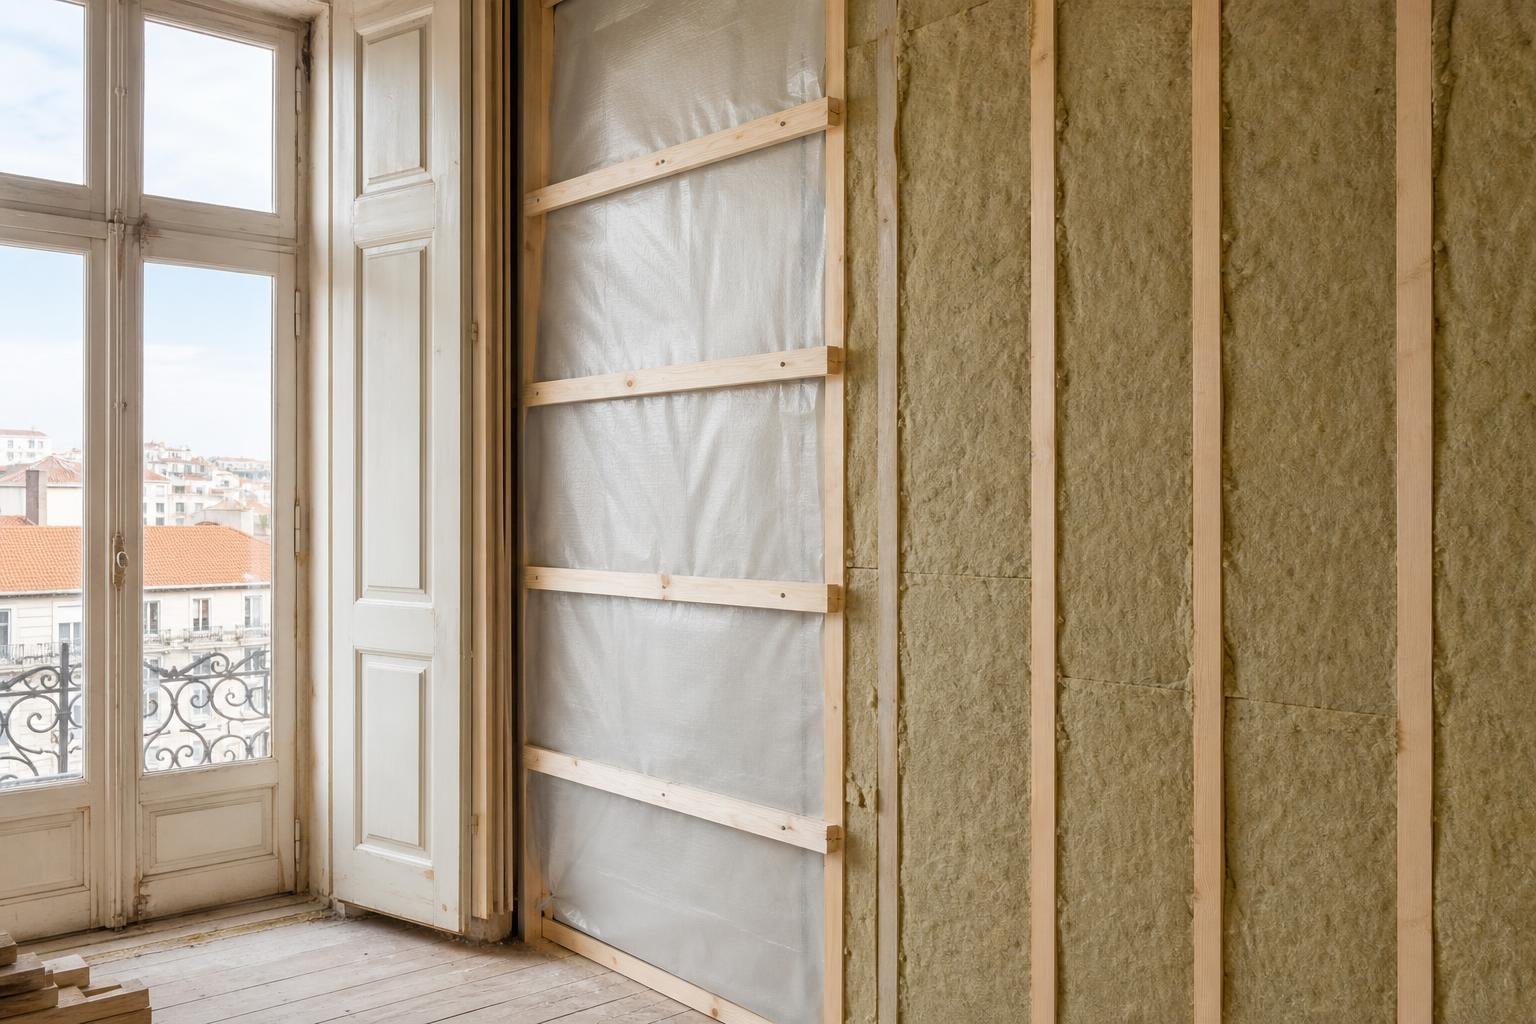
Not every wall can accommodate a niche equally well. A lightweight partition can allow a straightforward solution, provided that its internal frame, boards and water protection are specified for a wet area. In reinforced concrete, load-bearing masonry or a wall shared with another flat, cutting into it without assessment may affect structural elements, acoustic performance, ducts or existing services.
It is equally important to know what lies inside the wall. Water pipes, waste pipes, electrical cables and service boxes should not be moved on site simply to make room for a niche. In Lisbon, specialist designs can cover wastewater networks, ventilation, smoke extraction and electrical installations, depending on the scope of the works. Consult Lisbon’s information on specialist designs.
Be particularly cautious about creating a deep recess in a thin wall between rooms, where it may reduce the space available for insulation, fixings or services. If the wall lacks depth, a less invasive option — a short external shelf, shallow cabinet or a niche built into a new purpose-made wall — may be safer and better value.
Set dimensions around the tile layout
The opening should not be sized before the finish is chosen. Large-format tiles, small mosaics, trim pieces and adhesive thickness all change the final appearance, and can turn an apparently aligned niche into a collection of narrow, difficult cuts. The wall layout, including grout lines, should ideally be drawn before the frame is closed.
Consider the usable depth after waterproofing, adhesive and tiling, not merely the raw depth of the cavity. A base that is too shallow leaves bottles leaning out; one that is excessively deep makes objects harder to reach and creates unnecessary shadow. It is also sensible to provide a slight fall to the niche sill towards the shower, so it does not become a small pool against the wall.
At corners and edges, select a finish that works with the tile: a suitable trim piece, profile or accurately executed mitre. This is not just visual. Fragile edges, poorly protected corners and excessively open joints are more likely to chip, collect dirt and require early repairs.
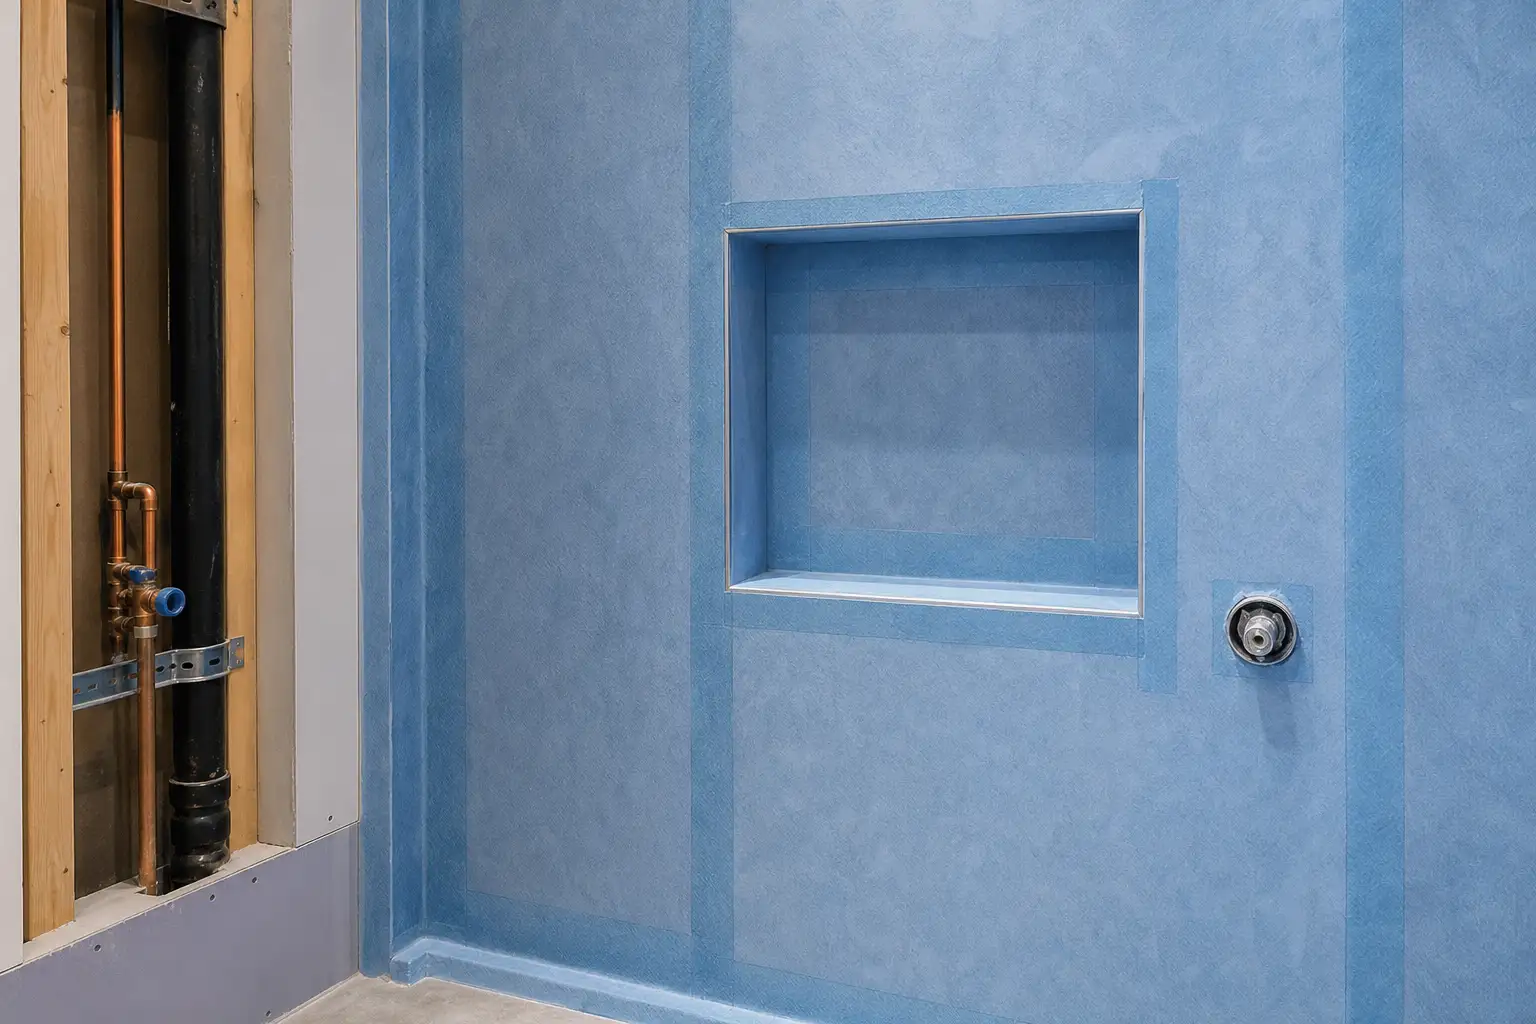
Waterproof it as one continuous box
The key principle is straightforward: ceramic tiling is not a substitute for waterproofing. Tiles and grout form the finished surface, but protection against water must continue behind them without breaks at corners, the base or the junction between niche and wall. This is where a visually successful detail can fail months later.
The build-up should include a stable substrate, primer where the selected system requires it, a compatible waterproof membrane or coating, reinforcing tape at junctions and meticulous treatment of internal corners. These components should form one technically compatible system and be installed to the manufacturer’s instructions. Combining unrelated products without confirming compatibility, or skipping curing times, is false economy.
Before tiling begins, ask for confirmation of the system used and, where the detail warrants it, photographic records of the stages that will later be concealed. This is not mistrust; it is practical documentation of a critical area. To reduce other risks hidden inside walls, plan sockets and switches before the walls are closed.
Ventilation, cleaning and maintenance are part of the solution
A properly waterproofed niche does not remove the need for moisture control. The DGS explains that excess humidity can cause condensation on cold surfaces and encourage mould, with possible negative effects for building users. See the DGS explanation of indoor air quality. Effective extraction, unobstructed vents and ventilation after showering help dry the niche as well as the whole bathroom.
In everyday use, avoid turning the niche into storage for every spare product. Fewer containers make cleaning easier and allow you to spot deteriorating grout, cracked sealant or standing water at the base early. Clean corners and the sill regularly, as soap residue and limescale tend to build up there.
If there is a musty smell, staining in the adjoining room, grout that remains dark or paint blistering on the opposite side of the wall, do not simply add another layer of sealant. The cause needs to be identified: it may be inadequate ventilation, a plumbing leak, a sealing failure or water penetration behind the tile finish.
Common mistakes and a pre-work checklist
The same errors recur: selecting the niche after the wall has been closed; cutting into studs or masonry without checking services; ignoring tile layout; leaving the base flat; waterproofing only the back; or using a trim that leaves vulnerable edges. Another mistake is positioning the niche where a glass screen, shower column or grab rail makes it awkward to access.
Before work starts, confirm the following:
- the function, position and height suit the people using the bathroom;
- the wall has been assessed for structure, thickness and existing services;
- the dimensions are coordinated with the tile layout;
- a complete waterproofing system reinforces all junctions;
- the base has a discreet fall and the edges have a durable finish;
- ventilation works properly and the niche can be cleaned easily.
A niche performs best when it is integrated into the design from the start. It then stops being a decorative whim and becomes durable storage that is easy to use and protected from the problems that are most expensive to correct after the bathroom is finished.
Planning a bathroom renovation in Lisbon? Obra Lisboa can help coordinate space planning, finishes, services and construction, so recessed details are resolved before the work closes the walls.
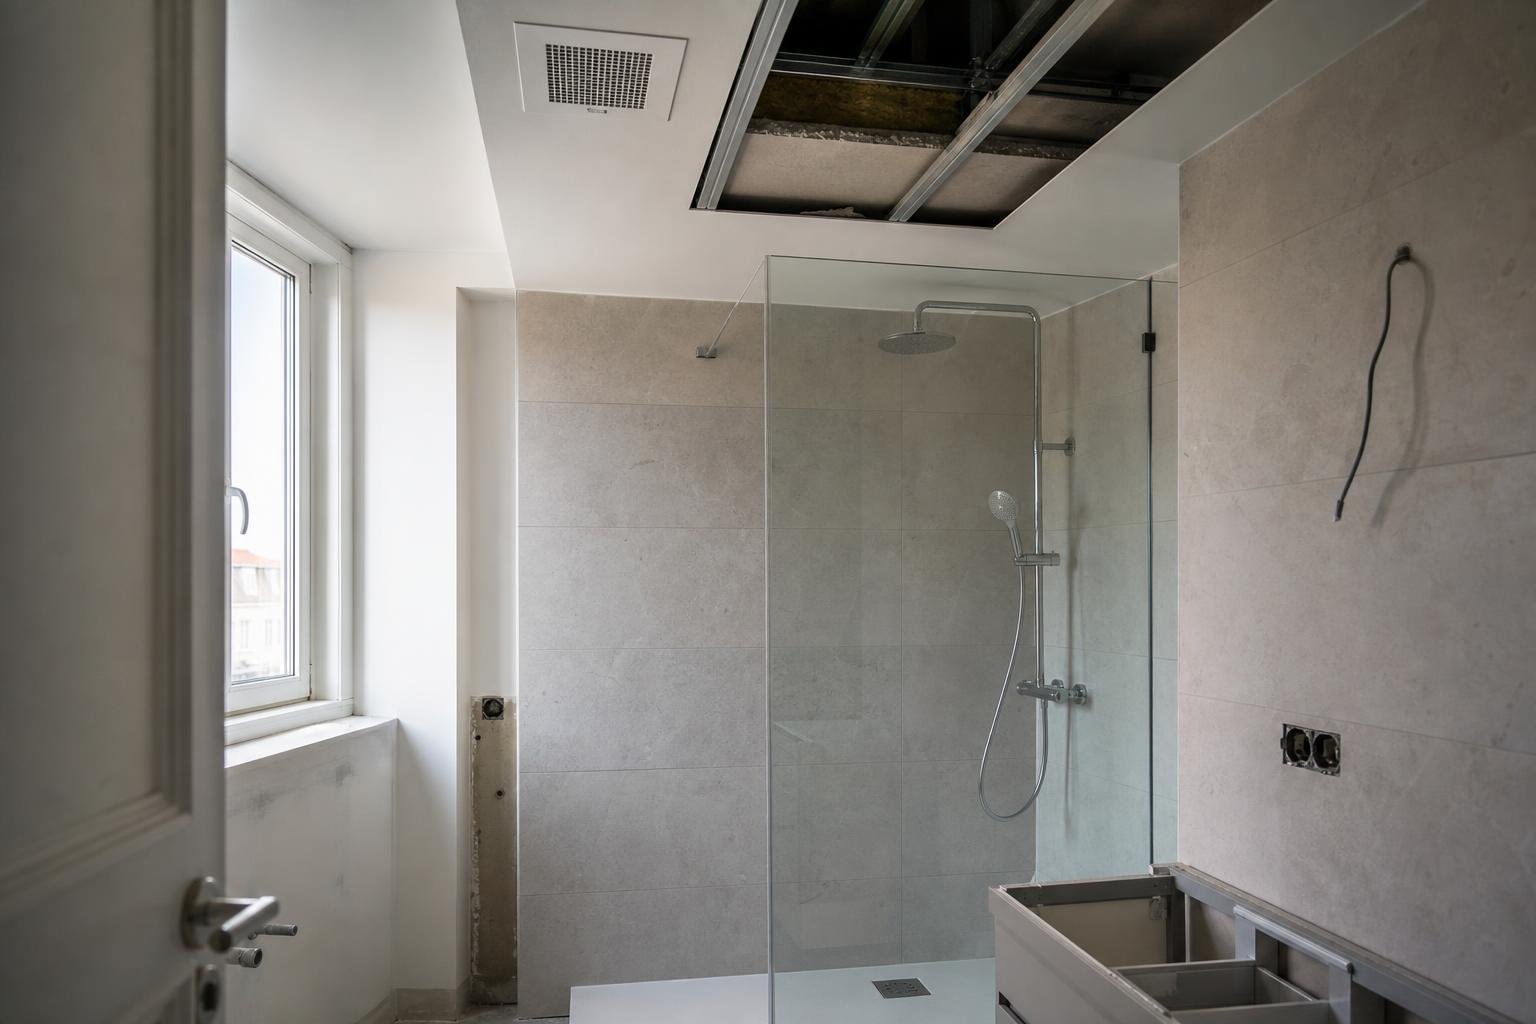
AI-generated editorial image; it does not depict an Obra Lisboa project.

Obra Lisboa