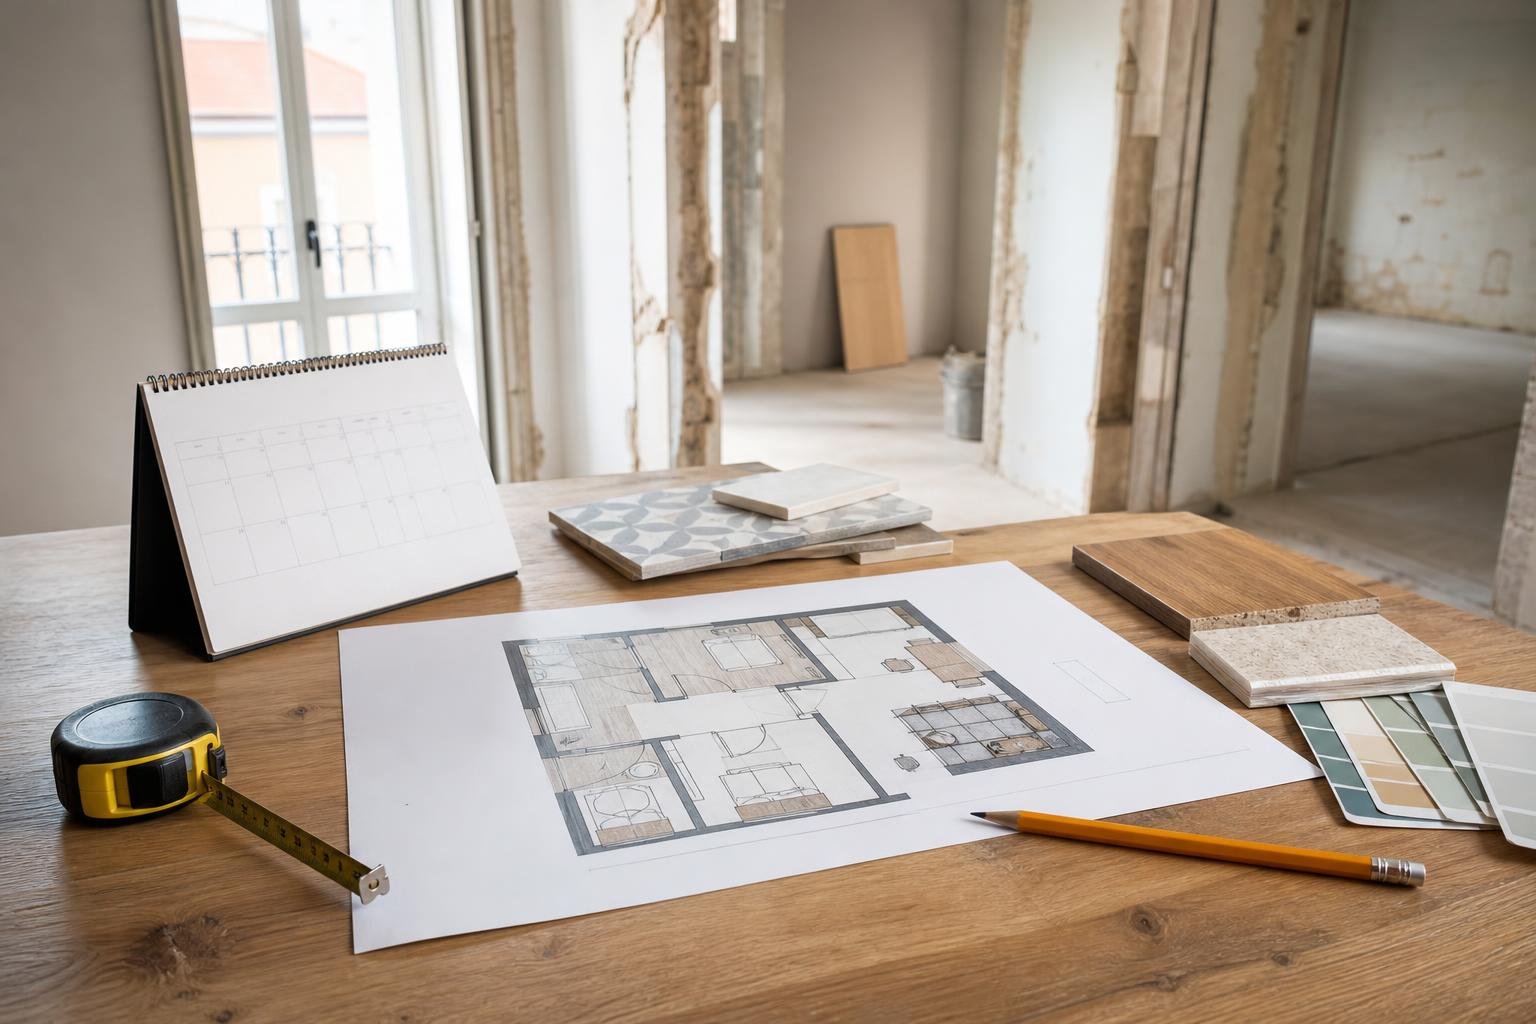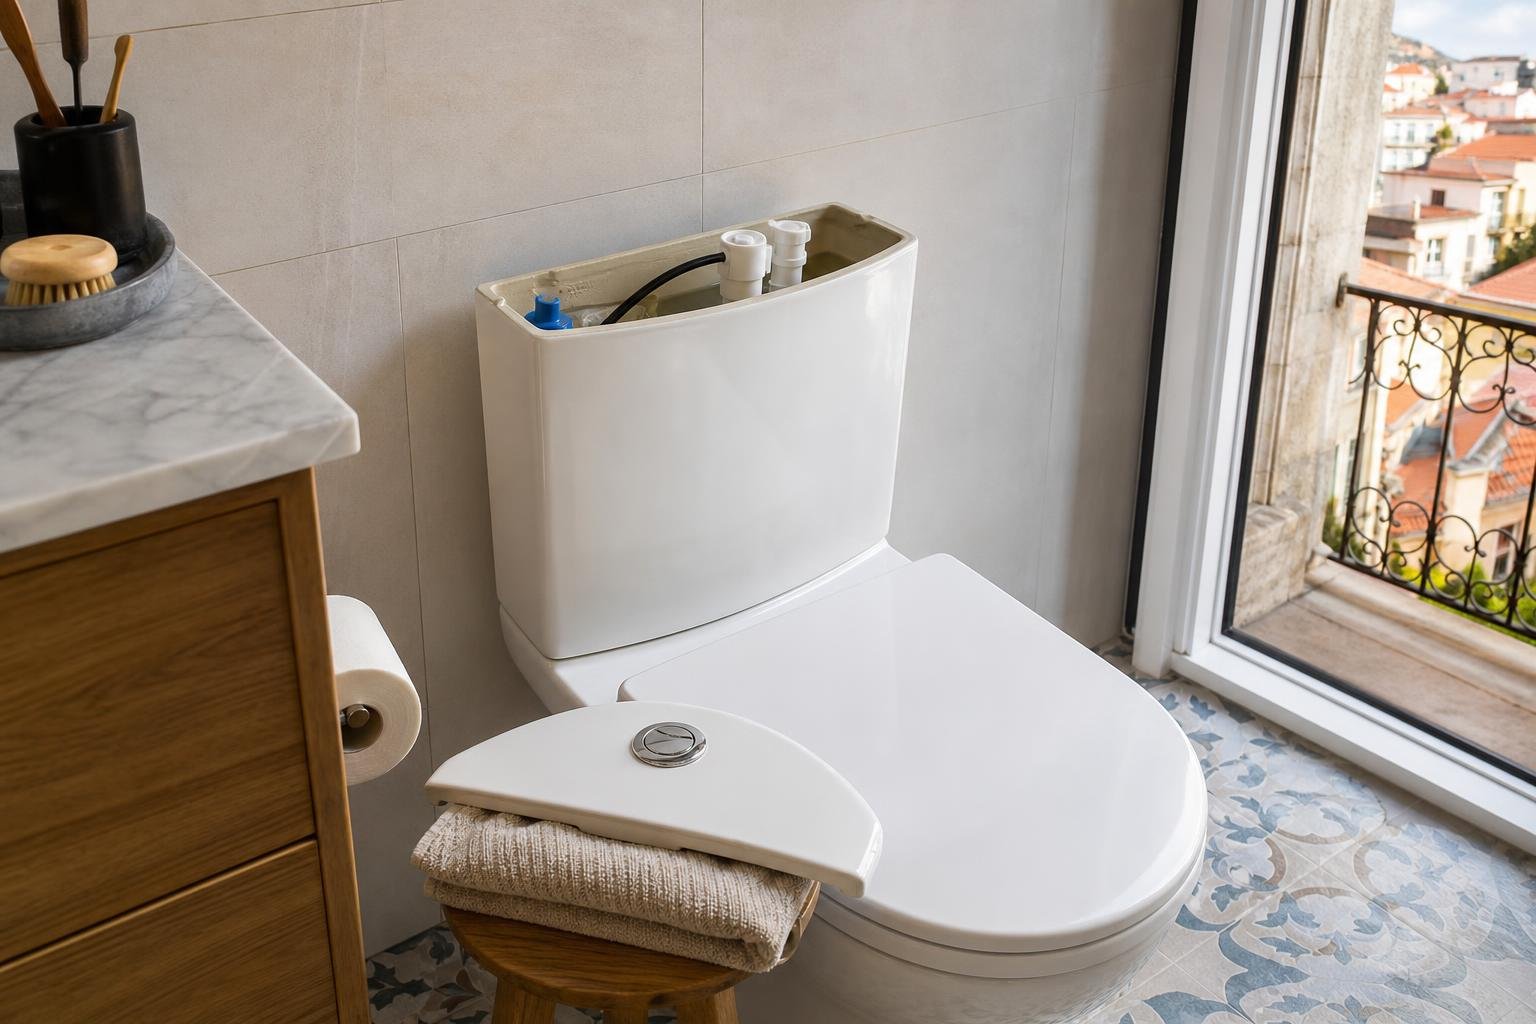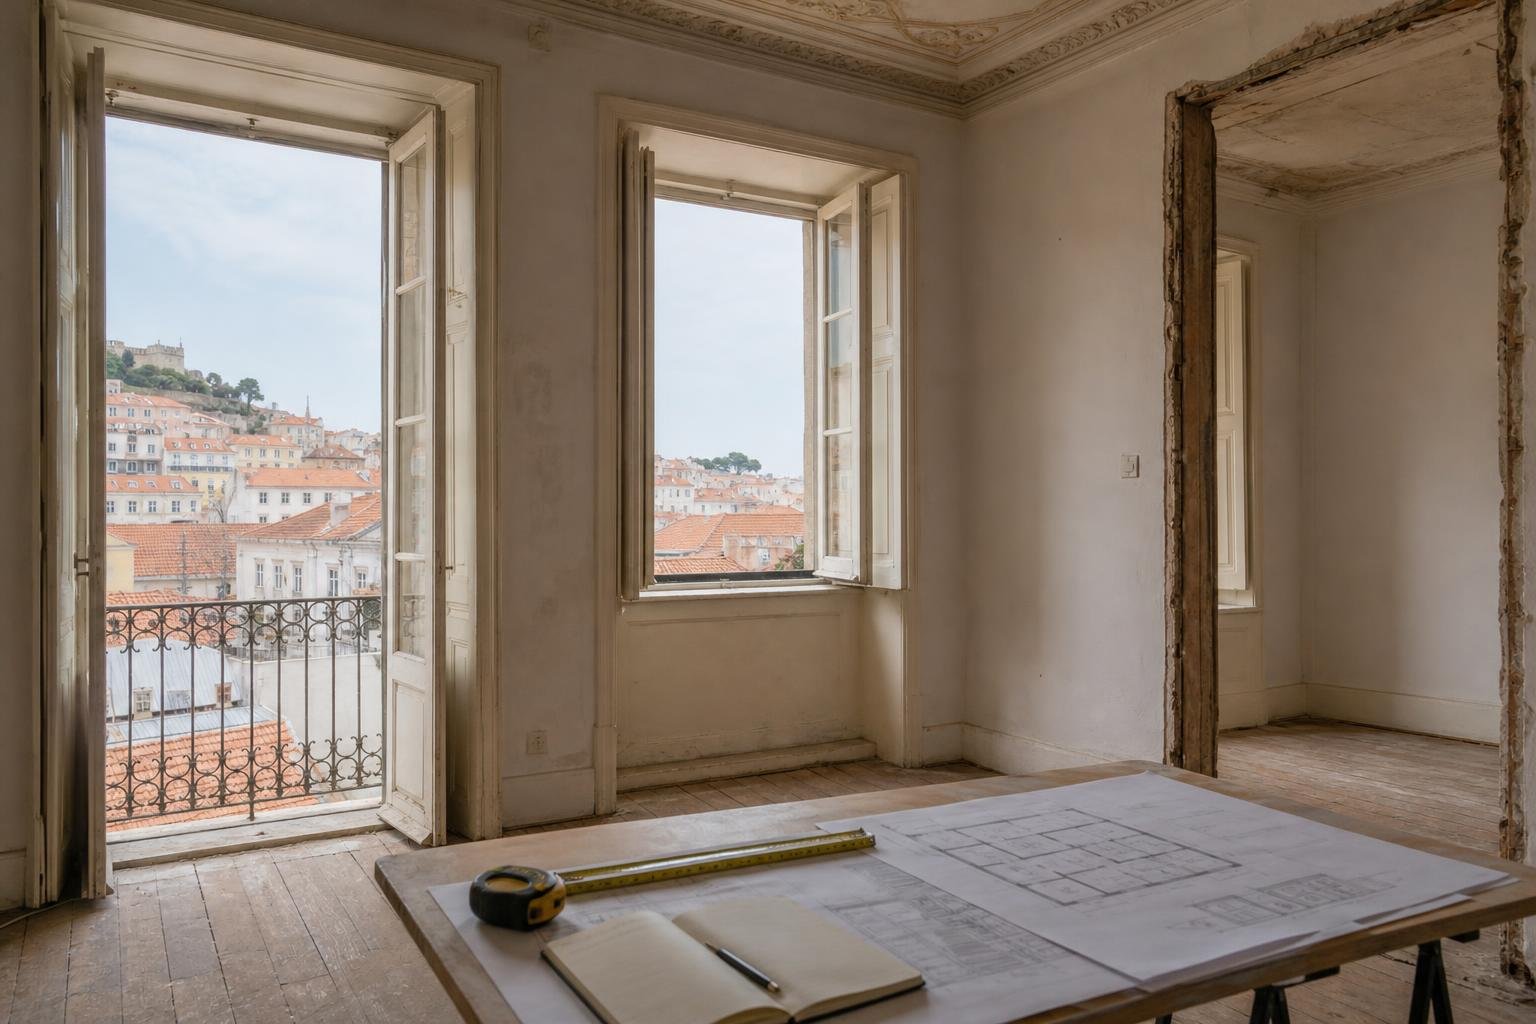

For the wall inside a shower, choose a build-up that can cope with regular wetting and receives continuous waterproofing; moisture-resistant gypsum board can suit other bathroom areas, but it should never be treated as a watertight barrier. The right choice starts by separating splash zones from merely humid areas, adding reinforcements before the wall is closed, and assigning responsibility for every layer. That prevents discovering, after tiling, that there is no backing for the screen, access to a valve, or continuity in the waterproofing.
Contents
- What changes between the shower area and the rest of the bathroom?
- When should you use cement board and when should you use moisture-resistant gypsum board?
- Waterproofing is the layer that determines durability
- Which details must be settled before the wall is closed?
- Ventilation: the work does not end when the water stops dripping
- What can be DIY work, and when should you call a professional?
What changes between the shower area and the rest of the bathroom?
A whole bathroom deals with steam, cleaning and occasional splashes. The inside of a shower also deals with repeated water exposure, joints, corners, drains and penetrations for mixers, rails and screens. The wall must therefore be planned as an assembly: frame, board, joint treatment, waterproofing, adhesive and finish.
Portugal’s General Building Regulations state that walls in bathrooms, kitchens and washing areas must have waterproof, smooth and washable materials to a minimum height of 1.50 m. Treat that as a finished-surface performance requirement, not as permission to omit the waterproof layer behind the tiles. Read the RGEU text on finishes in wet areas.
Before ordering materials, divide the room into three areas:
- Inside the shower: direct water exposure; it needs a suitable substrate and waterproofing properly connected to the shower tray or floor drain.
- Nearby perimeter: areas by the basin, bath and WC; lighter solutions may work when splashes are controlled and the paint or finish matches the use.
- Dry walls: mostly exposed to steam; ventilation, a washable finish and condensation prevention matter here.
If the wall separates the bathroom from a bedroom or a shared stairwell, coordinate acoustic performance and service routes from the beginning. A well-designed lightweight partition prevents later improvisation; also compare gypsum board and fibre-gypsum for lightweight walls.
When should you use cement board and when should you use moisture-resistant gypsum board?
Cement board is a robust option for the directly wet area, especially in walk-in showers, walls carrying heavier tile finishes, or situations where the project needs a substrate less sensitive to a local sealing failure. It is not waterproof by itself: it can absorb water to varying degrees and still requires a compatible membrane.
Moisture-resistant gypsum board is easier to cut, carry and install. It can work well outside the direct water area, on ceilings, and on bathroom walls that will receive suitable paint or finishes. Its moisture treatment improves resistance to humidity, but it does not turn the board into a substrate that can be left exposed to persistent leaks.
| Area | Usual solution | Detail that decides the result |
|---|---|---|
| Inside the shower | Cement board or a wet-area board system | Continuous membrane, reinforced corners and a connection to the tray or drain |
| Wall by the basin | Moisture-resistant gypsum board or cement board, depending on splash exposure | Washable finish and protection where water reaches the wall |
| Bathroom ceiling | Moisture-resistant gypsum board | Ventilation and paint suited to humid rooms |
| Wall outside the wet area | Standard or moisture-resistant gypsum board, depending on humidity risk | Prevent condensation and keep extraction effective |
Waterproofing is the layer that determines durability
The costly mistake is relying on tile, grout or silicone alone. Ceramic finishes protect the visible face, but joints, intersections and drilled holes remain vulnerable. The key barrier is the waterproofing applied over the substrate and connected without breaks to adjacent elements.
Before applying the membrane, make sure the wall is plumb, stable, clean and compatible with the chosen system. Then treat board joints, screws, wall-to-floor junctions, vertical corners and every pipe penetration with the accessories specified for that system. Combining products without confirming compatibility can produce a surface that looks correct while lacking adhesion or flexibility where it matters.
- Set the height and perimeter of the waterproofed area.
- Install backing for taps, screens, niches and grab rails before boarding.
- Finish board joints according to the board system.
- Apply corner tapes and pipe collars.
- Install the membrane, liquid or sheet, without missed areas.
- Only then move on to adhesive and the finish.
A niche, for instance, changes the geometry and adds several corners. If it is not essential, an external shelf or an accessory fixed in a less exposed area may be simpler. If a niche goes ahead, request a detail for the junctions, the fall on its base and membrane continuity.
To avoid reopening walls later, combine this sequence with access to technical points. See how to plan technical risers and maintenance access.

Which details must be settled before the wall is closed?
A shower wall rarely fails at its centre. Failures occur beside the mixer, at the tray junction, at a change of material, or where someone drills through the finish without knowing what lies behind it. Hold a short site meeting to mark these points on the drawing and on the wall itself.
- Shower tray: confirm the manufacturer’s junction detail and do not let the membrane stop above a point where water can enter.
- Floor drain: in a level-access shower, the falls and the connection to the drain matter as much as the wall.
- Shower screen: provide noggins or other backing for profiles and hinges; do not choose fixings in a hurry after tiling.
- Concealed mixer: confirm depth, service box, access and sealing around the penetration.
- Services: do not cut structural studs in a lightweight wall simply to gain a few millimetres.
Coordinate tile setting-out with the boards as well. Aligning a tile joint with a corner or material change can simplify the finish, but it cannot replace waterproofing tape. If an existing wall shows salts, loose paint or active cracking, stop before concealing it: a new lining will not cure an existing water path.
Ventilation: the work does not end when the water stops dripping
Even a perfectly waterproof shower enclosure still needs ventilation. Bathing produces water vapour that settles on mirrors, ceilings, cupboards and colder walls. Portugal’s Directorate-General of Health identifies bathrooms as an important source of indoor humidity and advises ventilating during and after bathing; see the DGS indoor-air recommendations.
In a Lisbon flat with a windowless bathroom, check whether the extractor actually discharges outdoors or into a duct intended for that purpose. A fan that only makes noise, has a blocked grille or runs for too little time leaves vapour in the room. In bathrooms with a window, opening it for a few minutes helps, but it does not compensate for a leak or replace extraction where use is frequent.
After completion, keep three straightforward habits:
- switch extraction on before or at the beginning of a shower and let it run afterwards;
- dry standing water in corners, channels and screen profiles;
- watch early signs such as dark grout, loose silicone or blistering paint on the opposite side of the wall.
If the mirror, ceiling and walls remain wet for a long time, review ventilation before blaming the tile finish.
What can be DIY work, and when should you call a professional?
Preparing the room, removing accessories, protecting floors, checking dimensions and choosing the tile layout are tasks an informed owner can follow closely. Building the shower area itself requires method: plumbness, flatness, compatibility between layers, waterproofing and plumbing connections do not tolerate repairs made after tiling.
Call a professional where there is a level-access tray, linear drain, concealed pipework, a deteriorated wall, altered drainage or a need to open walls in an older building. Construction activity includes specific categories for finishes and waterproofing; use the IMPIC information on construction-company qualifications when checking who you appoint.
In Lisbon, internal work that does not affect stability, façades, roofs or façade tiles may fall within works exempt from prior planning control, but that does not remove the need to check the individual case or the building’s rules. The municipality explains the framework for works exempt from prior control.
The practical next step is to finalise a build-up schedule before work starts: board type on each wall, waterproofing, backing, access points and finish. Ask for that schedule to appear in the quotation and to be checked before the walls are closed.
Key takeaways
- Inside a shower, the board is only one part of the assembly: continuous waterproofing is essential.
- Use cement board in directly wet areas where the build-up calls for it; keep moisture-resistant gypsum board for less exposed zones.
- Decide screen, mixer, niche and service-access positions before boarding starts.
- Ventilation and routine drying prevent vapour from undermining otherwise sound work.
If you are renovating a bathroom in Lisbon, ask Obra Lisboa to include the shower build-up, backing and junction details in the work scope before the walls are closed.
Sources and further reading
- RGEU text on finishes in wet areas
- DGS indoor-air recommendations
- IMPIC information on construction-company qualifications
- works exempt from prior control
Editorial image; it does not depict an Obra Lisboa project.

Obra Lisboa