
For an entrance hall, choose a good-quality washable paint in a washable matt or restrained satin finish, matched to the room’s light and real use. This is where hands, bags, pushchairs, shoes and umbrellas quickly leave marks; yet paint with too much sheen can reveal every uneven patch of plaster and every touch-up. The practical starting point is simple: identify high-contact areas, prepare the substrate properly and choose a colour that can take spot cleaning without making the hall feel cold.
Contents
- Which entrance wall really needs washable paint?
- Washable matt, satin or gloss?
- How to choose a colour without darkening the hall
- Preparation that prevents marks and visible touch-ups
- How to paint and clean without damaging the finish
- When it is worth getting help before painting
Which entrance wall really needs washable paint?
You do not have to use the same product throughout the hall. Start by observing the daily route: the strip beside the handle, the wall behind a bench, the corner where bags are set down and the route towards the kitchen are usually the most exposed areas. In a narrow Lisbon flat entrance, using washable paint on a whole wall can make sense; in a larger vestibule, you may confine the tougher finish to the circulation wall or the first 110 to 120 cm, with a colour change aligned neatly with doors and skirting boards.
This approach also avoids unnecessary sheen. Keep ceilings and upper wall areas in a suitable, less reflective interior paint, and place the hard-wearing finish where it will actually work. If there is a console, bench or runner, check its final location first: a wall that looks protected on a plan may still receive chair backs, folding bikes or weekend luggage.
In homes with children or pets, paint should not replace sensible organisation. A properly sized and positioned rug near the door cuts down on sand and water carried indoors, protecting both wall and floor.
Washable matt, satin or gloss?
The finish determines both cleaning practicality and how the wall reads when the ceiling light is switched on. As a rule, more sheen makes surface marks easier to remove, while making substrate flaws more visible. In older Lisbon buildings, where plaster may have been repaired several times over the years, that balance deserves attention before paint is bought.
Ask for a sample and view it in daylight and at night, especially where lighting falls directly across the wall. Raking light beside a door or mirror can expose unevenness that a catalogue will never show. For most entrance halls, washable matt gives a calm, durable result; satin works well near the door when the wall has been prepared exceptionally well.
| Finish | Best use | Main caution |
|---|---|---|
| Washable matt | Halls with soft light and older walls | Check the manufacturer’s stated scrub resistance. |
| Restrained satin | High-contact strip by the door or bench | It shows levelling defects more readily. |
| Gloss | Small details such as painted timber or metal | It rarely flatters large entrance walls. |
How to choose a colour without darkening the hall
Entrance halls often receive less daylight than living rooms. A very dark colour on every wall can make arrival feel heavy, particularly where the front door stays shut and the corridor has no window. Instead, try a warm pale base — off-white, sand, pale stone or a grey with a warm undertone — and save a deeper colour for a lower band, an end wall or the inside of a recess.
The aim is not to hide every trace of dirt with dark paint. Scuff marks, dust and splashes may still show, while touch-ups on highly saturated colours often stand out. Choose a colour alongside the existing floor: reddish timber takes less-cool neutrals well; patterned hydraulic tiles or beige stone call for samples held beside the threshold, rather than against a sheet of white paper.
If the entrance opens directly into the living room, repeat a tone or material in the next space to create continuity. A recessed curtain track in the living area can support that cleaner visual line without forcing the same colour through the entire home.

Preparation that prevents marks and visible touch-ups
Washable paint will not fix cracks, sanding dust, greasy marks or loose plaster. Before painting, remove hooks that will no longer be used, vacuum the wall, clean greasy marks with a suitable product and allow it to dry. Scrape only what has lost adhesion; then fill small defects with a compatible filler, sand without leaving ridges and apply the primer recommended for both the substrate and chosen paint.
Do not paint over damp, salt deposits or a stain whose cause has not been resolved. Repeated cleaning of a damp wall worsens its appearance and delays the repair that is actually needed. Portugal’s Directorate-General of Health lists construction materials, furniture and decorative products among sources that can affect indoor air, and also highlights the role of excess moisture in condensation and mould. Read its indoor-air guidance before covering a wall with new paint.
Keep the colour code, batch reference and a small sealed amount of paint. Even so, do not expect an invisible touch-up months later: light, cleaning and ageing change the surface. When a mark is large, repainting from corner to corner usually gives the cleaner result.
How to paint and clean without damaging the finish
Protect skirting boards, floors and hardware, but remove masking tape at the point specified by the manufacturer so that it does not tear away dried paint film. Mix paint evenly, follow the stated dilution and keep a continuous sequence across each wall. Stopping halfway, returning later and overlapping passes on drying paint commonly creates differences in sheen.
- Begin with cut-ins around frames, sockets and skirting boards.
- Paint complete sections while maintaining a wet edge.
- Allow the required drying time between coats and before moving furniture back.
- Wait for the stated cure period before more demanding cleaning.
For routine maintenance, use a soft, lightly damp cloth and neutral detergent, first tested in an inconspicuous spot. Abrasive pads, concentrated bleach and solvents can leave a halo or alter the sheen. The DGS advises following application procedures for paints and varnishes and avoiding surface-treatment products that release undesirable compounds; see its general indoor-air recommendations.
When it is worth getting help before painting
An entrance with very uneven walls, recurring cracks, returning stains or a door that catches on the plaster needs diagnosis before a finish is chosen. The same applies if you intend to paint over wallpaper, old enamel, mould-affected walls or a surface that has lost adhesion. In these situations, choosing paint is the final decision rather than the first.
Ventilation should also be planned during and after the work. The DGS advises good ventilation during painting and points to water-based paints and varnishes, as well as solvent-free cleaning products, as preferable choices. Review its good-practice note and adjust the timetable if children, people with allergies or someone working from home will be present.
Before ordering materials, settle the colour, sheen and boundary of the tougher painted band on a small sample area. That straightforward decision avoids an entrance that feels visually heavy and reduces frustrating cleaning later.
Key takeaways
- Use washable matt across most entrance halls; reserve satin for high-contact areas on well-prepared walls.
- Test samples on the actual wall in both daylight and evening lighting.
- Do not try to cover damp, salt deposits or loose plaster with tougher paint.
- Clean gently and repaint the whole wall section if a local touch-up remains visible.
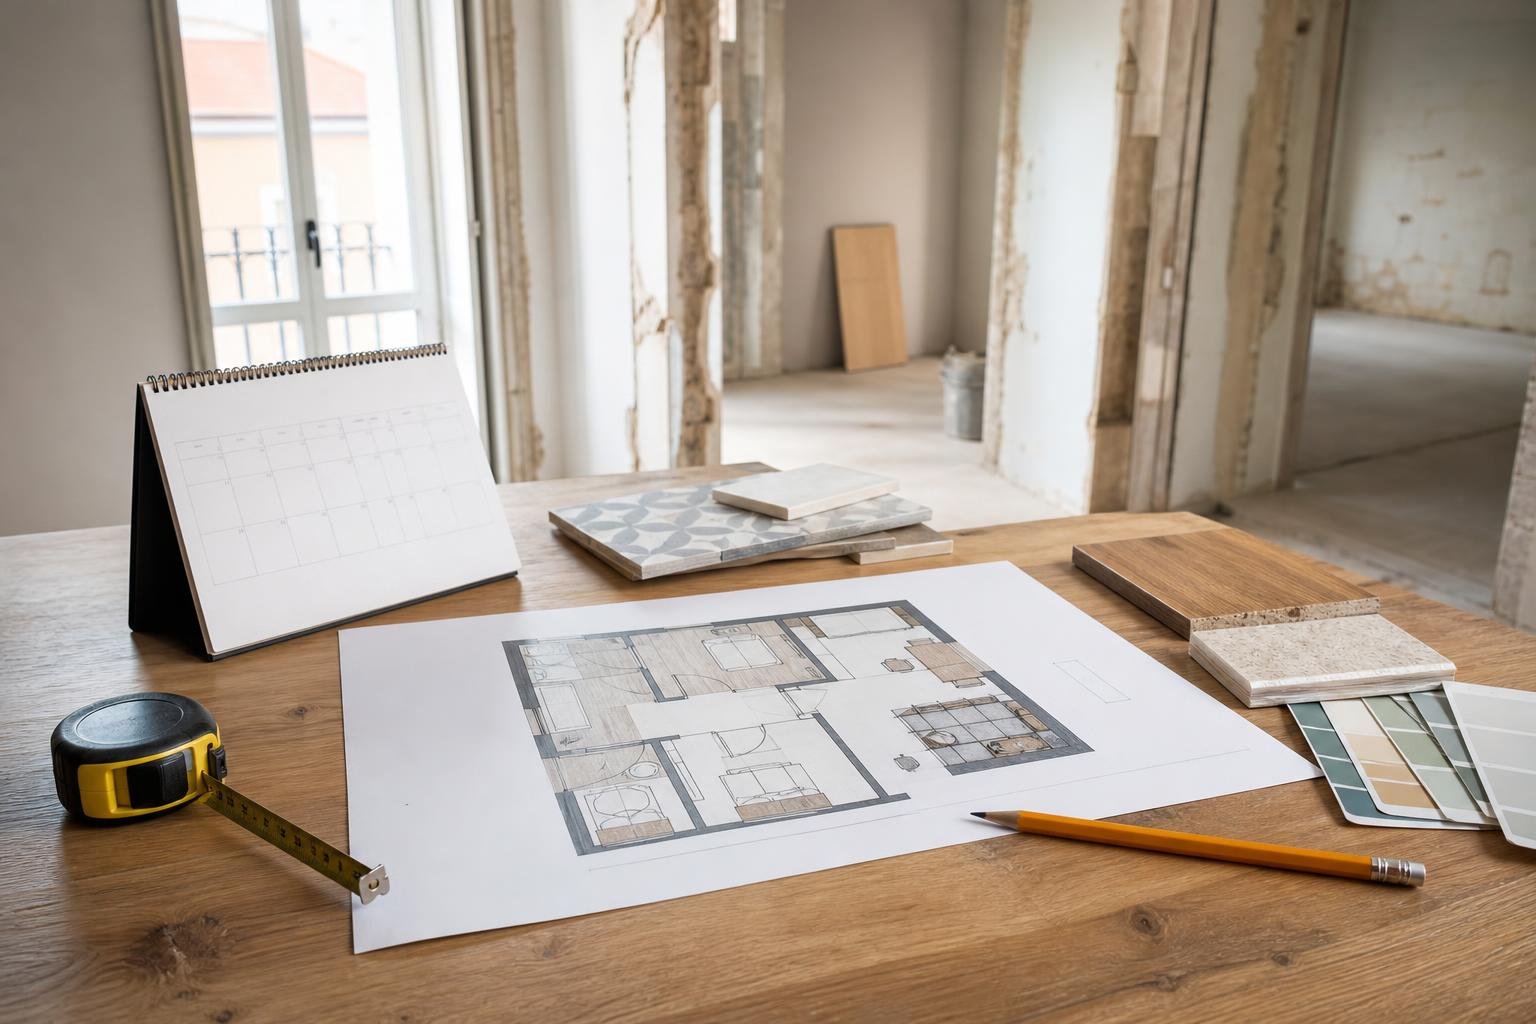
If the entrance is part of a renovation, bring a photograph of the space, wall dimensions and two or three colour references to the first discussion. Obra Lisboa can help connect wall preparation, lighting, skirting boards and storage in one coherent work plan.
Sources and further reading
Editorial image; it does not depict an Obra Lisboa project.

Obra Lisboa