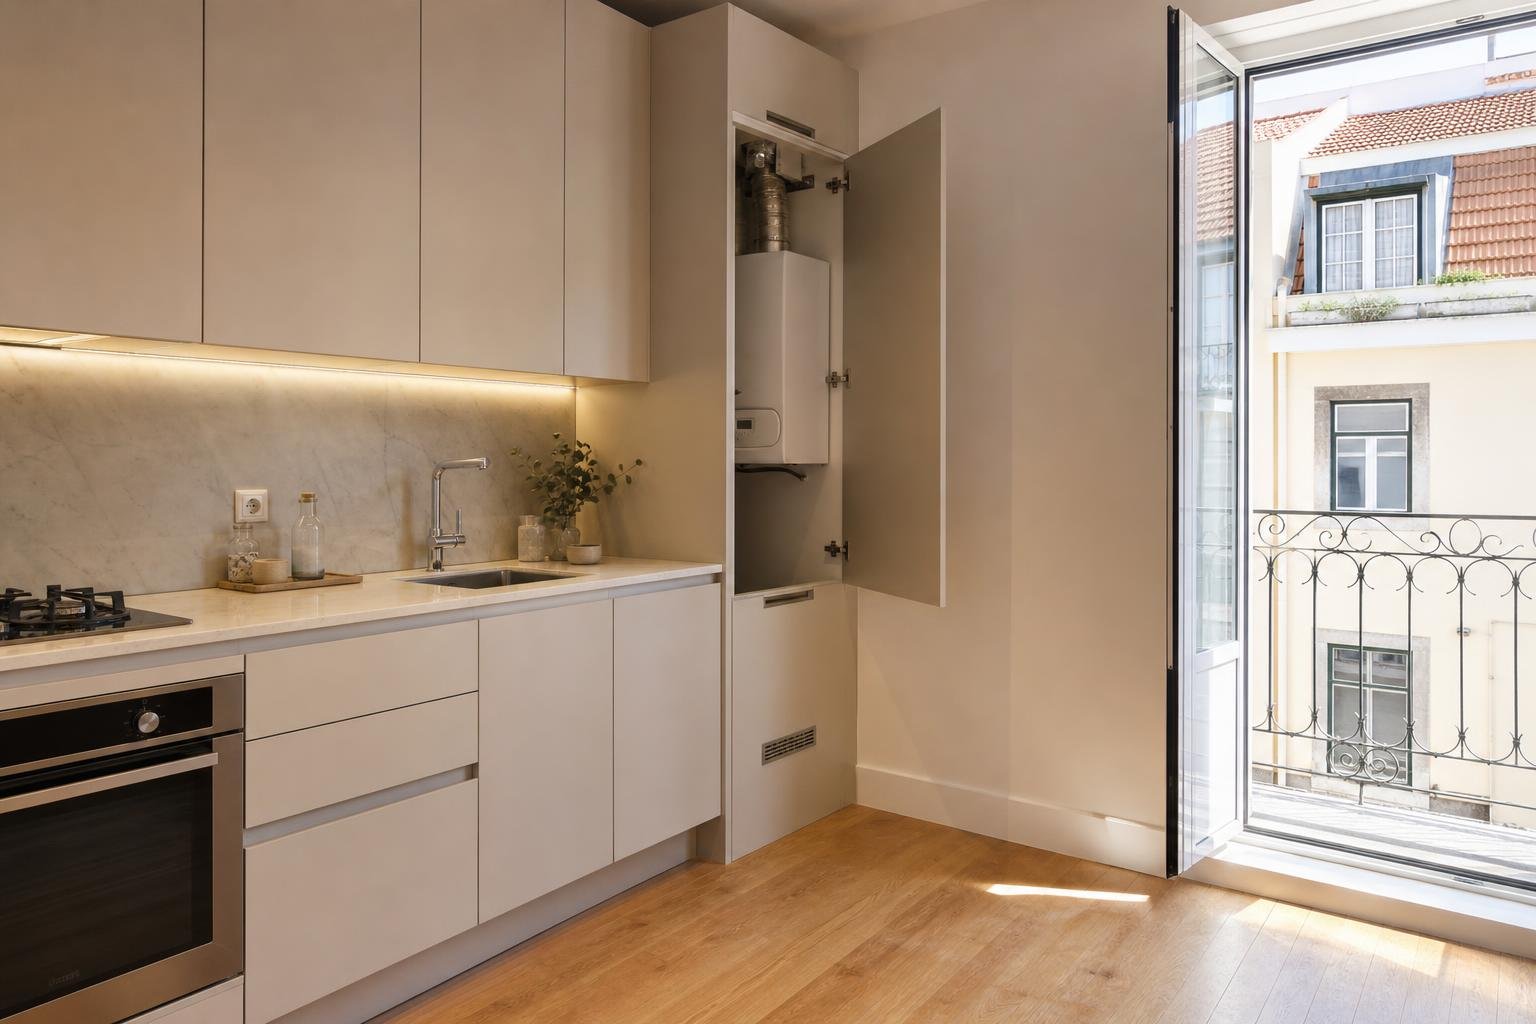

Painting kitchen tiles works when the tiles are sound, dry and thoroughly clean; it will not fix loose tiles, leaks, failed grout or embedded grease. It can be a practical way to refresh a splashback between a worktop and wall units without removing ceramic tiles that still perform properly. Start with the wall and wet areas: if the substrate is failing, paint only postpones the repair and makes the later work more difficult.
In a Lisbon flat, treat this as a finish-upgrade project that needs proper preparation and curing time. Protect the worktop, choose days when you can air the room, and do not plan to use the area immediately afterwards. Colour is the final choice; adhesion, seals and ventilation come first.
Contents
- When is painting worthwhile, and when should you stop?
- What paint and finish make sense in a kitchen?
- How do you prepare tiles without concealing defects?
- What is the safest application sequence?
- How can you ventilate without spoiling the paint or indoor air?
- Which mistakes shorten the life of painted tiles?
When is painting worthwhile, and when should you stop?
Painting can make sense when tiles are firmly bonded, without widespread cracking, recurring marks or signs that water is getting behind the finish. A new colour can make an older kitchen more consistent, disguise tiles from different batches, or buy time before a larger renovation without leaving the room looking neglected.
Stop before buying paint if you find warning signs that need diagnosis:
- tiles that sound hollow, move, or have cracks across several pieces;
- dark, crumbling or damp grout near the sink;
- blistering, old paint lifting, or white deposits on the wall;
- cracked silicone where the worktop meets the wall finish;
- persistent damp inside the cabinet below the sink.
Lisbon’s municipal information classifies conservation work and certain internal alterations that do not affect stability, façades or roofs as work exempt from prior control, with important exceptions for listed properties and protected areas. Check the City of Lisbon information on works exempt from prior control. Painting a wall does not solve a leak: find and repair the cause before closing up or refinishing the area.
What paint and finish make sense in a kitchen?
Choose a system that the manufacturer specifically identifies for ceramic surfaces and washable indoor areas. Depending on the product, you may need an adhesion primer and a compatible topcoat. Standard wall paint over smooth tile may look adequate at first, then lose adhesion with steam, cleaning and splashes.
On a splashback with limited exposure, a satin finish will often make minor irregularities less noticeable and allow careful cleaning. Behind the hob and close to the sink, read the manufacturer’s stated limitations more closely. Paint does not replace a watertight seal where the worktop meets the wall, and it does not turn a moving joint into a rigid surface.
Before buying, check four details in the technical data sheet: required preparation, primer compatibility, interval between coats, and curing time before the first wash. The last point matters greatly in a kitchen used every day.
| Condition | Prudent decision |
|---|---|
| Tiles are firm and dry | Prepare them, use a compatible system and respect curing time. |
| Surface kitchen grease | Degrease, rinse and allow to dry before sanding. |
| Open grout or failed silicone | Repair the grout or seal before painting. |
| Hollow or loose tiles, stained wall | Diagnose and repair the substrate; do not paint over it. |
How do you prepare tiles without concealing defects?
Preparation determines adhesion. Allow more time for it than for rolling on the paint, and remove anything from the worktop that could collect dust, stains or splashes. Unplug small appliances, protect the worktop, cabinets and floor, and carefully cover socket faceplates without painting over their edges.
- Wash. Remove grease with a suitable degreaser and a non-abrasive cloth. Clean corners, the upper strip and the area near the extractor hood.
- Rinse. Detergent residue can interfere with primer. Wipe with a clean damp cloth and let the surface dry completely.
- Inspect. Tap suspect tiles lightly, inspect grout, and confirm that the worktop seal is intact.
- Create adhesion. Sand lightly and evenly as required by the chosen system. Do not wear away grout or open chips.
- Remove dust and mask. Vacuum, wipe with a suitable cloth, and tape clean lines at cabinets, worktop edges and sockets.
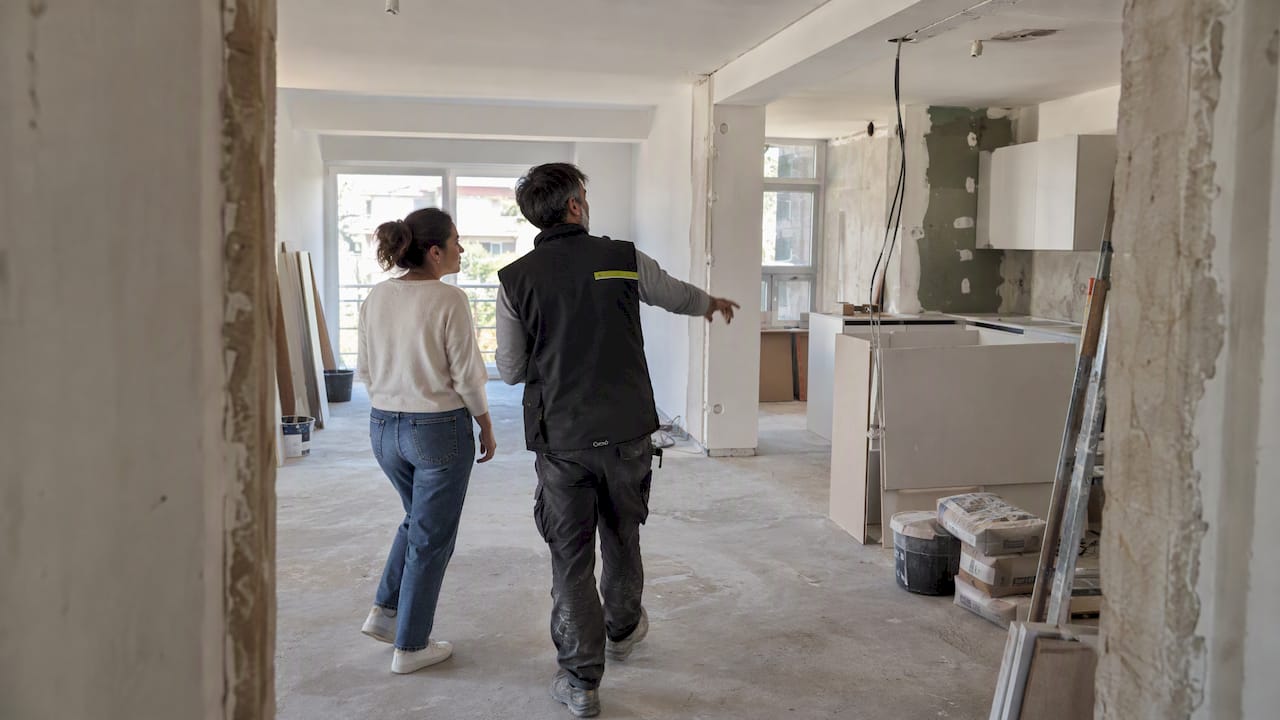
If the refresh requires opening chases, moving sockets or altering plumbing, it is no longer simply a painting job. Plan checks before each layer is closed, using these renovation hold points to confirm work that will soon be hidden.

What is the safest application sequence?
Once the surface is dry and protected, follow the order set out for the product system. In most cases, begin with cut-ins and edges using a small brush, then move onto flat areas with a suitable roller. Apply thin, even coats. Trying to achieve complete coverage in one pass creates runs, paint build-up in grout lines, and a film that is harder to cure evenly.
Respect the stated interval between coats. Do not shorten it because the wall feels dry: surface drying is not the same as curing. Remove masking tape at the point recommended by the manufacturer, avoiding the risk of pulling away hardened paint, and do not push appliances back against the finished wall.
Portugal’s health authority identifies volatile organic compounds, particles and other pollutants among the factors that can affect indoor air. Consult the DGS guidance on indoor air, keep children, sensitive people and pets out of the room while applying the system, and do not mix cleaning products with paint or thinners.
How can you ventilate without spoiling the paint or indoor air?
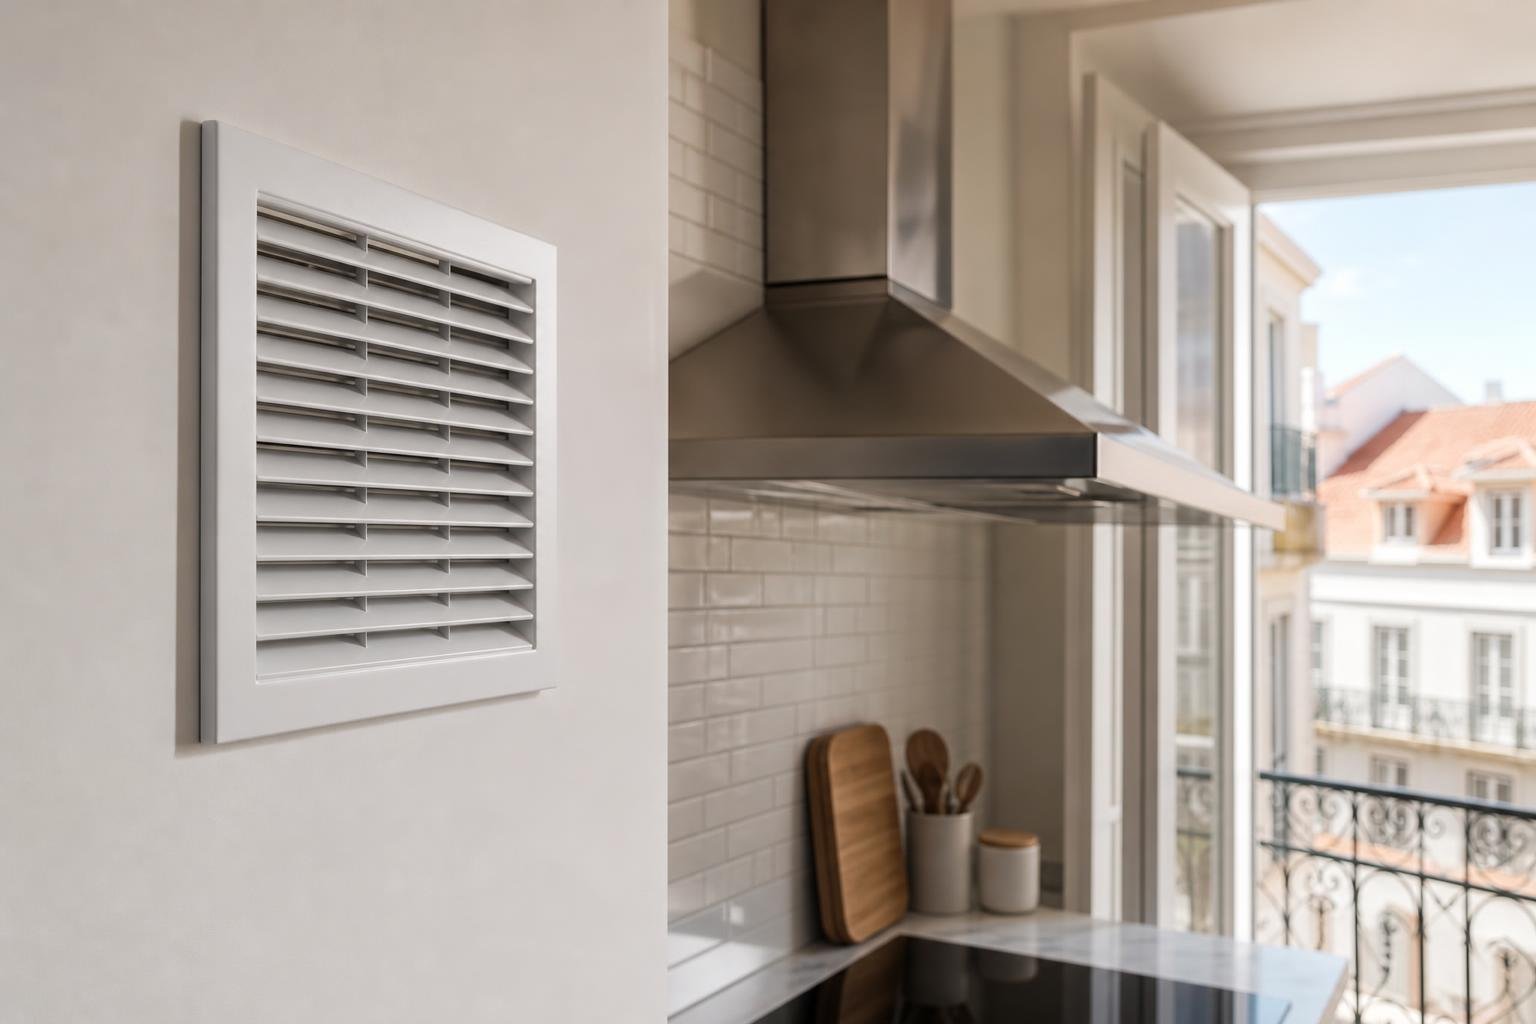
Ventilation does not mean leaving every window open for hours. In a small kitchen, open the available window and, where possible, create a short route for fresh air through another opening in the home. Avoid aiming a fan directly at a freshly painted wall: it can move dust and mark the surface before the paint stabilises.
ADENE defines indoor air quality as the conditions related to pollutants, ventilation, temperature and humidity that affect occupants’ health, comfort and wellbeing. Read the ADENE glossary entry on indoor air quality and include ventilation in the work plan.
A dirty extractor fan can also move accumulated dust or grease near a newly finished surface. If you need to use one after curing, first check its cleanliness and operation with this guide on how to clean and check an extractor fan safely; the same precautions of isolating power and not obstructing ventilation apply before working on domestic equipment.
During curing, avoid frying, prolonged steam, large pans of boiling water and aggressive cleaning. If the kitchen has no direct ventilation, schedule the work for a period when you can leave the room unused for the time stated in the technical data sheet.
Which mistakes shorten the life of painted tiles?
The most common mistakes are predictable: painting over grease, skipping a required primer, overloading the roller, coating damp grout, and testing cleaning before curing is complete. Another mistake is treating silicone sealant as though it were tile. A seal between different materials accommodates minor movement; if it has failed, it should be removed and renewed rather than disguised with paint.
It is also important to distinguish a decorative refresh from a technical repair. Loose tiles, a damp smell, a water leak, poorly positioned sockets or a need to remove the finish call for a different level of planning. Do not treat these issues as weekend DIY simply because the area is small.
When contracting work beyond painting, check the company’s applicable qualification through the IMPIC search for private-works contractor licences. Before starting, photograph the wall, make a discreet test patch, and retain product containers, colour references and instructions. These simple records make future touch-ups far less uncertain.
Key takeaways
- Only paint tiles that are firm, dry, degreased and surrounded by sound grout.
- Deal with leaks, hollow tiles and failed seals before choosing a colour.
- Use a ceramic-compatible system and respect primer, coats and curing time.
- Ventilate while working, then postpone intensive cleaning and cooking until curing is complete.
If refreshing the kitchen reveals substrate, water, electrical or wider finish issues, gather photographs and the decisions you want to make before requesting a proposal. Obra Lisboa can help frame a kitchen renovation with coordinated work and checks before finishes are installed.
Sources and further reading
- City of Lisbon information on works exempt from prior control
- DGS guidance on indoor air
- ADENE glossary entry on indoor air quality
- IMPIC search for private-works contractor licences
Editorial image; it does not depict an Obra Lisboa project.

Obra Lisboa