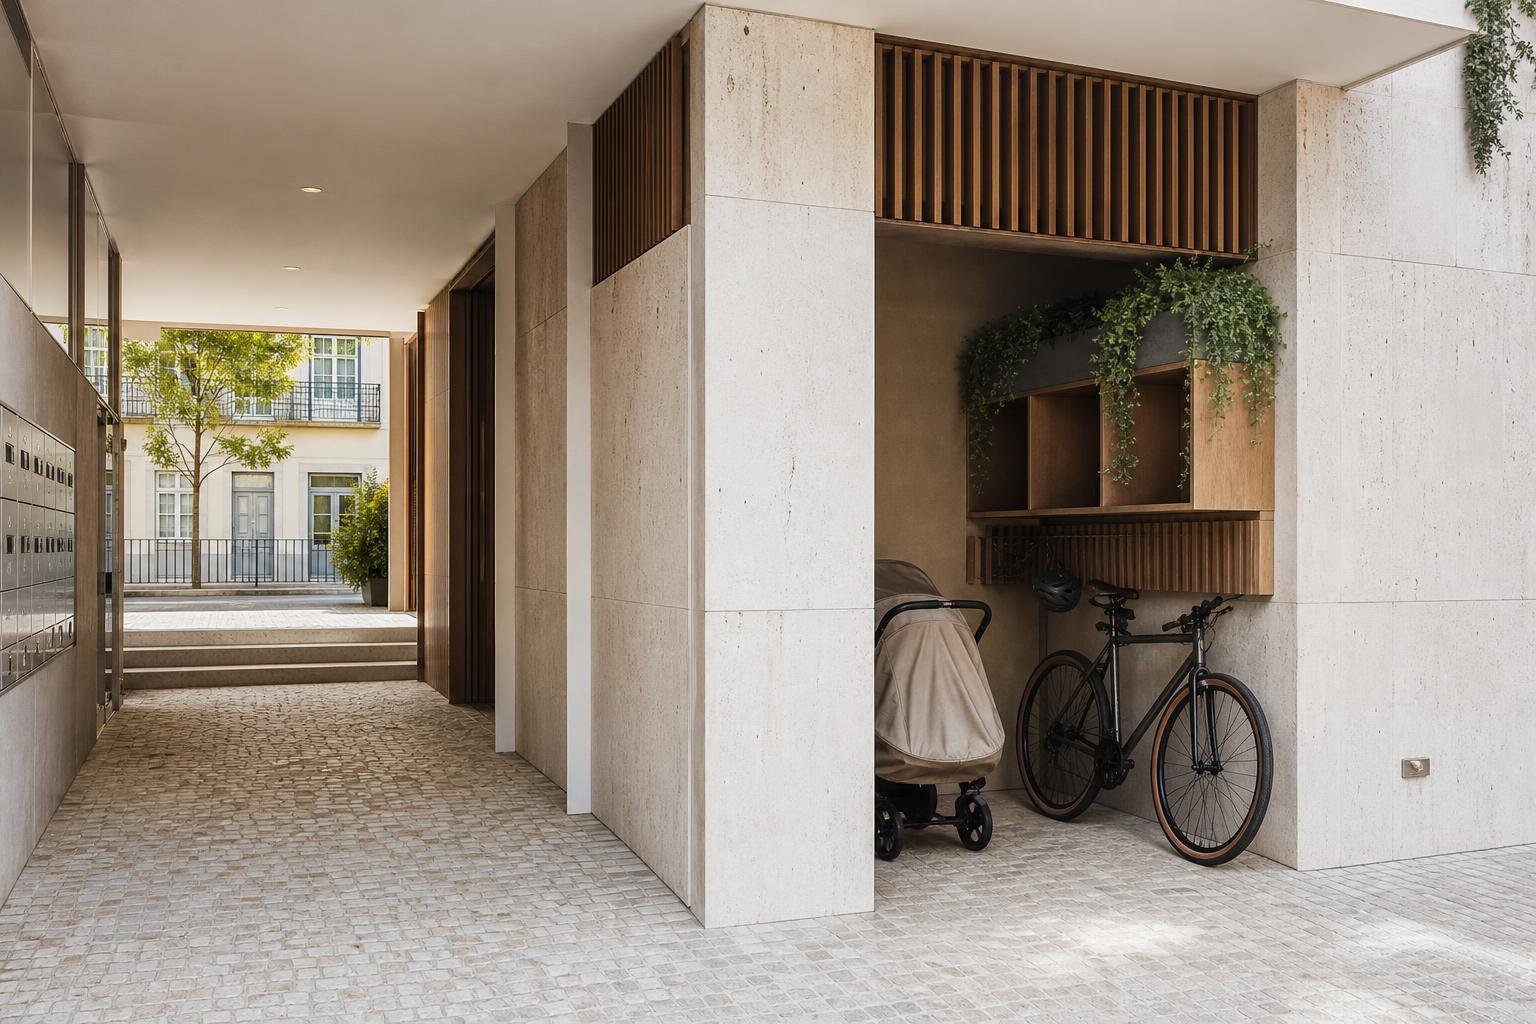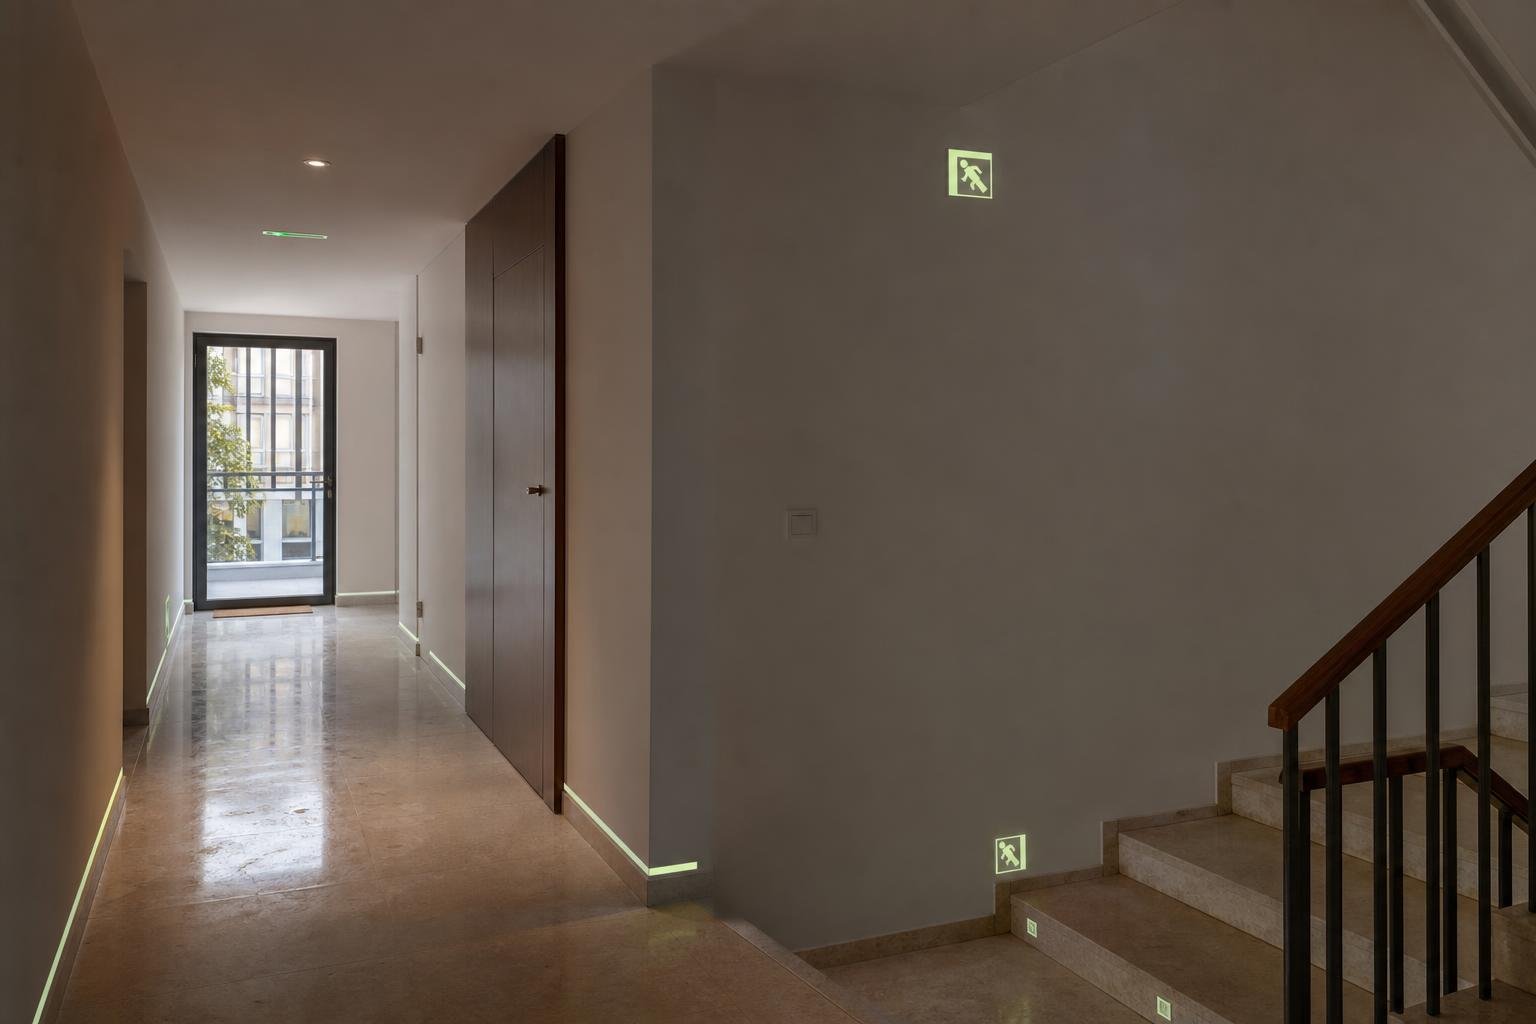
In a residential building, emergency signage is rarely the most noticeable part of a refurbishment—and that is part of its value. When properly considered, it helps people identify an exit, a stairway, an extinguisher or an escape route without turning shared areas into a wall of signs. When it is improvised, it can add visual noise, create conflicting directions or become obscured by decoration, doors and equipment.
Photoluminescent signage is particularly useful because it remains visible for a period after normal lighting fails. Yet it is not a decorative finish or a universal solution: it must respond to the building’s actual use, the layout of routes and the applicable fire-safety requirements. This guide sets out practical decisions for corridors, stairwells, entrance halls and garages, balancing legibility, maintenance and a discreet intervention.
First establish what is required—and what is simply useful
The first step is not selecting signs; it is identifying the building use, risk category and spaces involved. Portugal’s Technical Fire Safety Regulation includes an important exemption for common areas in first-risk-category residential buildings, but that exemption should not be treated as permission to disregard wayfinding and safety. A garage, basement, larger building or mixed-use property may have very different needs.
The republished regulation also states that, where required, signage must be appropriate and that prohibition, warning, emergency and firefighting-equipment signs must be made from rigid photoluminescent material. Review the republished Technical Fire Safety Regulation in the Diário da República before defining the scope of work.
For works subject to urban-planning control, fire safety may form part of specialist design submissions or a safety sheet. In Lisbon, it is worth checking the applicable documentation in the Municipality’s specialist-project guidance early on rather than leaving the decision until the end of the works.
Map the route as if you had never visited the building
Effective signage begins with a continuous route. Imagine a visitor leaving a storage area, garage or unfamiliar floor and needing to reach a safe place without relying on memory. Where do they see the first direction? At every change of direction, is the route still clear? Can the exit door be distinguished from a technical-room door or a flat entrance?
Make a simple plan of the common areas and mark entrances, stairs, landings, dead-end corridors, fire doors, firefighting equipment and exits to the outside. Then walk the building at eye level, both in daylight and with reduced lighting. This reveals signs hidden behind open door leaves, blind angles on stairs and messages that can only be read after a person has already passed the junction.
Avoid using arrows simply because there is an empty wall. Every arrow should confirm a real route decision. If two signs point in incompatible directions, or if a route leads to a door that is routinely locked, the signage no longer guides people—it increases hesitation.
Choose position, height and size before refining the appearance
A good sign cannot compensate for poor positioning. The regulation sets sign dimensions according to viewing distance and, for projecting signs, establishes a fixing height between 2.1 m and 3 m, except where a justified solution is needed. In practical terms, a very small sign at the top of a high entrance hall may be visually discreet while doing little to help people find their way.
Along shared routes, prioritise locations that are visible on approach: over or beside the door that needs to be identified, before a fork in the route, on leaving a stairway and beside equipment that must be found quickly. Do not place signage where it can be obscured by planters, mirrors, mail panels, decorative lighting or condominium notices.
The legal formula does not replace site observation. Corridor geometry, wall contrast, reflections from glossy finishes and ambient light all affect readability. When in doubt, revise the support, position or size rather than multiplying small signs.
Coordinate signs, emergency lighting and doors
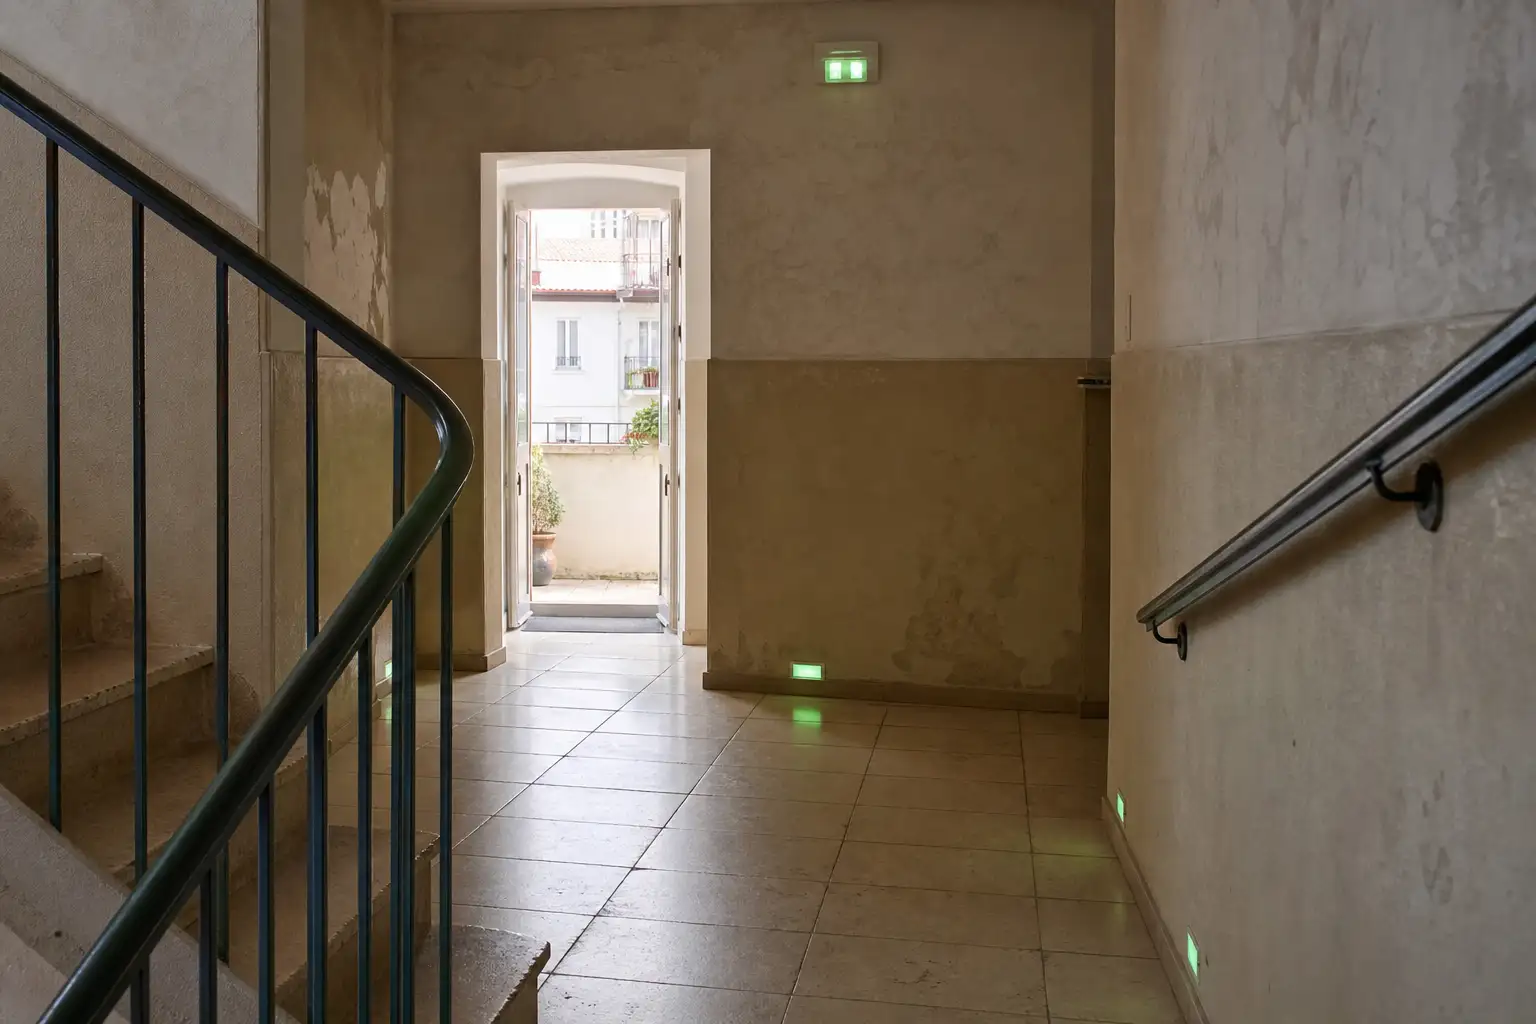
Photoluminescence does not replace emergency lighting. They are complementary layers: one helps identification remain visible in low light; the other provides lighting levels and visibility during a power failure where applicable. A coherent intervention therefore considers both systems together, as well as doors, handrails and obstructions along the route.
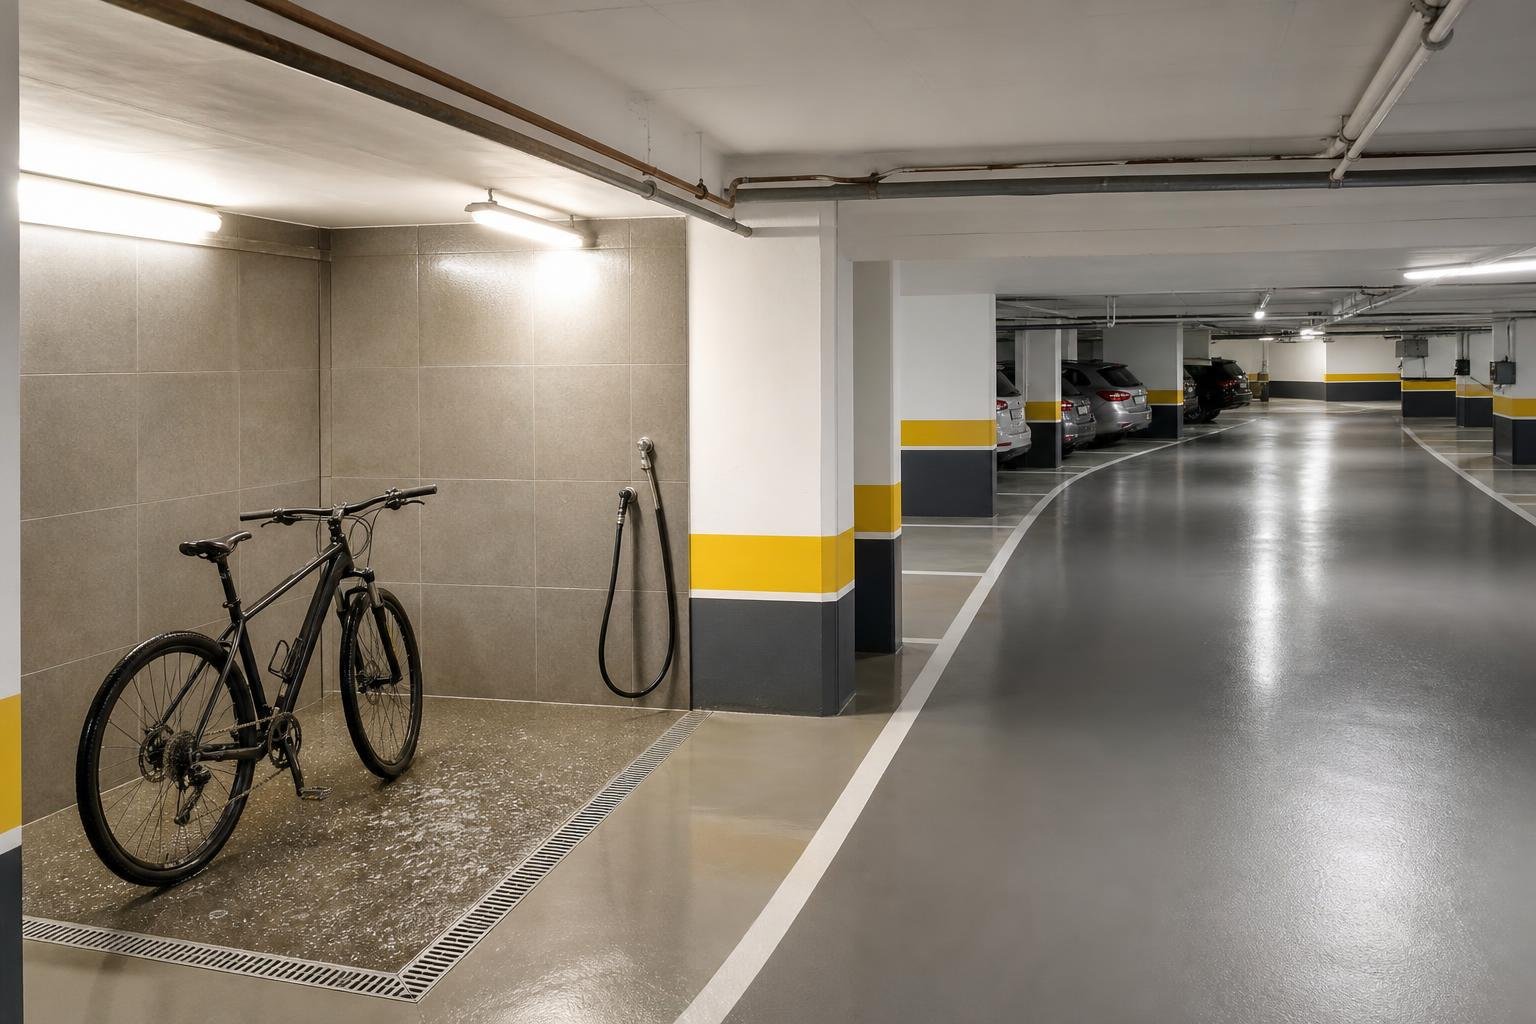
Check that an opening door does not cover an exit sign, that lighting diffusers do not create glare that washes out the pictogram and that wall finishes provide sufficient contrast. In garages, also assess the relationship with mirrors, columns, internal traffic signs and vehicle circulation. The aim is for each visual language to have a clear function.
If the work includes changes to corridors, stairs or compartmentation, connect this review with issues such as fire doors in residential buildings. The correct sign on the wrong door—or on a door that is blocked or altered without care—does not solve the safety problem.
Prevent a confusing, visually heavy intervention
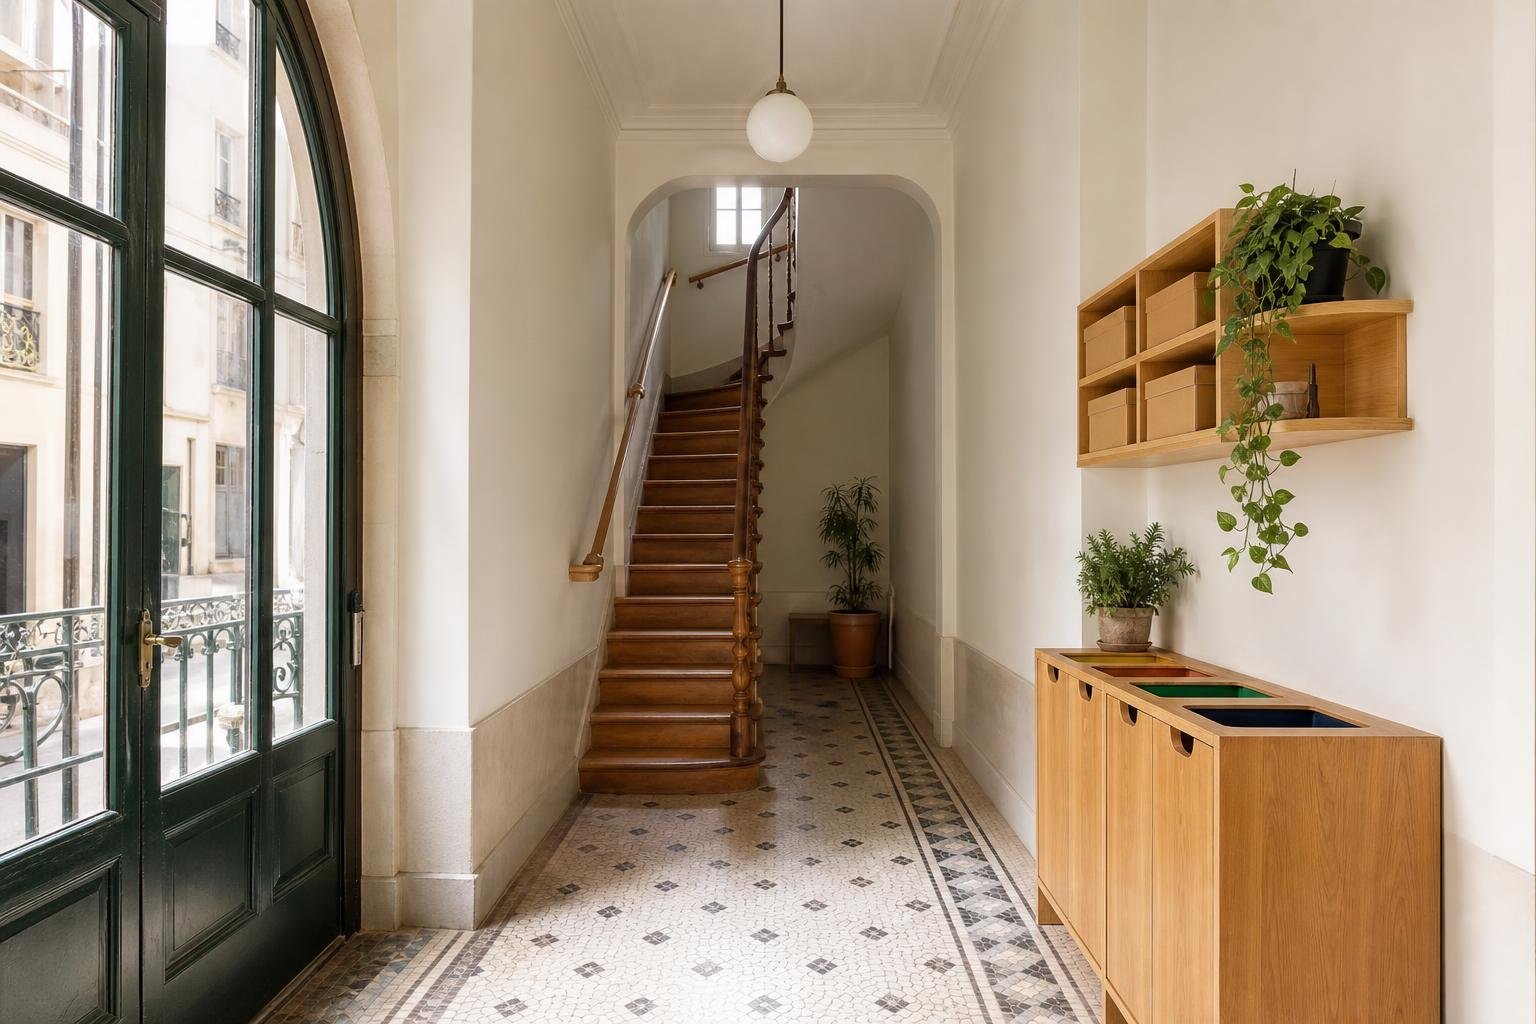
More signage does not necessarily mean better signage. An entrance hall can collect rubbish instructions, work notices, advertising, lift directions, contact lists and old signs. In that setting, even a compliant safety sign can disappear. Before installing new items, carefully remove redundant, outdated or randomly placed messages.
Limit the scheme to necessary pictograms, use one consistent family of signs and follow the same alignment principle wherever possible. Do not change colours, add decorative frames or mix informal symbols with safety signage. Consistency reduces the effort required to read information, especially under stress.
It is also sensible to avoid domestic fixes, fragile stickers or self-printed items without technical assessment. Installing safety equipment and systems calls for suitable competence; IMPIC lists firefighting, safety and detection systems among the technical-capacity areas checked in construction activity. Ask for product identification, fixing method, technical data and confirmation that the solution suits the wall or door substrate.
Plan inspection and maintenance from day one
A sign that is broken, detached, painted over or hidden by temporary storage is a predictable failure. Include signage in the condominium’s inspection routine: check legibility, cleanliness, fixing, visibility from the route and the absence of obstructions. Repeat that check after painting, replacement lighting or furniture installation.
Keep a plan showing sign locations, reference photographs, product data sheets and installation dates. This makes consistent replacements easier and avoids each minor repair introducing different formats, mounting heights or pictograms. The same discipline supports building maintenance, where small, regular actions often prevent more expensive corrections.
If there is uncertainty about risk category, the applicable design or changes to escape routes, do not decide solely by comparing another building. The assessment should be made for that particular building, use and set of access and evacuation conditions.
Planning work in shared areas, stairwells or a garage? Obra Lisboa can help coordinate a clear, building-compatible intervention designed to last—from the initial survey to the execution details.
AI-generated editorial image; it does not depict an Obra Lisboa project.

Obra Lisboa