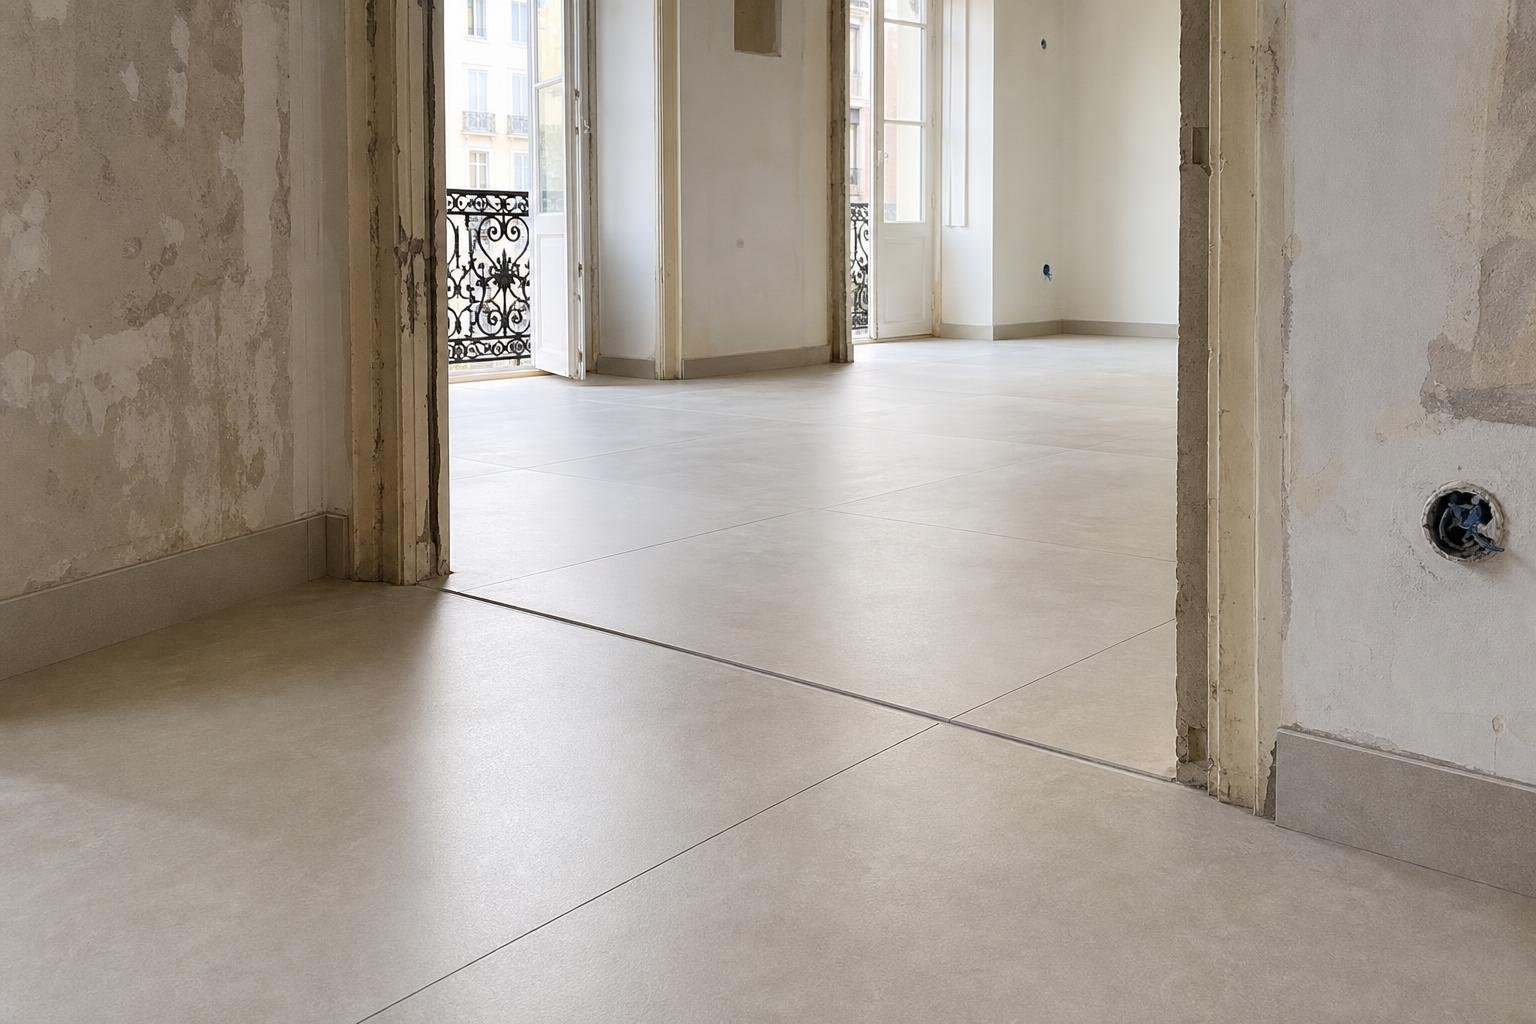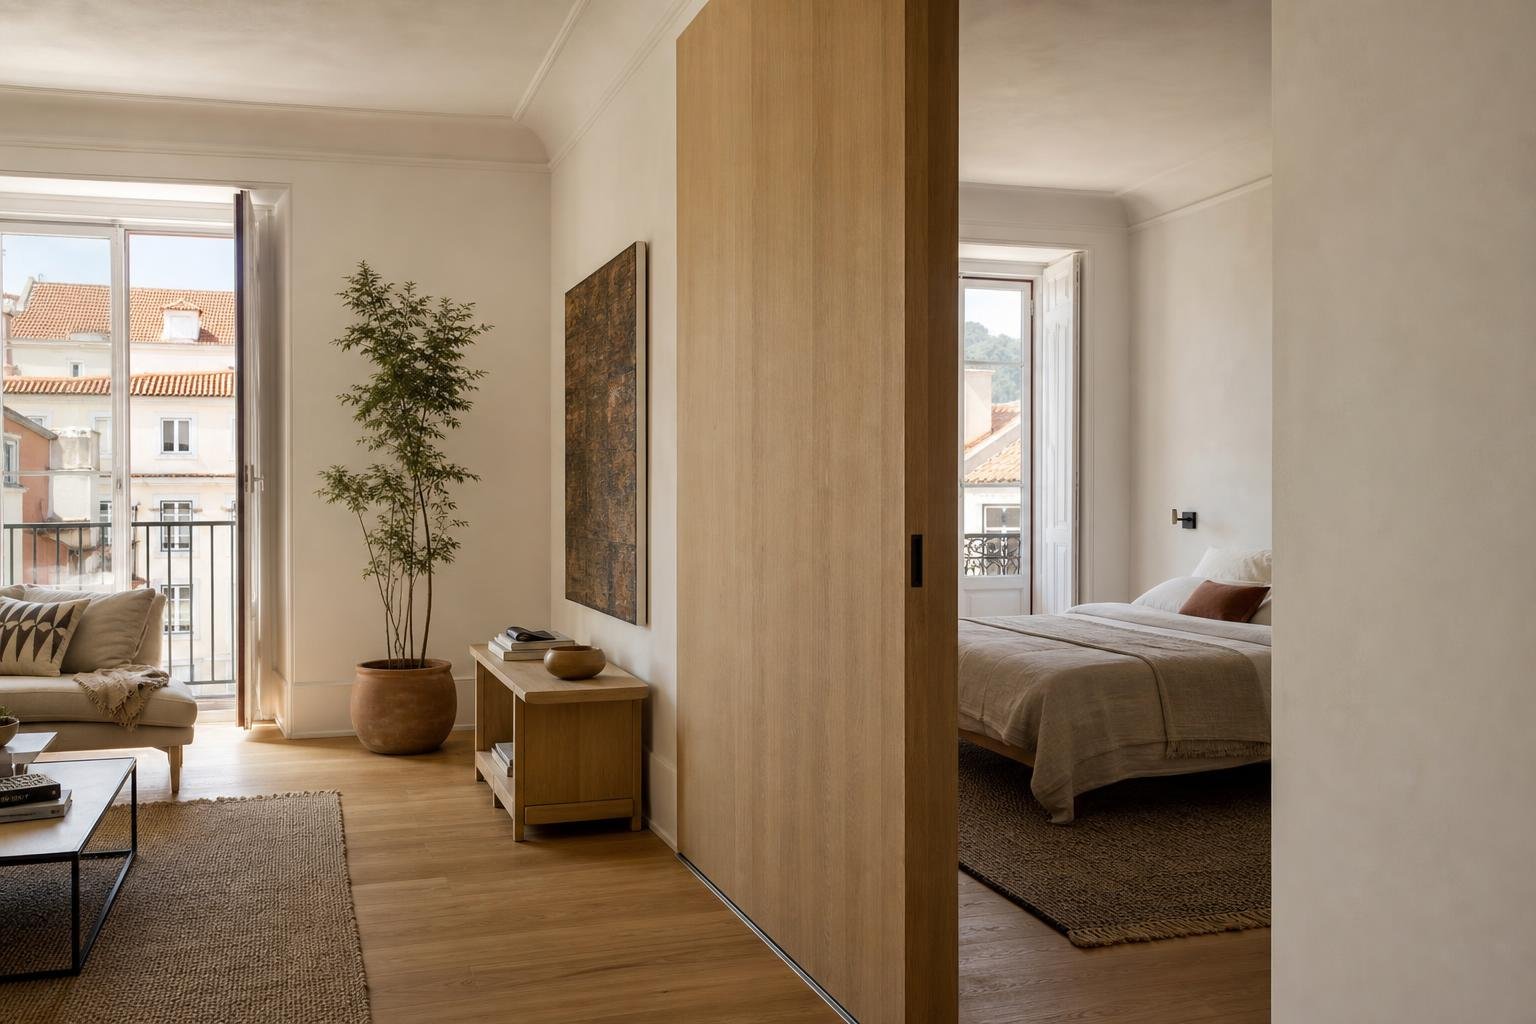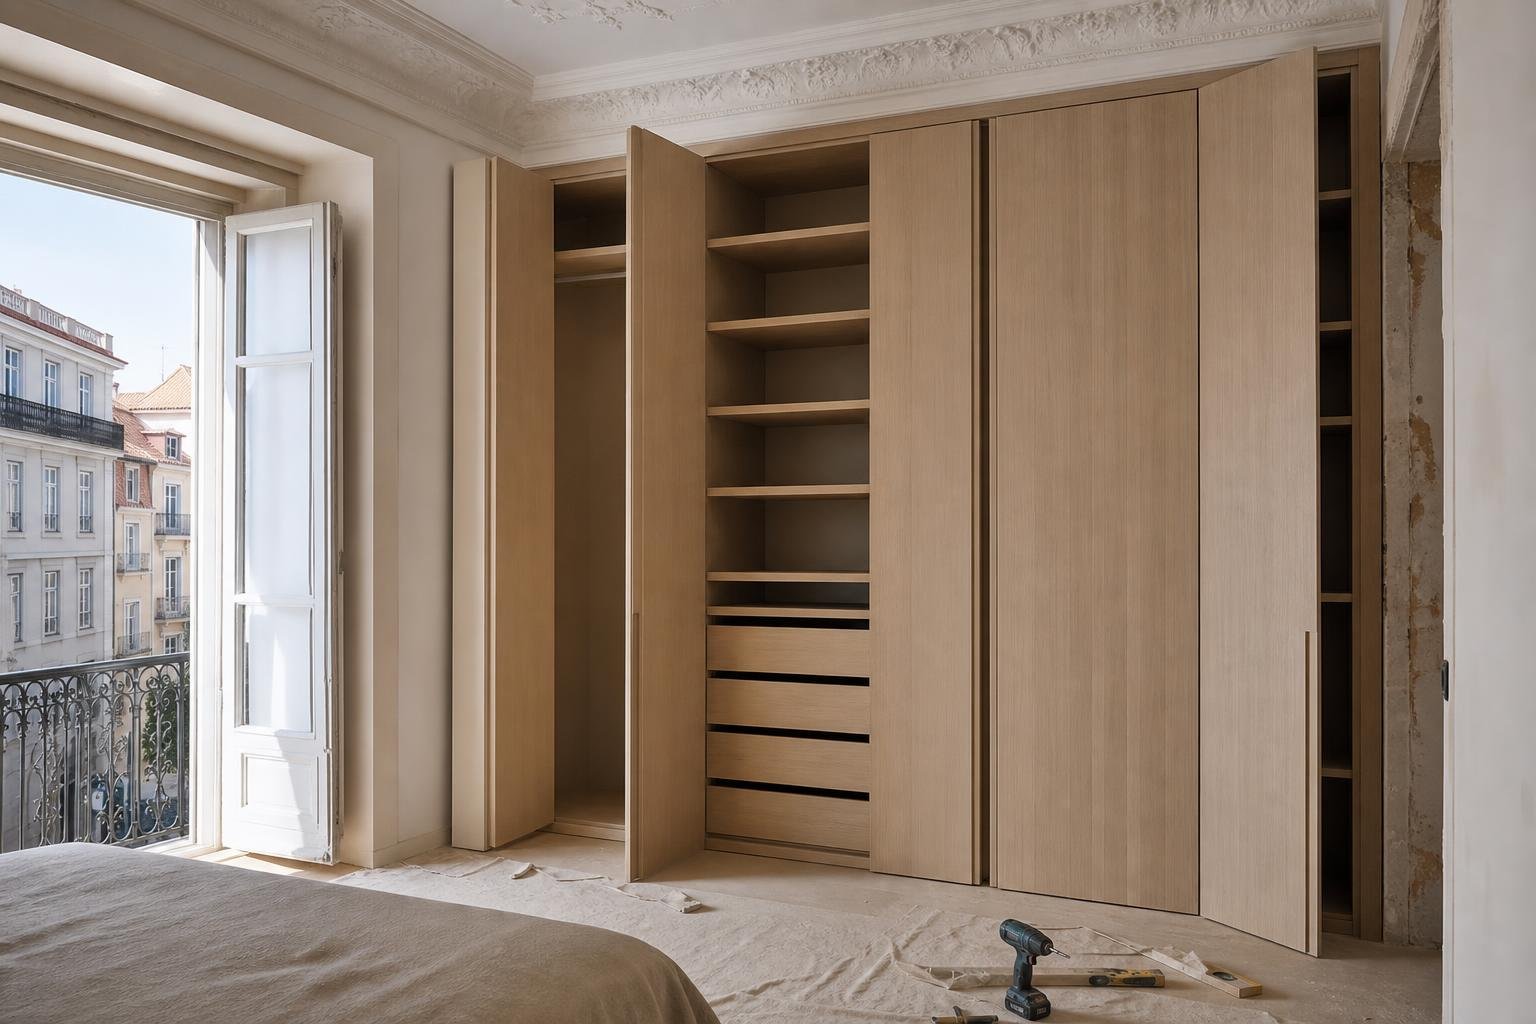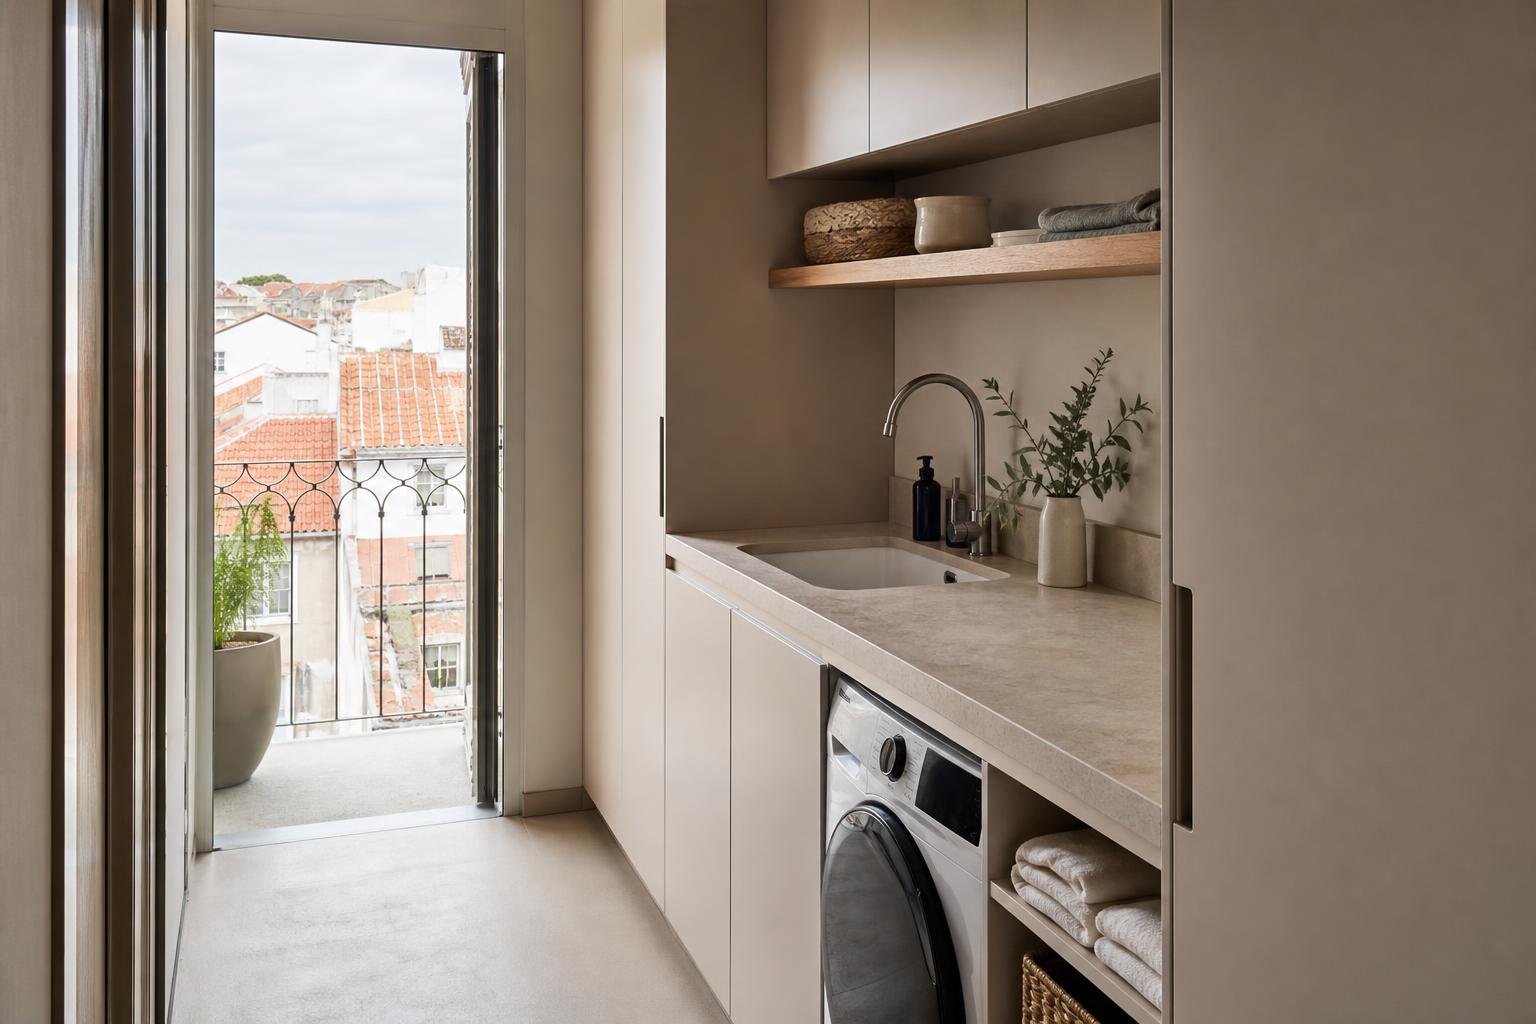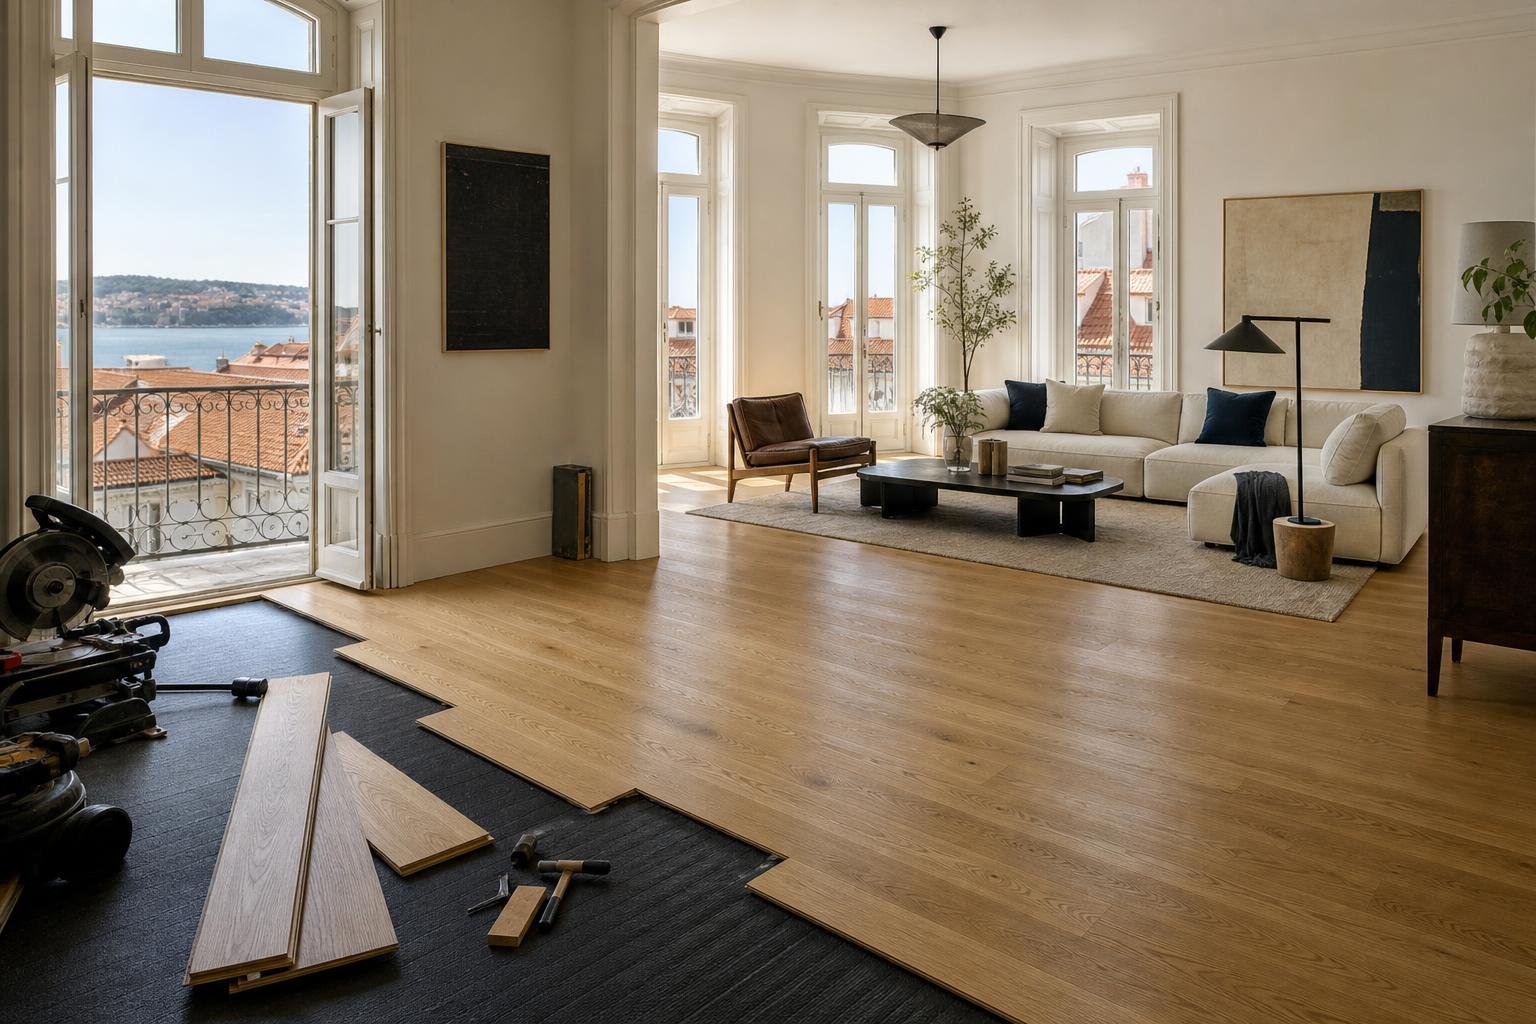
A building project does not end when the final bag of debris leaves the property. It ends when the home can be used safely and comfortably, without dust concealed in cupboards, construction marks on finishes or appliances that have not been checked. Post-renovation cleaning is therefore a quality-control stage: it makes the true condition of walls, floors, windows, sanitaryware and kitchen units visible before furniture, textiles and everyday life conceal small issues.
The aim is not simply to make everything shine quickly. It is to follow a sequence that avoids scratching new surfaces, redistributing fine dust and mistaking ordinary construction residue for defects that need correction. In a Lisbon apartment, where shared circulation areas, lifts and neighbours require extra care, this preparation should begin before the contractor demobilises. The Portuguese health authority's guidance on indoor air highlights the importance of cleaning and maintaining ventilation systems; that principle is especially valuable after renovation work.
Separate cleaning, corrections and handover first
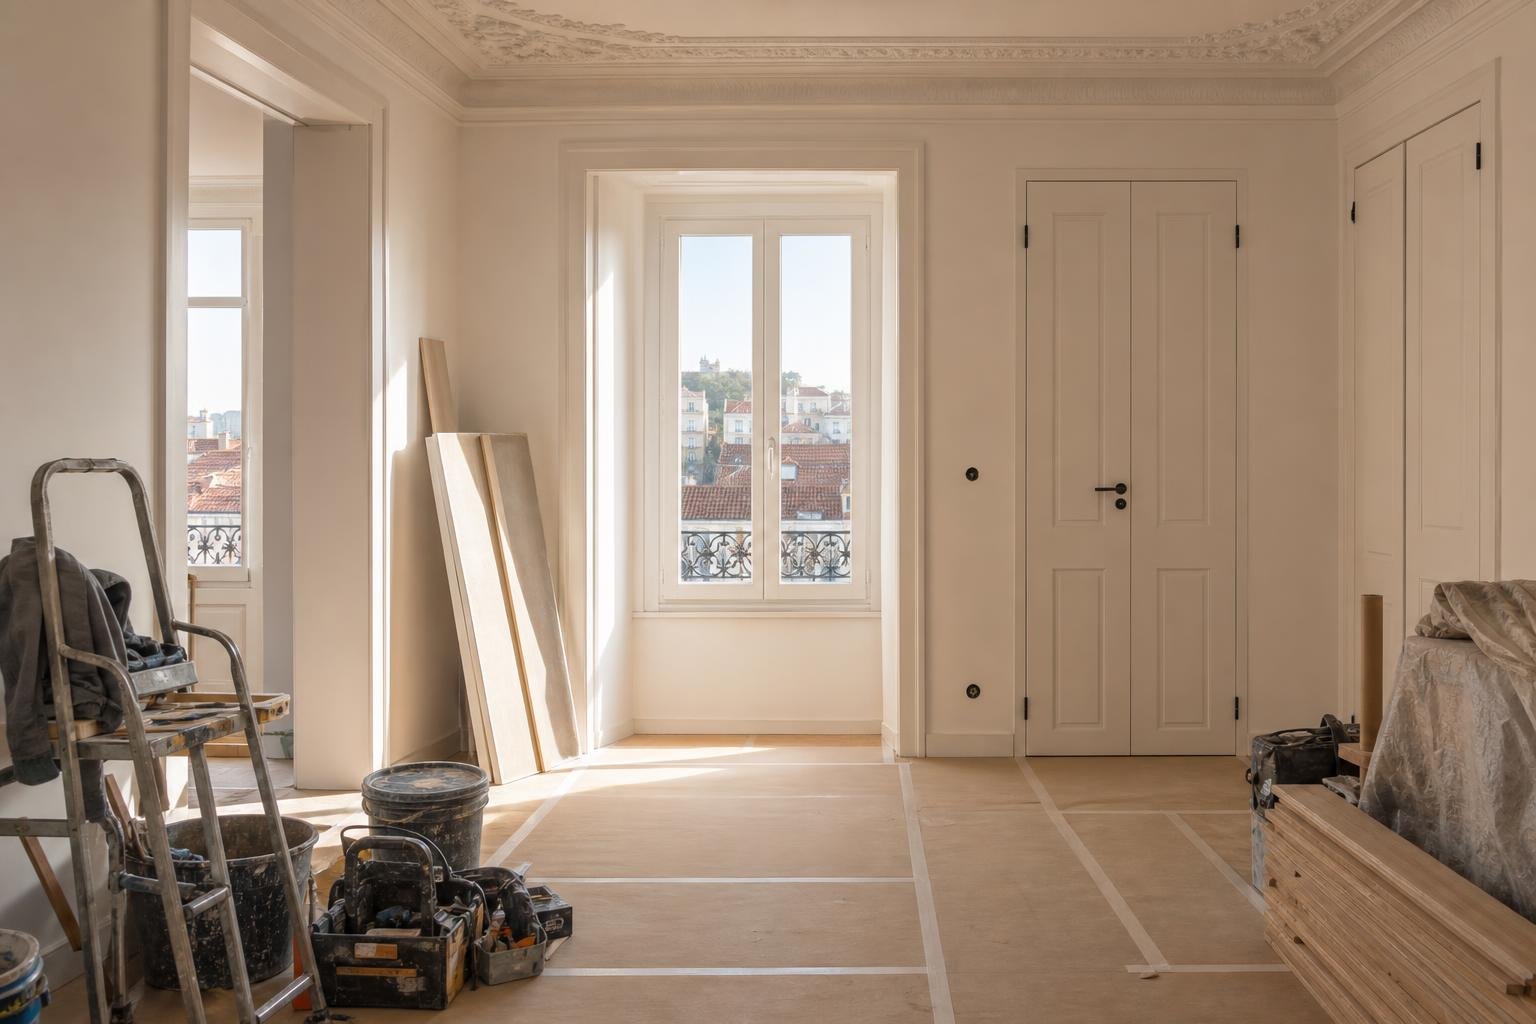
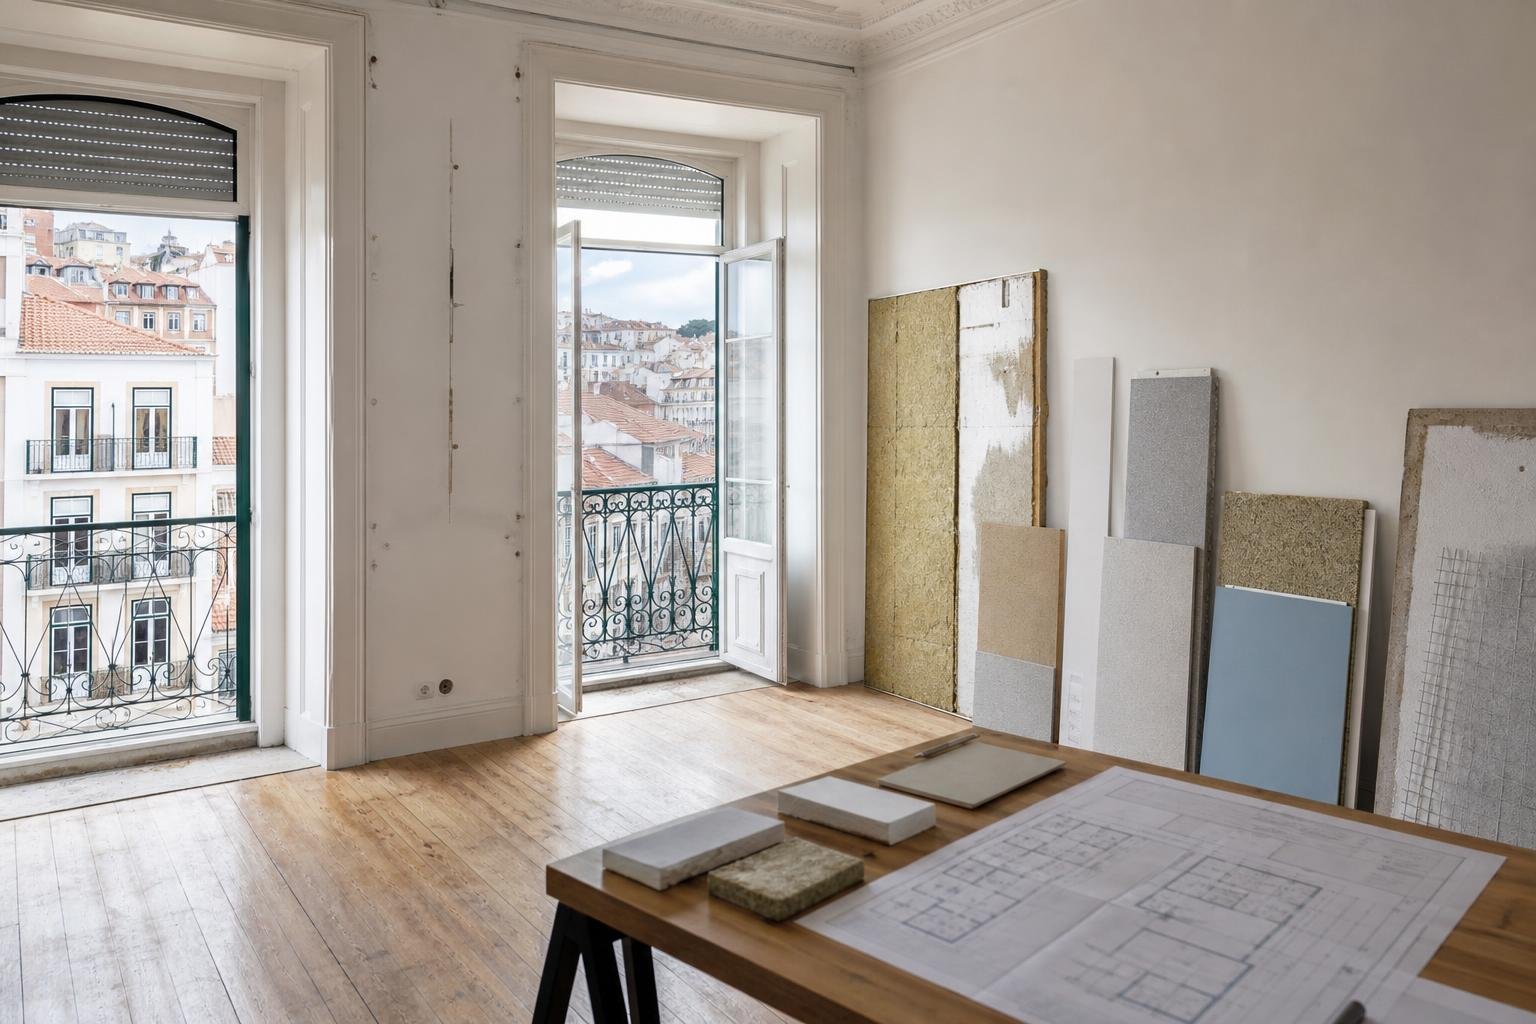
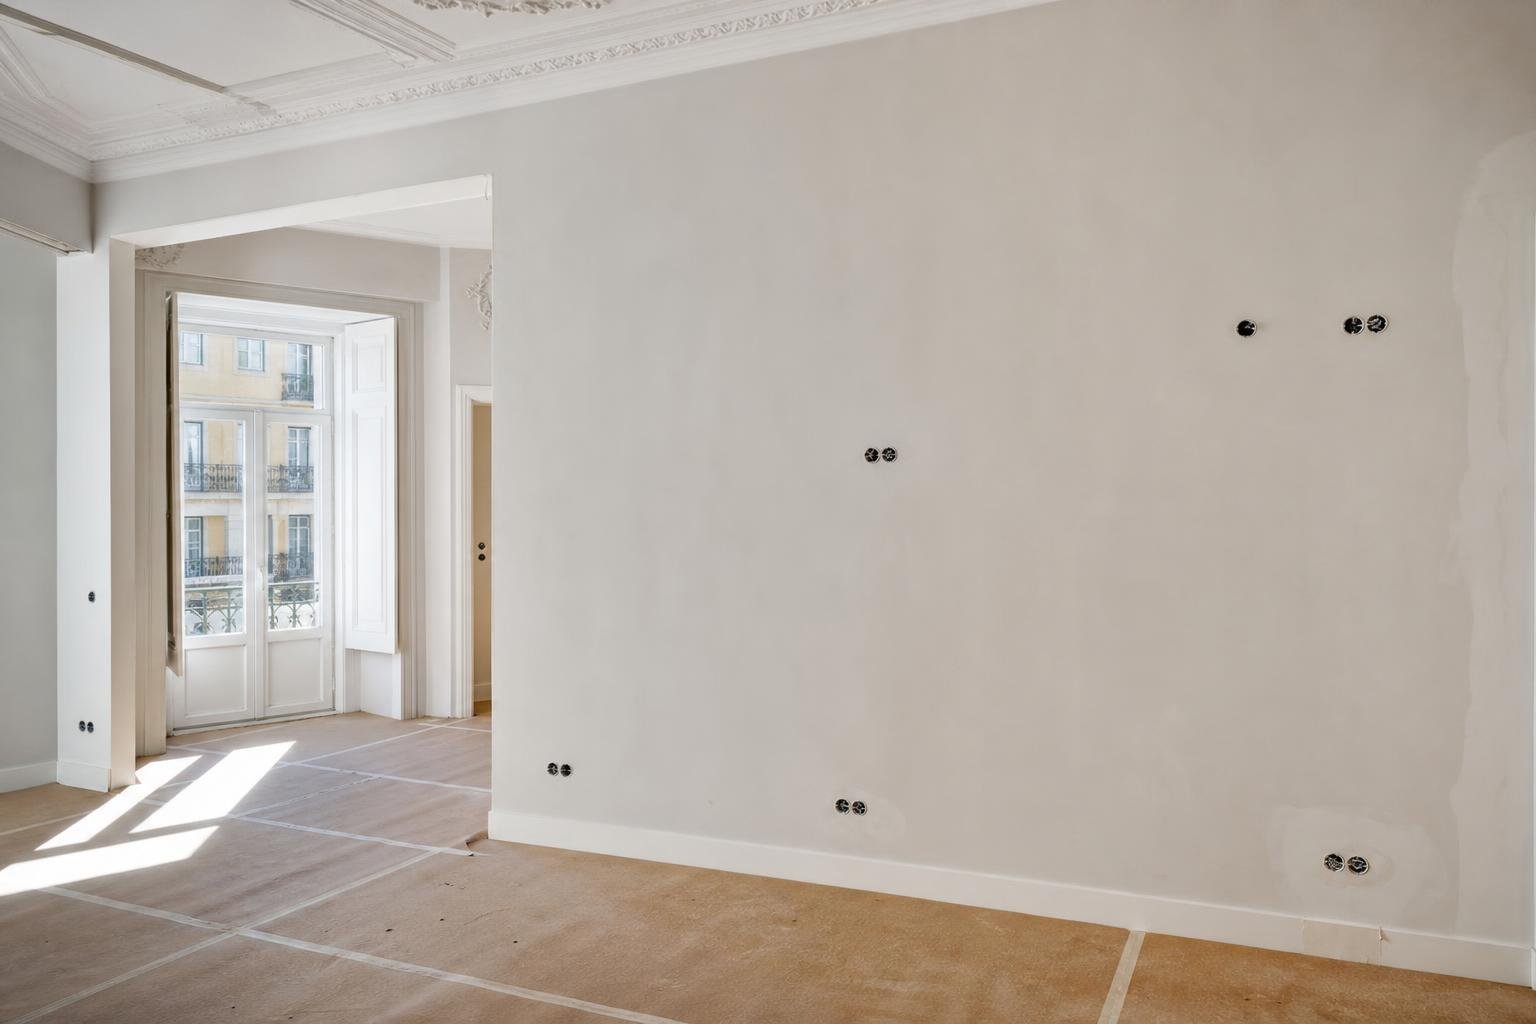
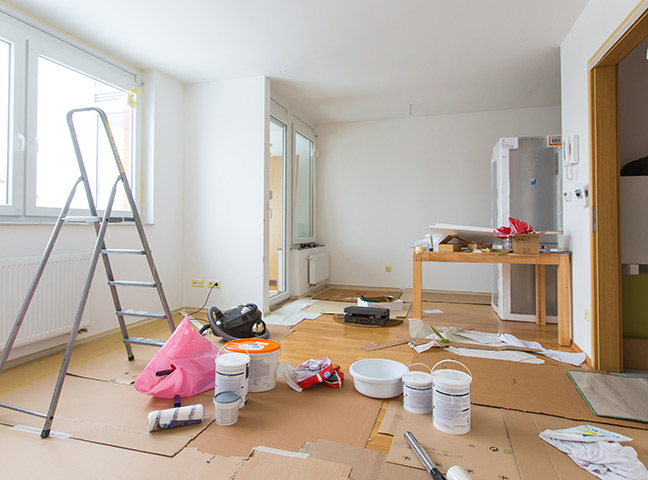
The most common mistake is to schedule a “final clean” while work is still outstanding. Fresh sealant, paint touch-ups, door adjustments, holes to fill or items awaiting installation create more dust and new marks. Before booking or starting the clean, walk through the property with the team and create three lists: unfinished work, defects requiring correction and post-renovation cleaning.
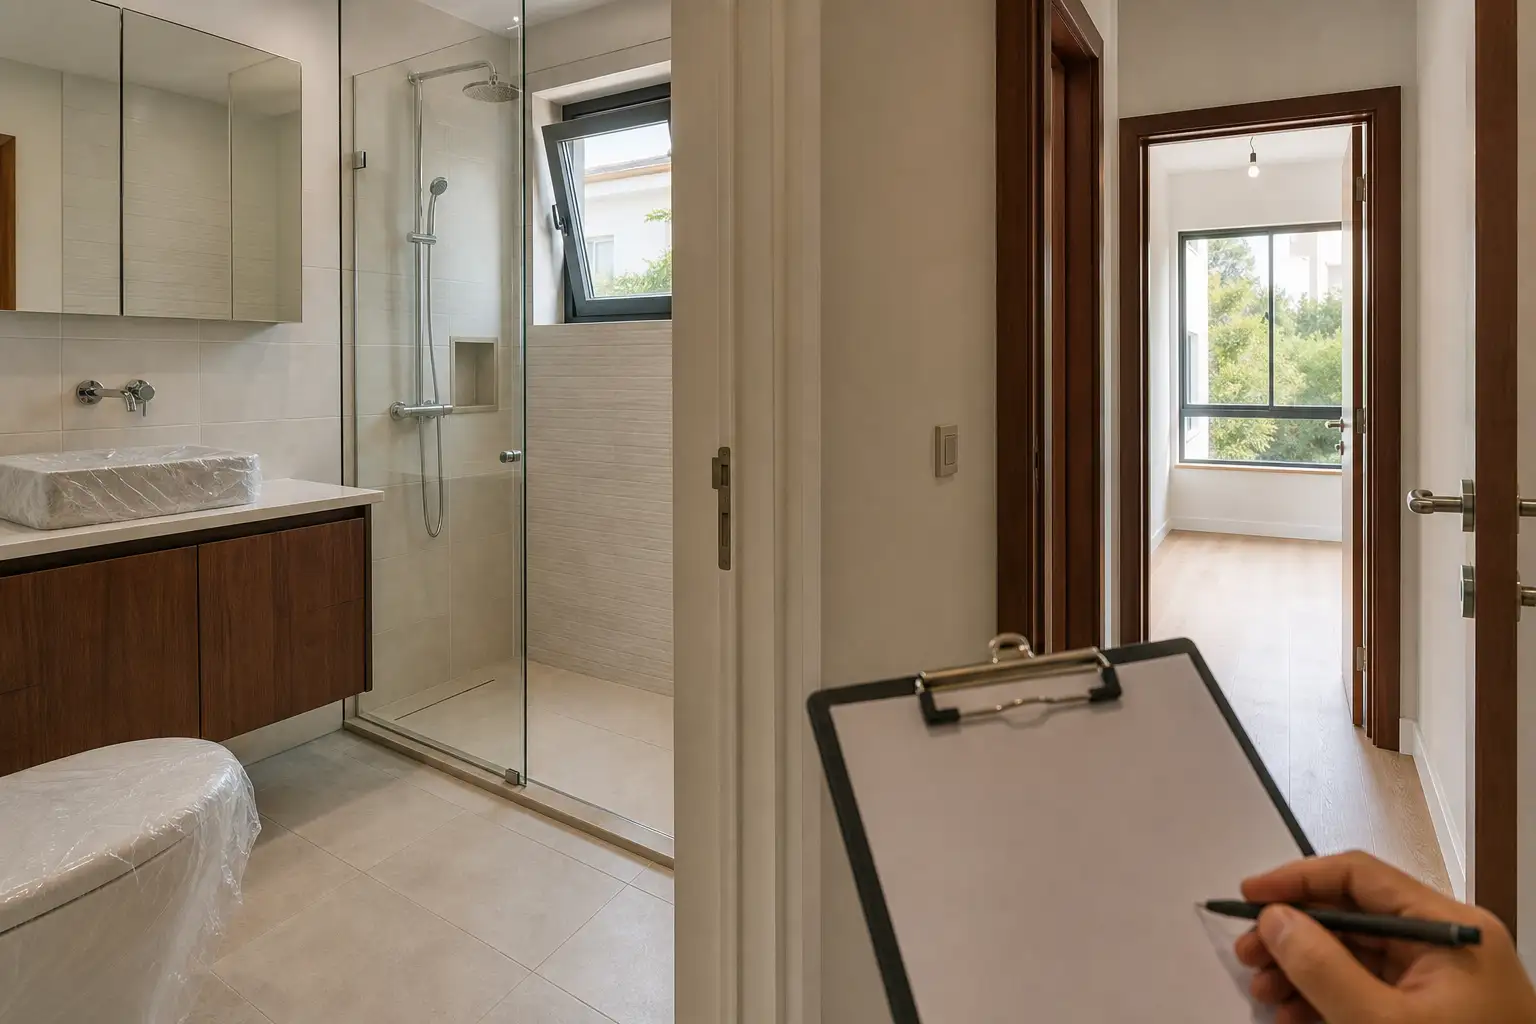
Photograph every room in daylight and open doors, drawers, shutters and windows. Look for paint splashes, scratched glass, poorly finished joints, recent cracks and mortar residue. This inspection does not replace technical supervision, but it makes the discussion factual. For context on why a final check matters, see why construction supervision matters.
For public works covered by Portugal's Public Contracts Code, provisional acceptance depends on an inspection and confirmation that the applicable obligations have been met; the record must identify defects and address the construction-and-demolition waste plan. A private renovation follows its own contract, but the underlying lesson remains useful: cleaning should never replace checking the completed work. Read the Public Contracts Code provisions on inspection and provisional acceptance.
Remove waste without spreading dust through the home
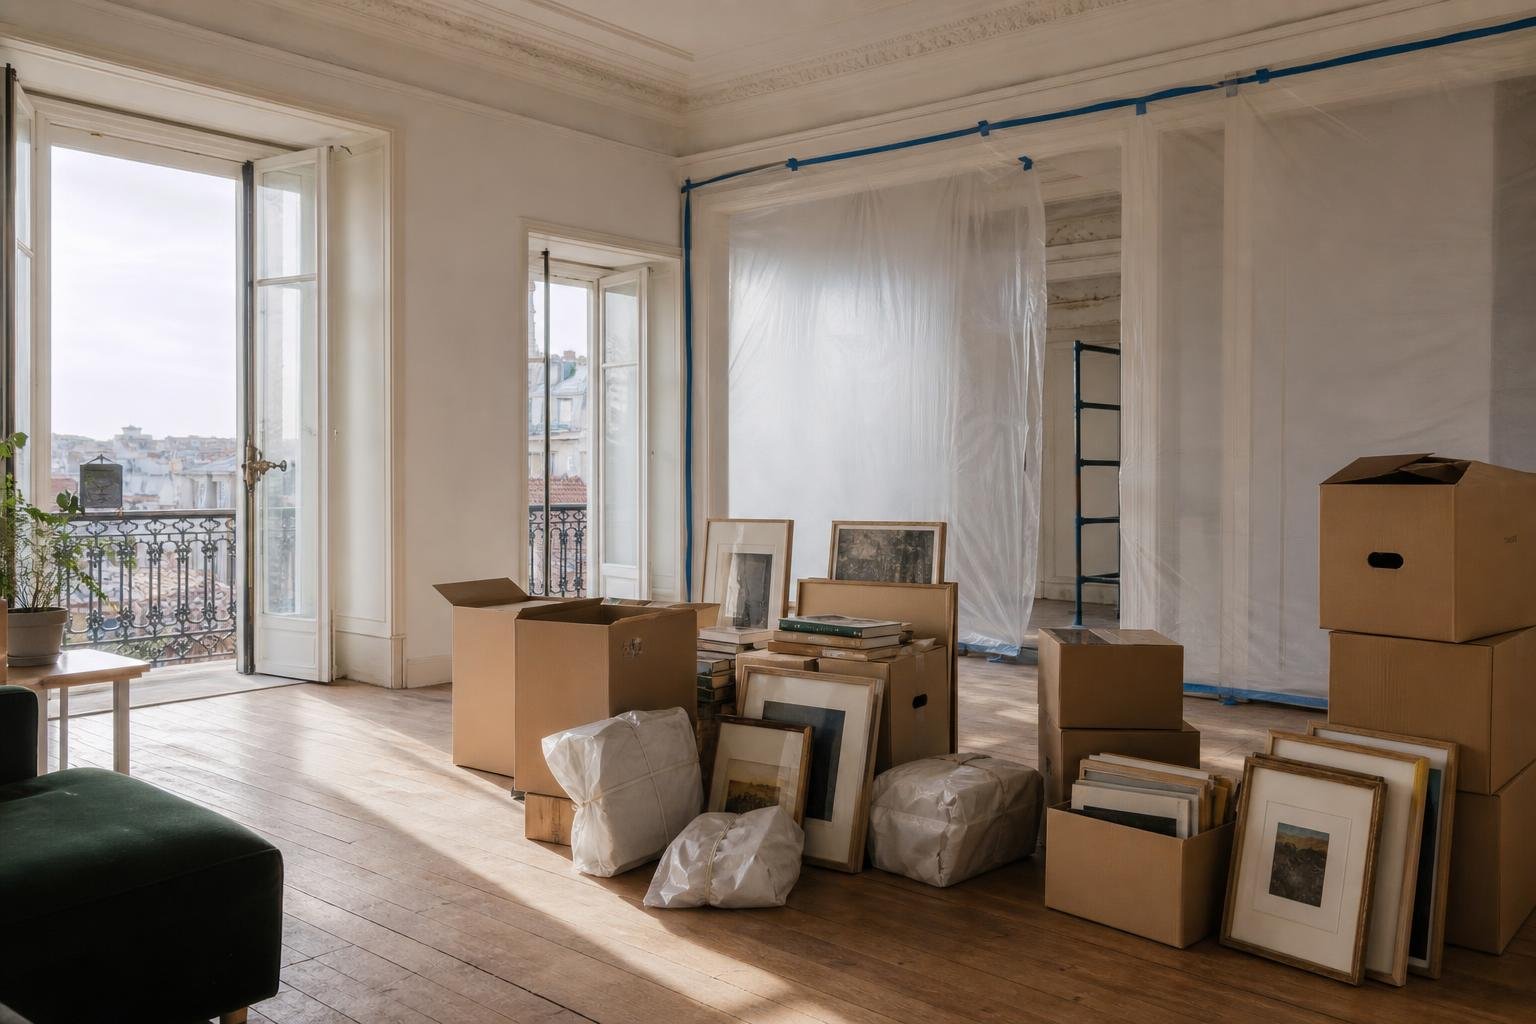
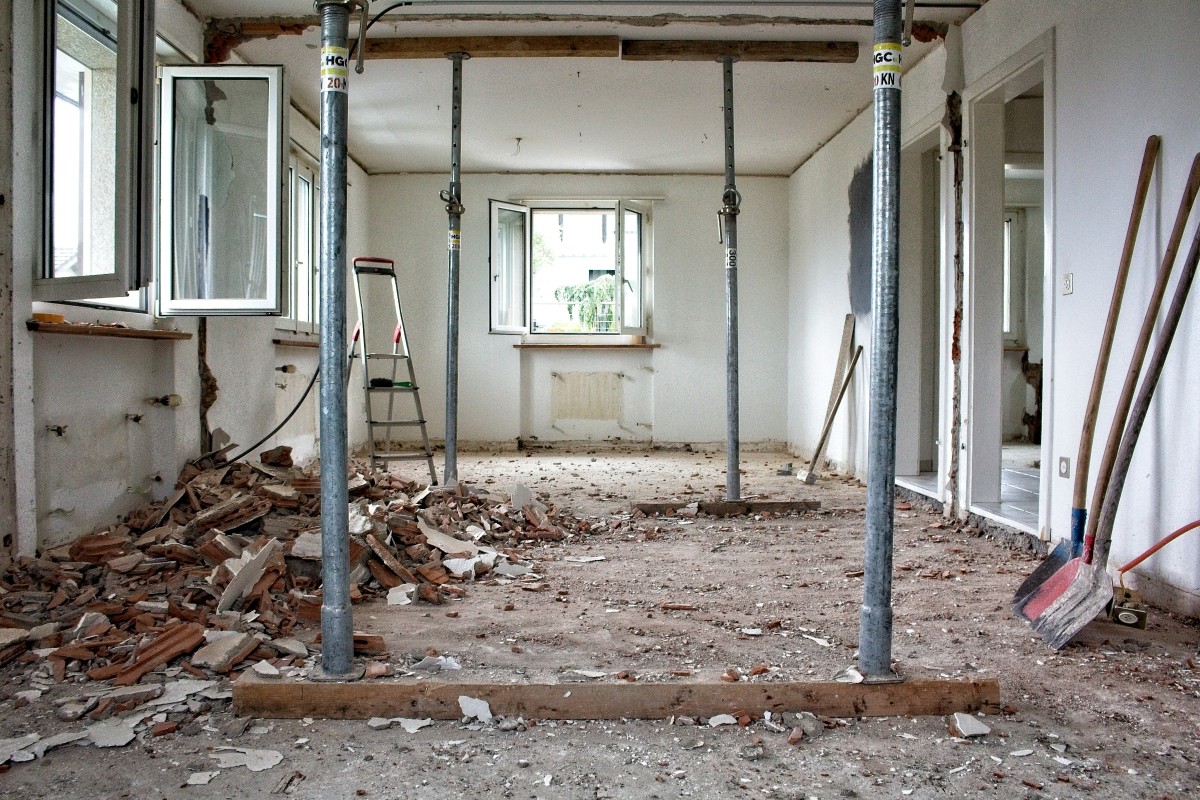
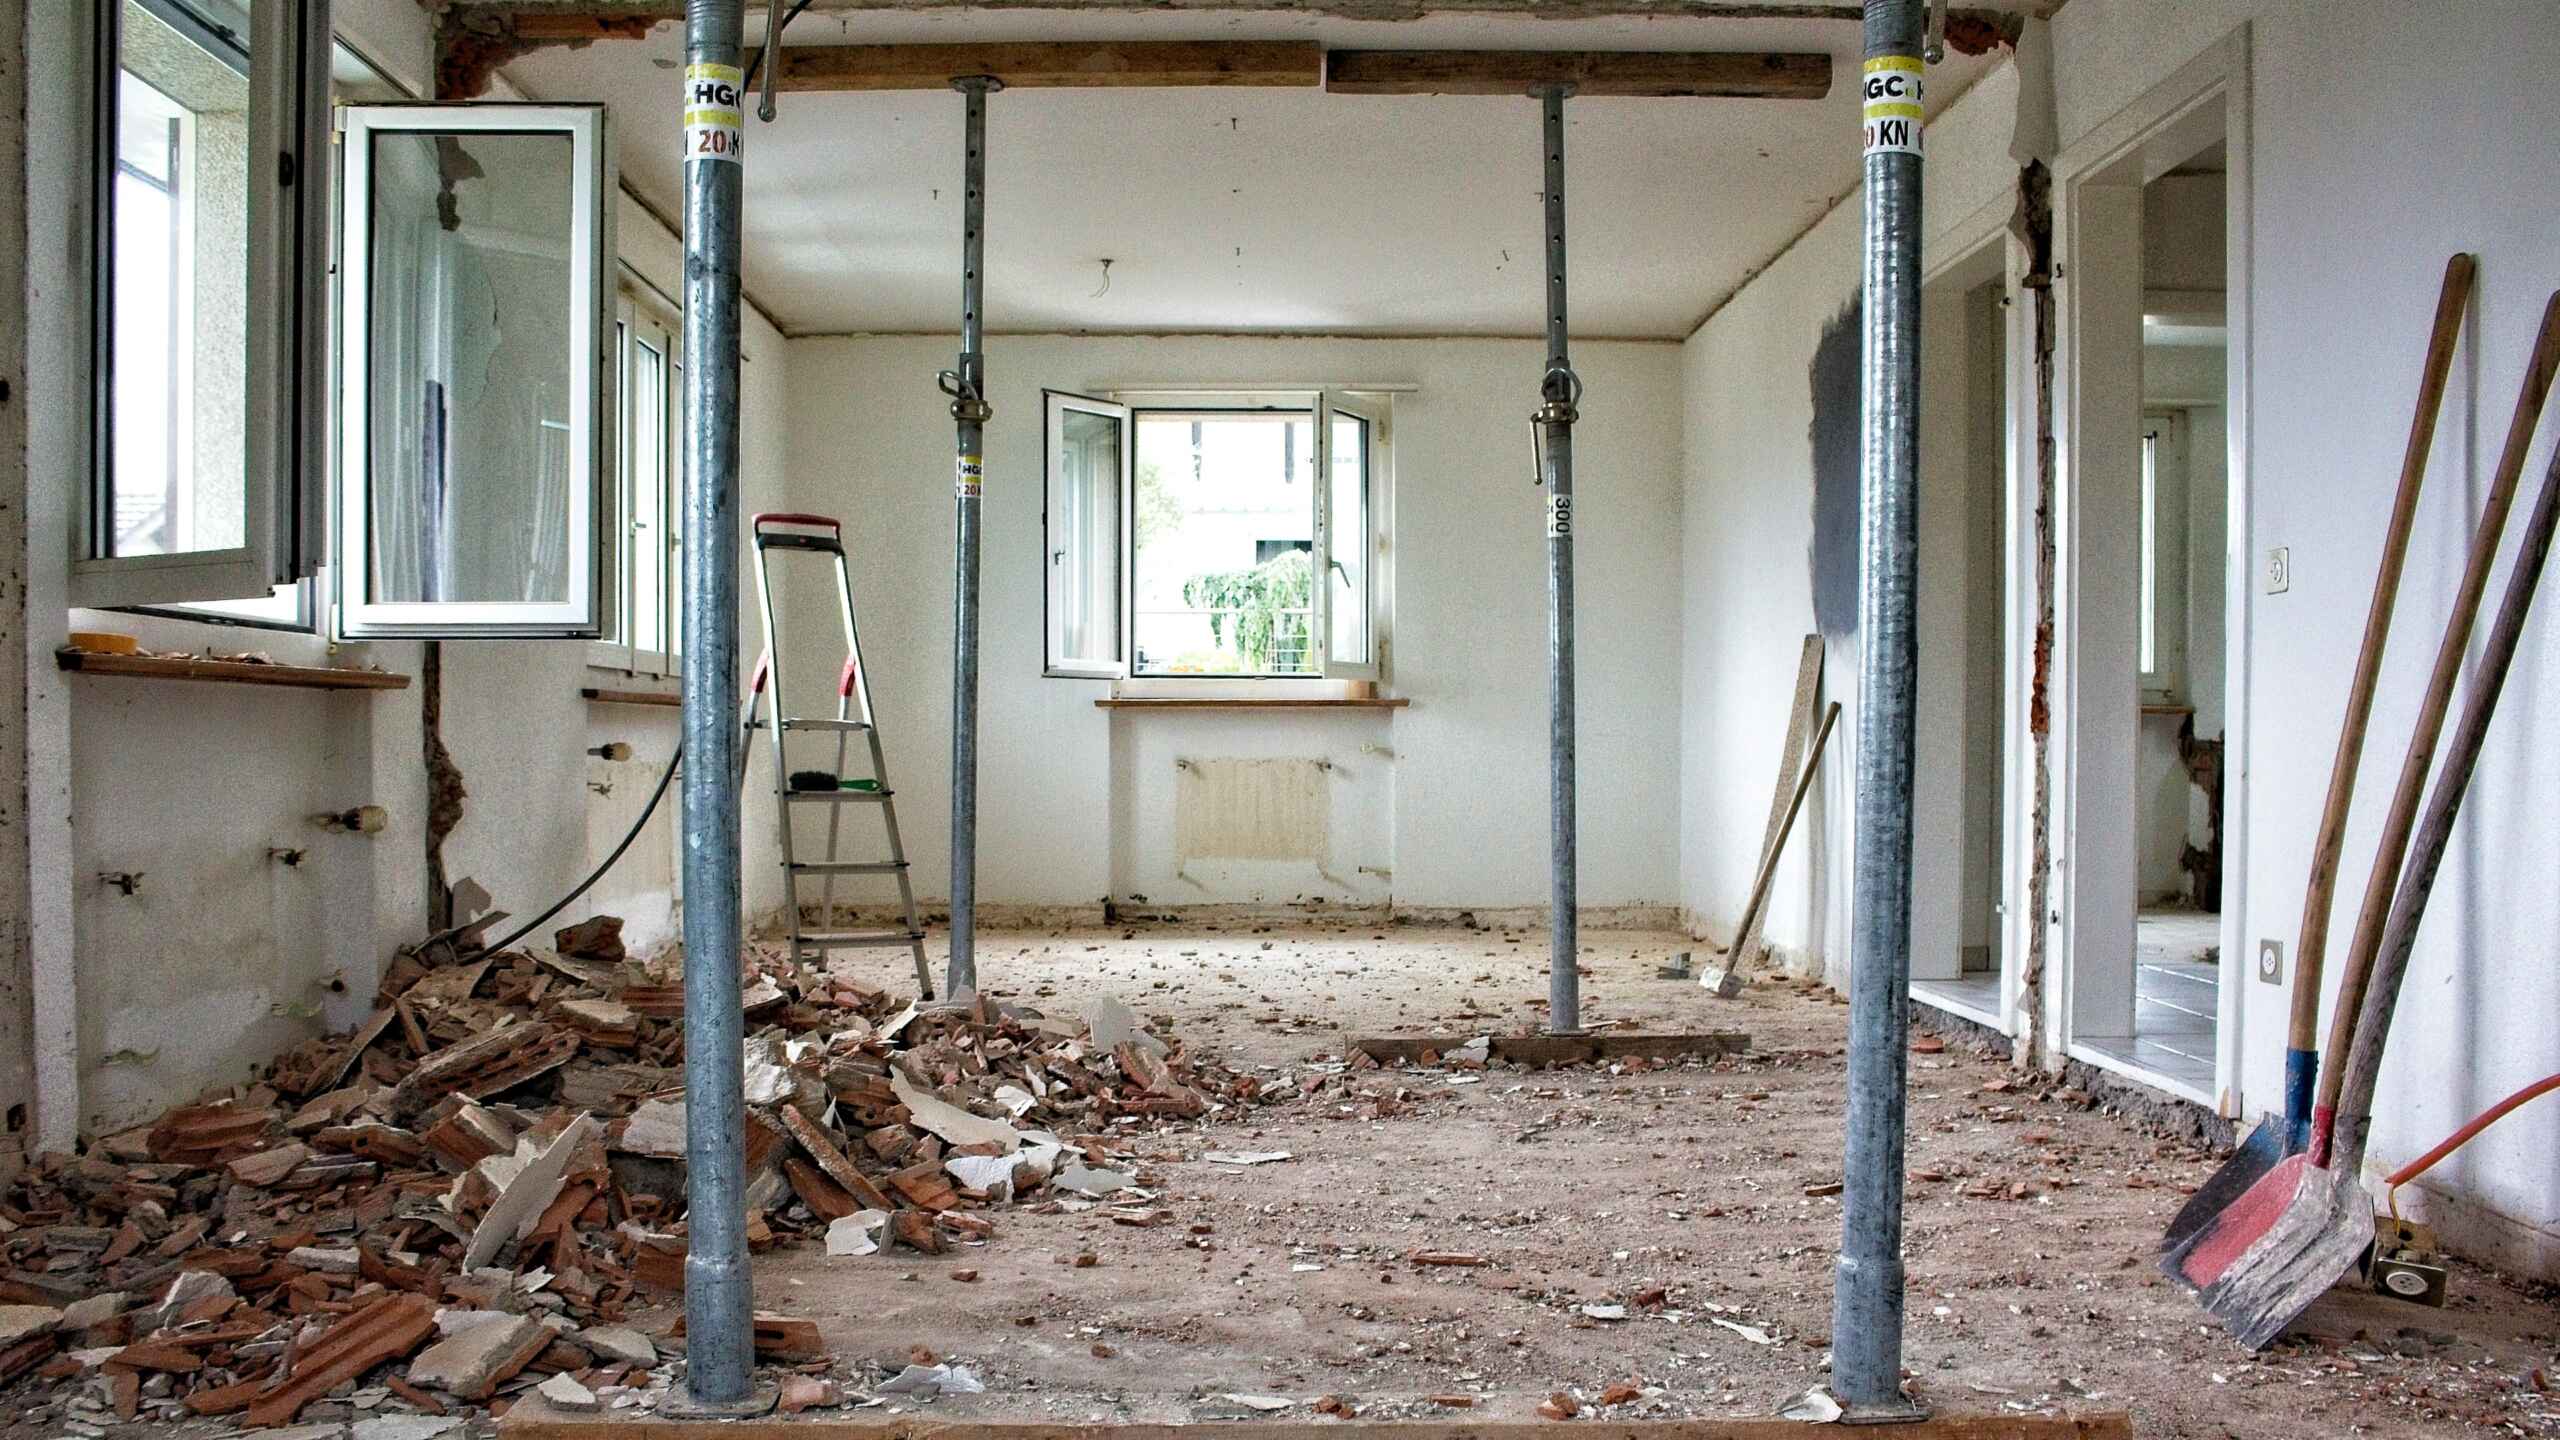
The first stage is dry and heavy-duty: remove packaging, masking tape, protective plastics, leftover materials and loose debris. Vacuum only afterwards. Vigorous dry sweeping sends fine particles into hinges, window tracks, sockets, vents, skirting boards and cupboards. Use a vacuum with suitable filtration, a soft attachment and slow movements, starting at high level and finishing at floor level.
The DGS guidance on asbestos is an important reminder that old or suspect materials must not be broken, drilled or treated as ordinary waste: assessment and removal require appropriate procedures. In an older home, if you find fibre-cement panels, degraded insulation or materials of unknown composition, stop that task and seek professional advice. Post-work cleaning is not the time to improvise the removal of potentially hazardous elements.
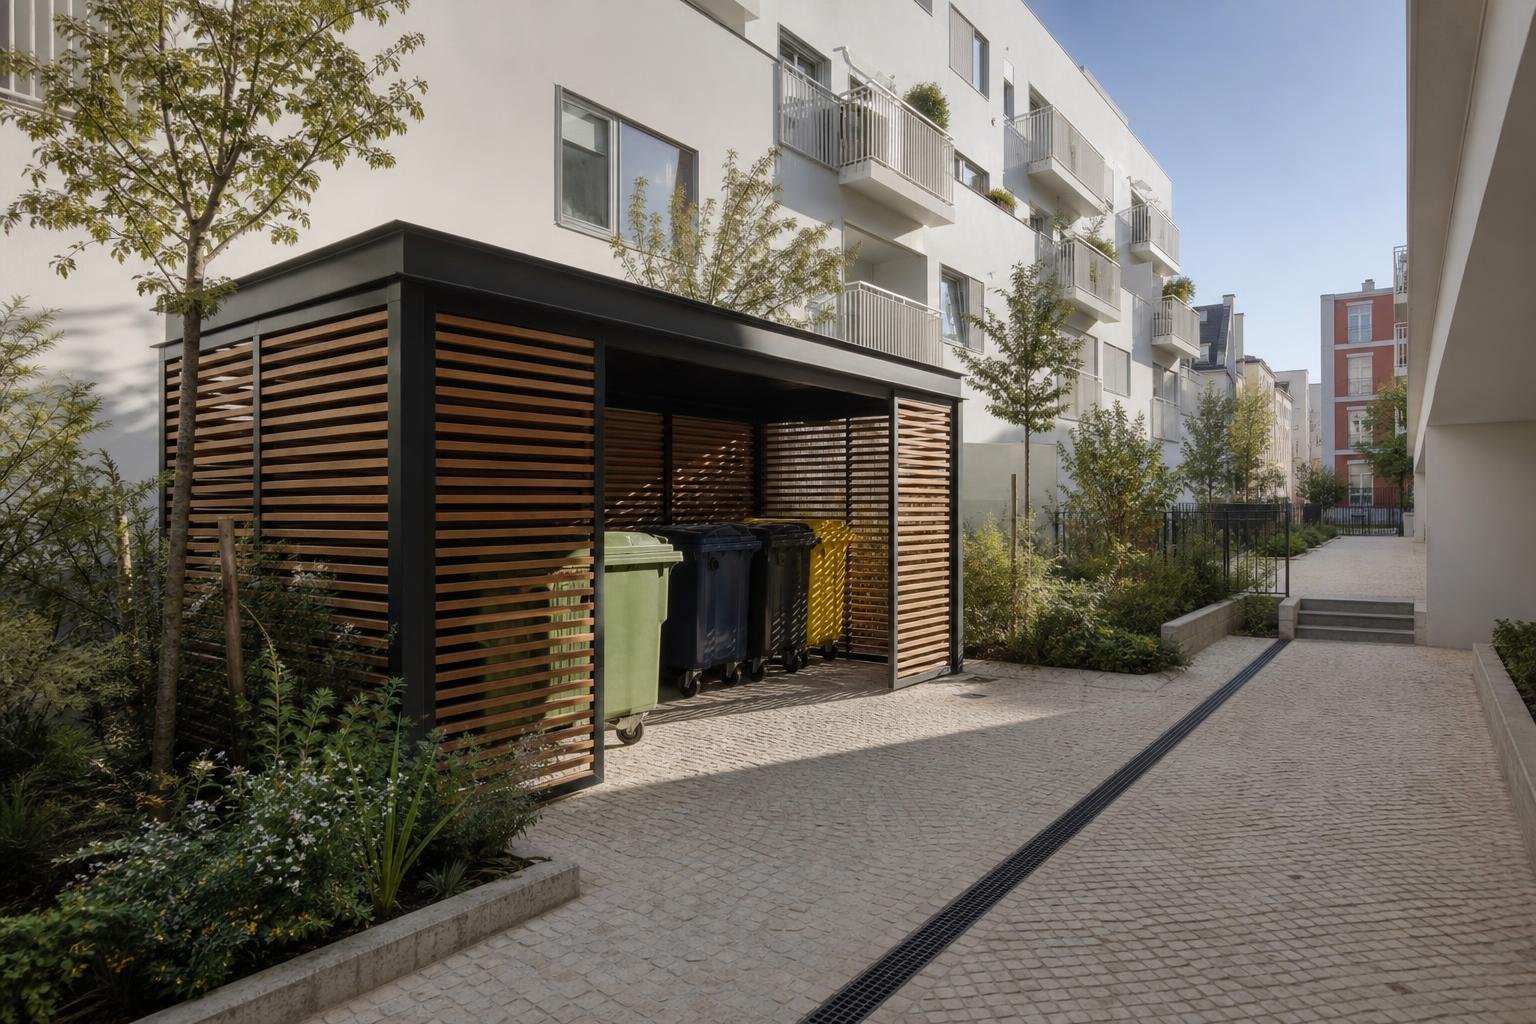
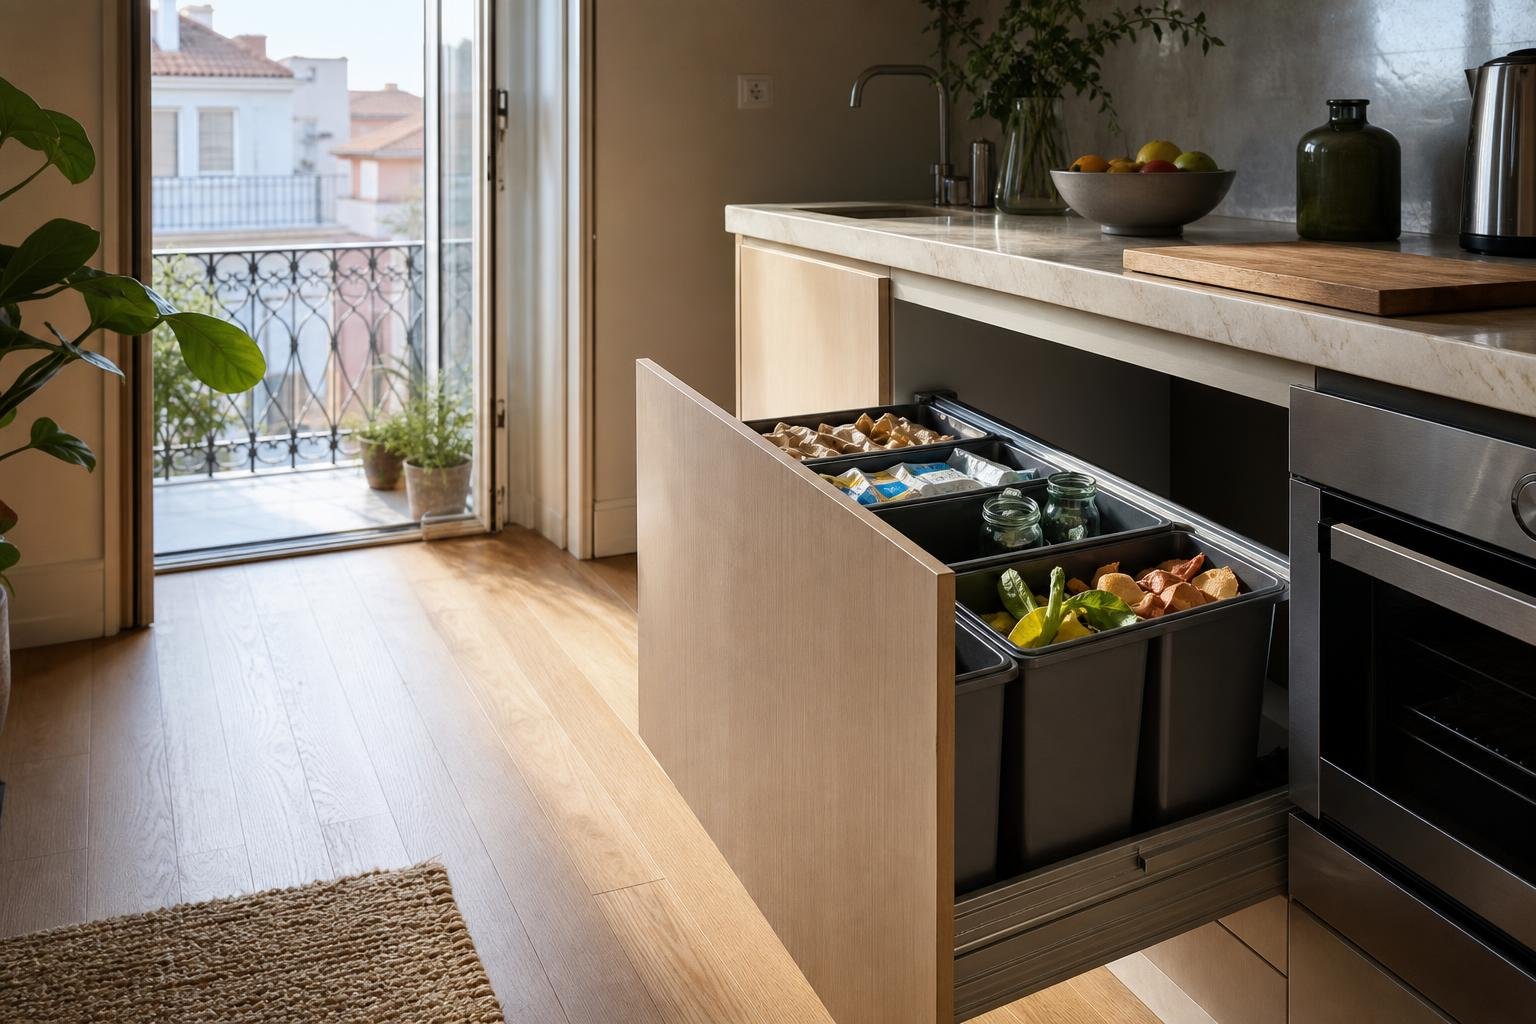
Set aside robust containers or bags by waste type and confirm who is responsible for transport. For applicable planning processes in Lisbon, a construction-and-demolition waste prevention and management plan is expressly requested, as shown in the municipal document list for demolition and renovation works. Even in a small project, separating and directing waste correctly prevents the final stage from leaving a problem outside the front door.
Clean from top to bottom and protect new finishes
After the first vacuum, work in order: ceilings and light fittings, walls, frames, high cupboards, worktops, appliances, skirting boards and finally floors. Reversing that sequence means repeating work. Use lightly damp microfibre cloths, change the water frequently and test every product in a concealed area. Natural stone, oiled timber, lacquered metals, microcement, aluminium and some ceramic finishes do not all react in the same way to strong descalers or degreasers.
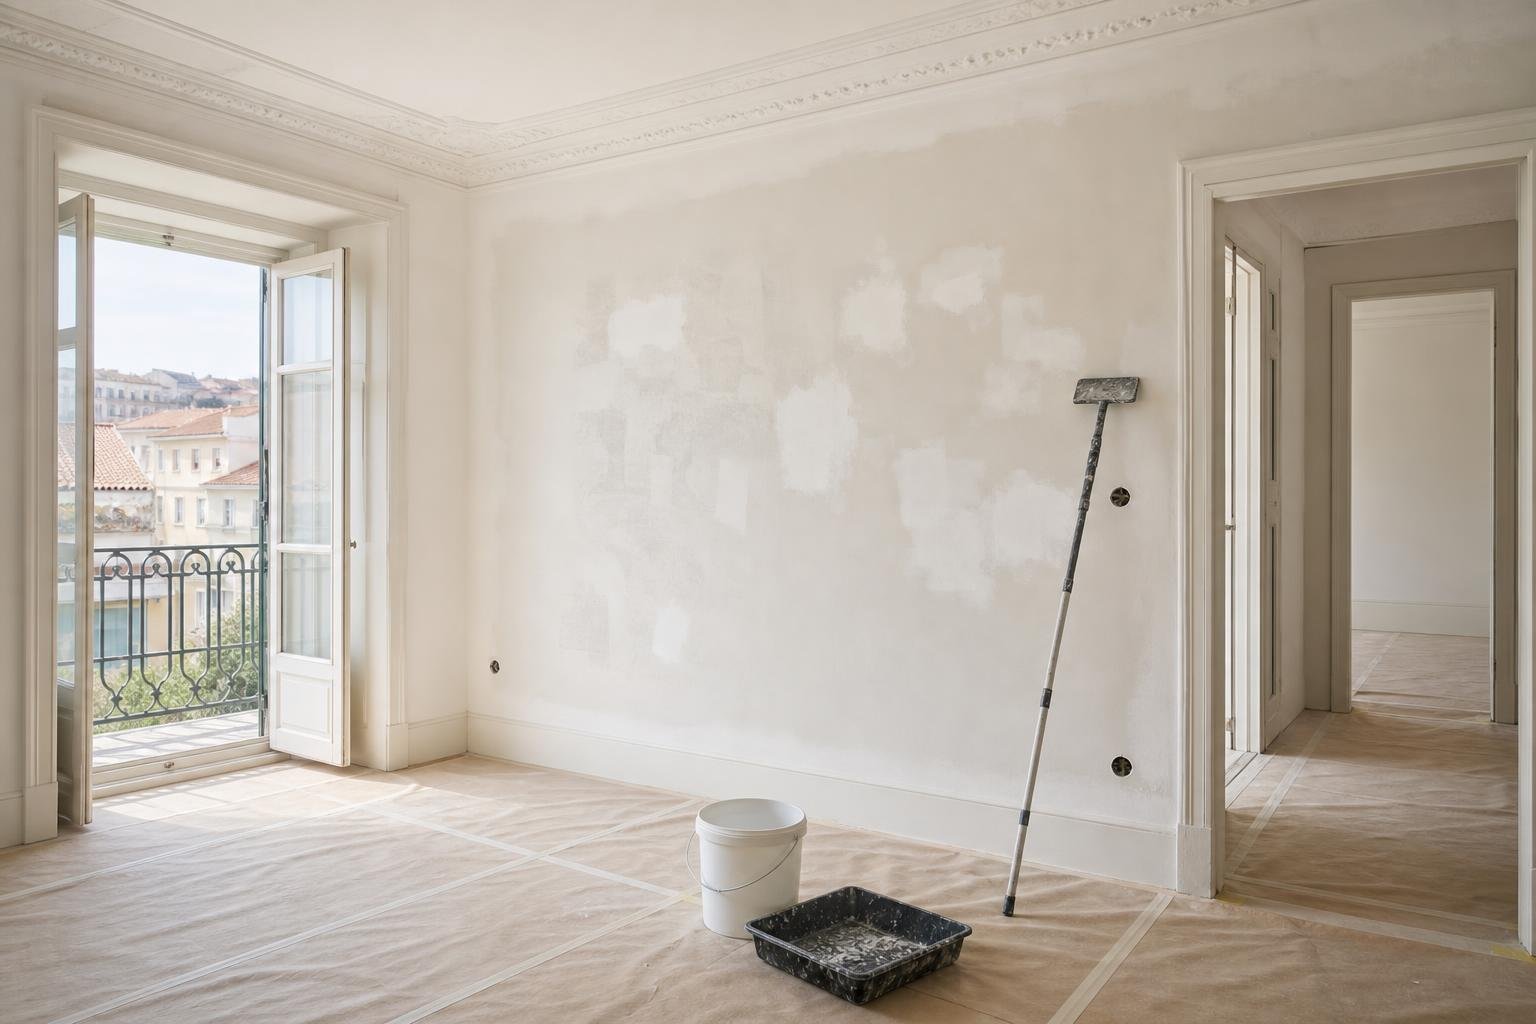
Avoid abrasive pads, unprotected blades and acidic products where compatibility is unknown. Rather than attacking a stubborn mark with more force, establish whether it is adhesive, cement, paint, sealant or rust. The right method depends on both the residue and the finish. The same care applies to fresh paint: a wall may look dry but still be unsuitable for aggressive washing. If repainting or touch-ups were part of the project, review what professional painting quality depends on to understand what affects the final result.
Check the places where dust settles first
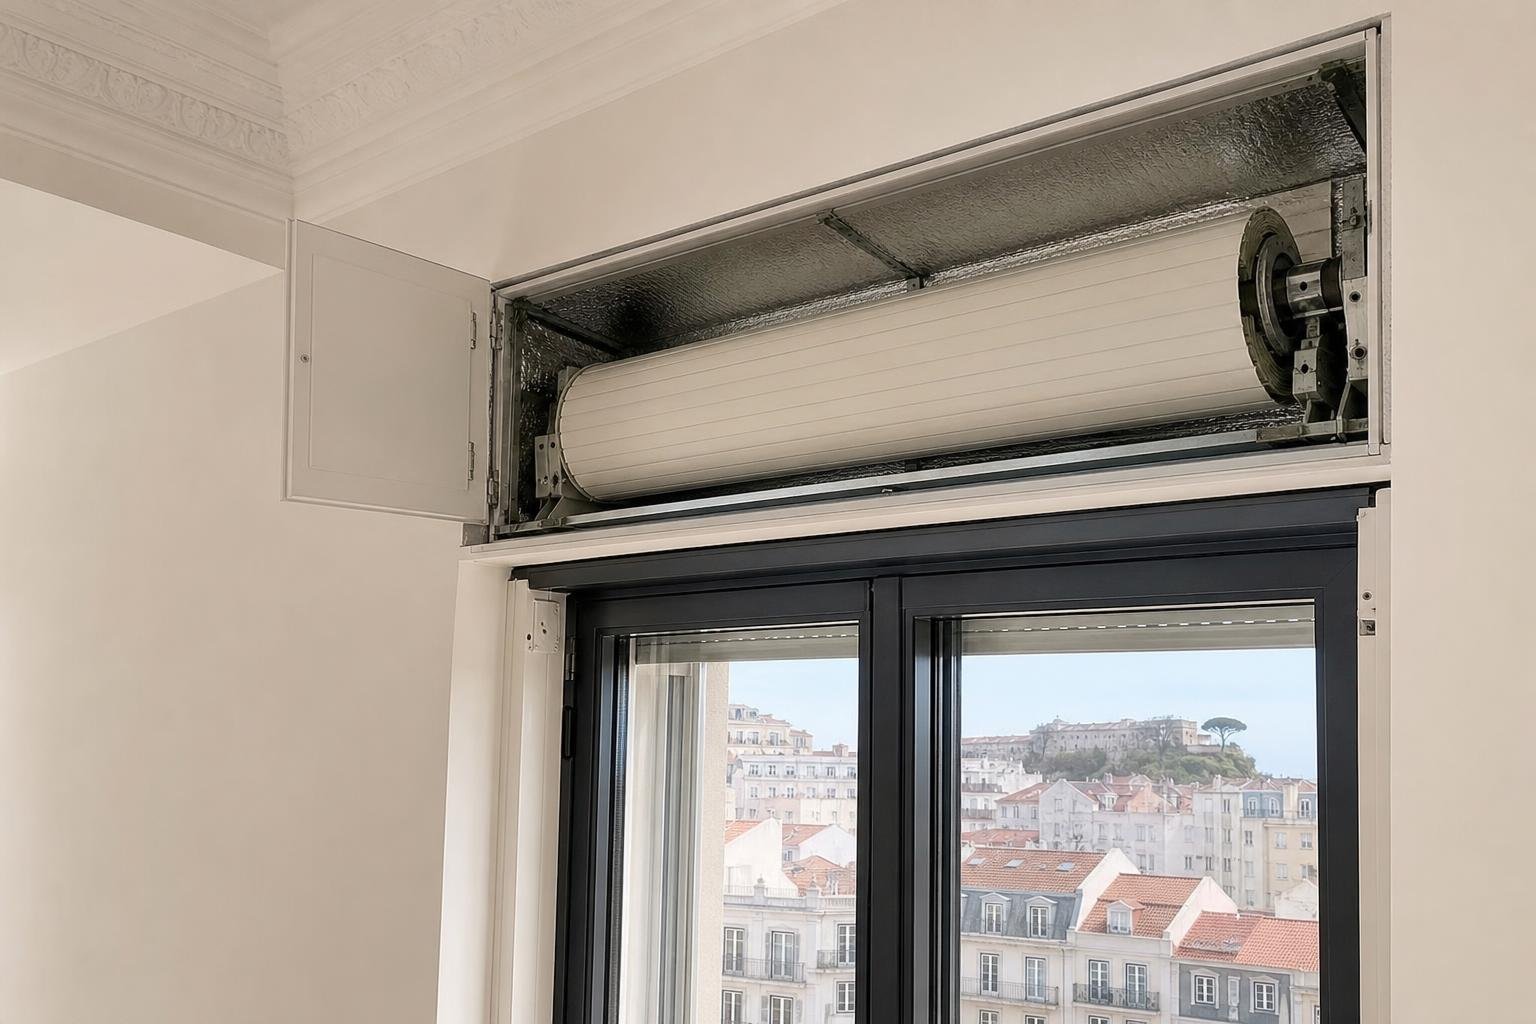
A home can look clean in the middle of a room while still holding construction dust in the details. Add window tracks and seals, shutter boxes, extraction grilles, equipment filters, hinges, handles, sockets, switches, cupboard interiors, drawers, drains, accessible traps, and the tops of doors and frames to the checklist.
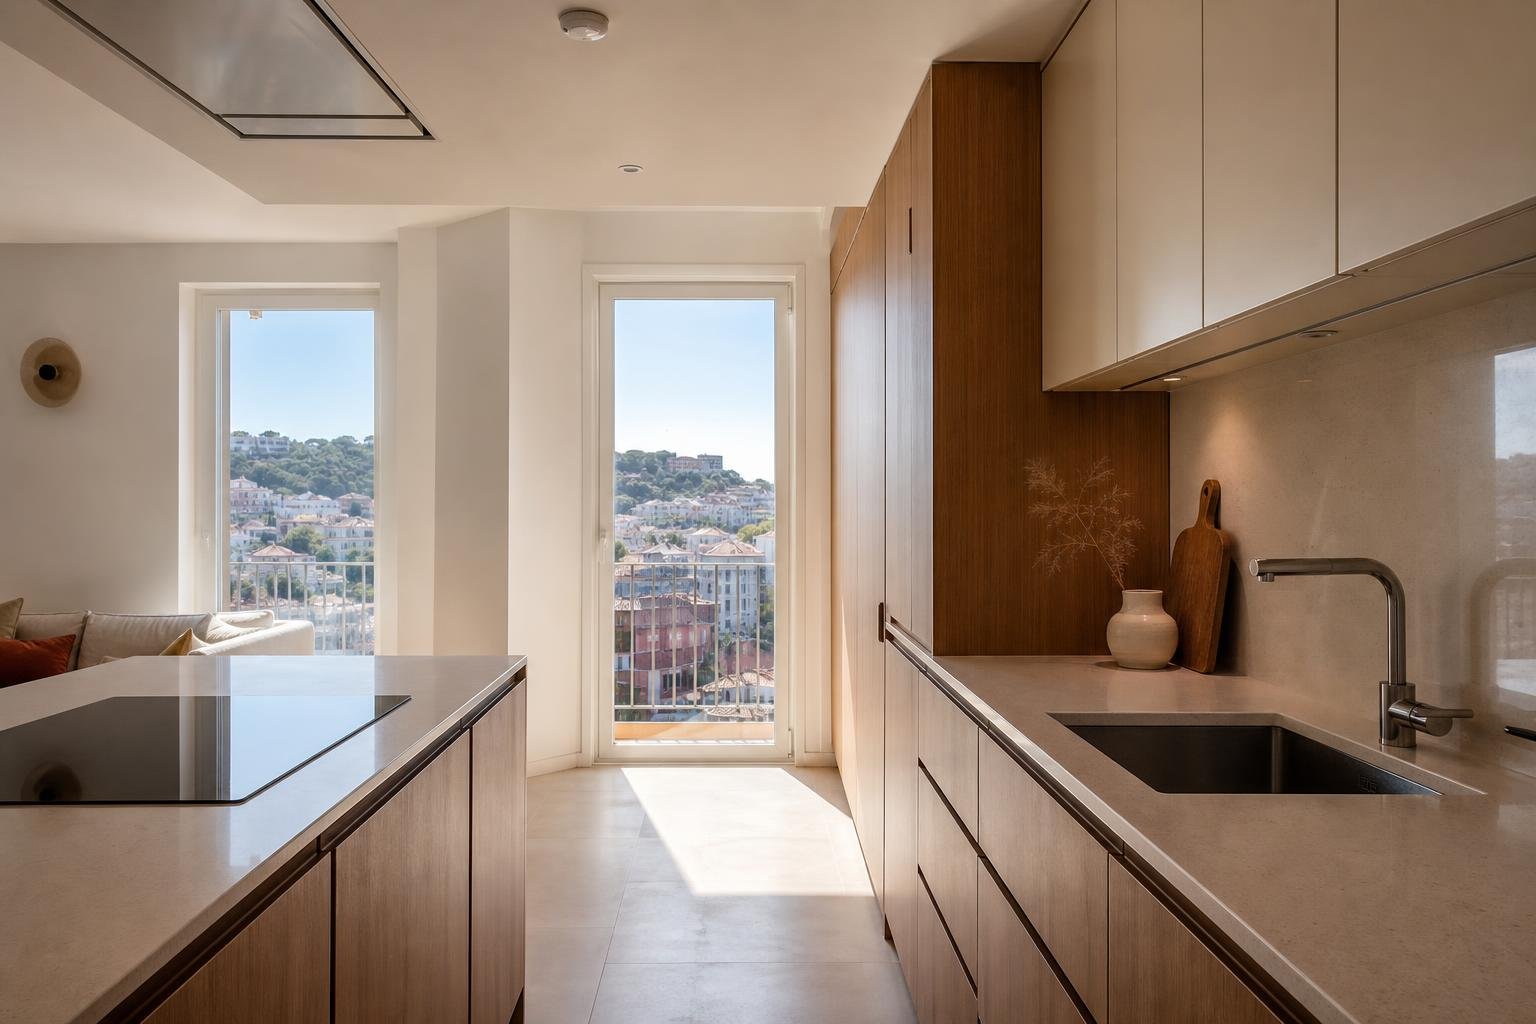
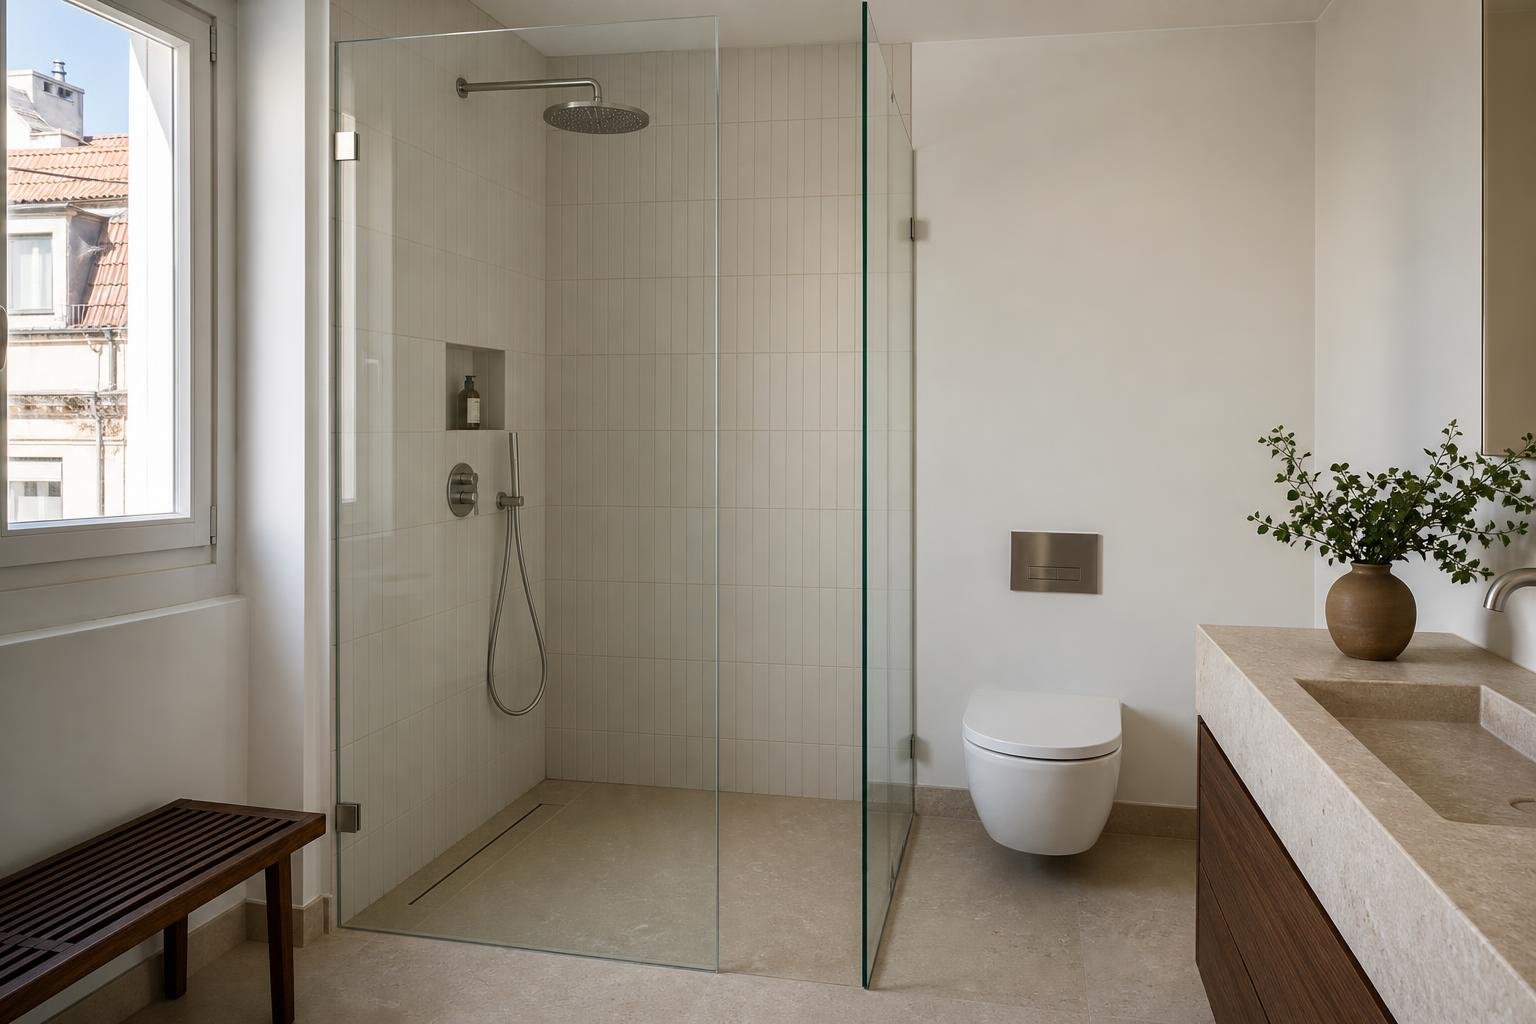
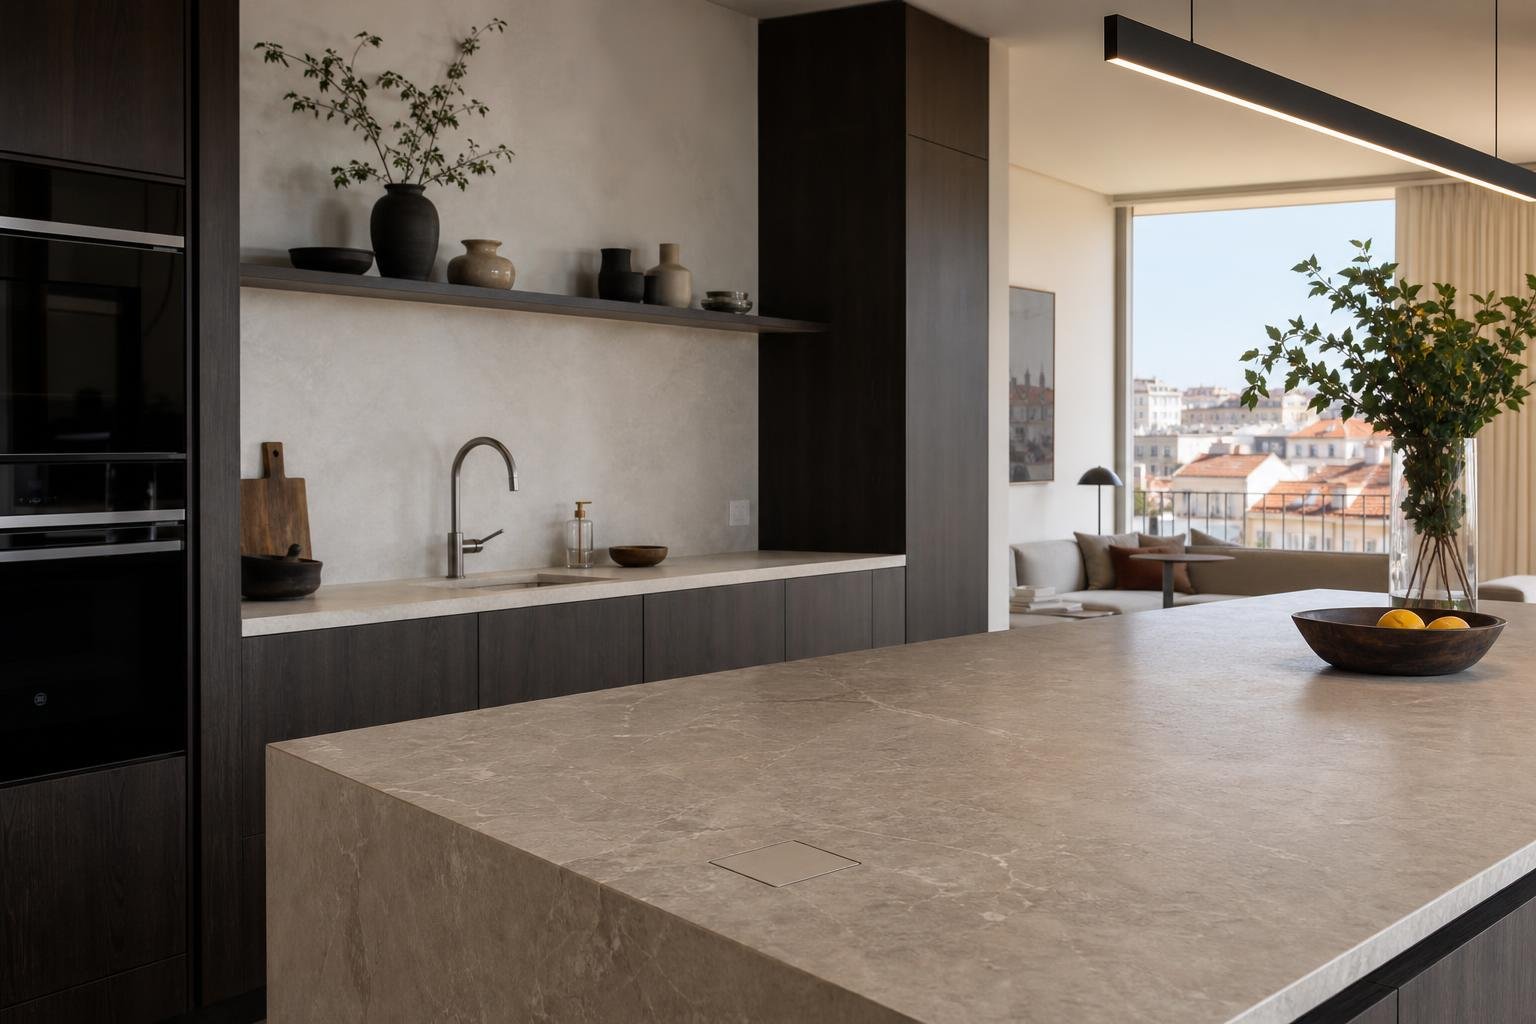
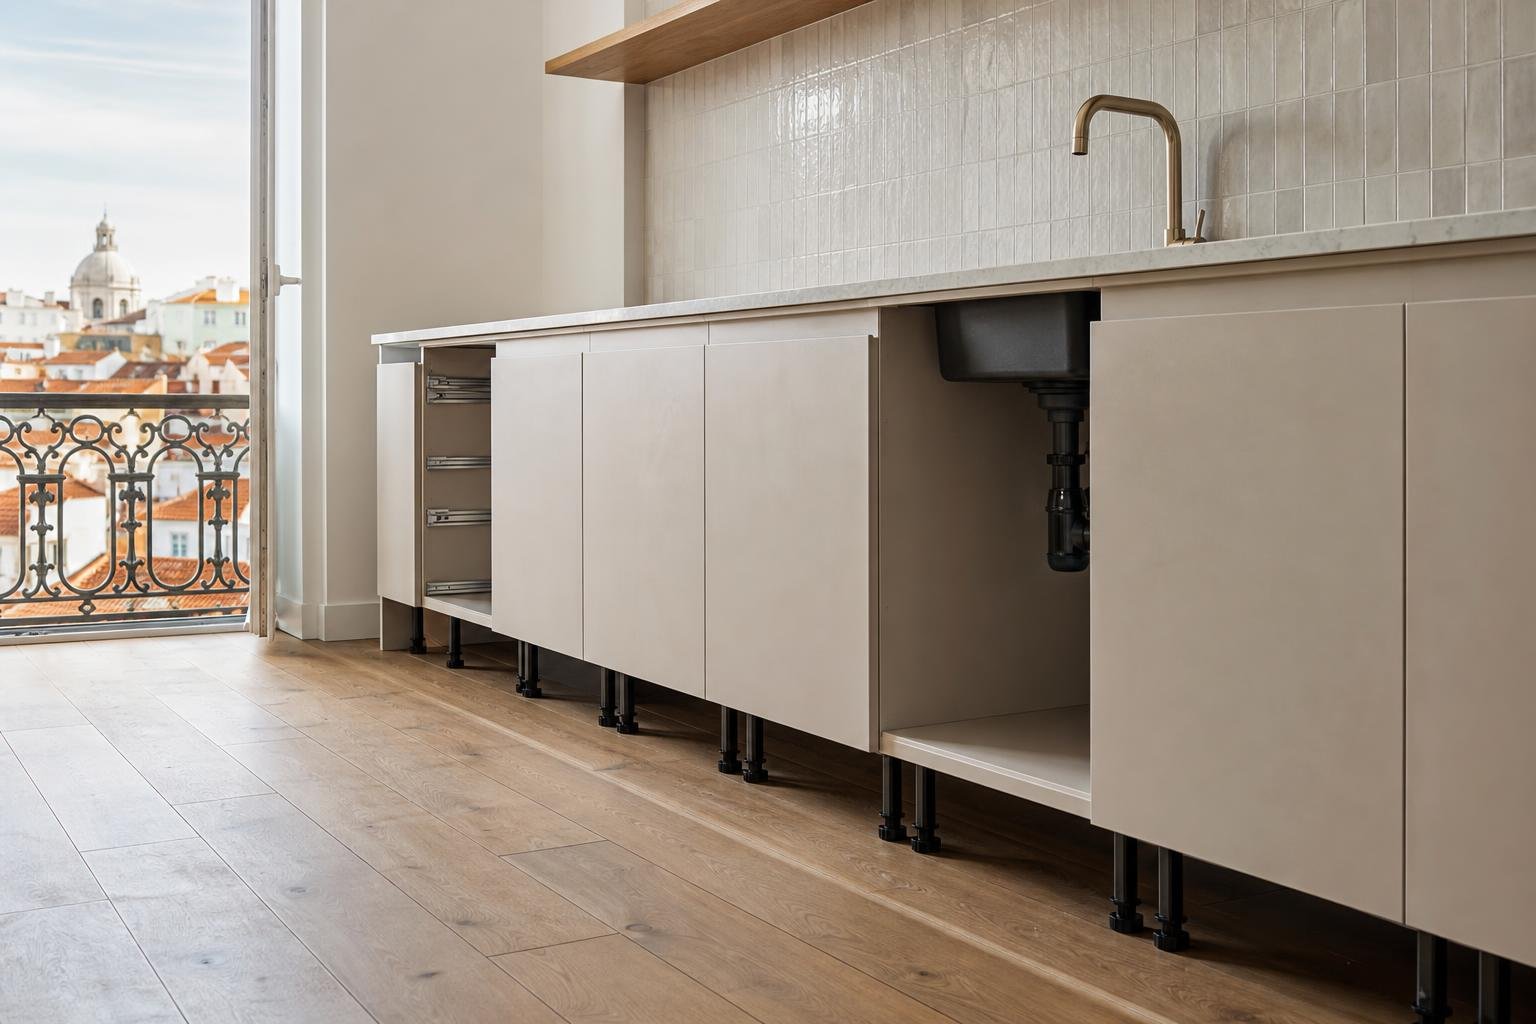
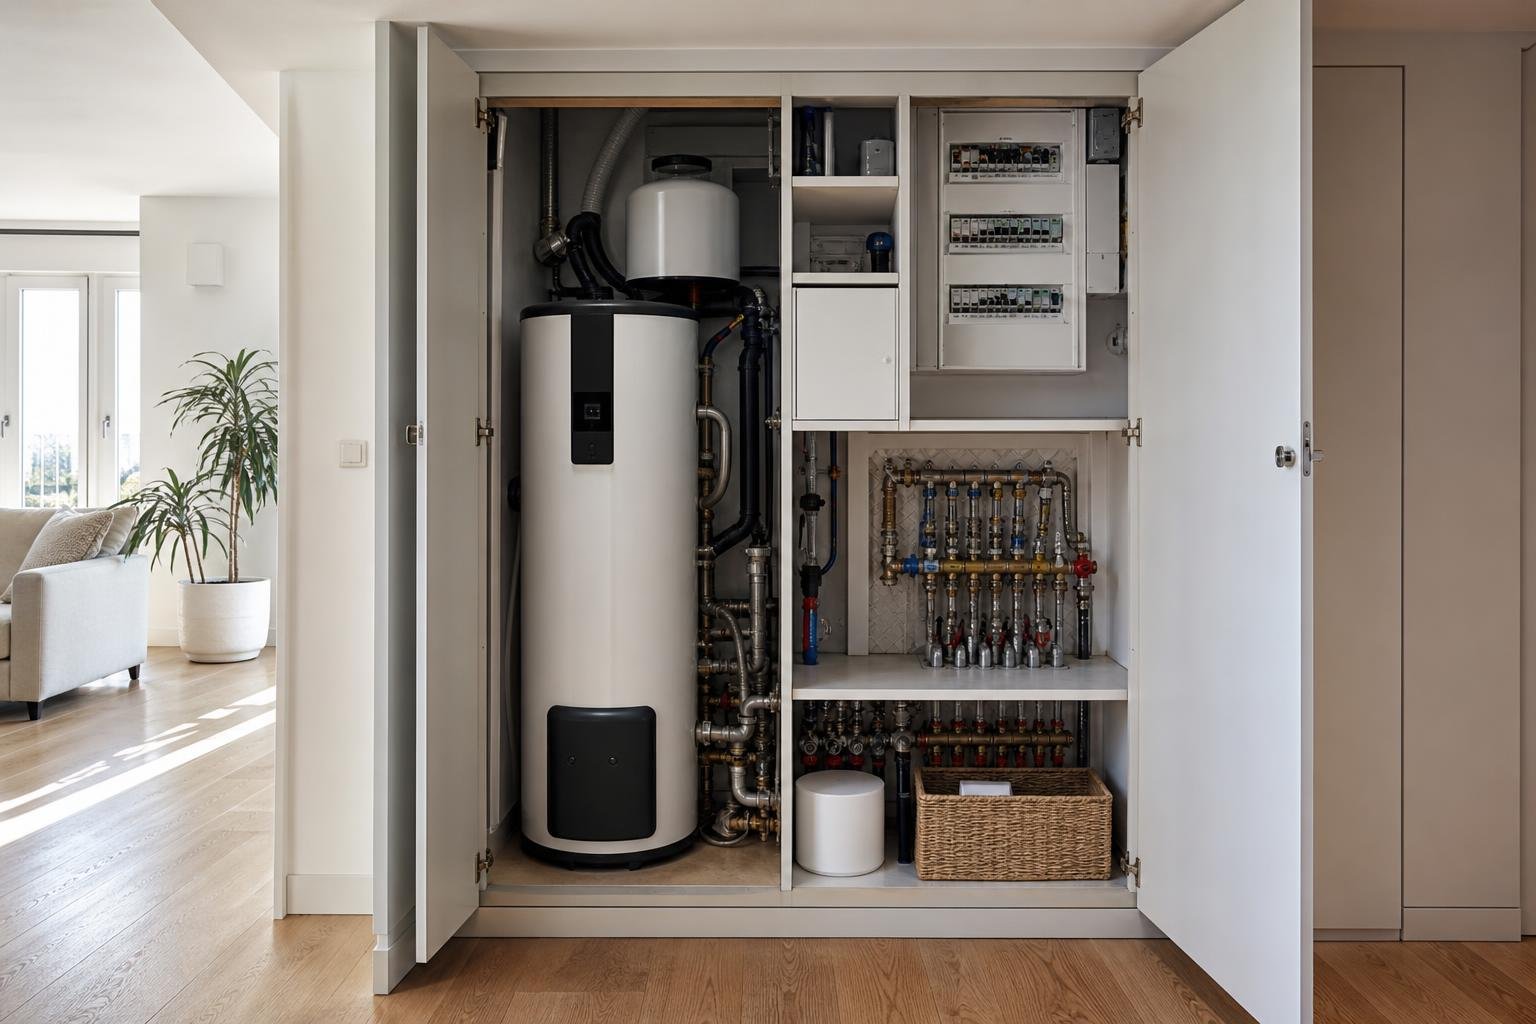
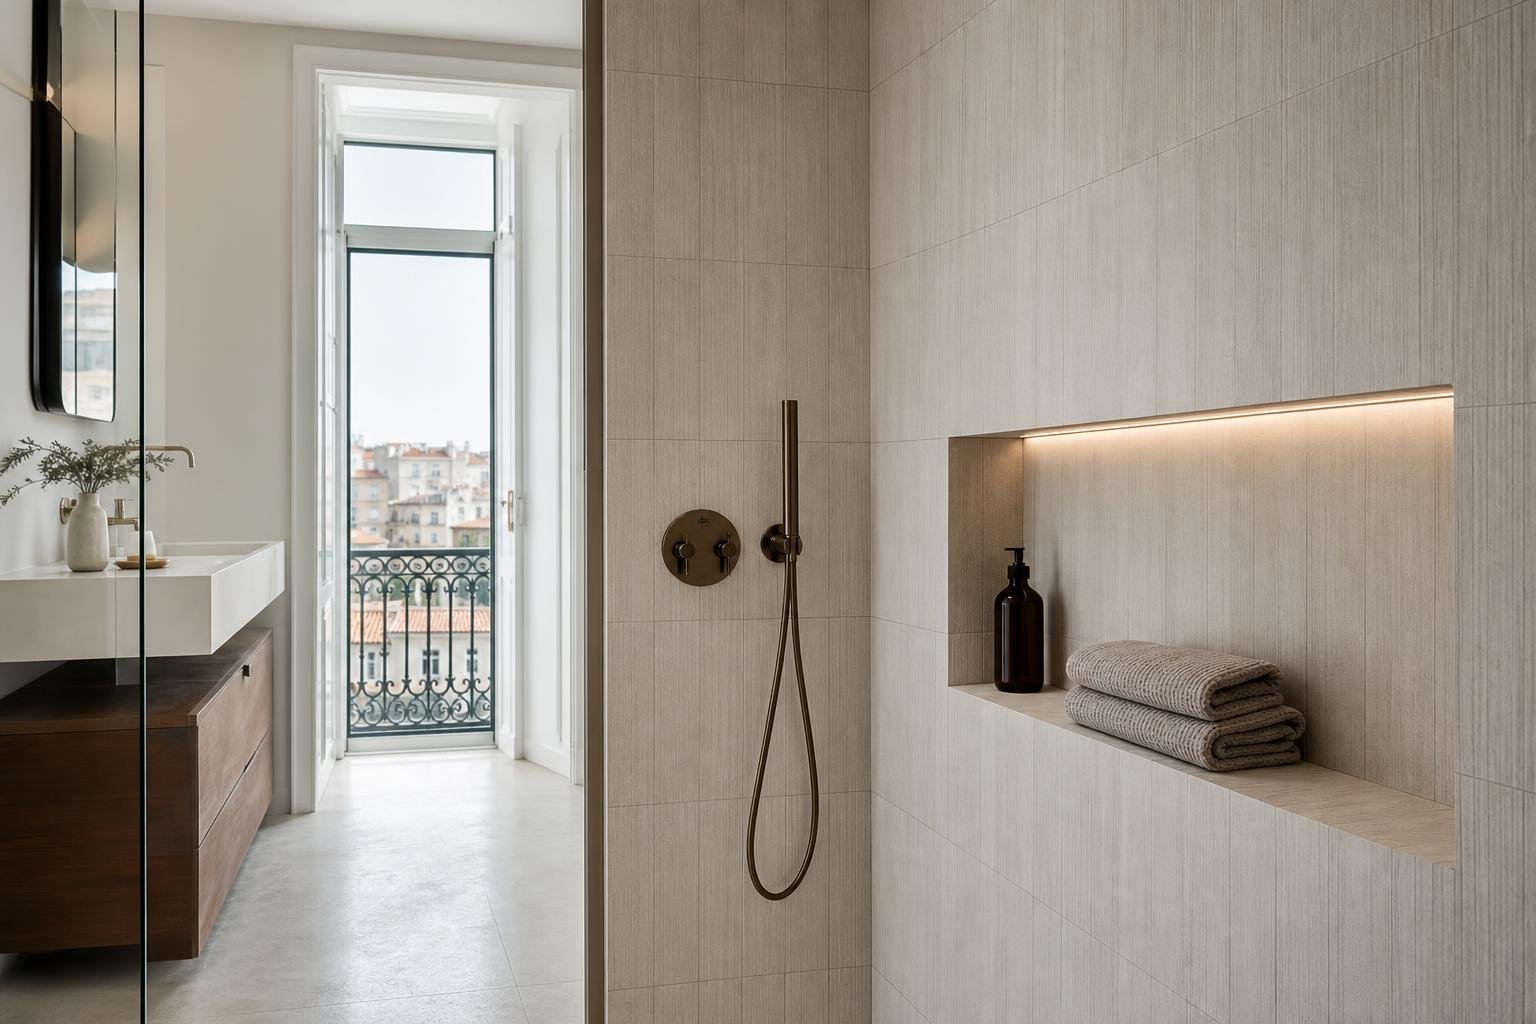
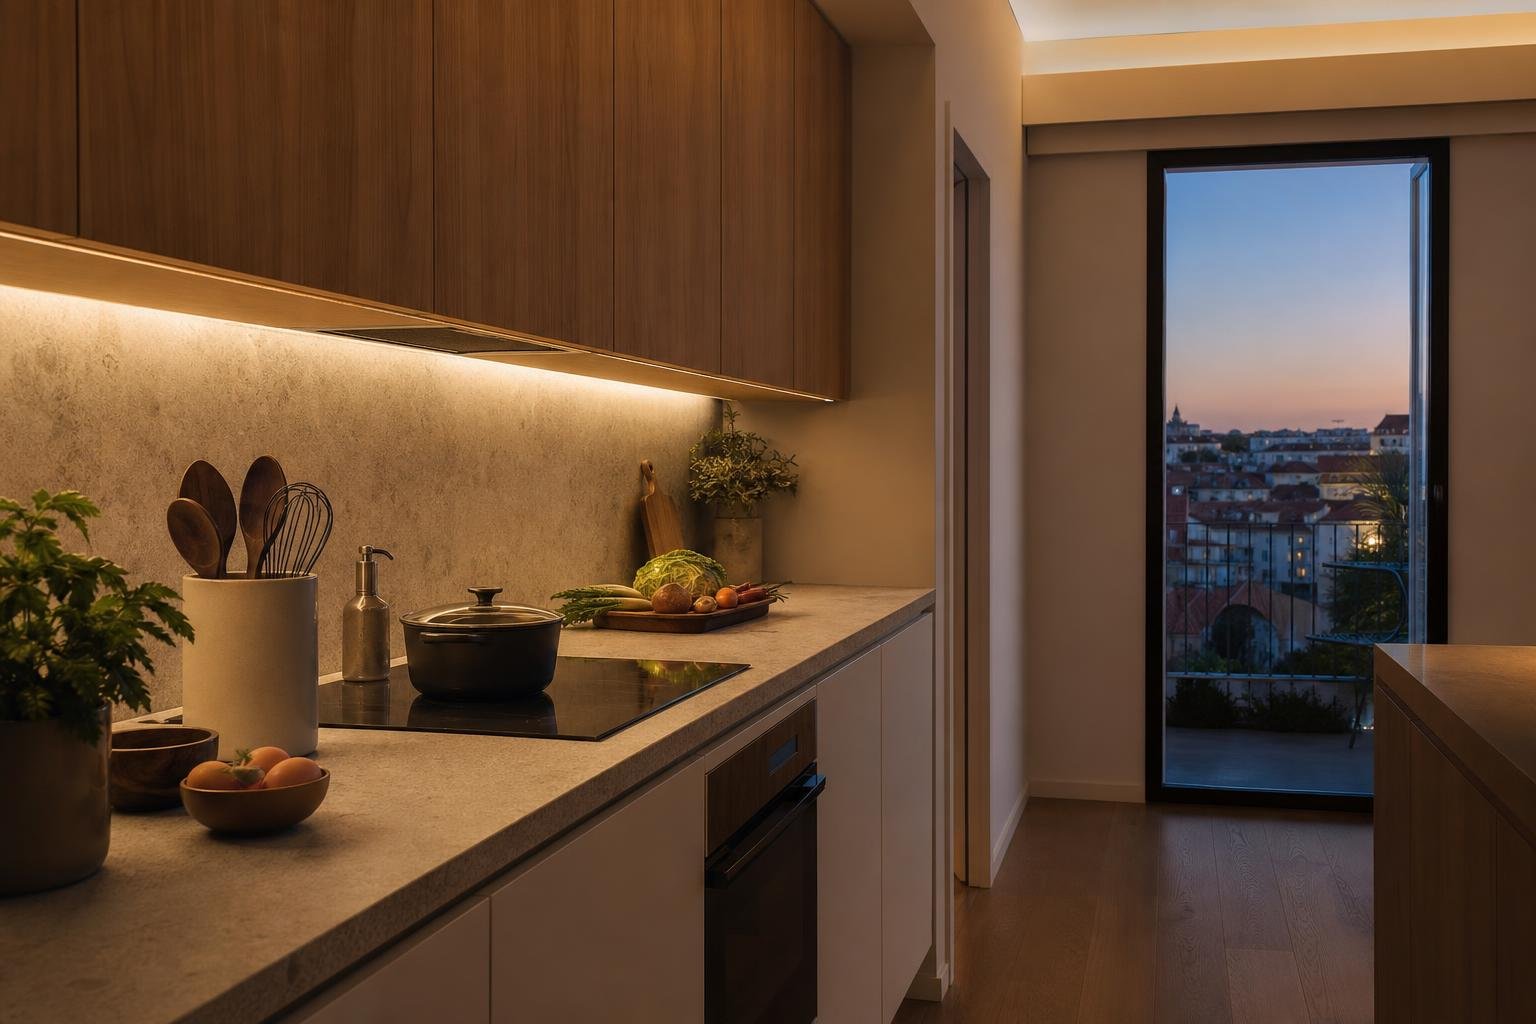
In the kitchen, clean inside the units first and make sure no screws, offcuts or dust remain behind drawers. Then wash worktops, sink and appliances without flooding joints or connections. In the bathroom, remove grout and sealant residue carefully and check that drains flow freely. Turn on taps, flush cisterns and inspect connections for leaks. Careful cleaning reveals an issue early that could otherwise be mistaken for normal use once the home is occupied.
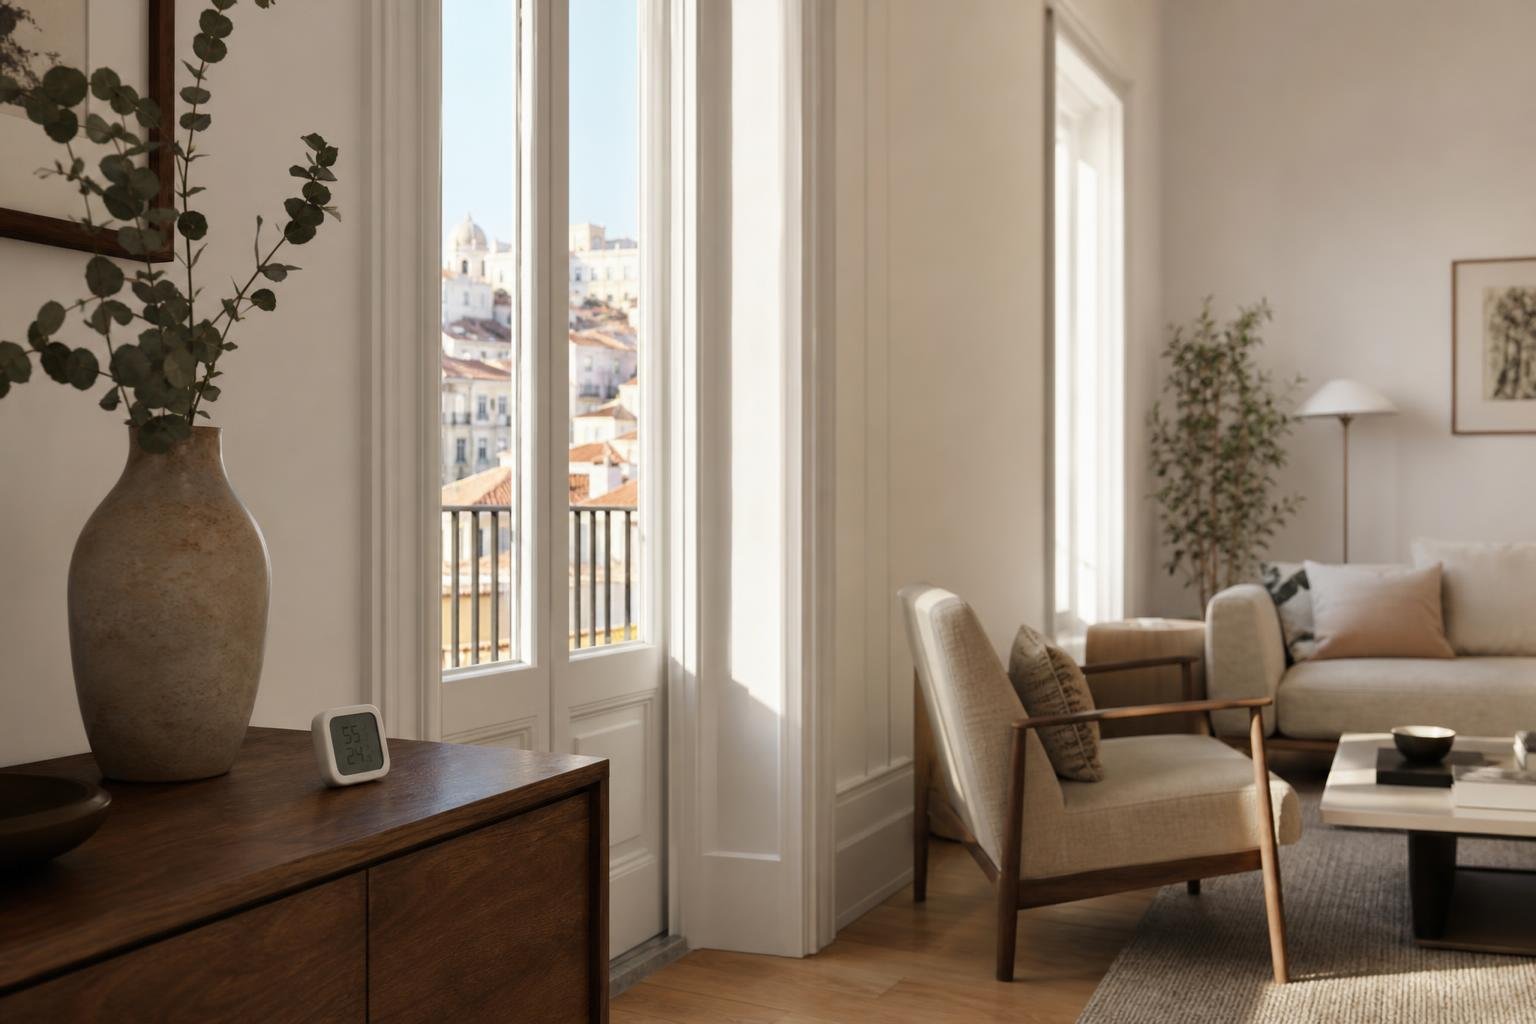
Finally, ventilate. DGS guidance recommends attention to the maintenance and cleaning of ventilation and air-conditioning systems; at handover, confirm that grilles have not been blocked by tape, paint or dust and that equipment runs without unusual noise.
Carry out simple tests before furniture and textiles arrive
The final stage should include tests, not just a visual clean. Switch every light point on and off; test sockets with a charger or suitable device; open and close doors, windows, drawers and shutters; check extraction in the kitchen and bathrooms; and note whether sewer, damp or solvent odours persist after ventilation.
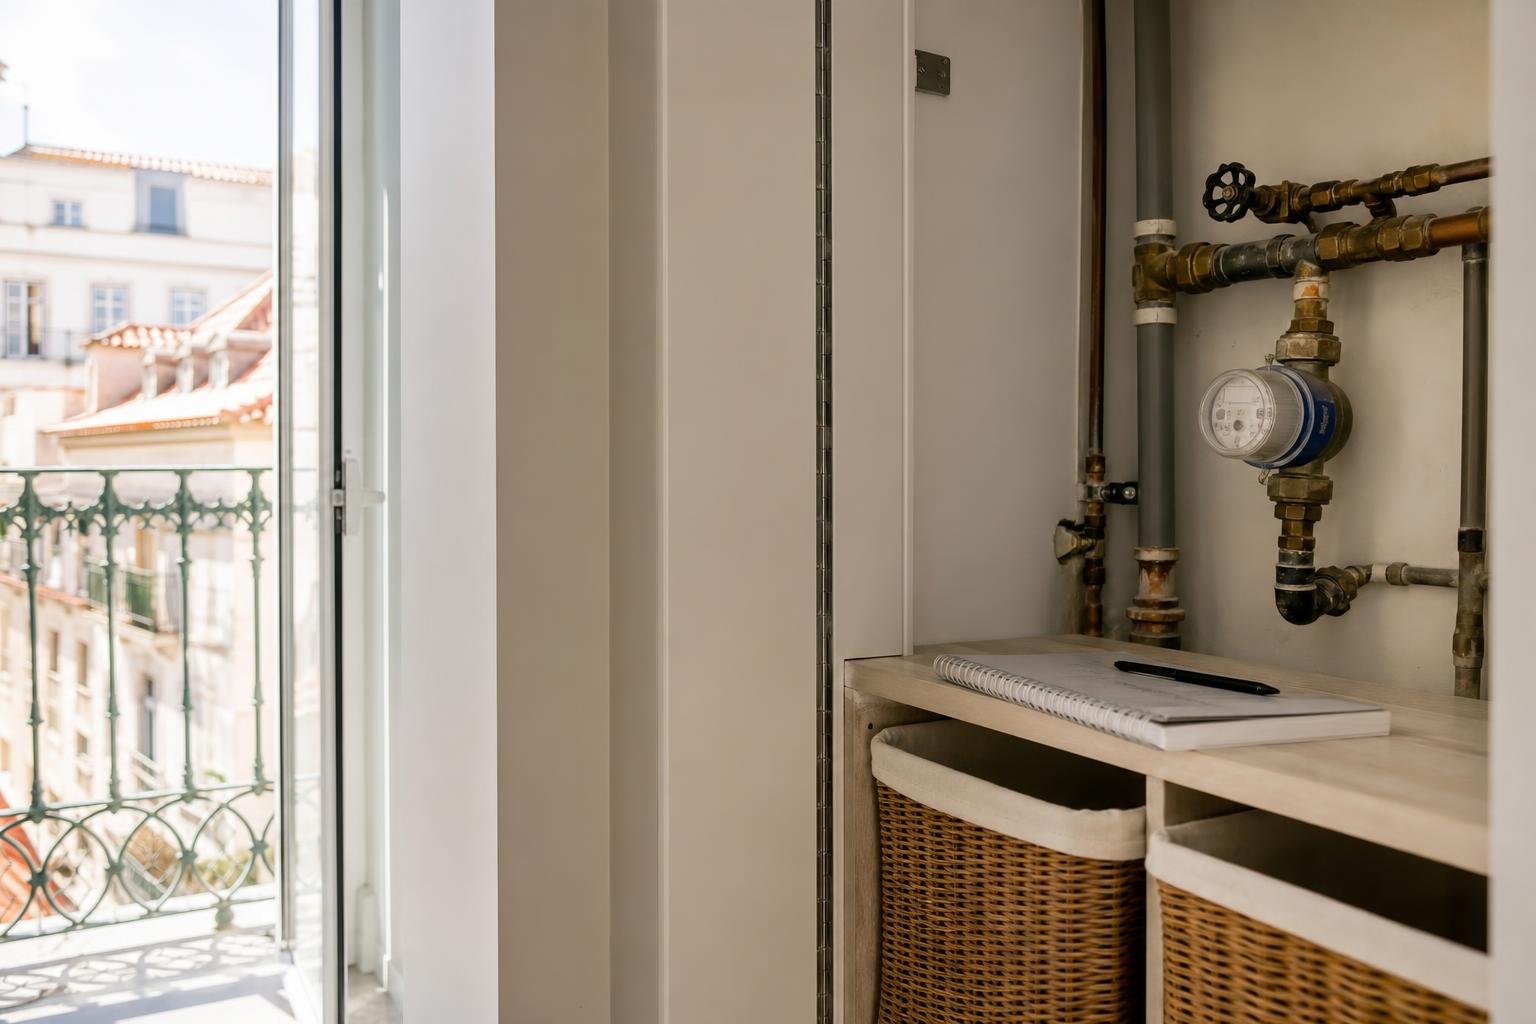
In rooms with water, run each tap for several minutes, partly fill sinks and basins, and run the shower to check falls and drainage. This is not intended to replace complex technical testing, but to spot visible symptoms before furniture conceals access. If the work included concealed plumbing, keep shut-off points and technical access areas identified. A good handover gives the owner information about equipment, warranties, controls, finishes and maintenance needs.
Keep dated photographs of the final result and record in writing what remains outstanding, who will correct it and by when. This simple discipline reduces disputes and prevents small details from being deferred until they are more expensive to resolve.
Plan the route out through the building and the first week of use
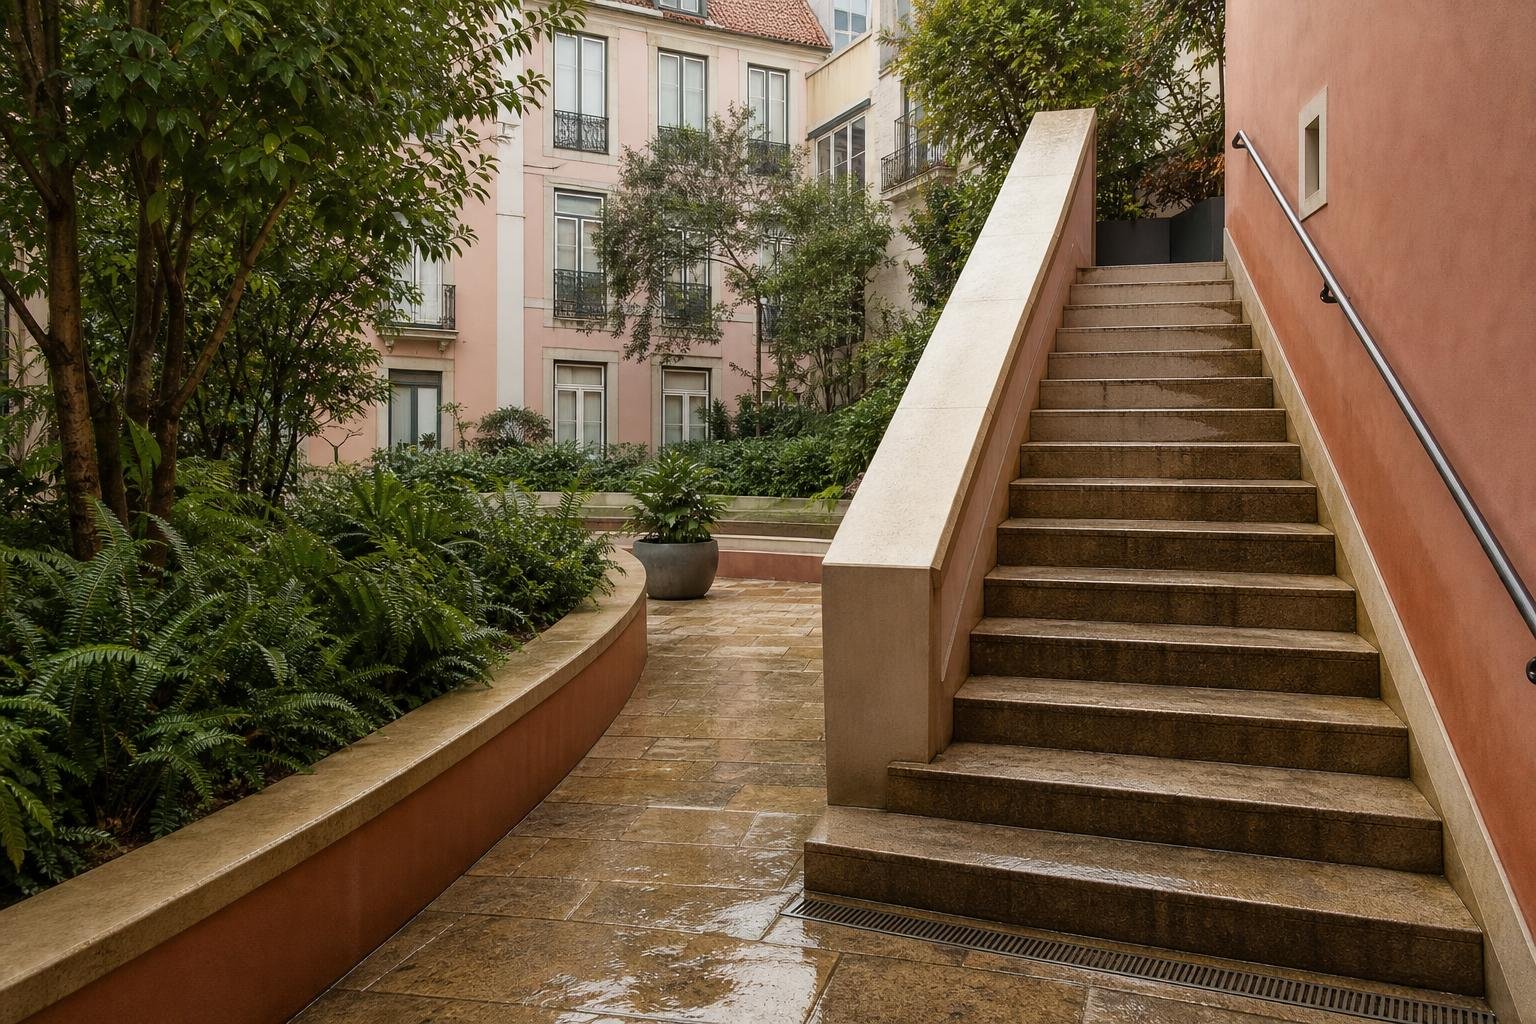
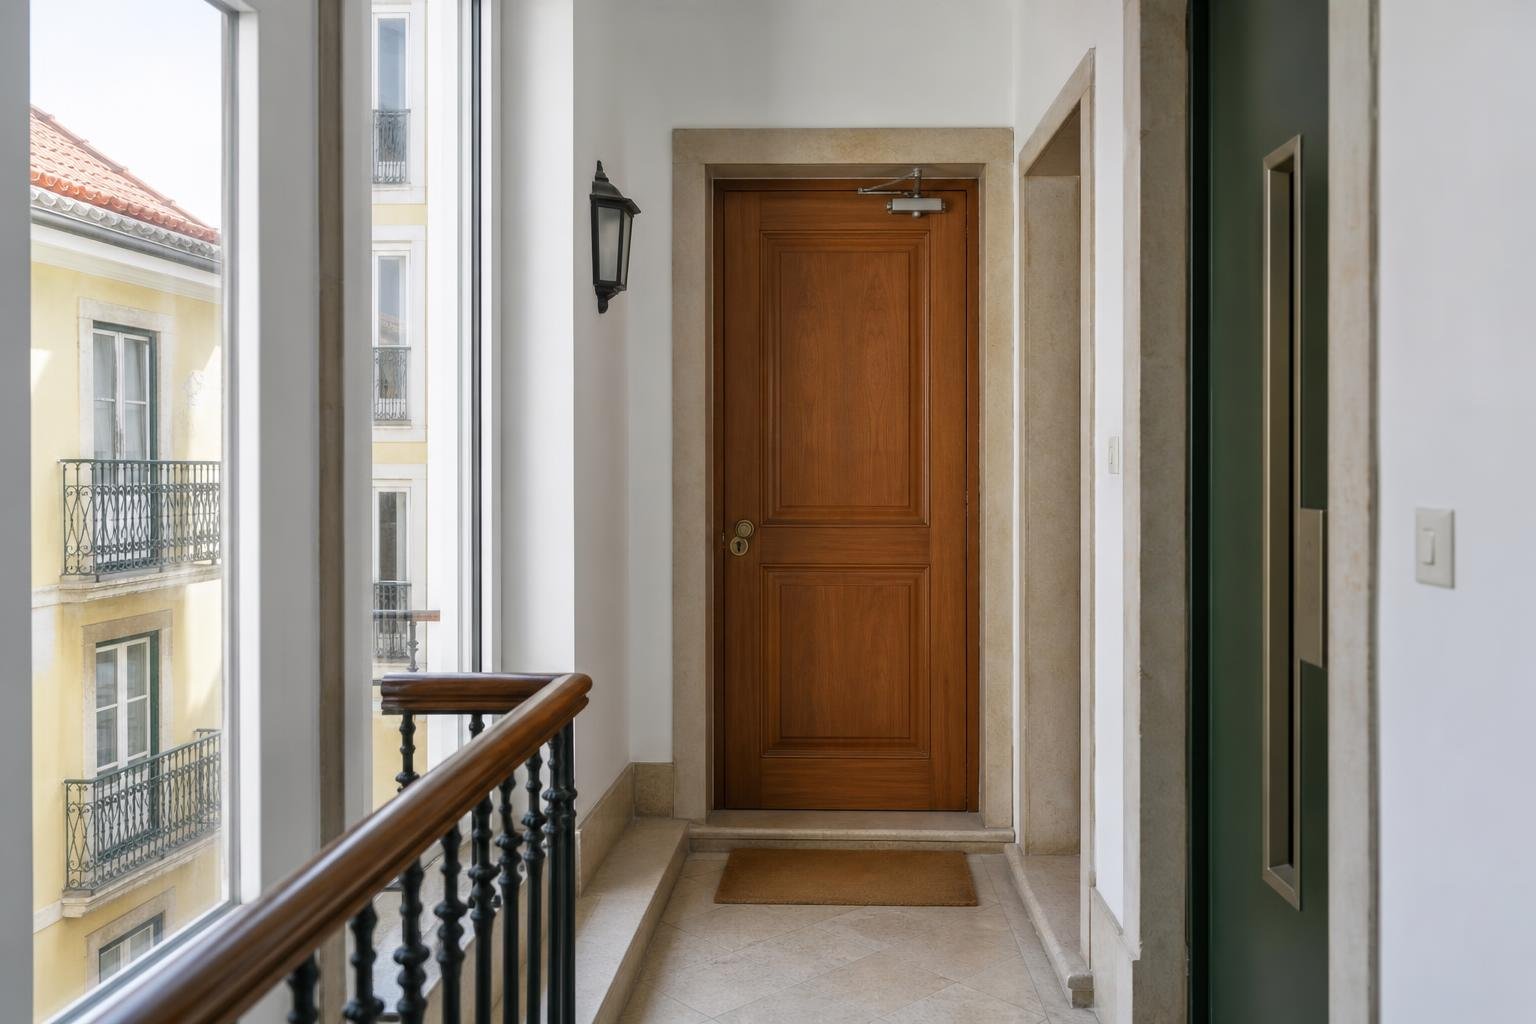
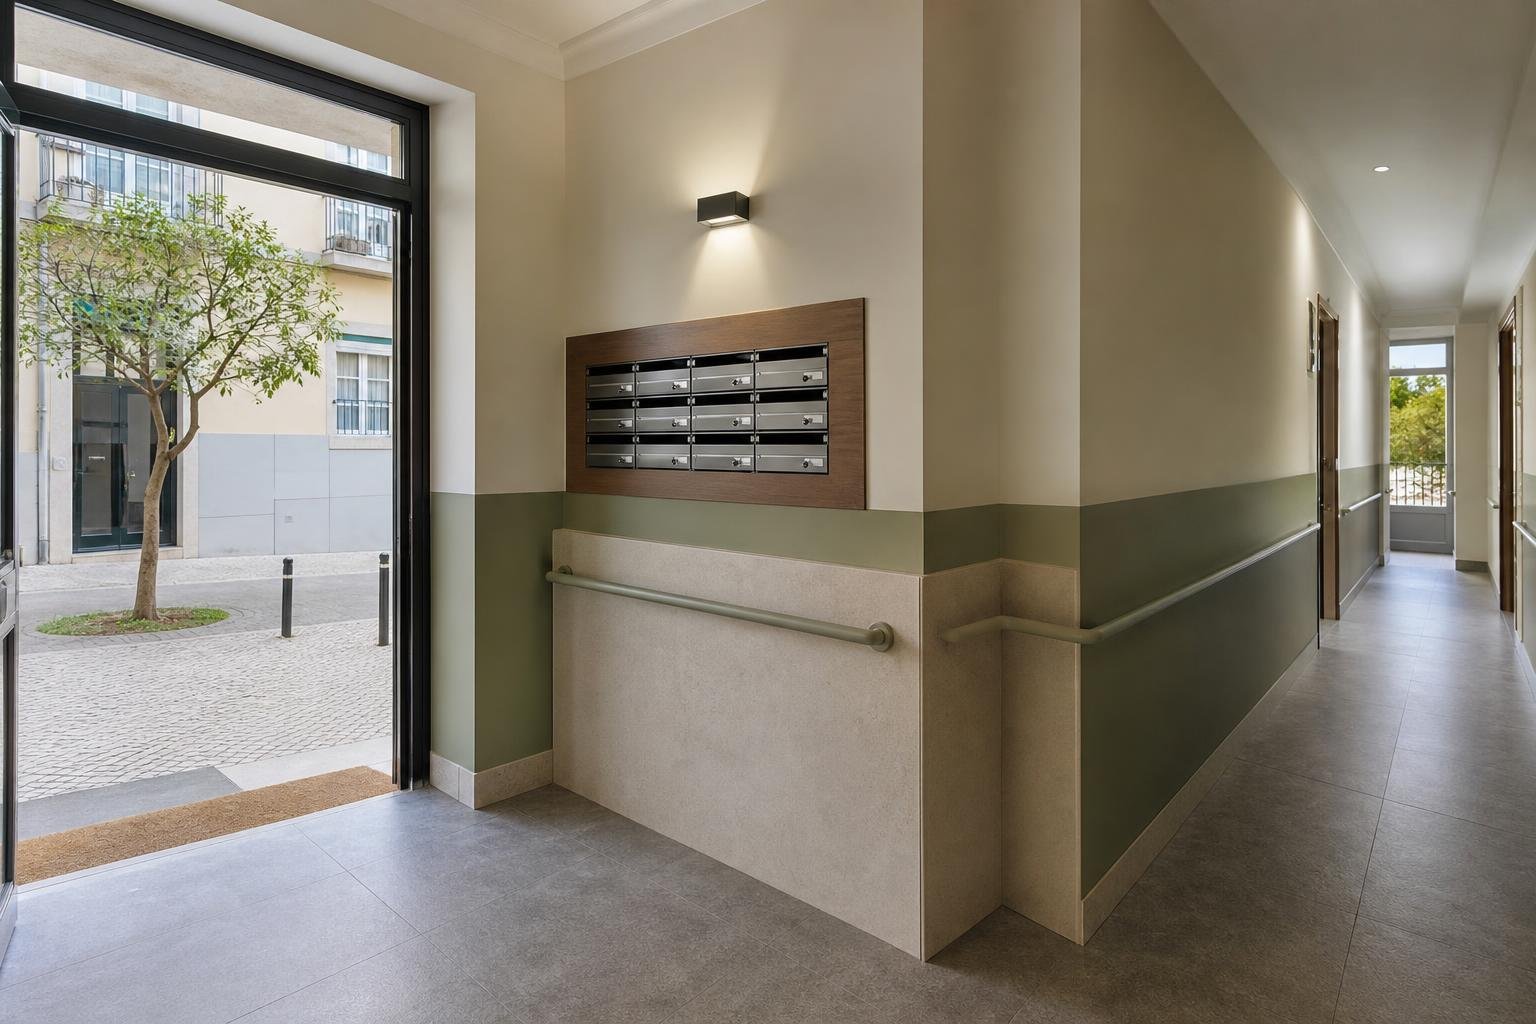
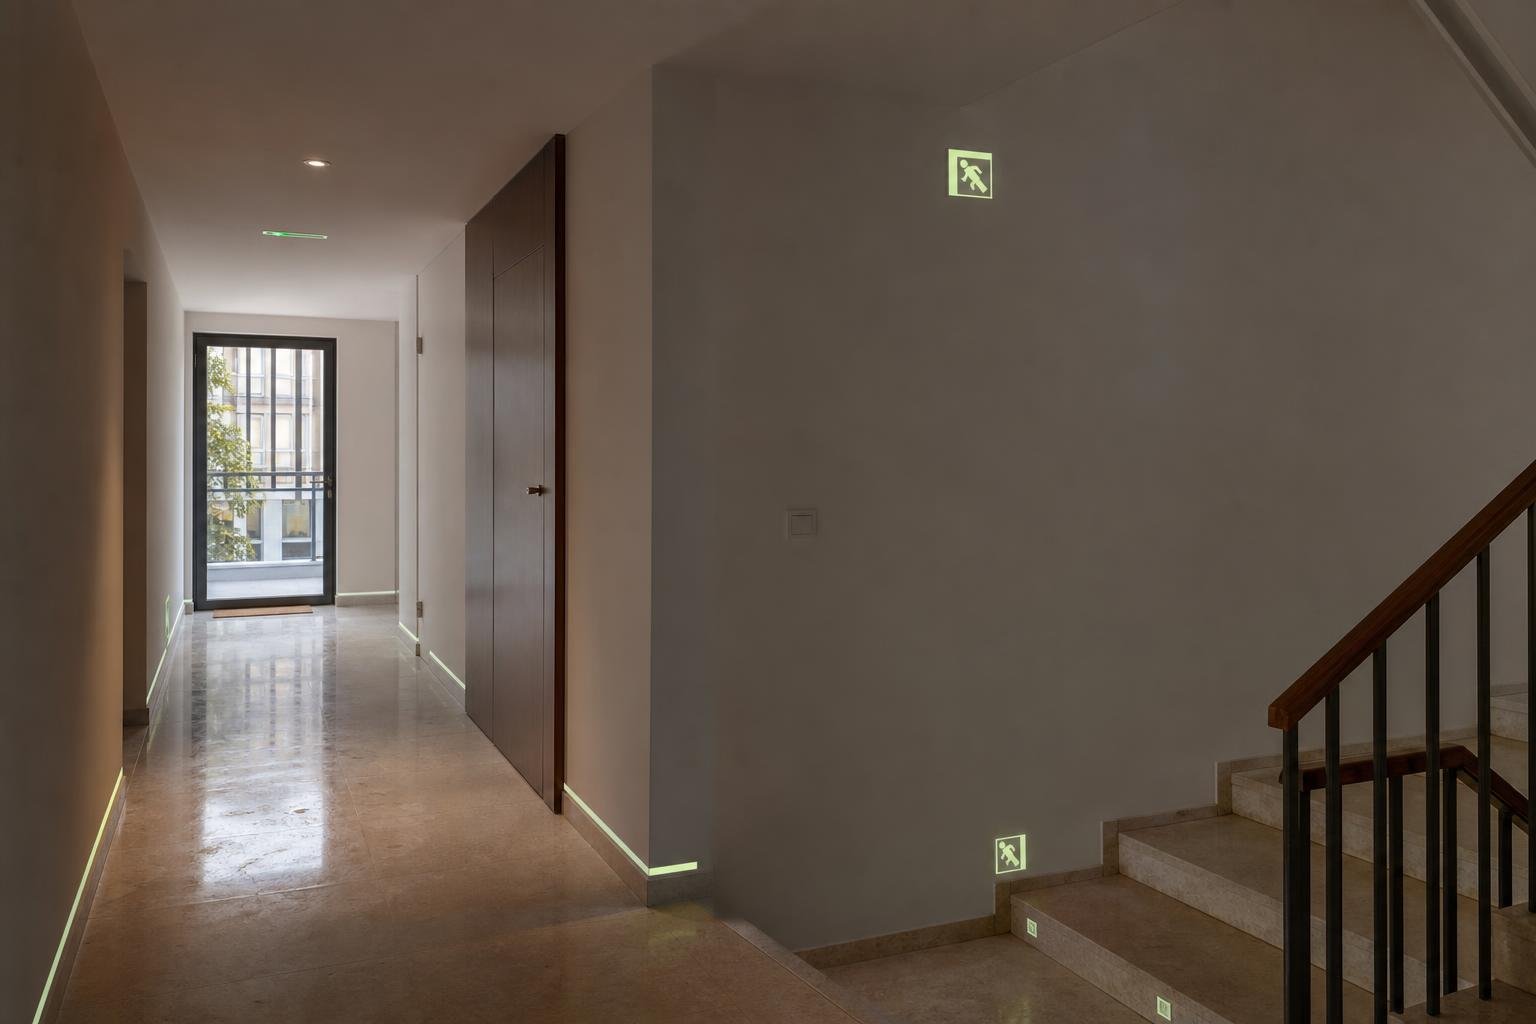
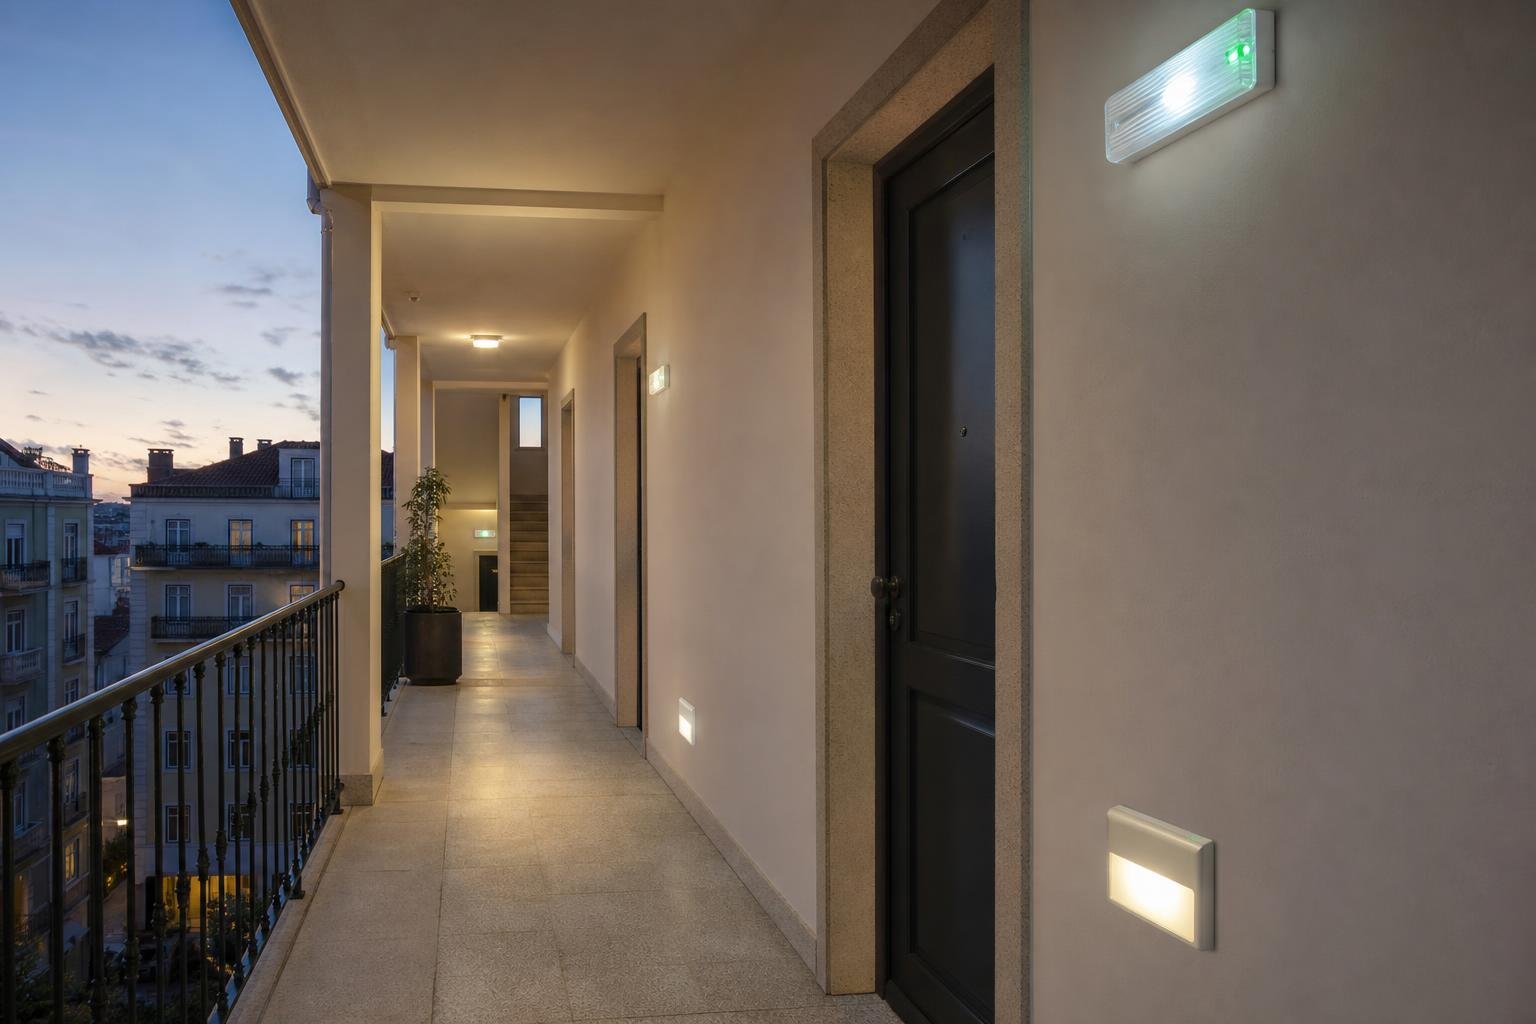
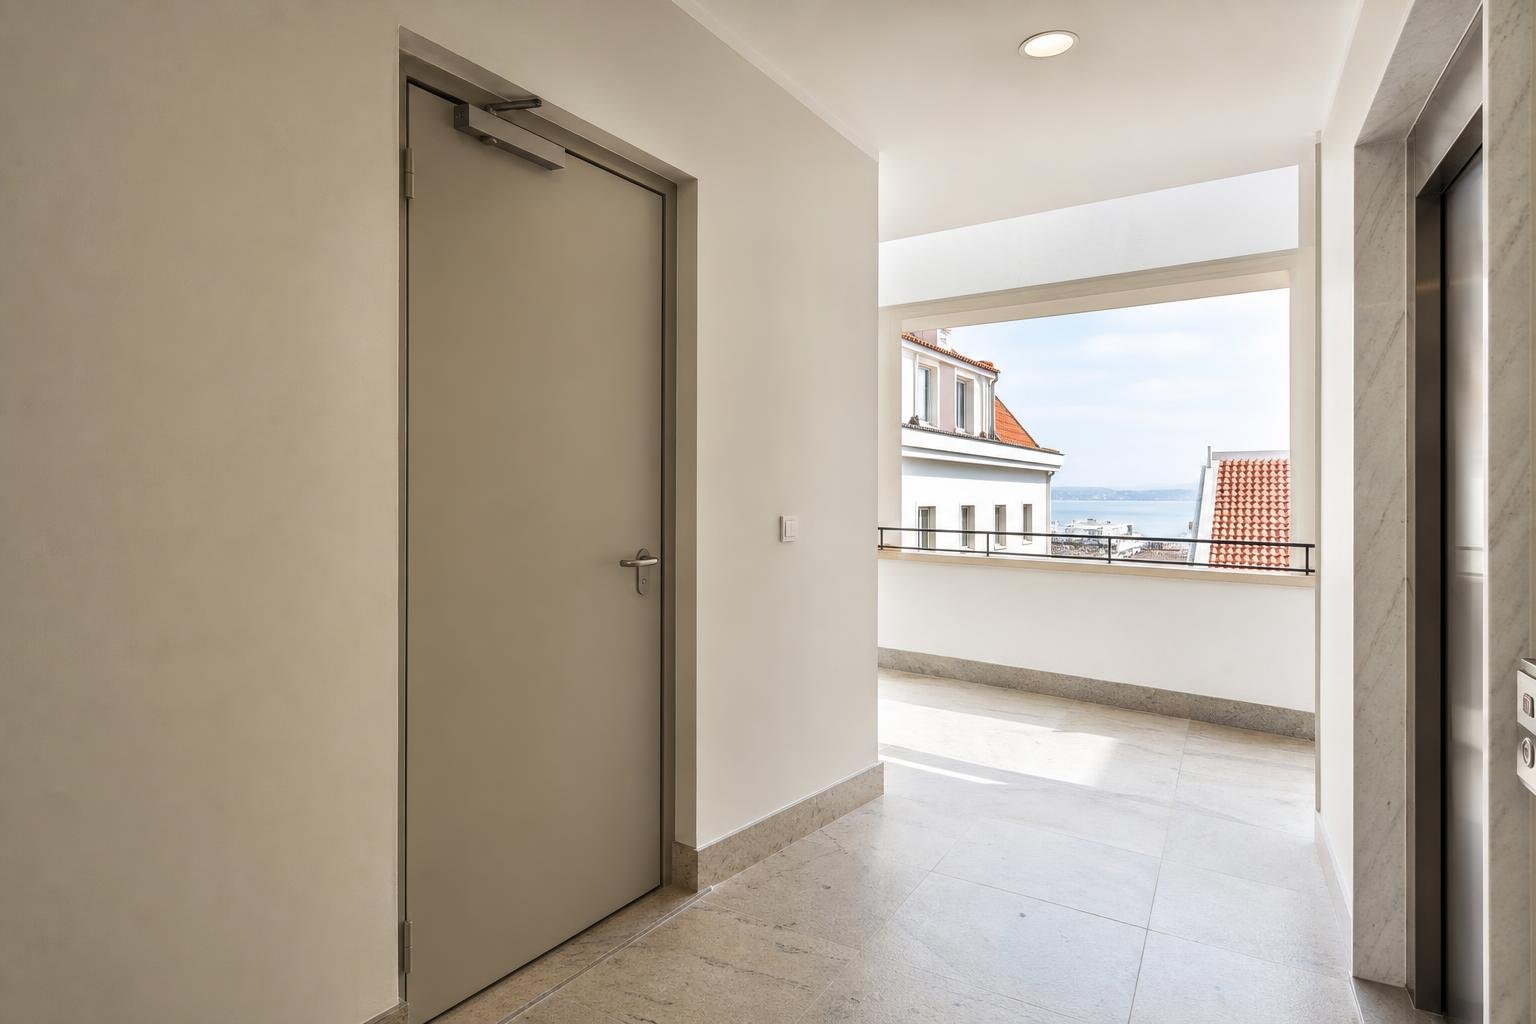
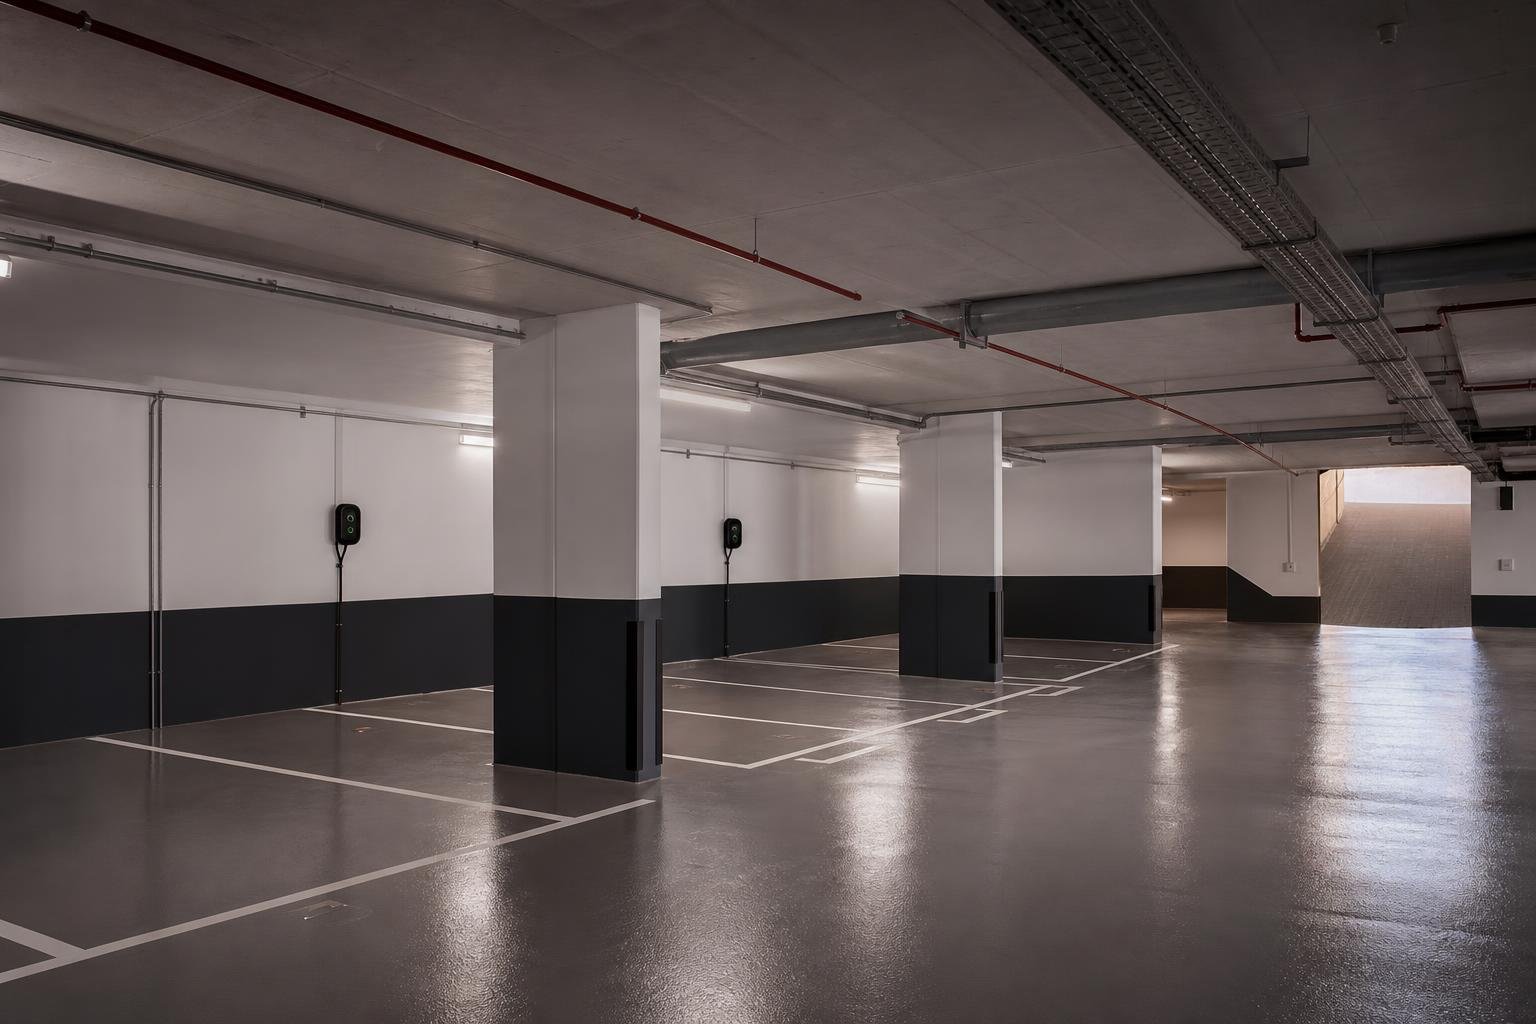
A responsible handover extends beyond the apartment door. Confirm that stairs, landings, the lift, garage and building entrance have been cleared and cleaned, especially where debris or materials were moved through shared spaces. Temporary protection must be removed without pulling off paint, damaging stone or leaving aged adhesive behind. If there is damage in common areas, record it before closing the project and coordinate the repair with the condominium.
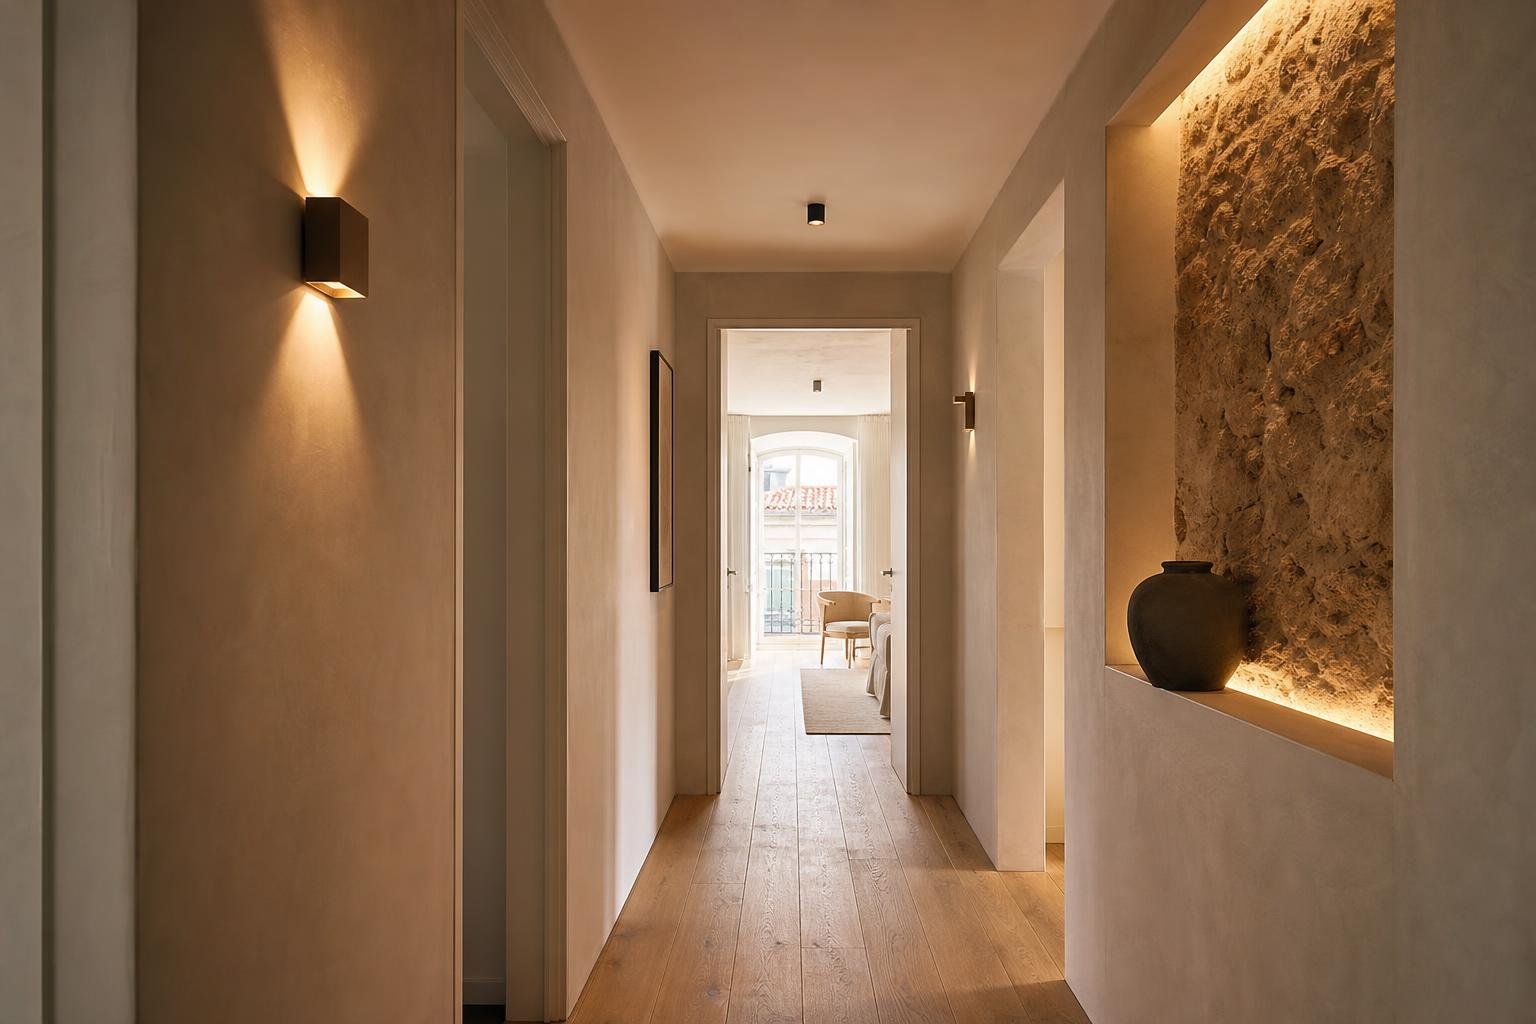
Inside the home, leave a small labelled reserve of materials: paint with its reference, spare tiles, grout, manuals, keys and service contacts. During the first week, ventilate regularly, observe corners, drains and window frames, and avoid placing heavy furniture tightly against newly painted walls immediately. Cleaning makes the home usable; early observation confirms that it performs as intended.
A well-organised handover does not require unrealistic perfection. It requires transparency, a checkable list and enough time to correct issues before daily life begins.
Approaching the final stage of your renovation? Obra Lisboa can help plan the work, finishes and an organised handover, with attention to the details that prevent rework. Learn more about choosing a construction company in Lisbon.
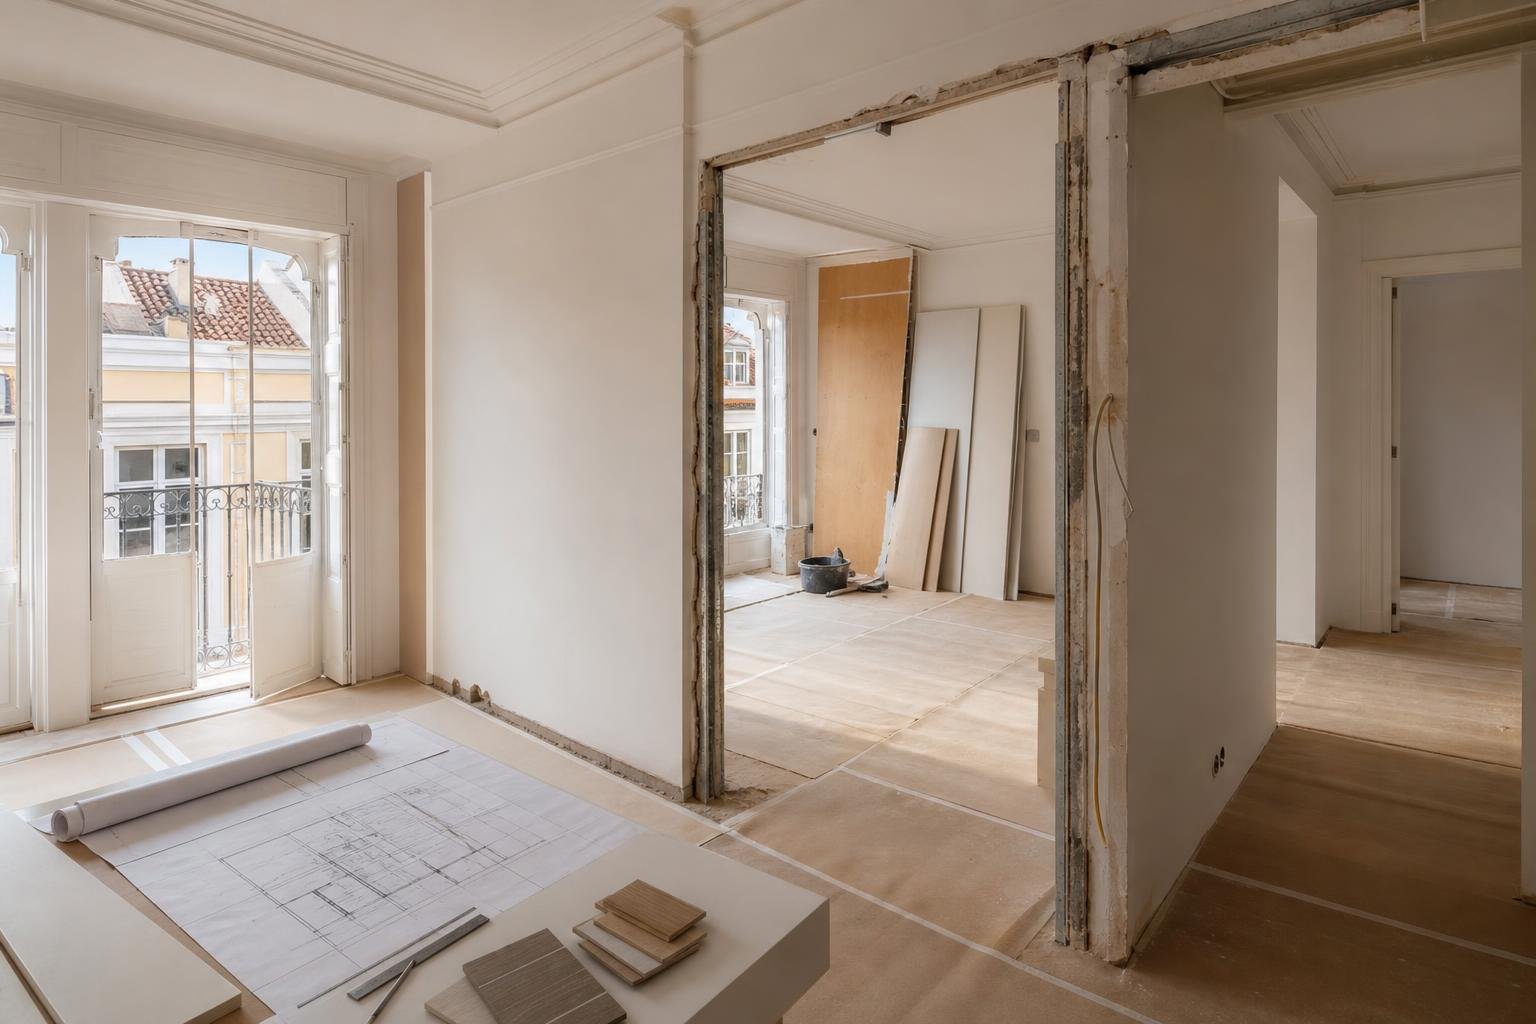
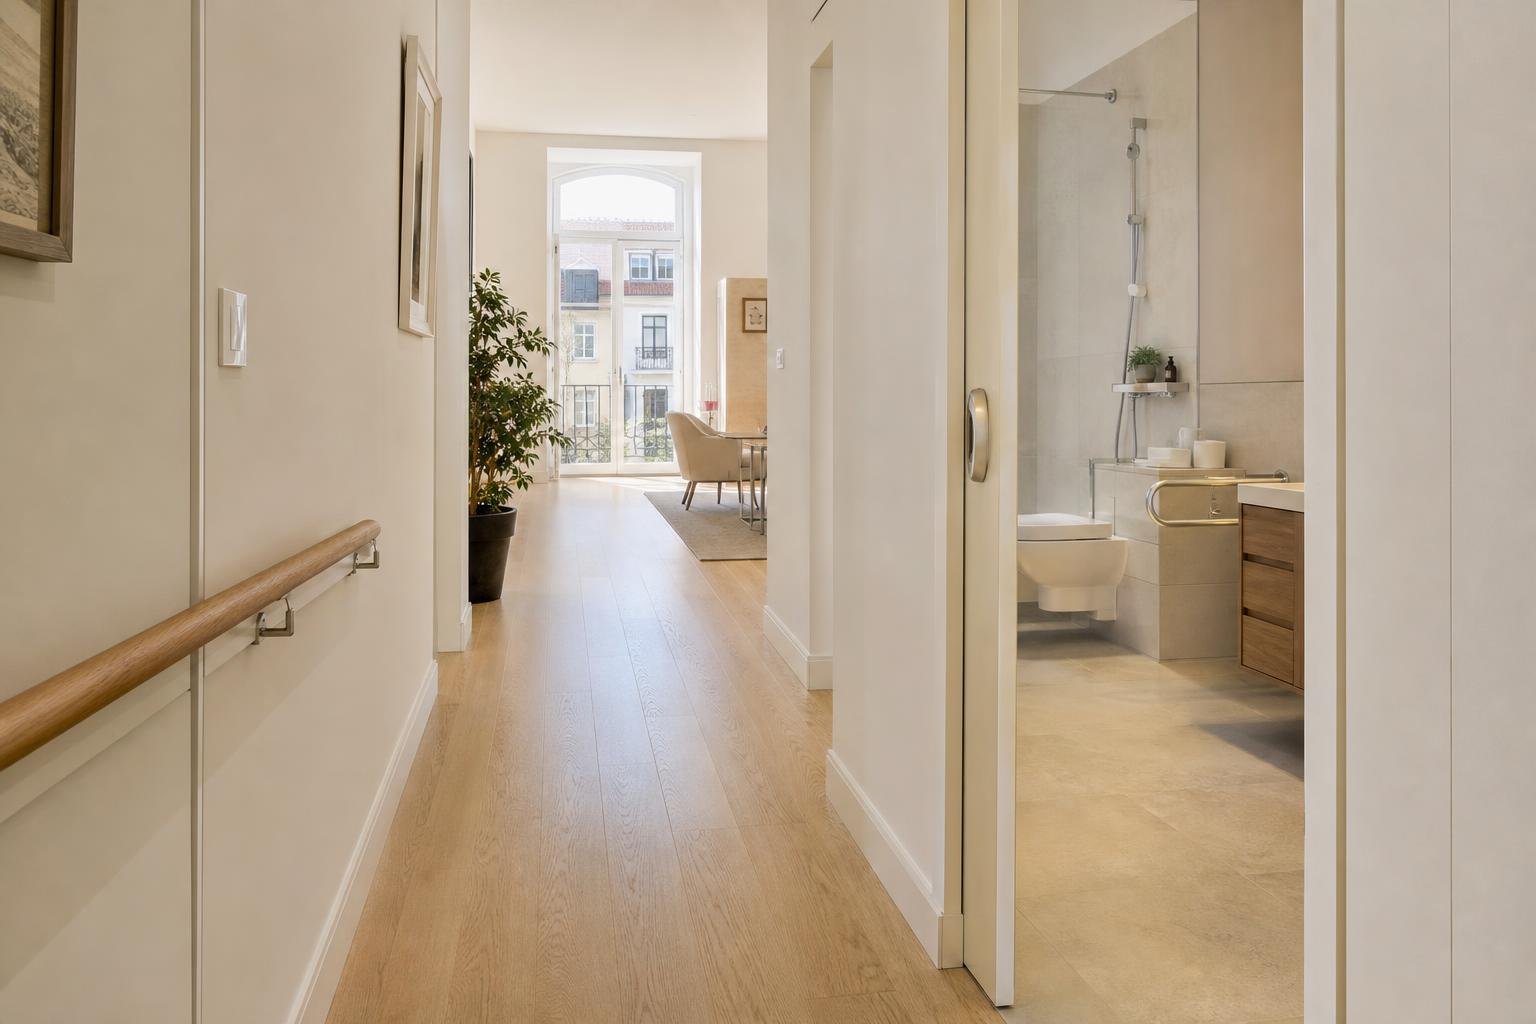
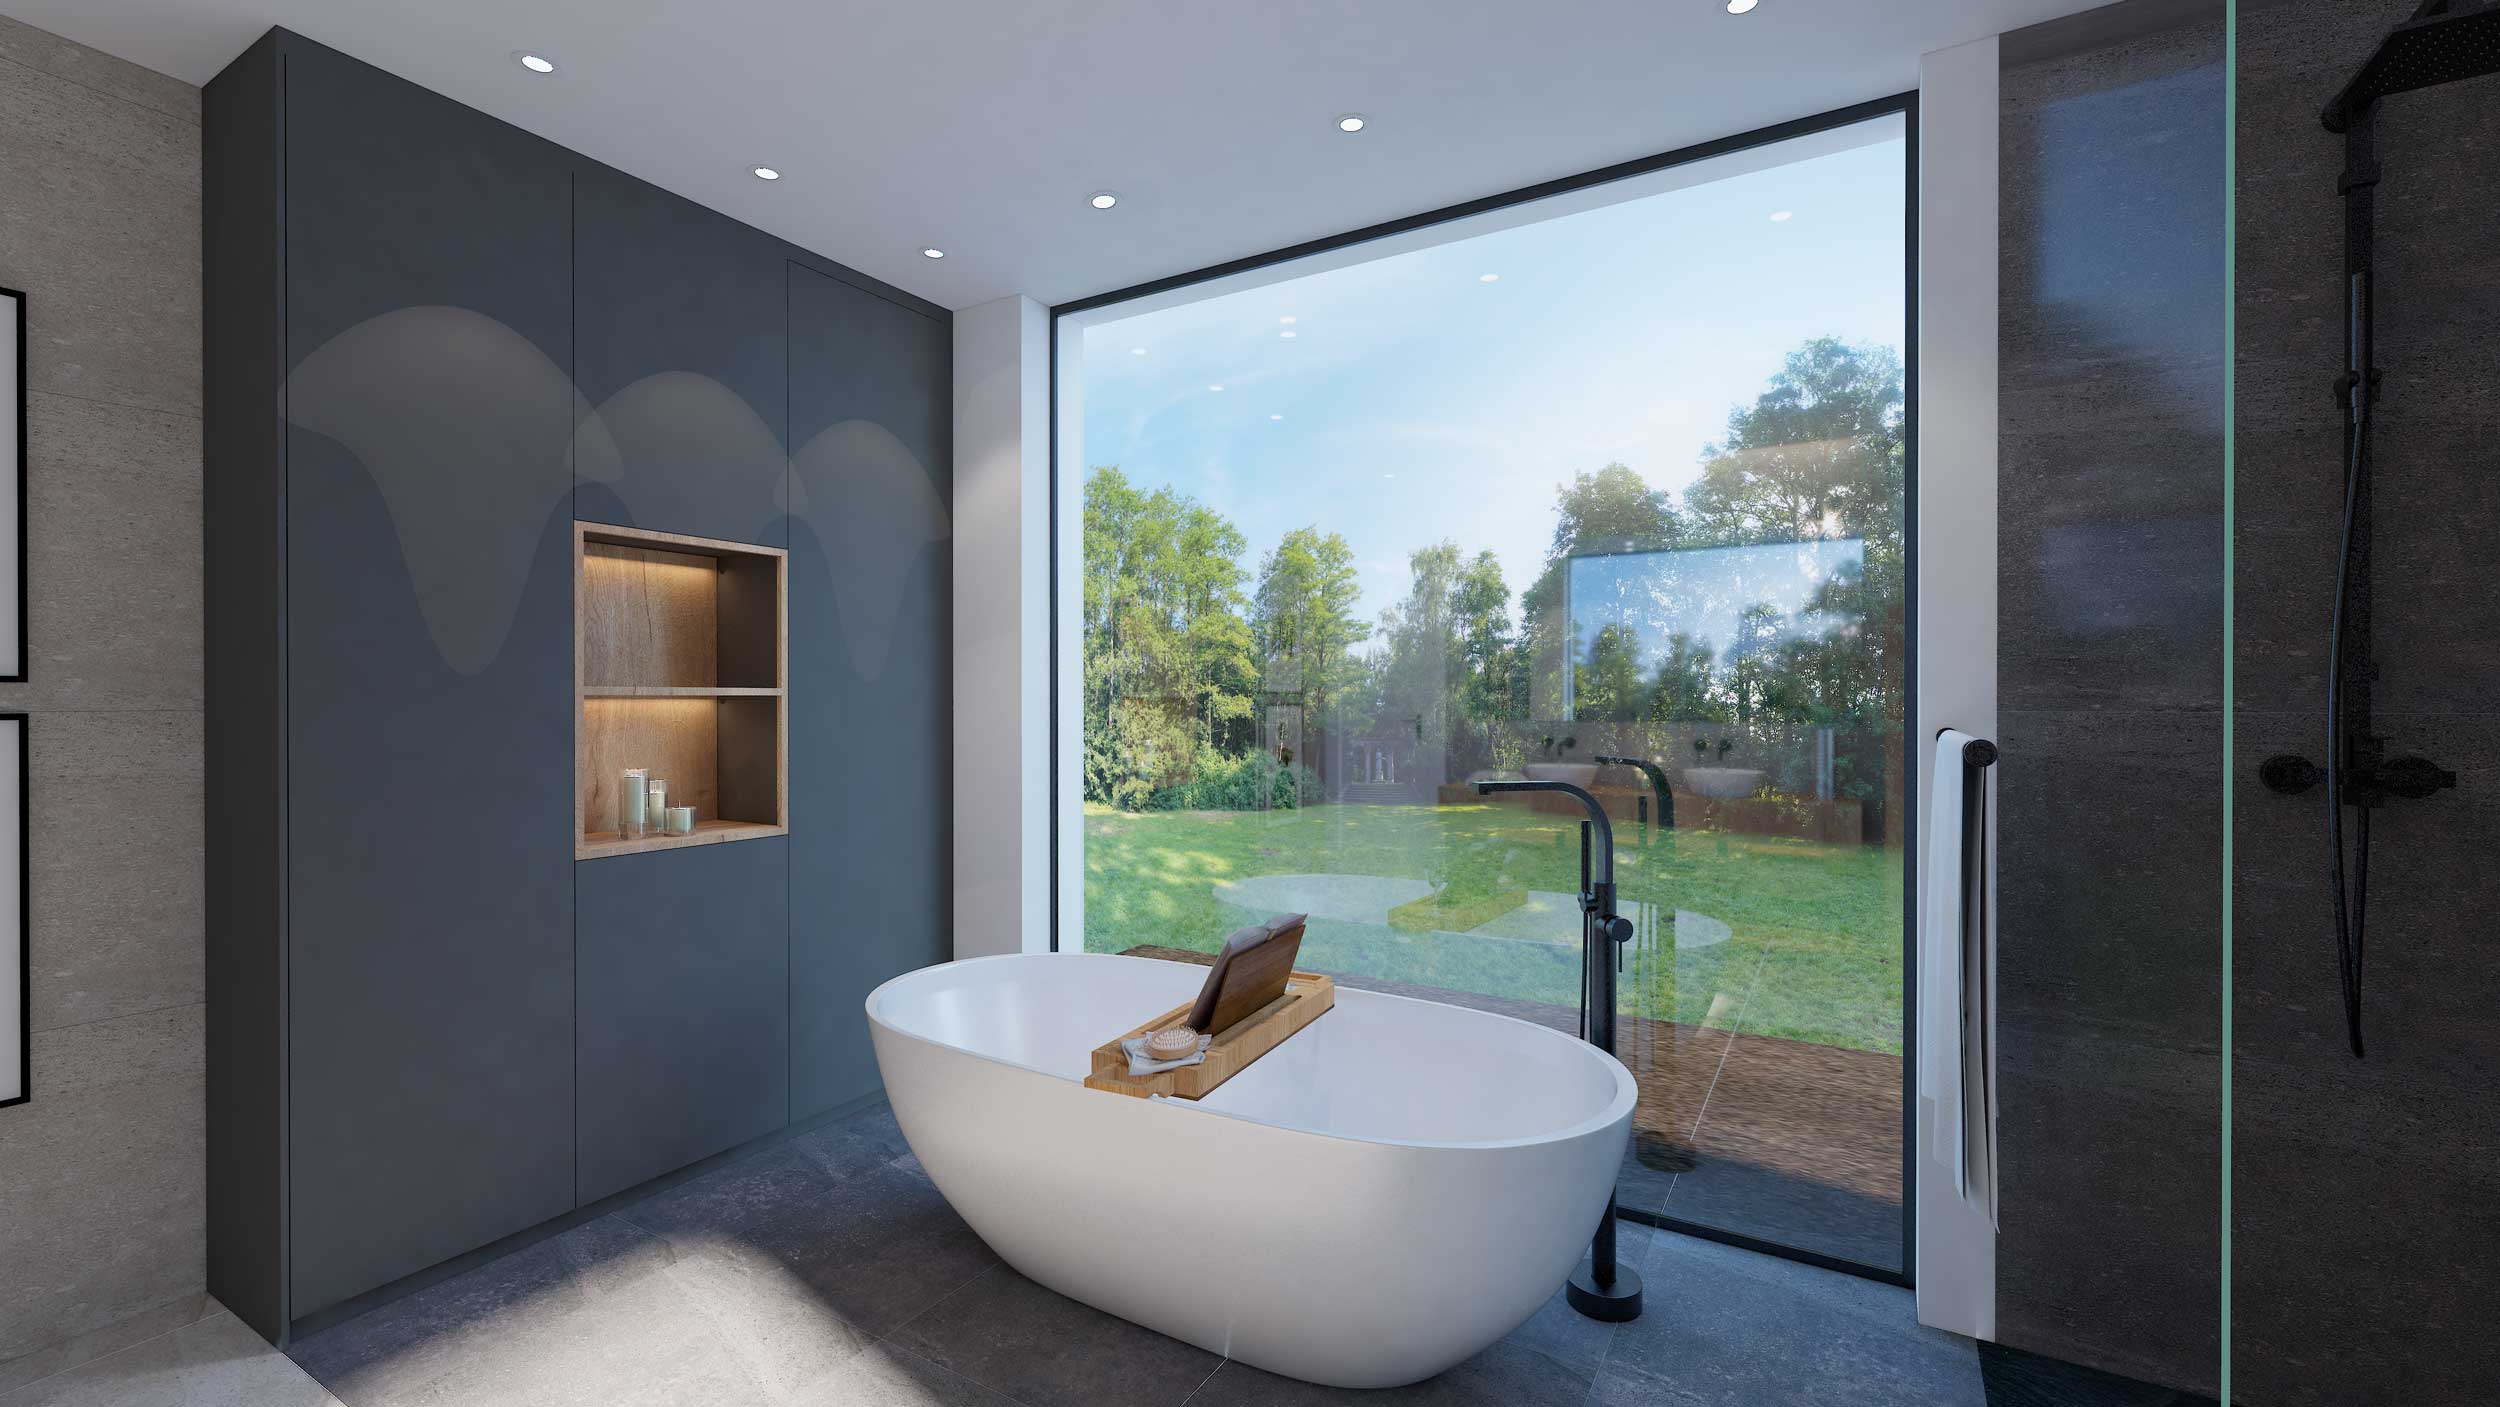
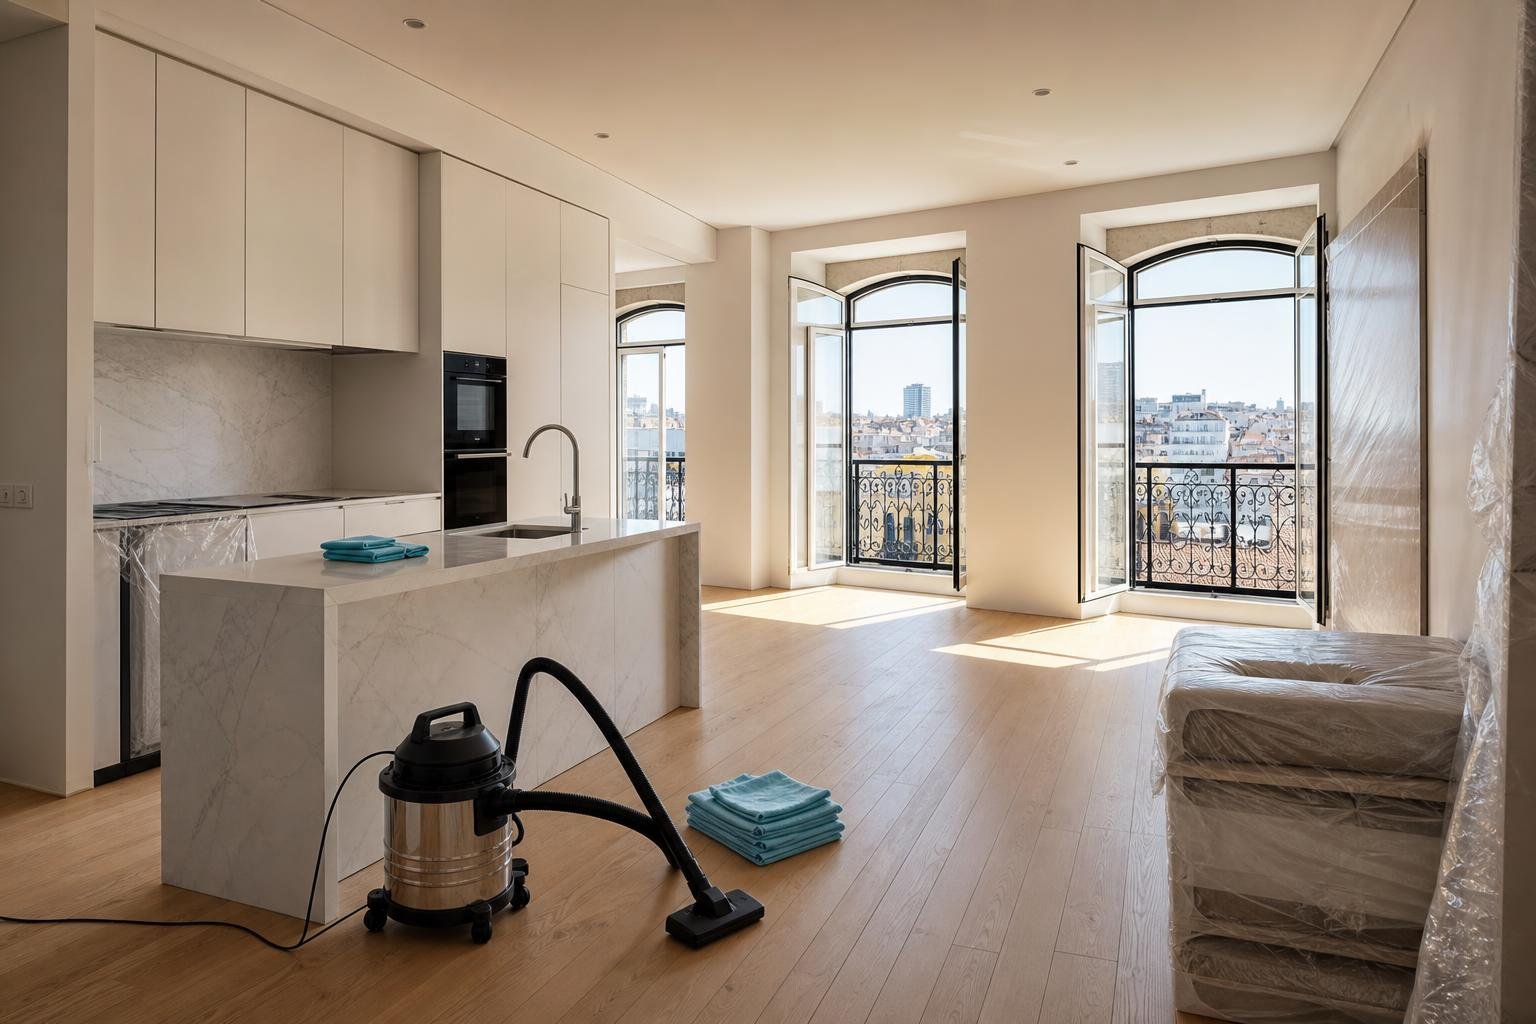
AI-generated editorial image; it does not depict an Obra Lisboa project.

Obra Lisboa