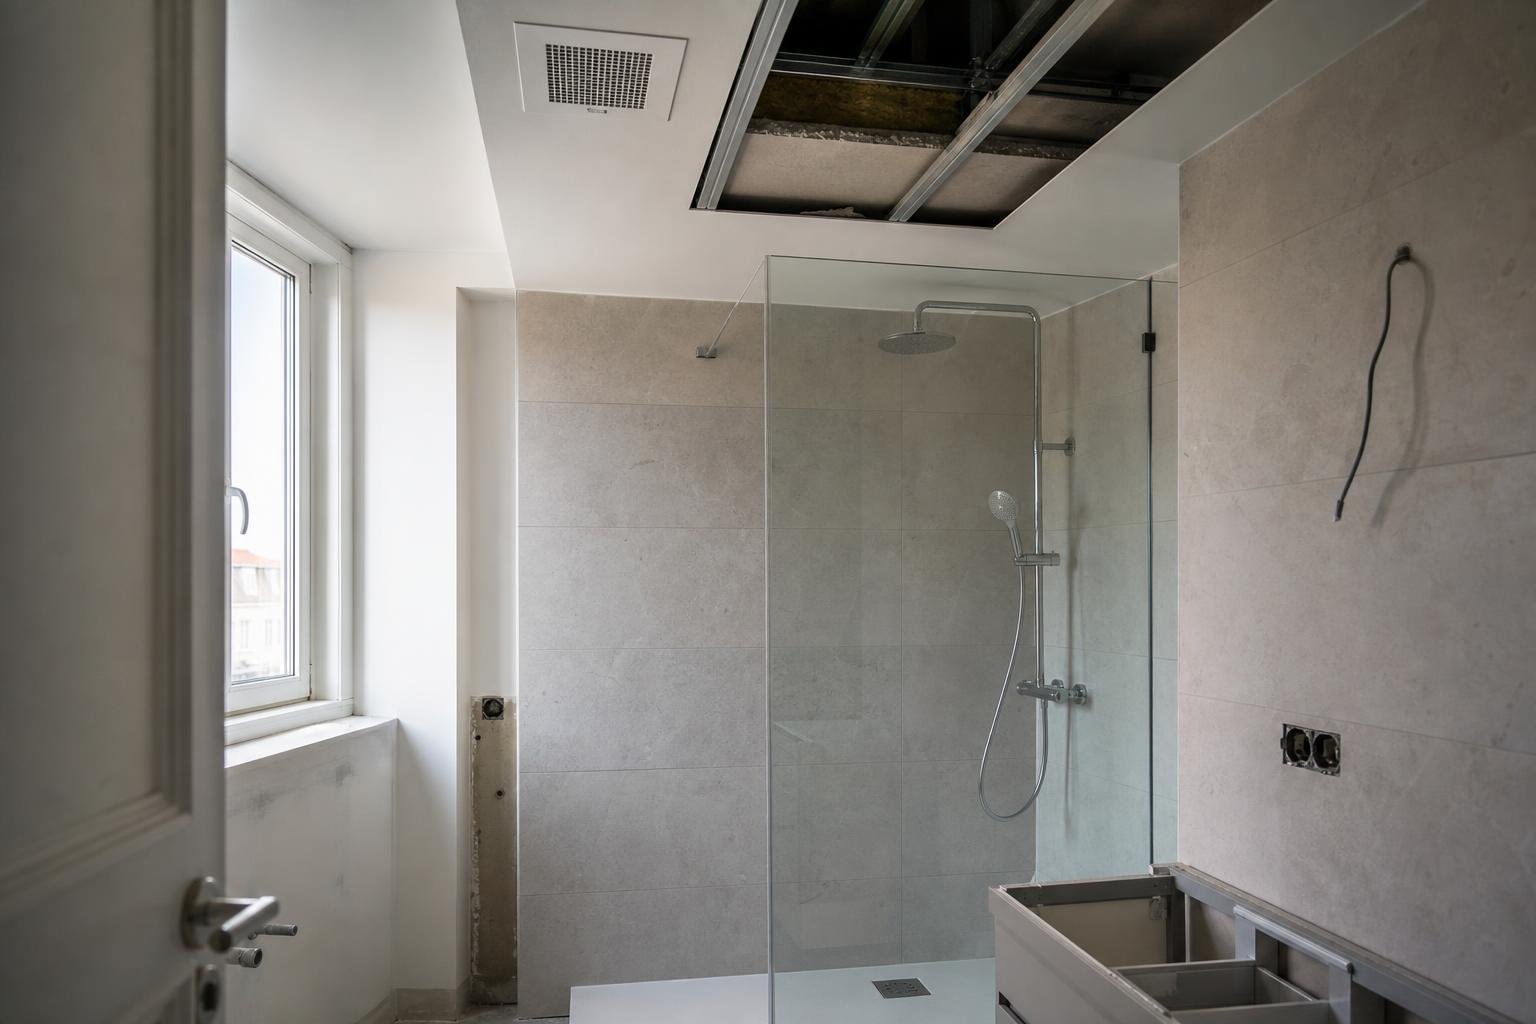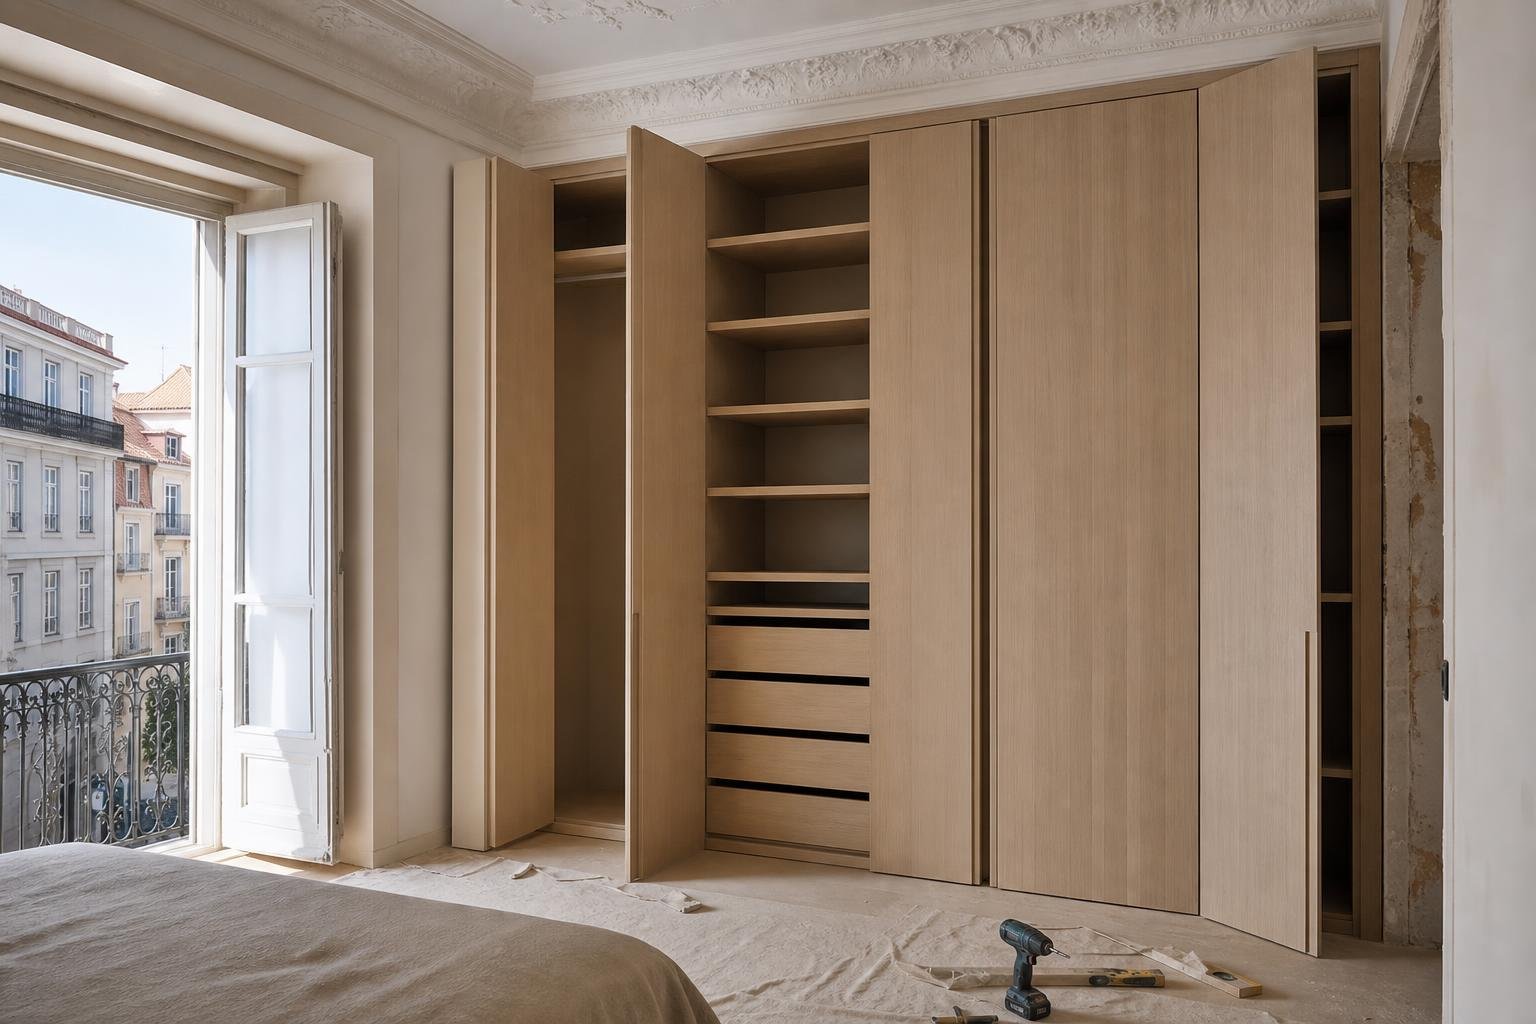
In a Lisbon apartment, every square metre needs to earn its place. A well-planned built-in wardrobe can clear a bedroom, make an entrance more useful and replace freestanding furniture that disrupts circulation. Yet calling it “built-in” is not enough: the difference between a discreet solution and a daily frustration lies in surveys, access, ventilation, existing services and the order in which the work is carried out.
The best time to make storage decisions is before walls are closed, surfaces are painted or joinery is ordered. That way, the wardrobe is not an afterthought but part of how the home works. This guide turns a simple objective — gaining storage — into a set of practical decisions that can be checked before work begins.
Start with use, not with the appearance of the doors
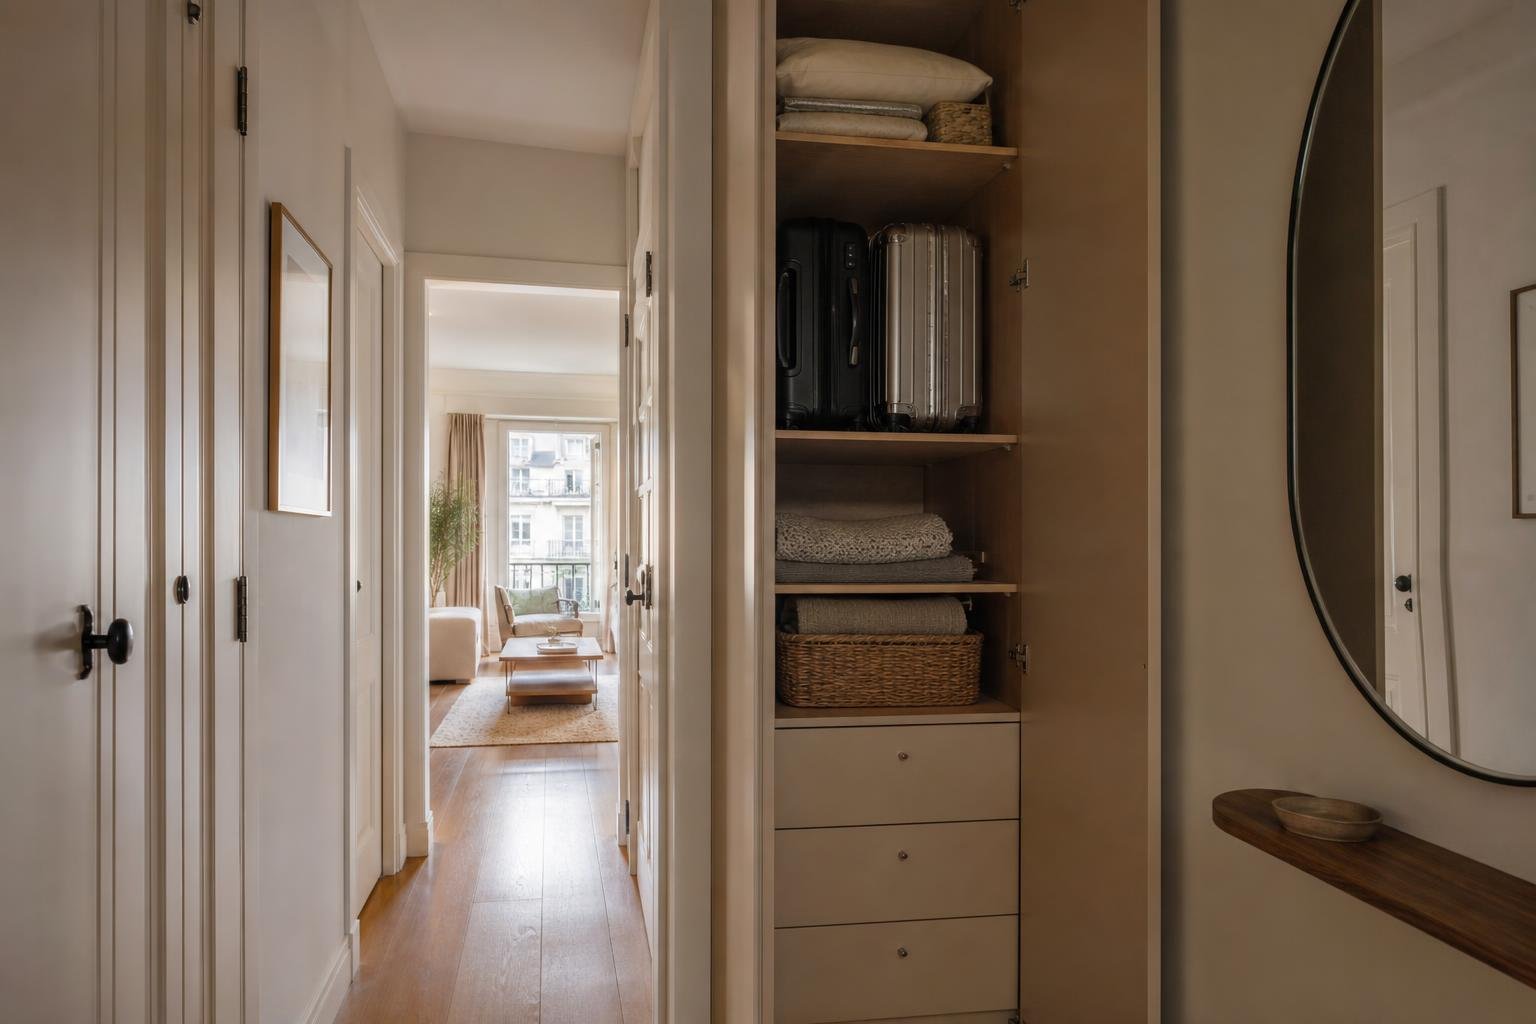
Before choosing a finish, establish what the wardrobe must store and who will use it. Hanging clothes, folded clothes, luggage, a vacuum cleaner, cleaning products and bed linen all need different heights, depths and access. Make a realistic inventory, including seasonal items, then decide what needs to be within daily reach and what can occupy high-level storage.
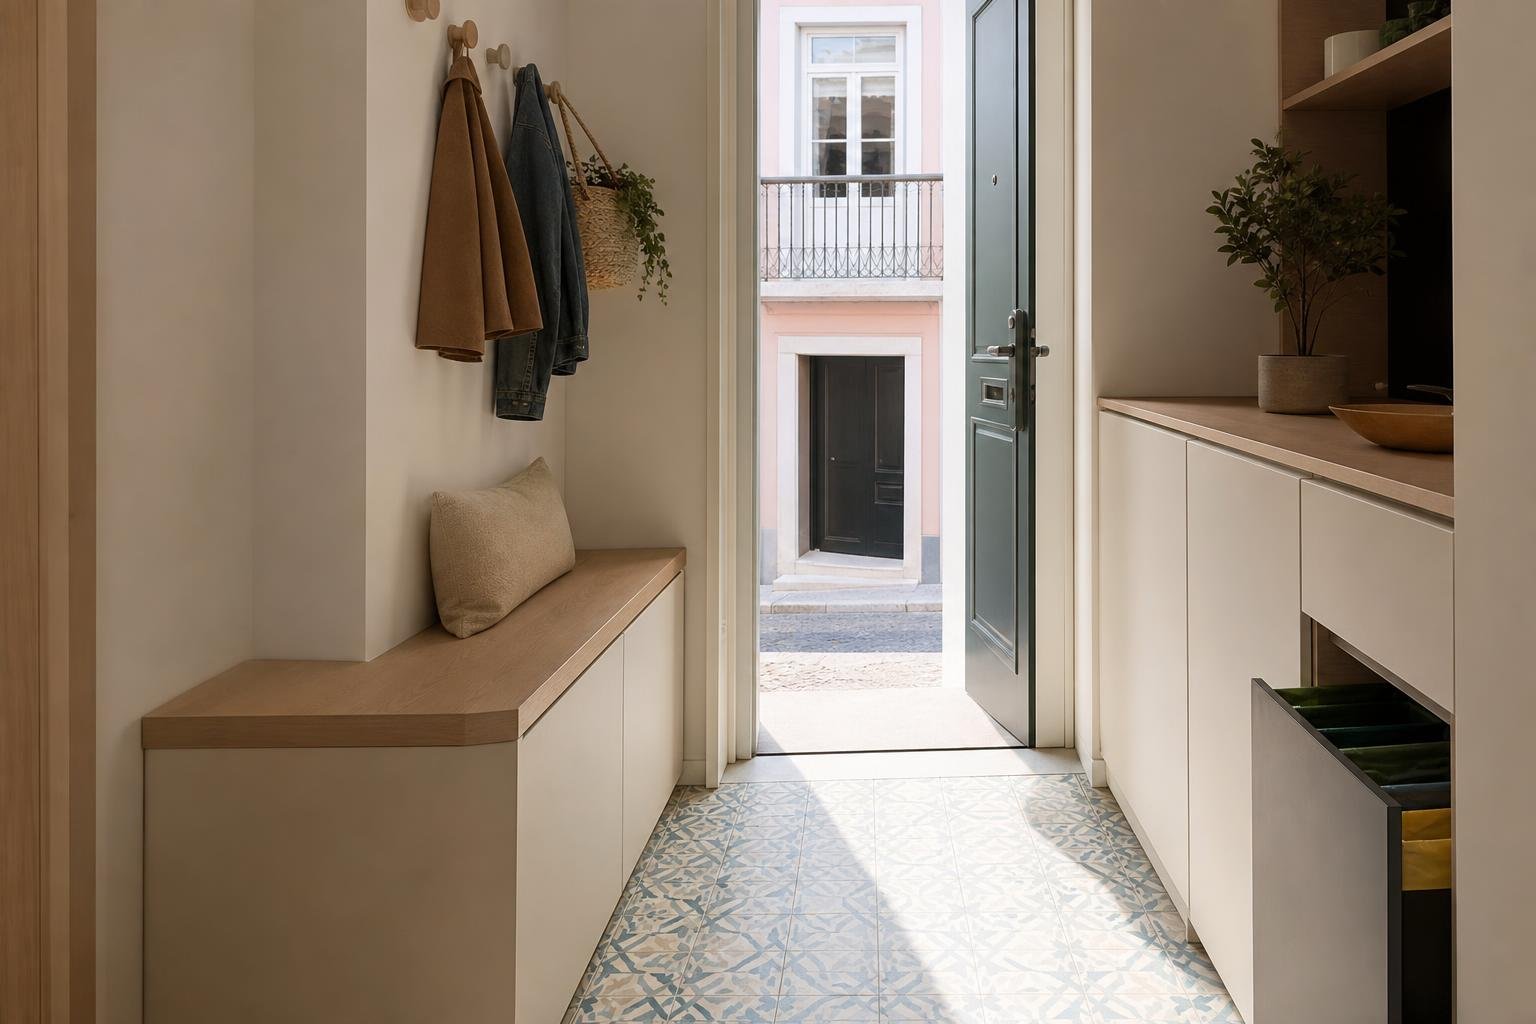
In a bedroom, a hanging rail needs more depth than shelves for knitwear. At an entrance, allow for shoes, coats and the objects that arrive from outside without turning the route through the home into a narrow passage. If the wardrobe will conceal appliances or cleaning supplies, the Obra Lisboa article on planning an apartment laundry area is also useful.
Design the inside first: define volumes, then shelves, drawers and rails; only then choose the doors. This sequence prevents a common mistake: an attractive façade concealing an impractical interior layout.
Survey walls, clearances and obstacles before ordering
Available width is not the only measurement that matters. Record the height at several points, walls that are out of plumb, skirting boards, cornices, beams, shutter boxes, sockets, switches, radiators and nearby doors. Older buildings often have walls that are not perfectly straight; allowing for filler panels makes it possible to achieve a visually aligned front without forcing the joinery into place.
The free space in front of the wardrobe also matters. Drawers and hinged doors need room to operate; sliding doors take up less circulation space but require thought about access to both sides of the interior. In a compact room, protecting circulation can be more valuable than adding one more narrow storage unit.
If the renovation includes a new floor finish, confirm the finished floor level before the units are manufactured. Obra Lisboa’s guide to choosing flooring can help here: a change in build-up thickness can affect bottom clearances, alignments and door operation.
Match depth to the task it must perform
There is no universal depth that works for every wardrobe. It should follow the intended use rather than a decorative rule. Front-facing hanging clothes usually require enough depth for hangers and doors to work comfortably; books, pantry storage, folded clothes or files can often use a shallower solution, avoiding dark space that is awkward to reach.
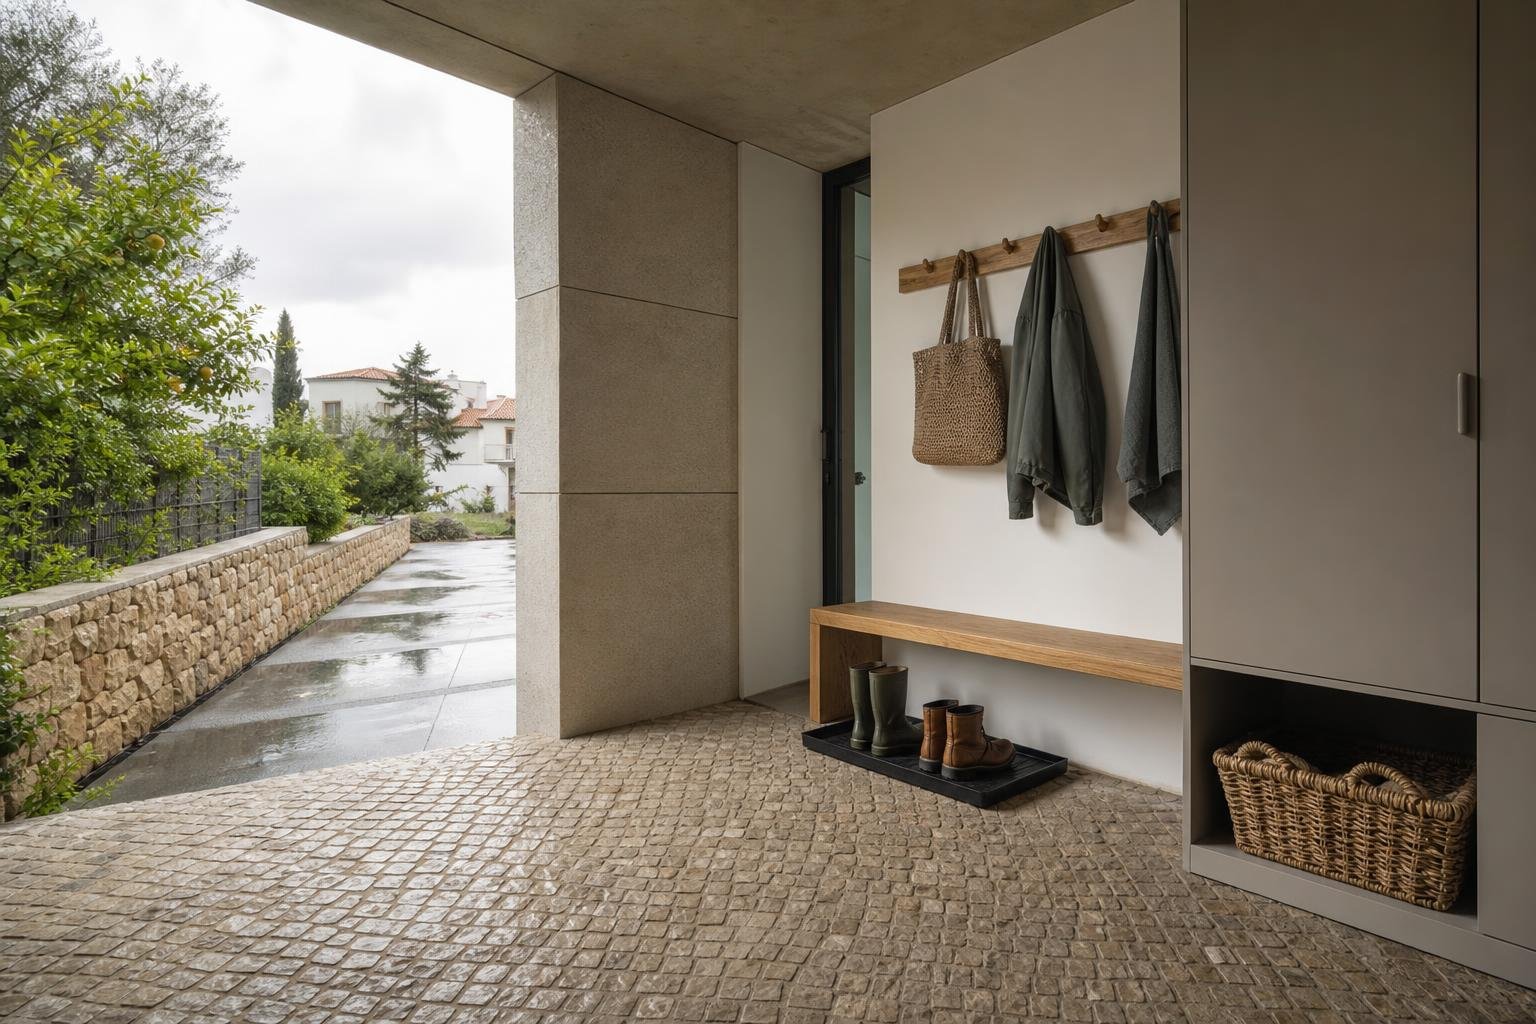
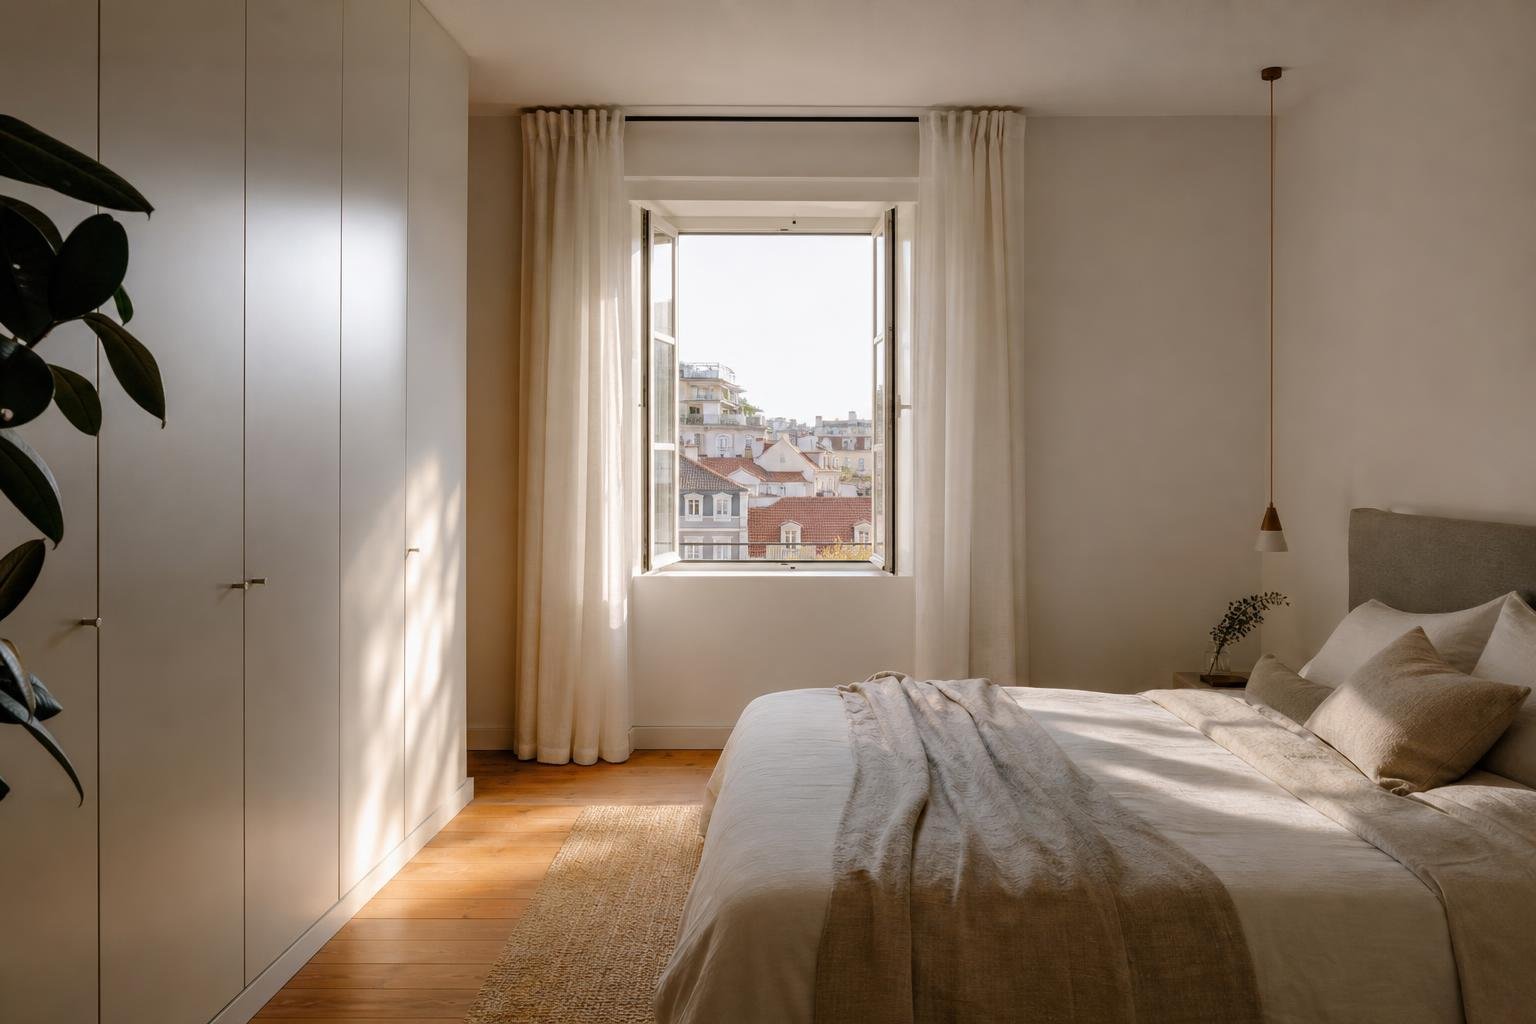
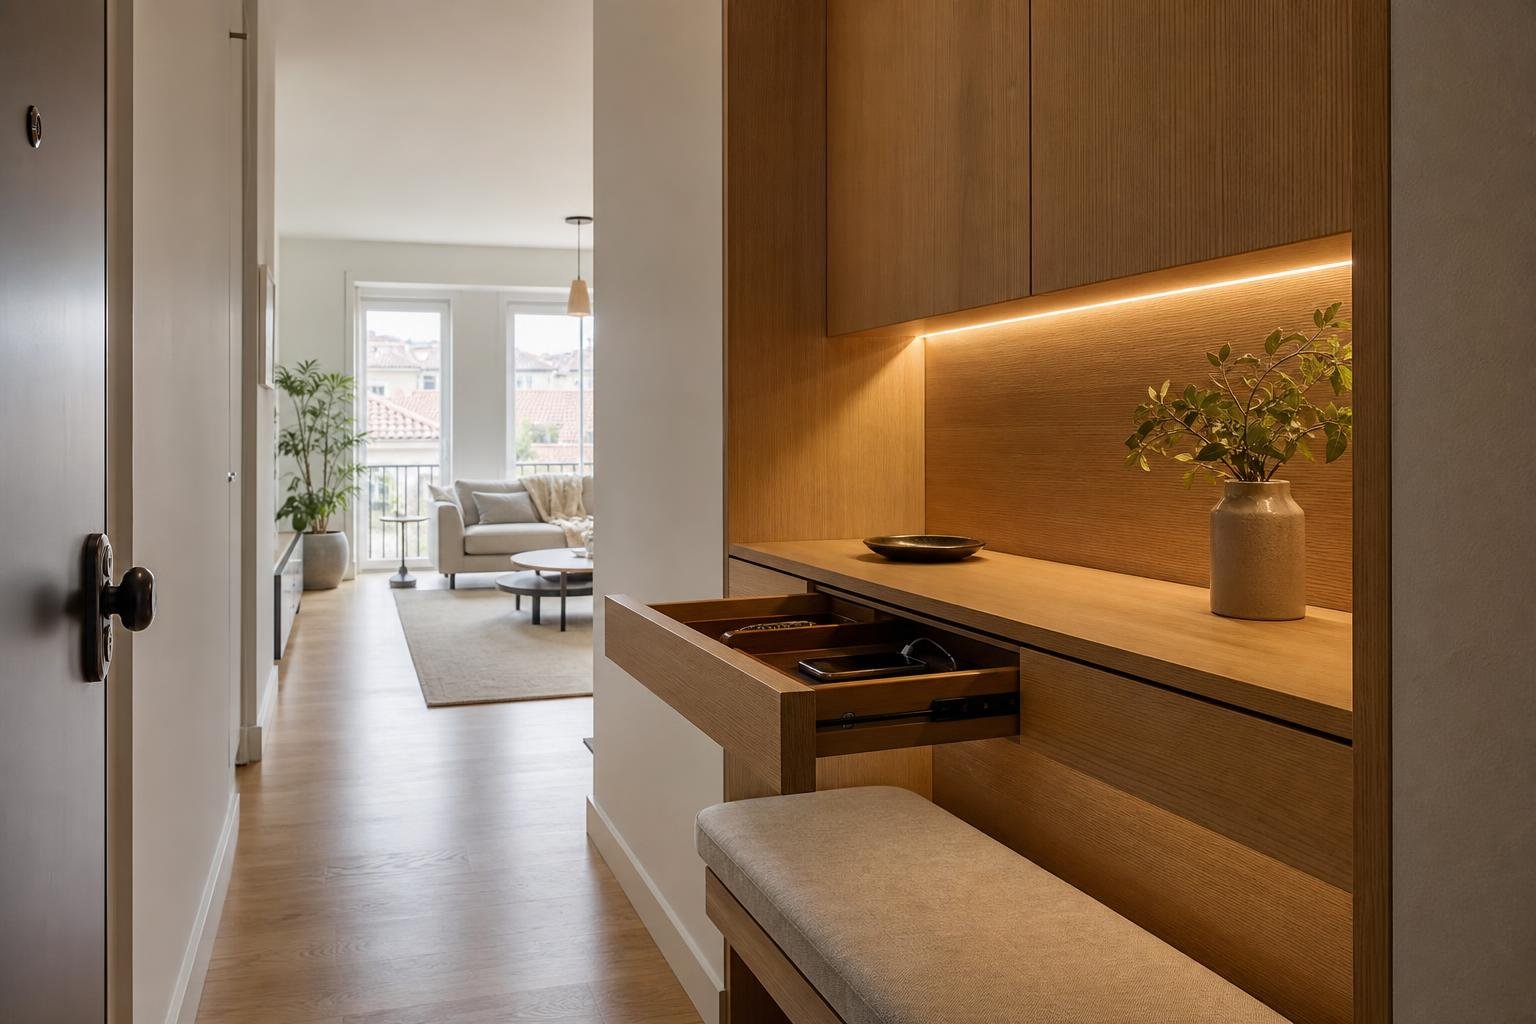
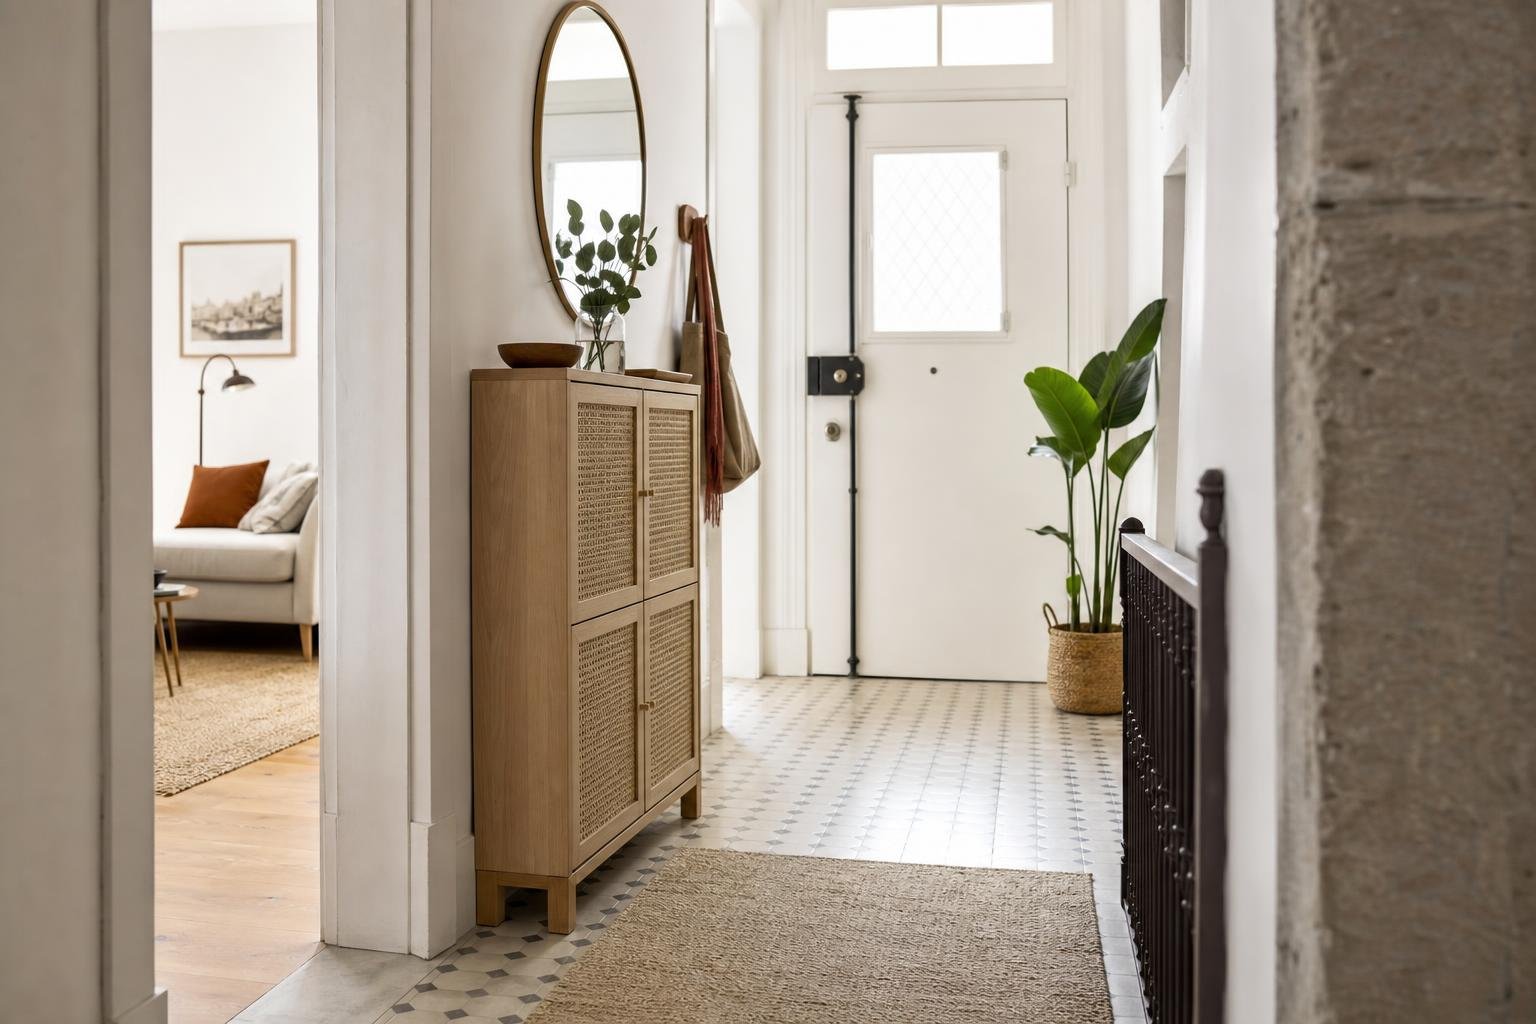
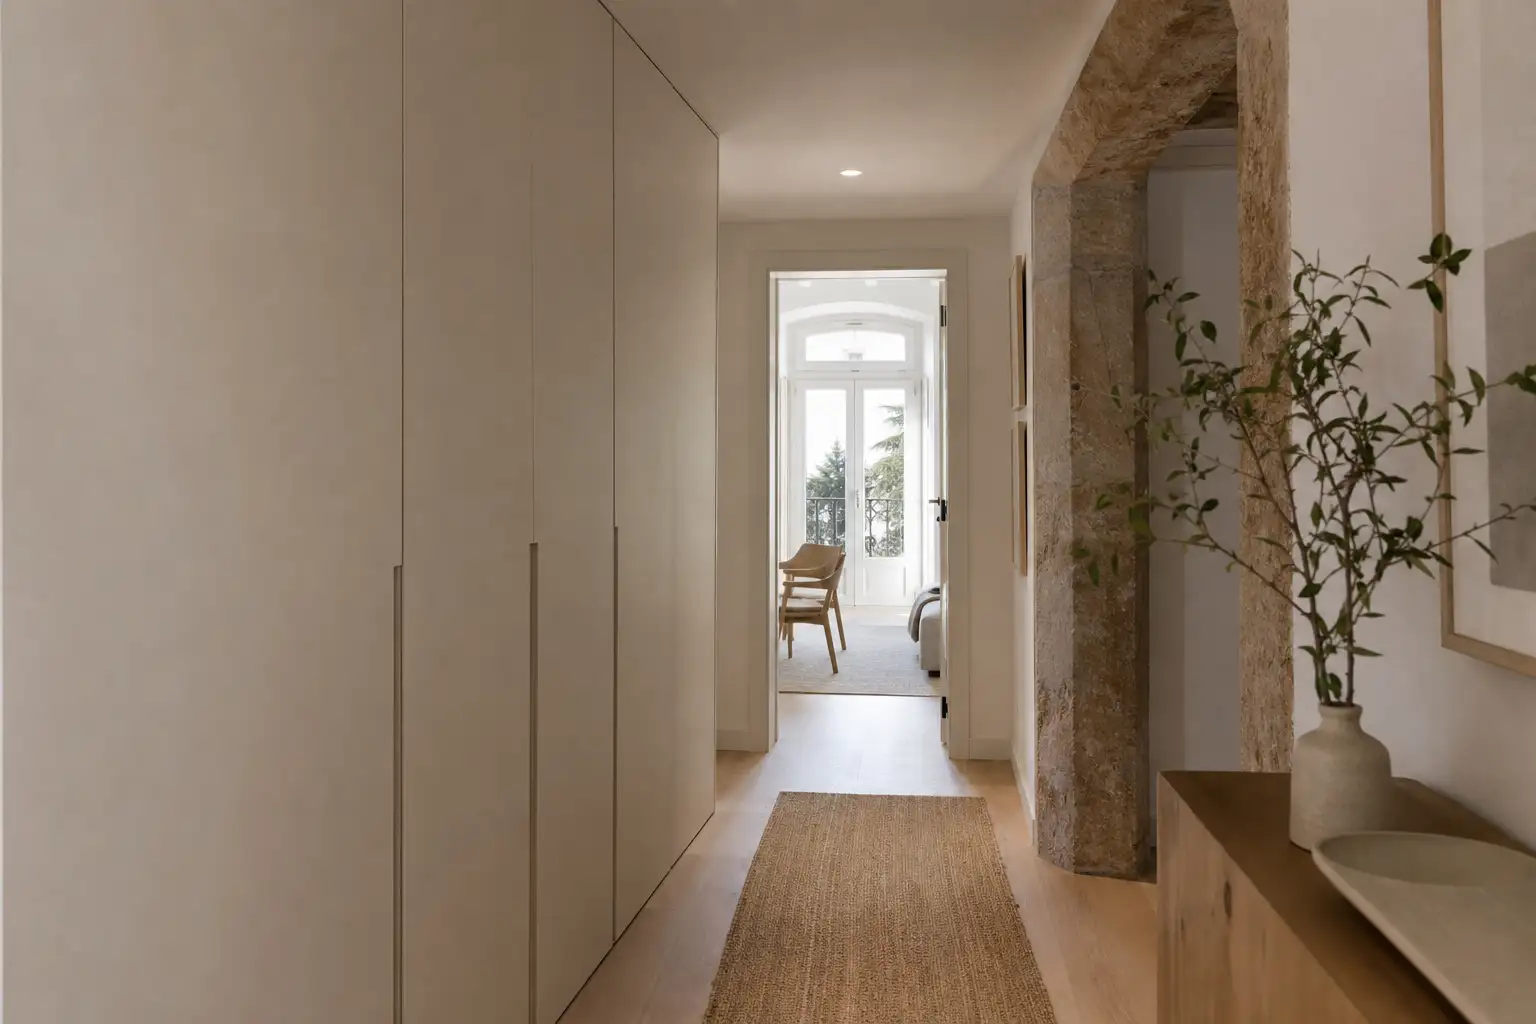
In hallways, a shallow cabinet with slim doors can store coats, footwear or household equipment without sacrificing the route through the home. In bedrooms, it can make sense to combine one deeper module for hanging with shallower modules for folded clothes, drawers and accessories. The real benefit is not simply greater overall capacity: it is the ability to see, reach and put things away easily.
Do not fill an entire wall simply because it is available. Leaving space for a bench, mirror, socket or visual breathing room can substantially improve daily use. Effective storage reduces visual noise rather than creating more of it.
Keep ventilation, technical panels and maintenance access clear
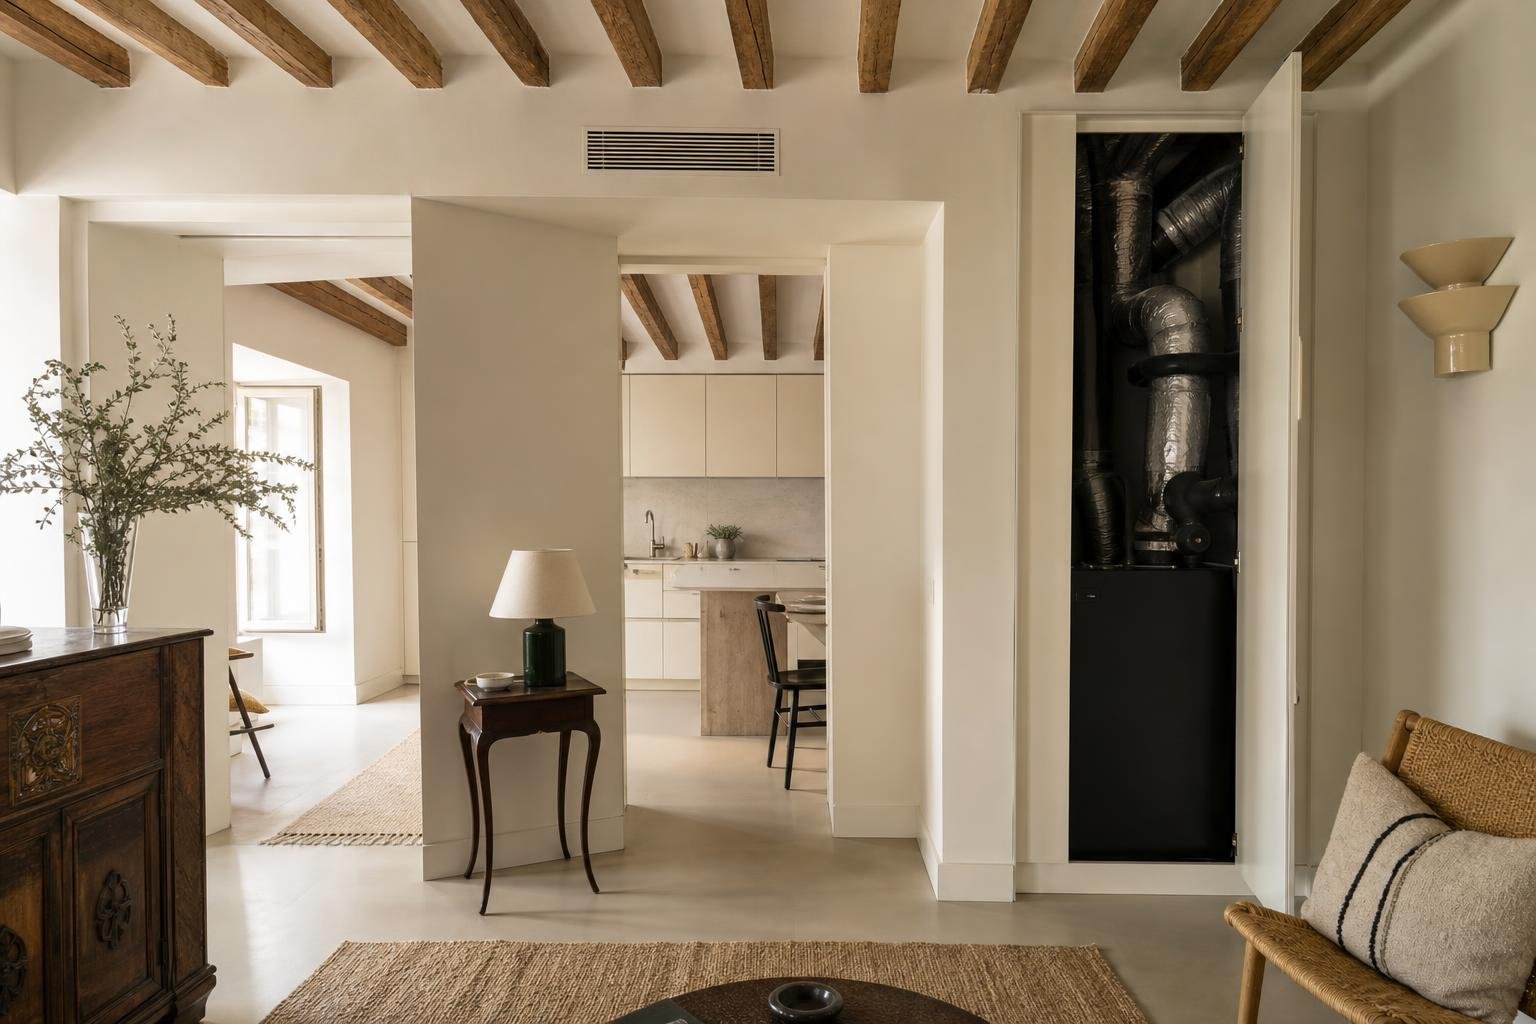
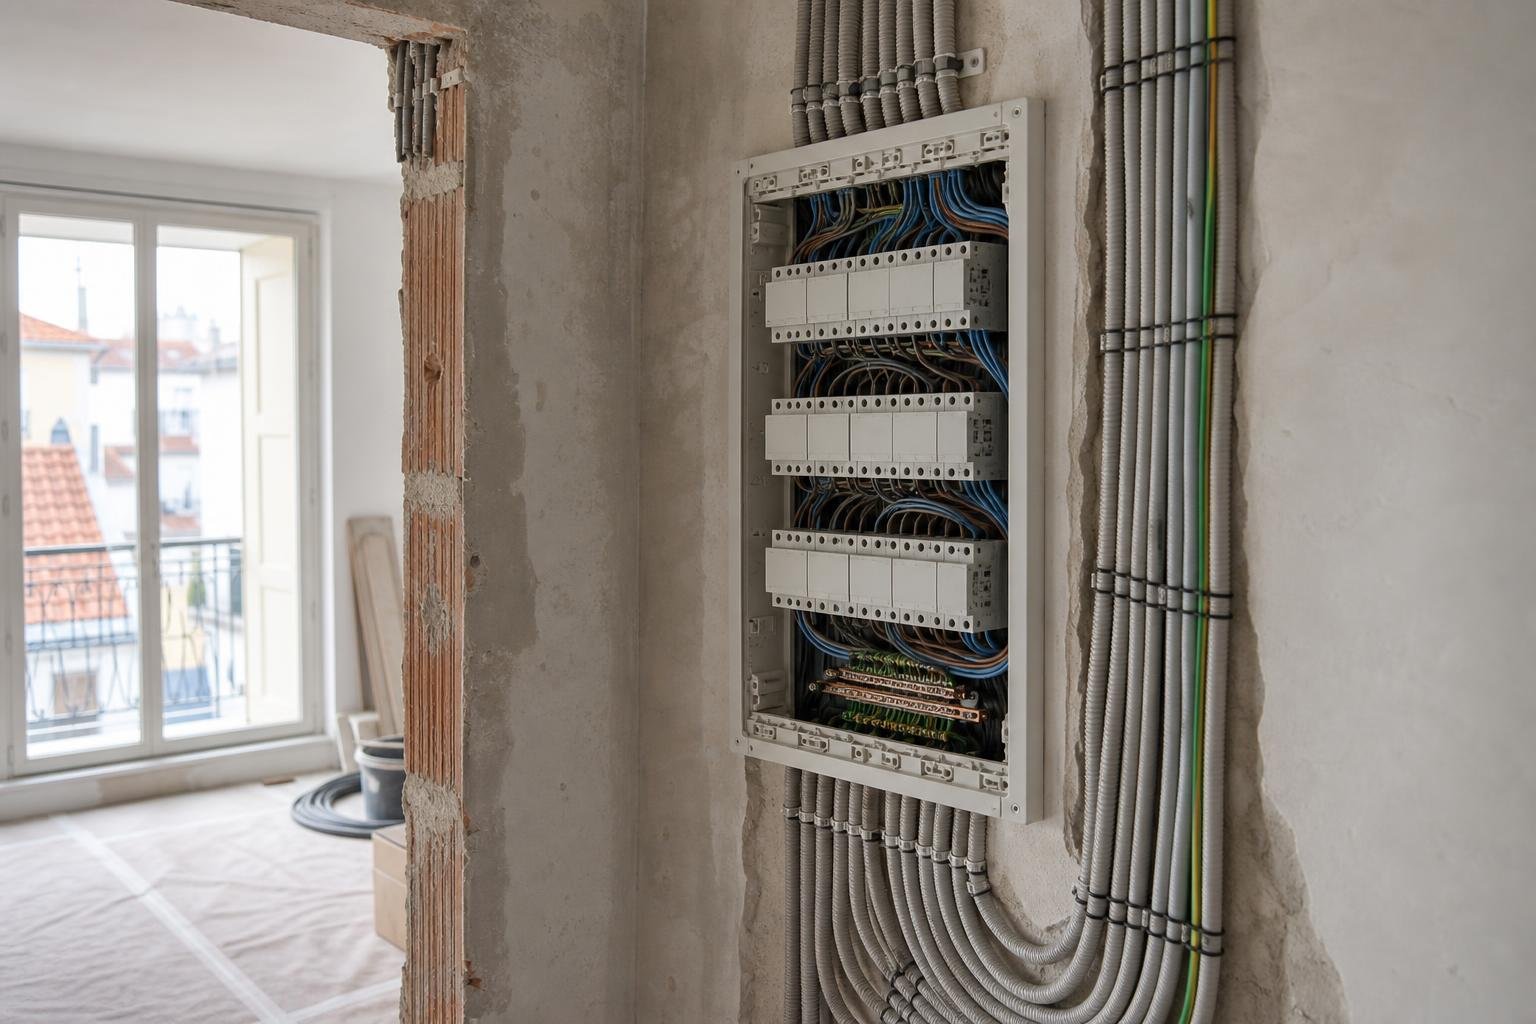
A built-in wardrobe must not block ventilation grilles, meter boxes, electrical panels, valves, traps or access points required for maintenance. Where a service must sit inside the wardrobe, provide a clearly accessible technical door that is sized for maintenance rather than a panel that is difficult to remove.
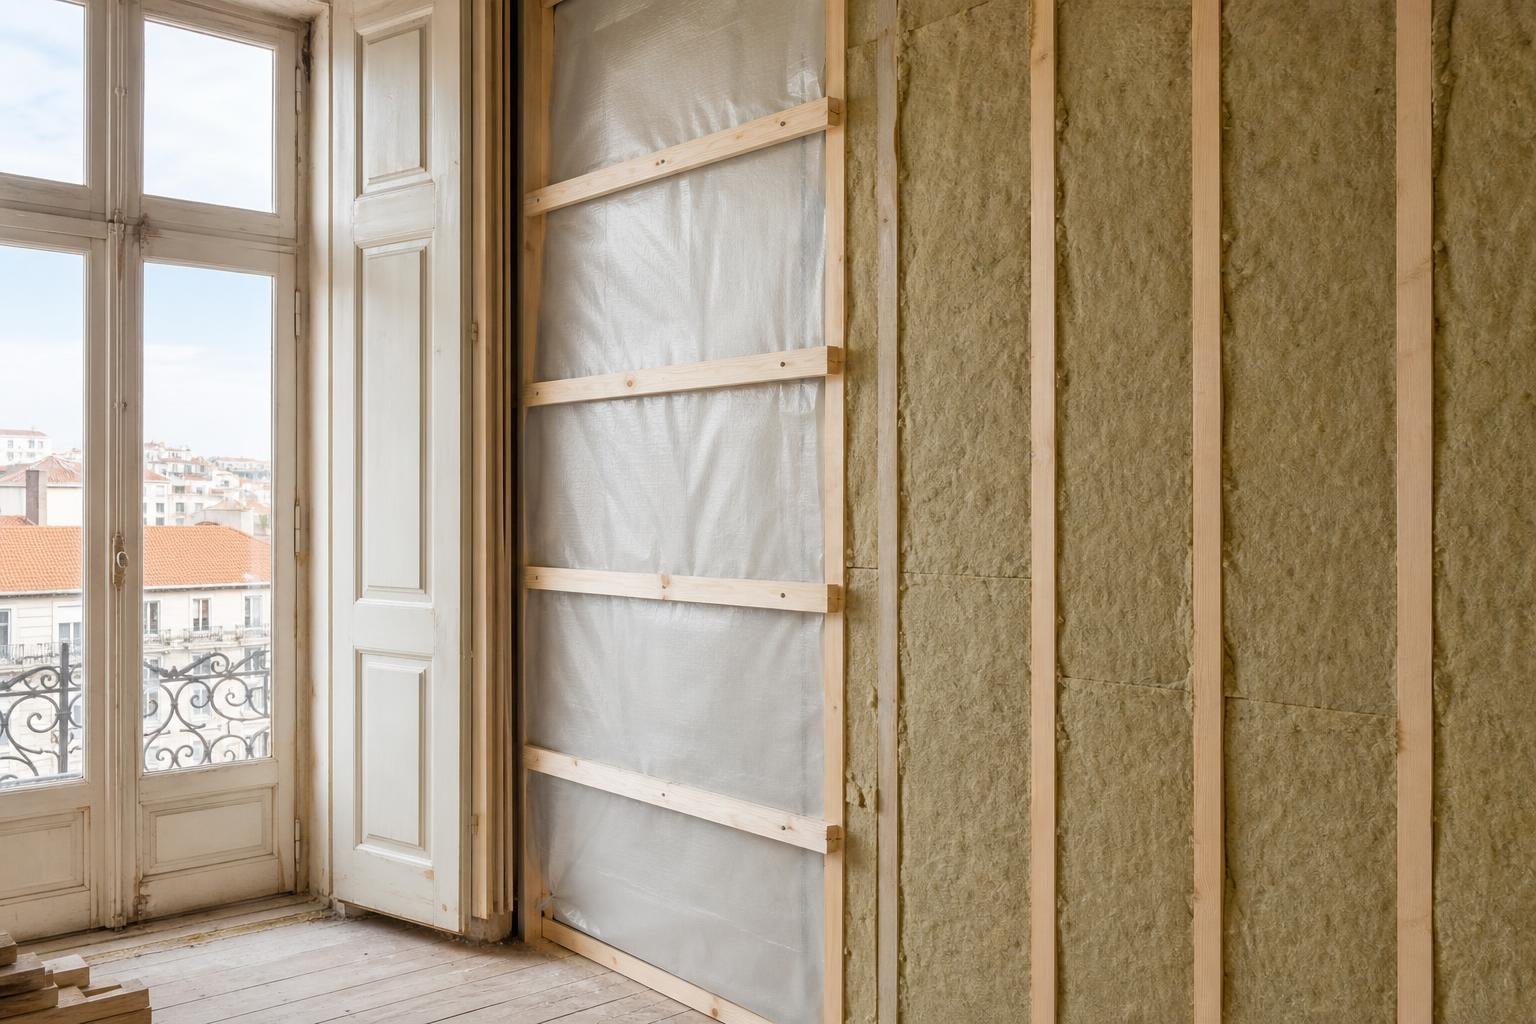
Indoor air quality is influenced by ventilation, humidity, materials and everyday household activities. The Portuguese Directorate-General of Health recommends daily home ventilation and the proper operation of ventilation systems. Do not use joinery to hide a grille or reduce an air inlet; where a wardrobe sits against a cold wall, specify appropriate materials, installation gaps where needed and regular checks for signs of damp.
This is particularly important near bathrooms, kitchens and façades. Before closing the interior, photograph and identify pipework and cable routes: that record can save time during a future repair.
Understand what the work may require in Lisbon
Fitting a wardrobe may look straightforward, but the situation changes when it includes demolition, moved services, structural work, façades or use of the street for skips and materials. In Lisbon, internal works that do not affect the stability structure and do not alter heights, façades, roofs or coverings may fall within an exemption from prior planning control, but the specific conditions must be checked for each property.
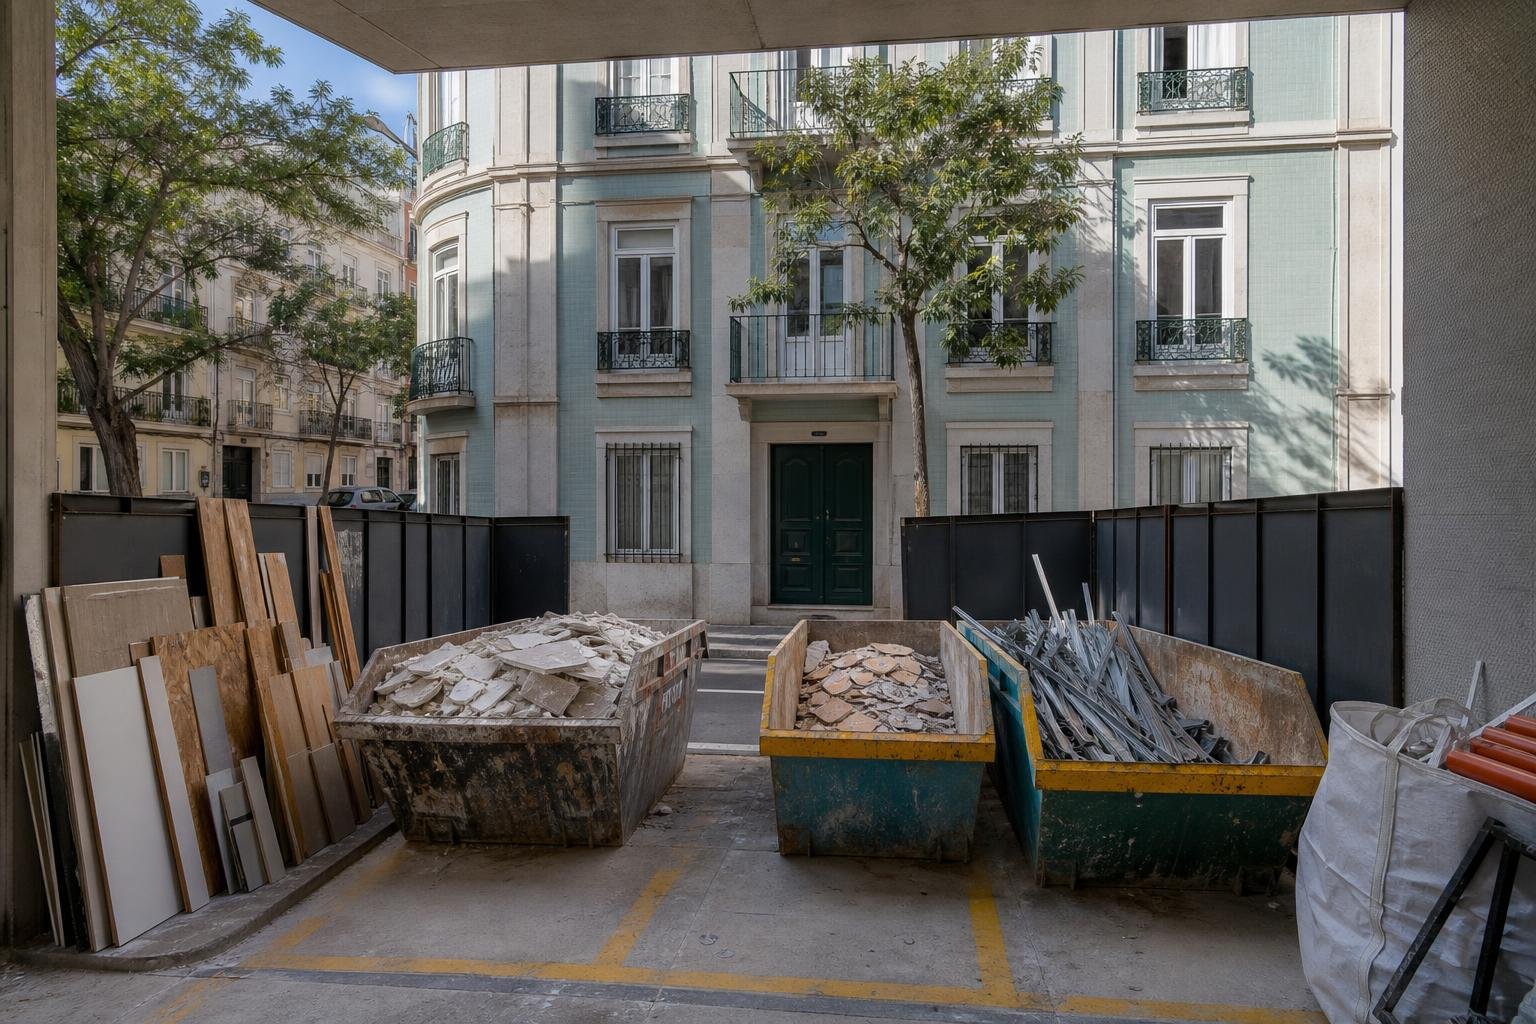
The Lisbon municipal page on exempt works and occupation of public space explains that even exempt work can require a licence or notification for hoardings, scaffolding, skips or material storage. The municipality’s Urban Planning FAQs also explain that intervention in, or loading of, the stability structure requires a responsibility statement by a suitably qualified professional under the city’s stated conditions.
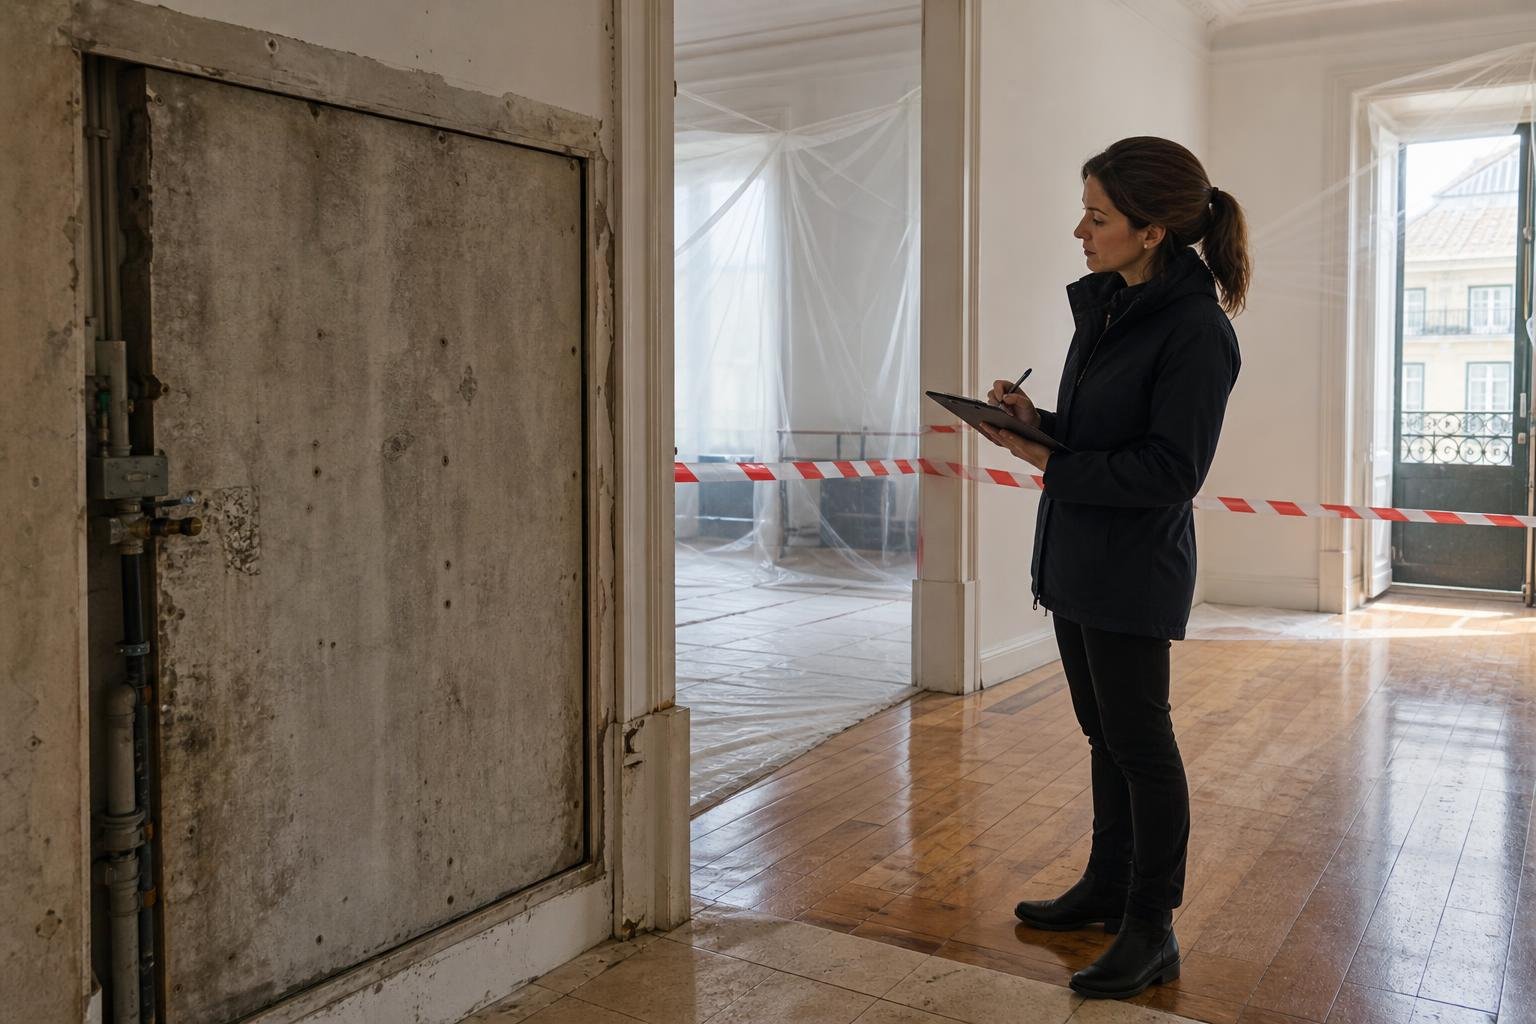
If walls are to be opened, never assume they are non-structural partitions. Confirm the approach in advance with qualified professionals and against the requirements that apply to the building.
Procure, test and complete the installation properly
Ask for a proposal that states materials, hardware, interior finish, number of shelves, lighting, trims, removals and related electrical or painting work. Compare drawings and specifications, not only the final price. A site measurement before manufacturing is valuable, as is agreement on who approves the final location of sockets, switches, handles and doors.
Choose companies and trades whose credentials can be checked when relevant. The IMPIC consultation portal provides searches for licences, certificates and registrations in the construction sector. In a wider renovation, good coordination prevents joinery from being fitted before floors, painting, electrics and any wall repairs are properly resolved.
At handover, open every door, test loaded drawers, check clearances, inspect the continuity of trims and test lighting and technical access. A well-built wardrobe should be quiet, easy to clean and adaptable to the life of the home — not merely photogenic on day one.
Planning to gain useful storage during a renovation? Obra Lisboa can help coordinate surveys, specialist work, finishes and construction so that built-in wardrobes are integrated with logic, comfort and lasting quality.
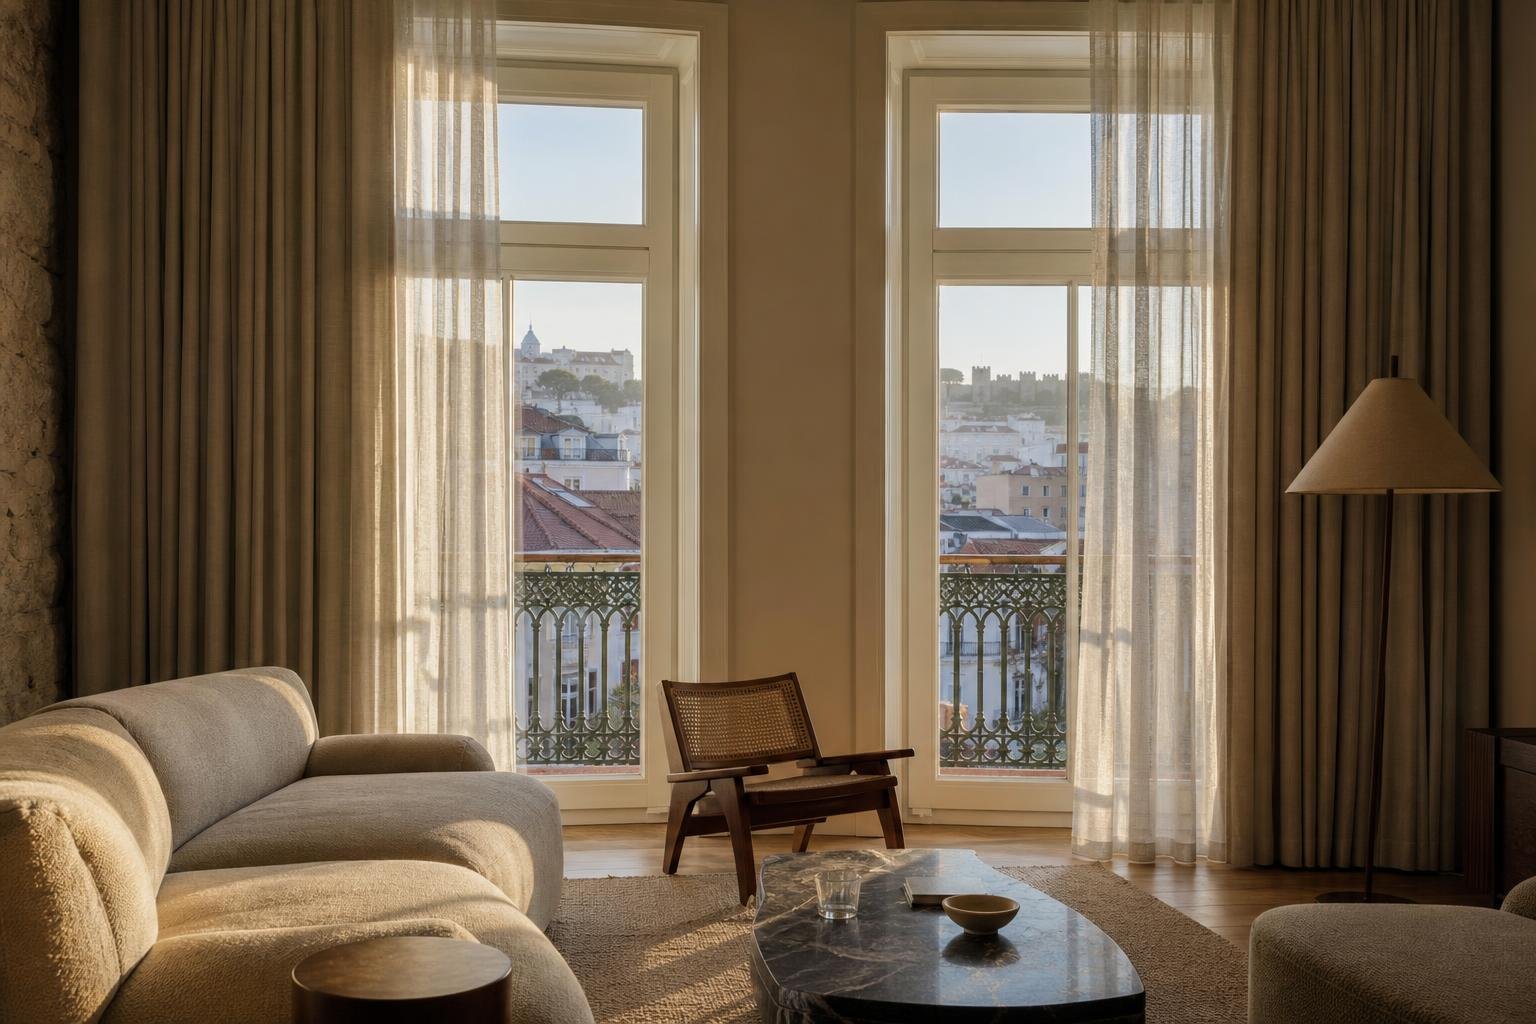
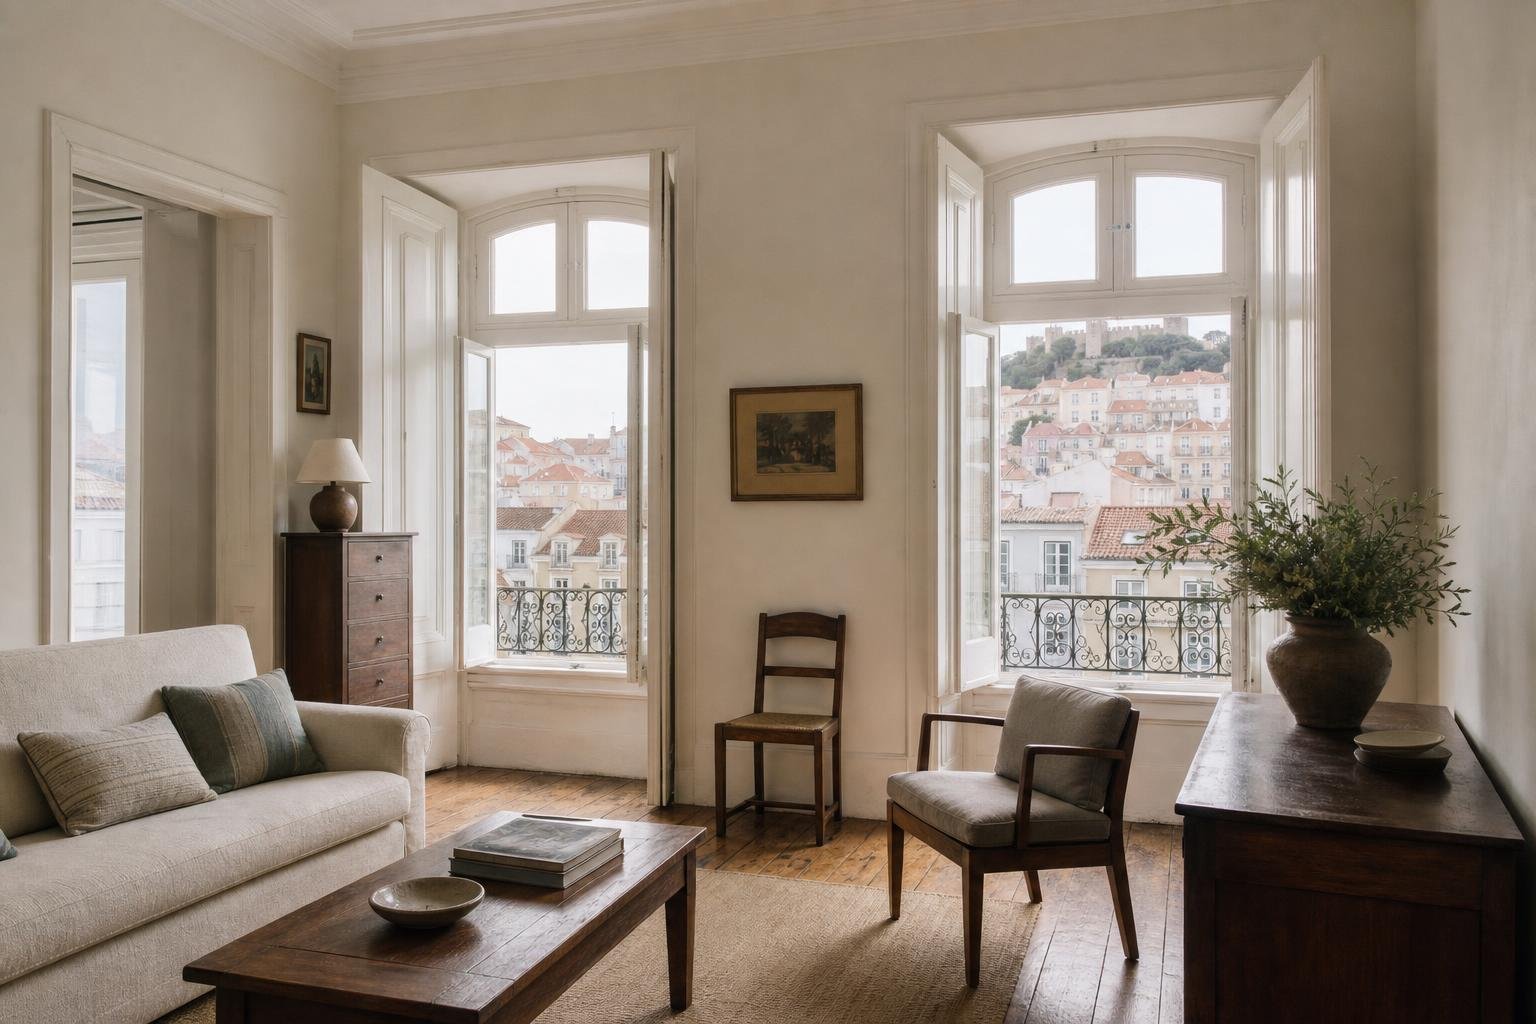
AI-generated editorial image; it does not depict an Obra Lisboa project.

Obra Lisboa