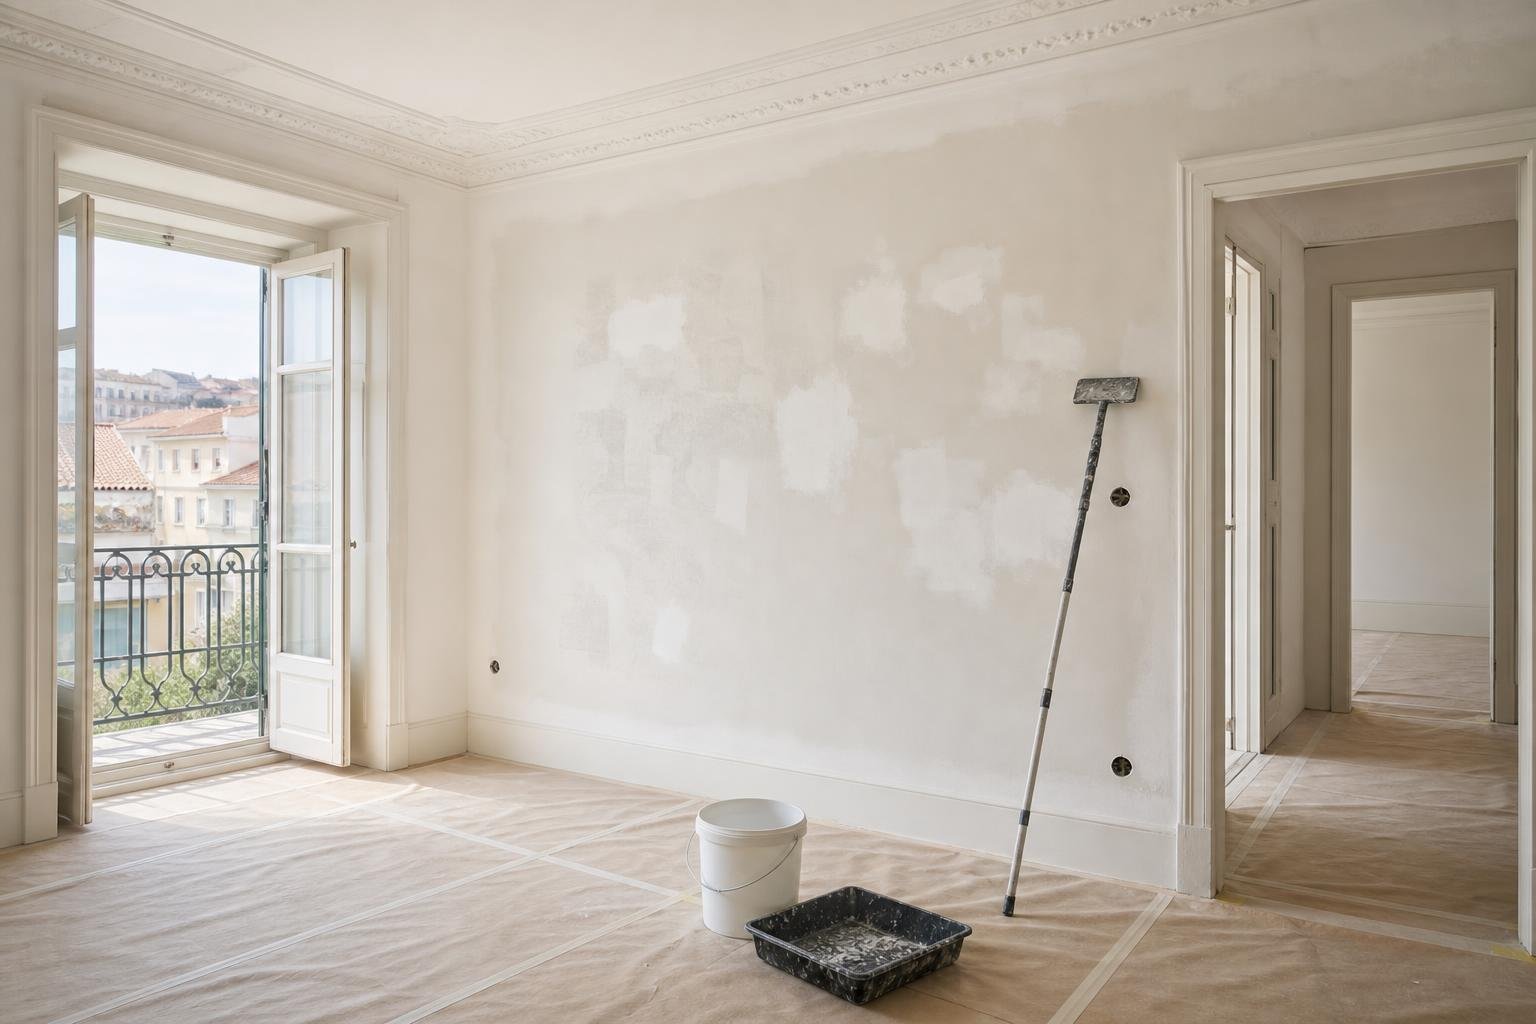
A new colour can change a room quickly, but a durable paint finish starts long before the roller touches the wall. Returning stains, blisters, dull patches, visible cracks and peeling paint are rarely just finishing problems: they usually point to poor preparation or an underlying issue that has not been resolved.
In a Lisbon apartment, where older walls, poorly ventilated rooms and alterations completed at different times are common, painting should be treated as the final stage of a process. This guide explains how to assess the surface, correct defects and choose the right preparation without turning a straightforward job into an unnecessary complication.
Start by understanding what is beneath the paint
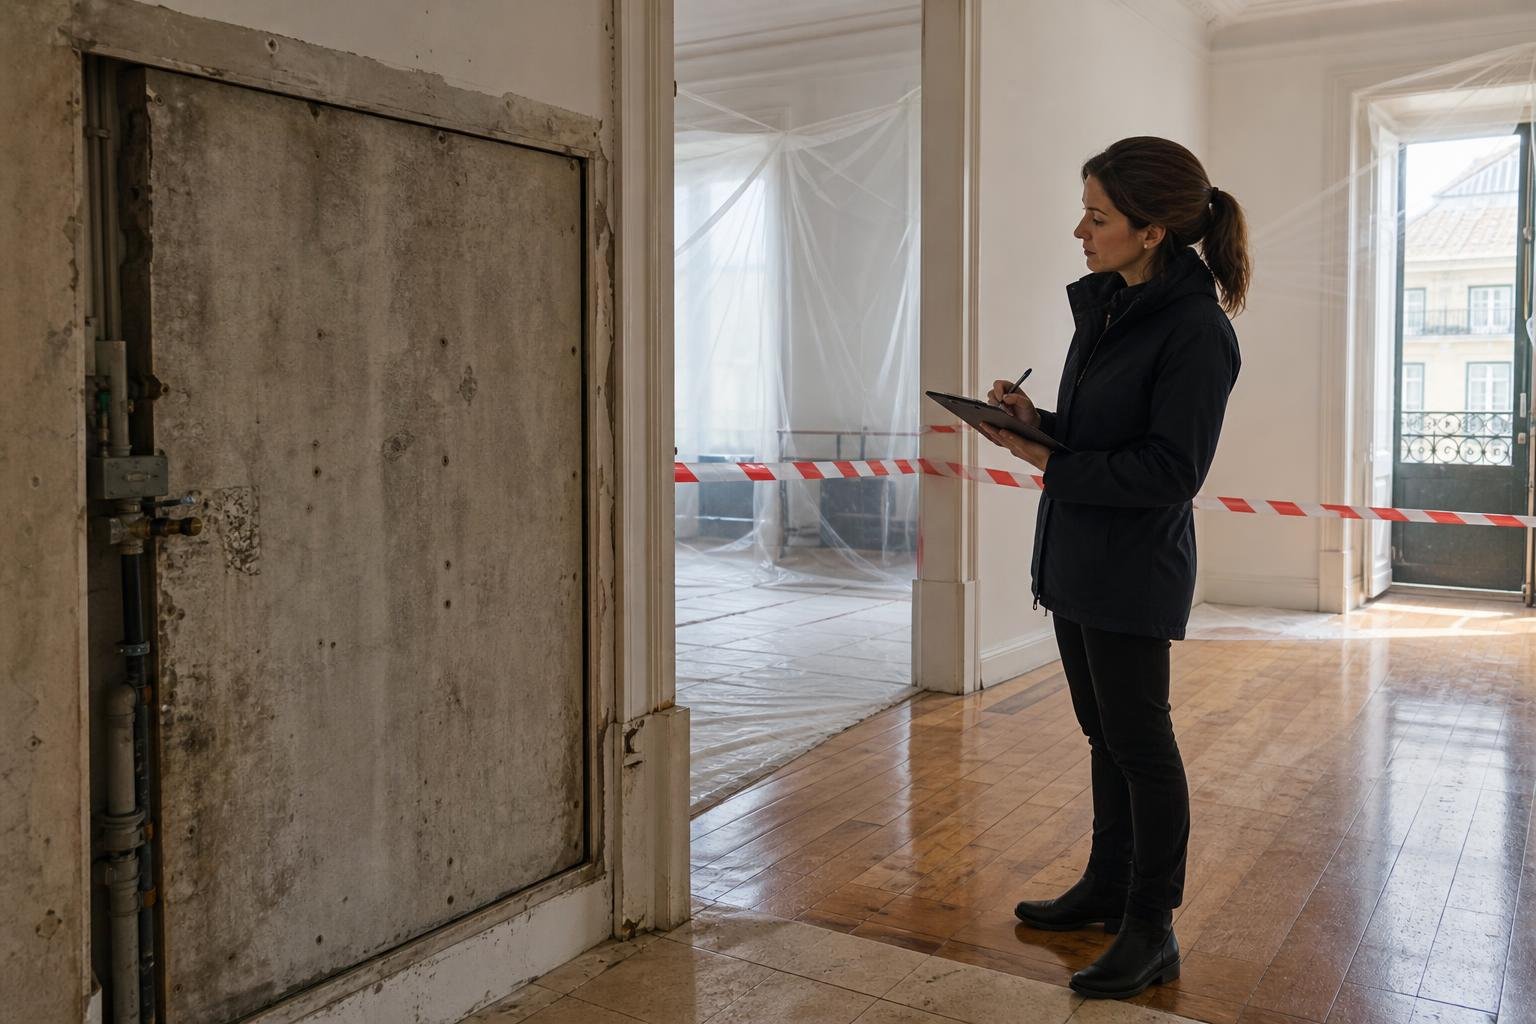
Inspect the wall slowly, using side light where possible. Look for chalky residue, loose paint, yellow or brown staining, mould, salt deposits, cracks, impact marks and changes in texture. Run your hand across the surface: a wall that sheds dust, crumbles or feels damp is not ready for a new coat of paint.
It is important to separate a superficial defect from an active cause. The Portuguese Directorate-General of Health guidance on indoor air notes that excess moisture can cause condensation on cold surfaces and encourage mould growth. Painting over a stain without addressing a leak, plumbing fault, condensation or inadequate ventilation only postpones the problem.
Make a simple room map: note exterior walls, areas behind large furniture, window surrounds, bathroom ceilings and places close to pipework. This small exercise helps establish whether the issue is isolated or recurring, and prevents time being spent repairing the wrong symptom.
Deal with damp and mould before making repairs
Where moisture is active, the priority is not primer or anti-fungal paint: it is finding the source. It may be rain penetration through the façade or roof, a failed joint, a plumbing leak, condensation in a cold corner or trapped steam from a bathroom. The wall needs to dry properly before it is covered with new materials.
The Directorate-General of Health recommends airing a home for at least ten minutes daily, as well as during activities that create moisture, such as cooking, laundry and bathing. Read the DGS general indoor-air recommendations for context on these routines and on precautions relating to paints, varnishes and DIY products.
For small, stable marks, clean according to the relevant product instructions and protect yourself from dust and splashes. For extensive areas, seriously degraded materials or stains that return, seek technical assessment. For a more detailed diagnosis, see our guide on how to diagnose leaks and damp.
Repair cracks, holes and hollow areas with the right material
Once the substrate is stable, remove anything that is poorly bonded with a scraper. Do not try to hide peeling paint with filler: the new layer will still depend on a weak base. Vacuum the dust and assess the depth of each defect before applying any repair product.
Small plug holes, scratches and fine imperfections can usually be filled with repair compound in thin layers. Cracks that reopen, diagonal cracks, hollow-sounding areas or larger detachments deserve closer attention. A crack is not automatically structural, but it should not be treated as a purely decorative problem when it changes in size or appears alongside doors and windows that stop operating properly.
- Open fine cracks slightly only when needed to remove loose material.
- Use a filler suitable for the thickness being repaired and follow its drying time.
- Avoid overly thick applications, which can shrink and delay the work.
- Sand between coats only enough to level the repair without wearing away the surrounding wall.
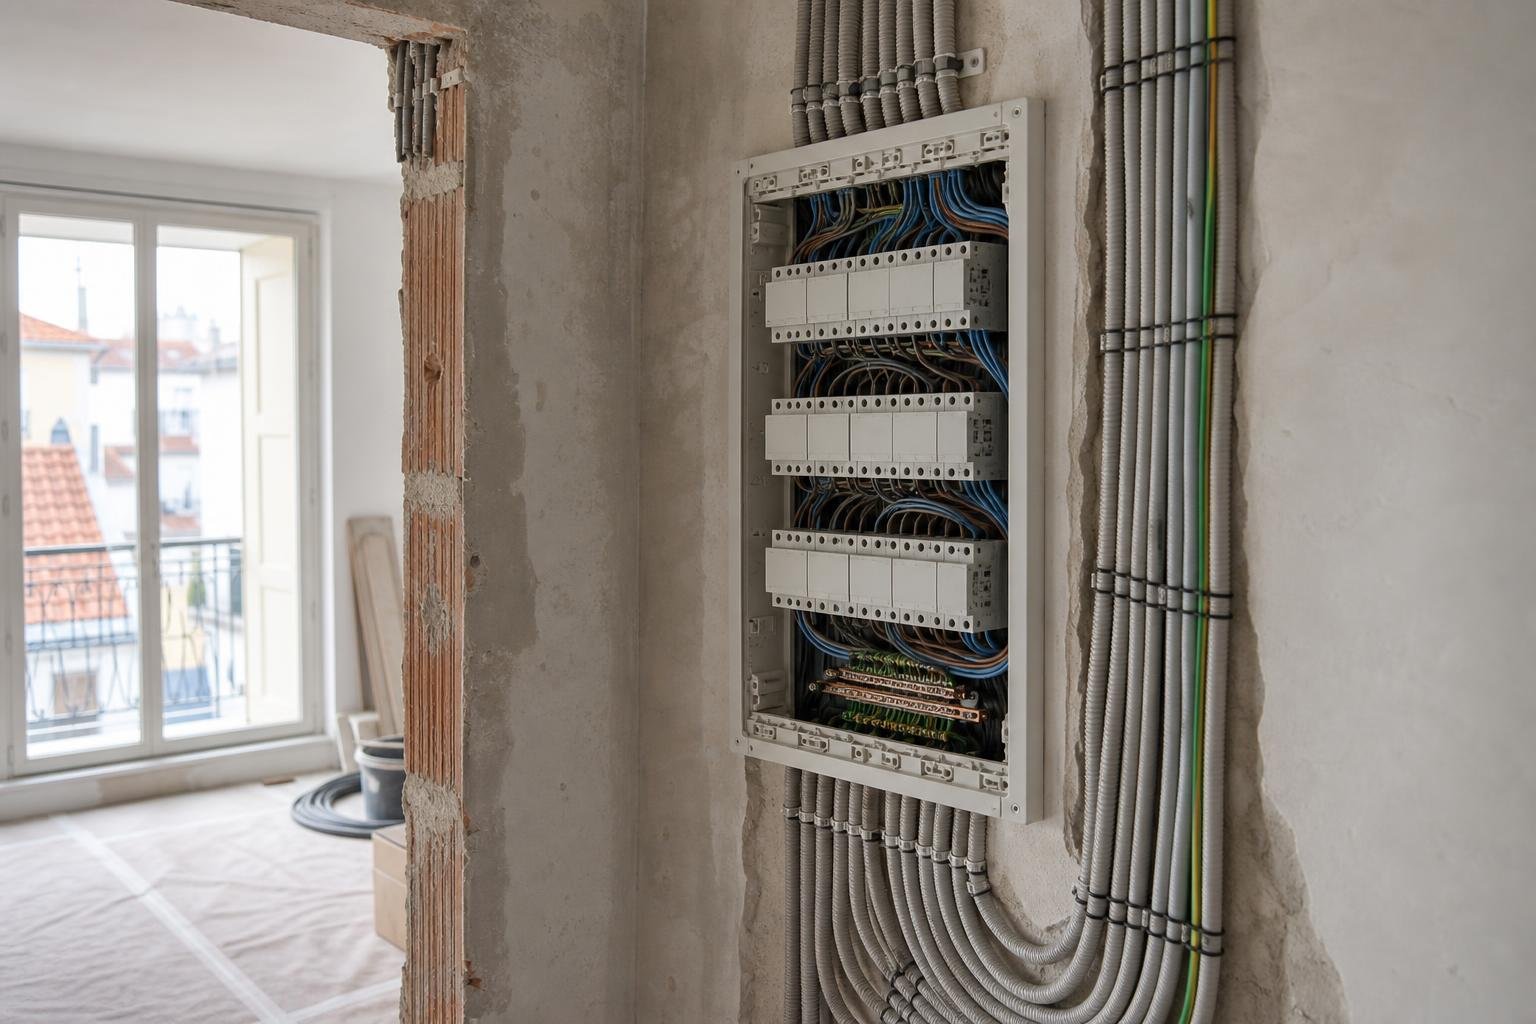
During larger renovations, coordinate these repairs with sockets, switches and wall chases before closing the surface. Our article on planning sockets and switches before walls are closed explains why these choices should be made early.
Cleaning and sanding are not optional stages
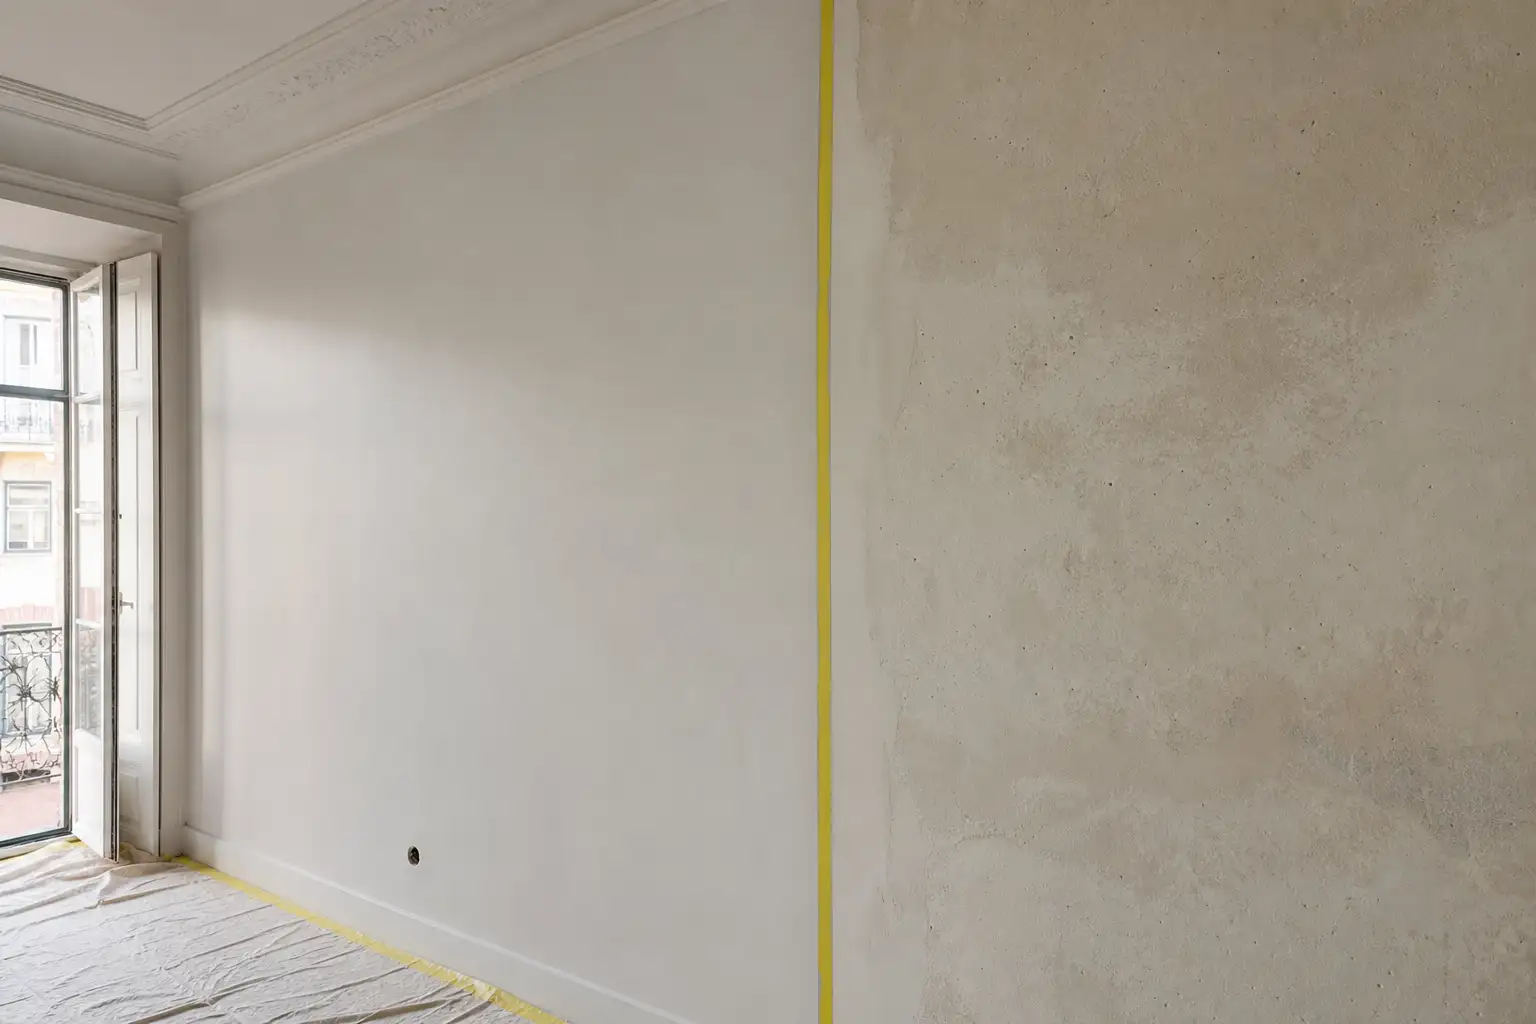
Even the best filler performs poorly over dust, grease or cleaning-product residue. Vacuum repaired areas first; then wipe the wall with a lightly damp cloth and allow it to dry fully. In kitchens, heavily used corridors or walls near fireplaces, degreasing with a suitable product that is compatible with the final paint may be essential.
Sanding has two purposes: levelling repairs and creating an even surface for paint adhesion. Select a grit appropriate to the wall condition and work without excessive pressure. When the aim is only to soften a stable, already painted surface, light sanding is often enough. Where there are several loose coats, a highly glossy finish or uneven texture, the job may require localised removal and more careful preparation.
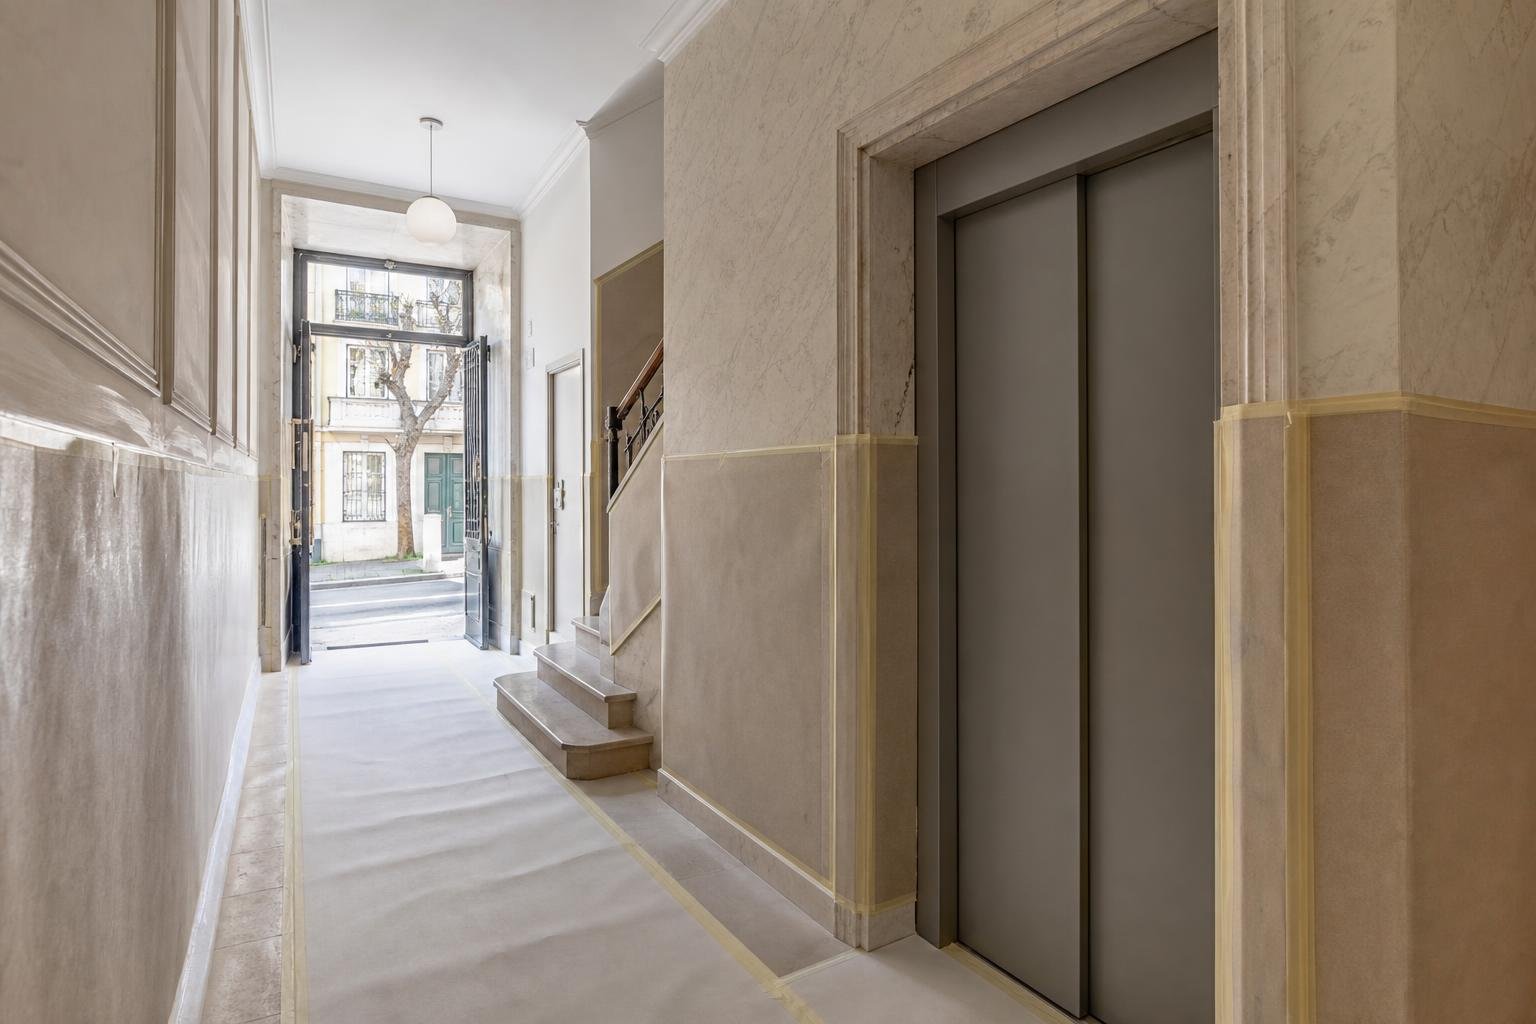
Protect floors, skirting boards, window frames, sockets and furniture before creating dust. Open windows when outdoor conditions allow, and plan the final clean before the first coat. A wall that looks smooth but remains covered in sanding dust can become patchy as soon as paint is applied.
When using a primer makes sense
Primer is not simply mandatory white paint for every wall. It is a bonding or balancing coat selected for the substrate and the intended finish. It is most useful on new and porous walls, repaired areas with filler, chalky surfaces once they have been consolidated, walls with strong variations in absorption, or when changing from a very dark colour to a very light one.
It can also help over an old stain that has been treated and fully dried, provided the product is compatible with the source of the mark. However, do not confuse a stain-blocking primer with a damp repair: no coating can solve water ingress or persistent condensation by itself.
Always read the technical data sheet for the chosen system. Check the recommended substrate, drying time, compatibility between primer and final paint, number of coats and application conditions. DGS guidance advises reducing exposure to emissions from surface-treatment materials and following the recommended procedures for paints and varnishes; ventilate well and avoid using a room immediately after work involving strong odours.
Plan the application and check the finish in real light
Before buying materials, measure the walls, deducting significant openings, and allow extra for absorption, cutting in and touch-ups. Choose the finish for the way the room is used: a more washable paint can be useful in corridors and children’s areas, while a very glossy sheen tends to reveal unevenness and surface flaws. Test a sample in an unobtrusive area and view it in morning light, afternoon light and artificial light.
Between coats, follow the manufacturer’s stated drying time; forcing the process with excessive heat can compromise the finish. Inspect the wall from the side after the final coat: this is where roller marks, lap lines, poor coverage and badly levelled repairs become visible. If the room is part of a wider renovation, complement this stage with the practices explained in our guide to professional wall and ceiling painting.
In Lisbon, internal conservation or alteration work that does not affect structural stability, façades, roofs or other controlled elements may fall within a simpler framework. Nevertheless, confirm the specific circumstances, especially for protected buildings or where public-space occupation is involved. The municipality explains these situations in its information on works exempt from prior control and public-space occupation.
A good paint finish depends on colour, but above all on the wall beneath it. If your home needs coordinated diagnosis, repairs and finishing as part of a Lisbon renovation, Obra Lisboa can help plan every stage clearly.
AI-generated editorial image; it does not depict an Obra Lisboa project.

Obra Lisboa