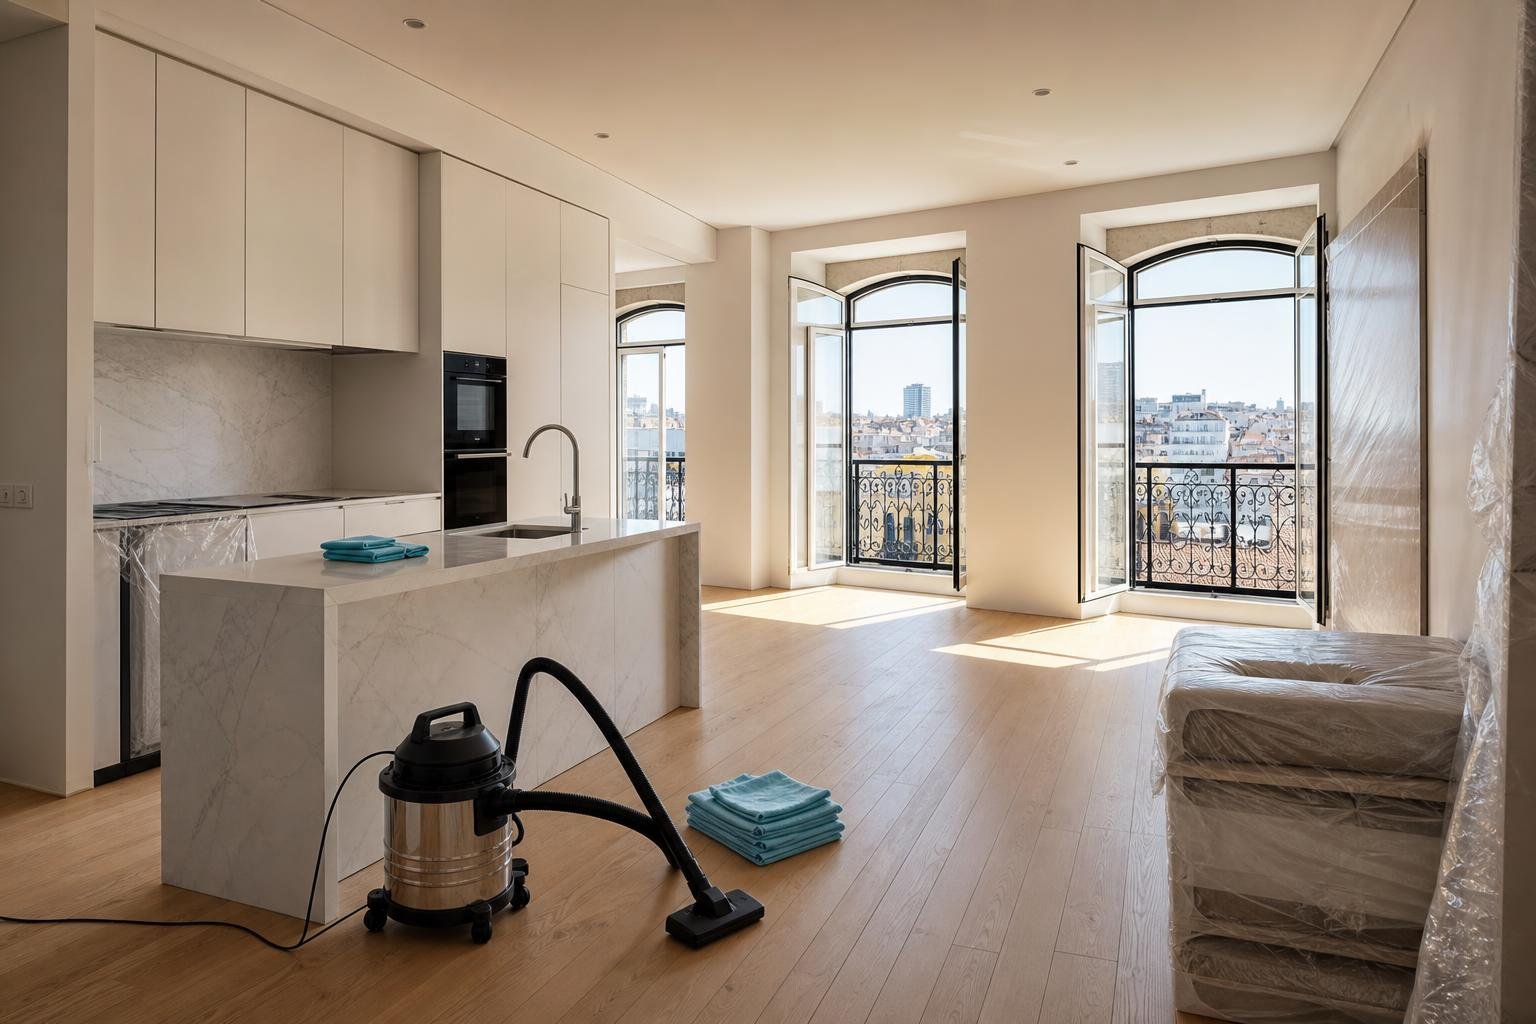
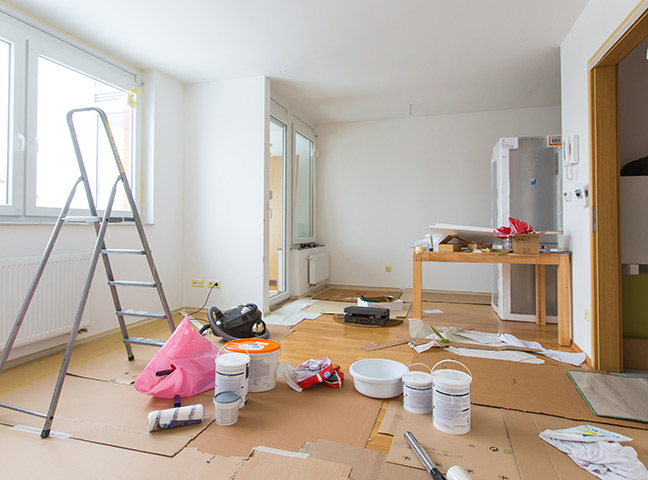
In an apartment renovation, a finished floor can be damaged in a single day. A dragged ladder, a bucket of dirty water, a trolley with hard wheels or an incorrectly supported board can scratch timber, chip tile or mark vinyl. The cost is not limited to repair work: damage can delay handover, create disputes over responsibility, generate more dust and force already-completed work to be repeated.
Temporary floor protection is not a decorative finishing detail to add at the end. It is a planning decision that must follow the work sequence, access routes, material deliveries and trades still due on site. As with quality and durability in construction, the final result depends on preparing the surface, setting clear rules and checking the work throughout the project.
This guide explains how to select and install protection without trapping moisture, leaving adhesive marks, creating trip hazards or relying on a false sense of security.
Identify the floor finish and the actual risks first
There is no one-size-fits-all protective covering. Before buying rolls or boards, identify the finish, its age, the condition of joints and the work still to take place. Lacquered timber, oiled timber, natural stone, polished tile, microcement and vinyl react differently to water, abrasion and adhesive tapes. A recently installed floor may still be curing; covering it too soon can retain moisture or leave visible marks.
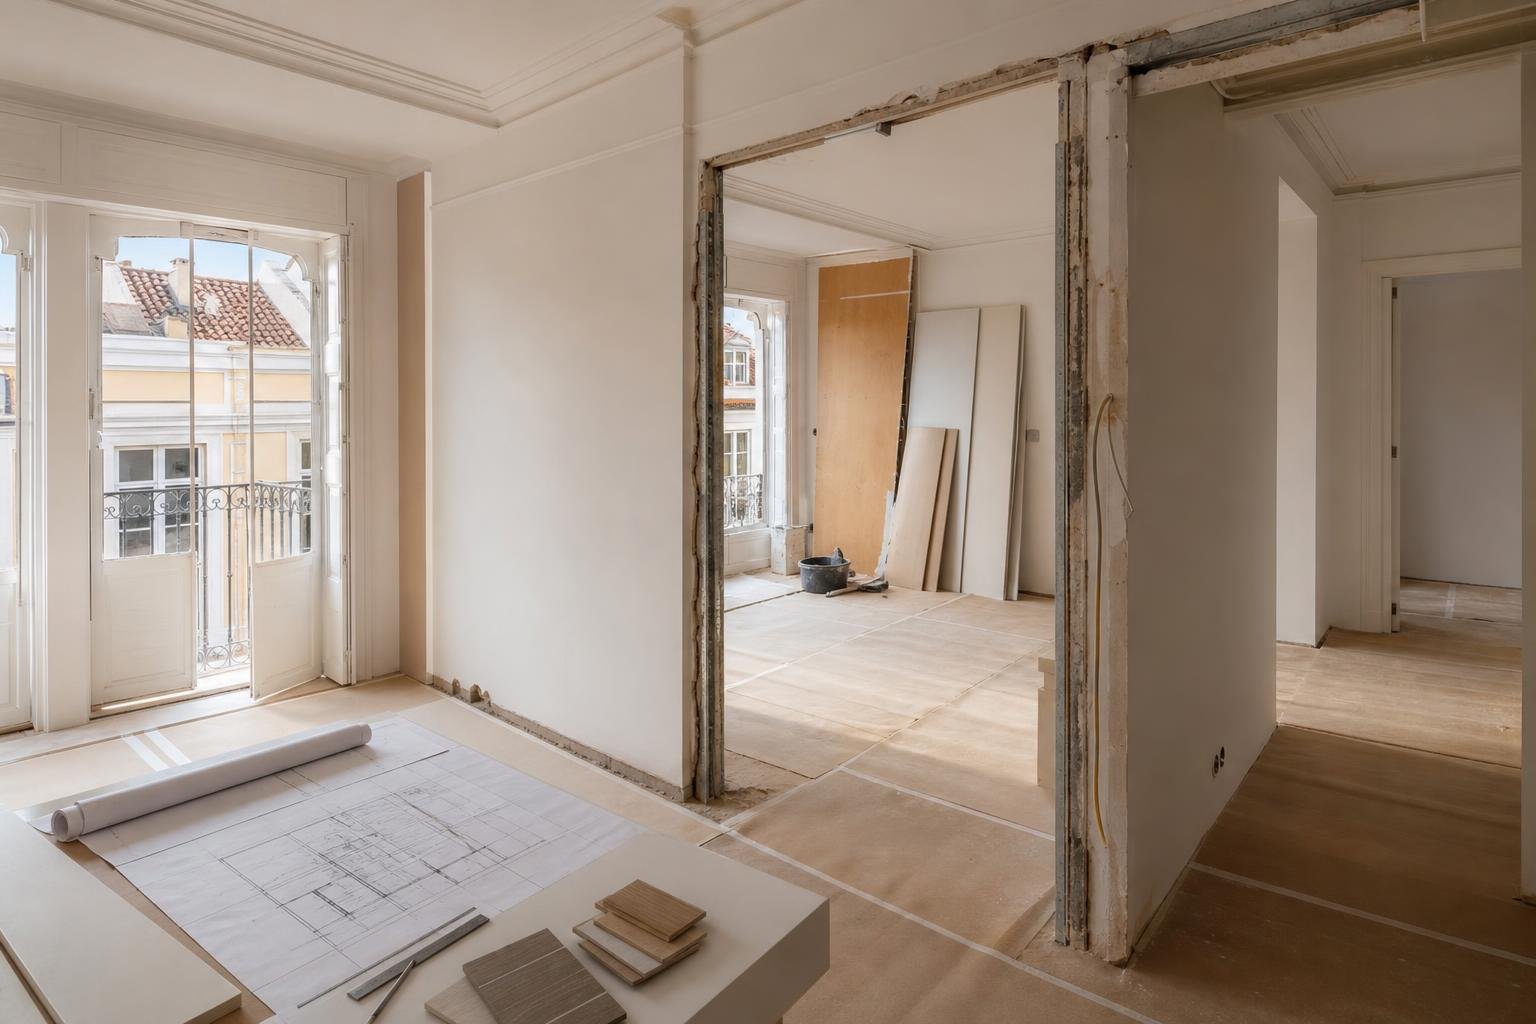
Create a simple site map: entrance, carrying route, cutting area, mixing area, ladder positions and the route to the bathroom or balcony. Damage usually happens along these paths rather than in the middle of rooms. Photograph the floor before protection is installed and record any existing defects. This gives all trades and the client a shared starting point, particularly when several teams enter at different times.
Protection should answer a specific risk. Fine dust requires continuous, sealed coverage; tools and falling objects require impact resistance; wet work needs a compatible barrier and close monitoring. Never assume that a thin plastic film is enough for every situation.
Choose a layered system instead of the cheapest covering
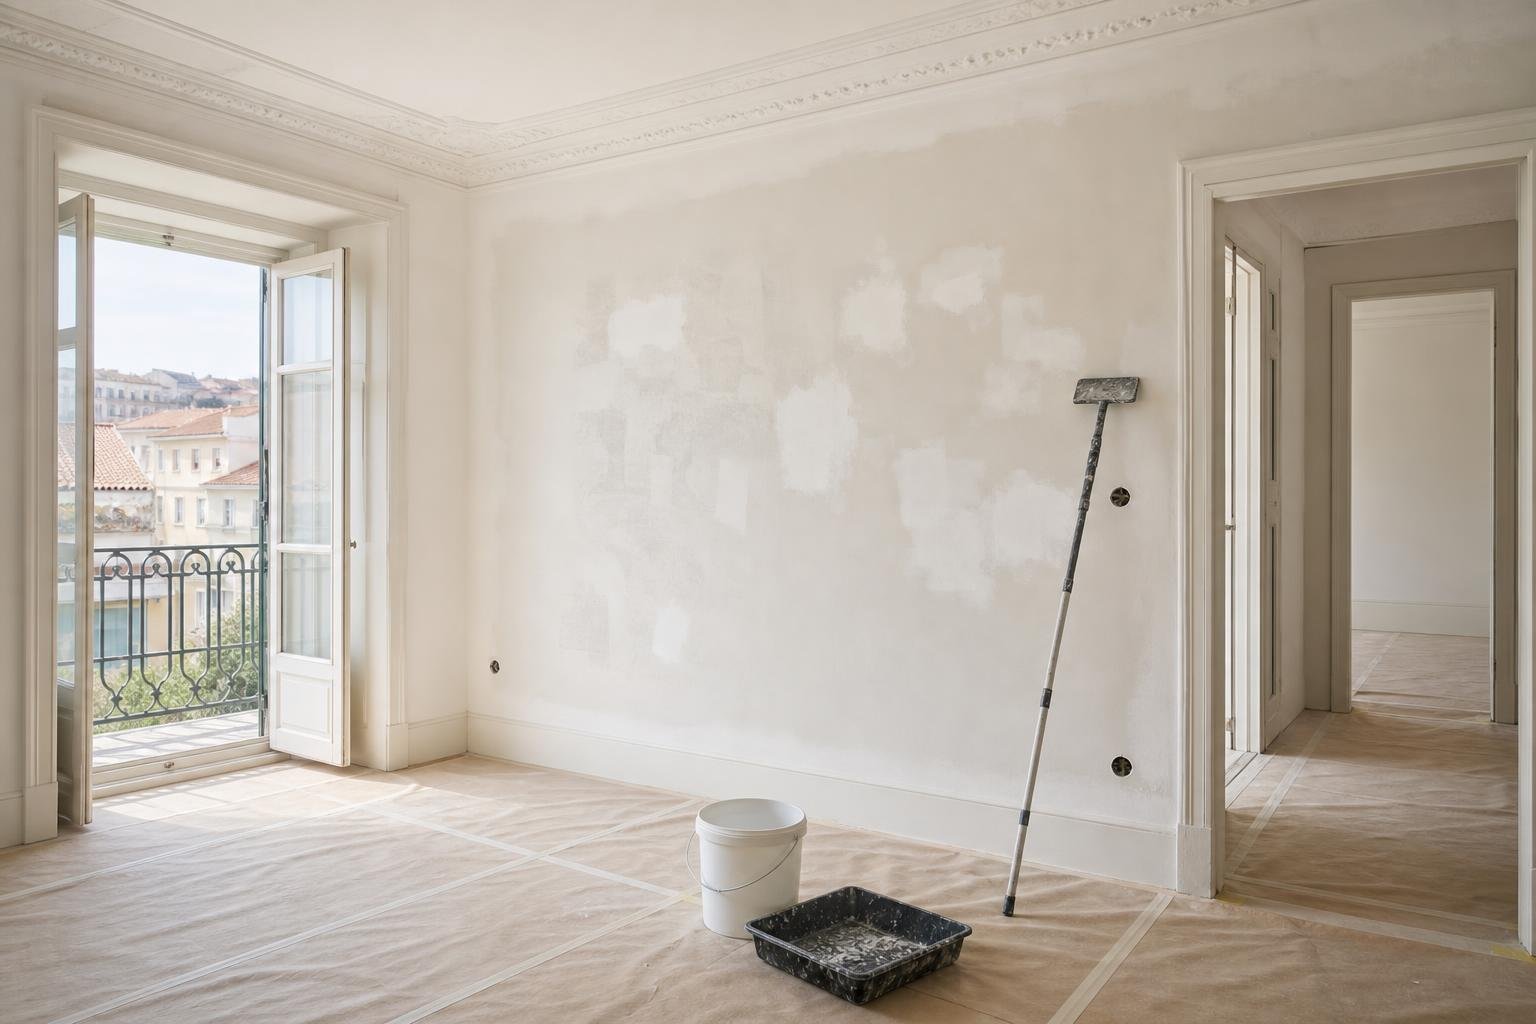
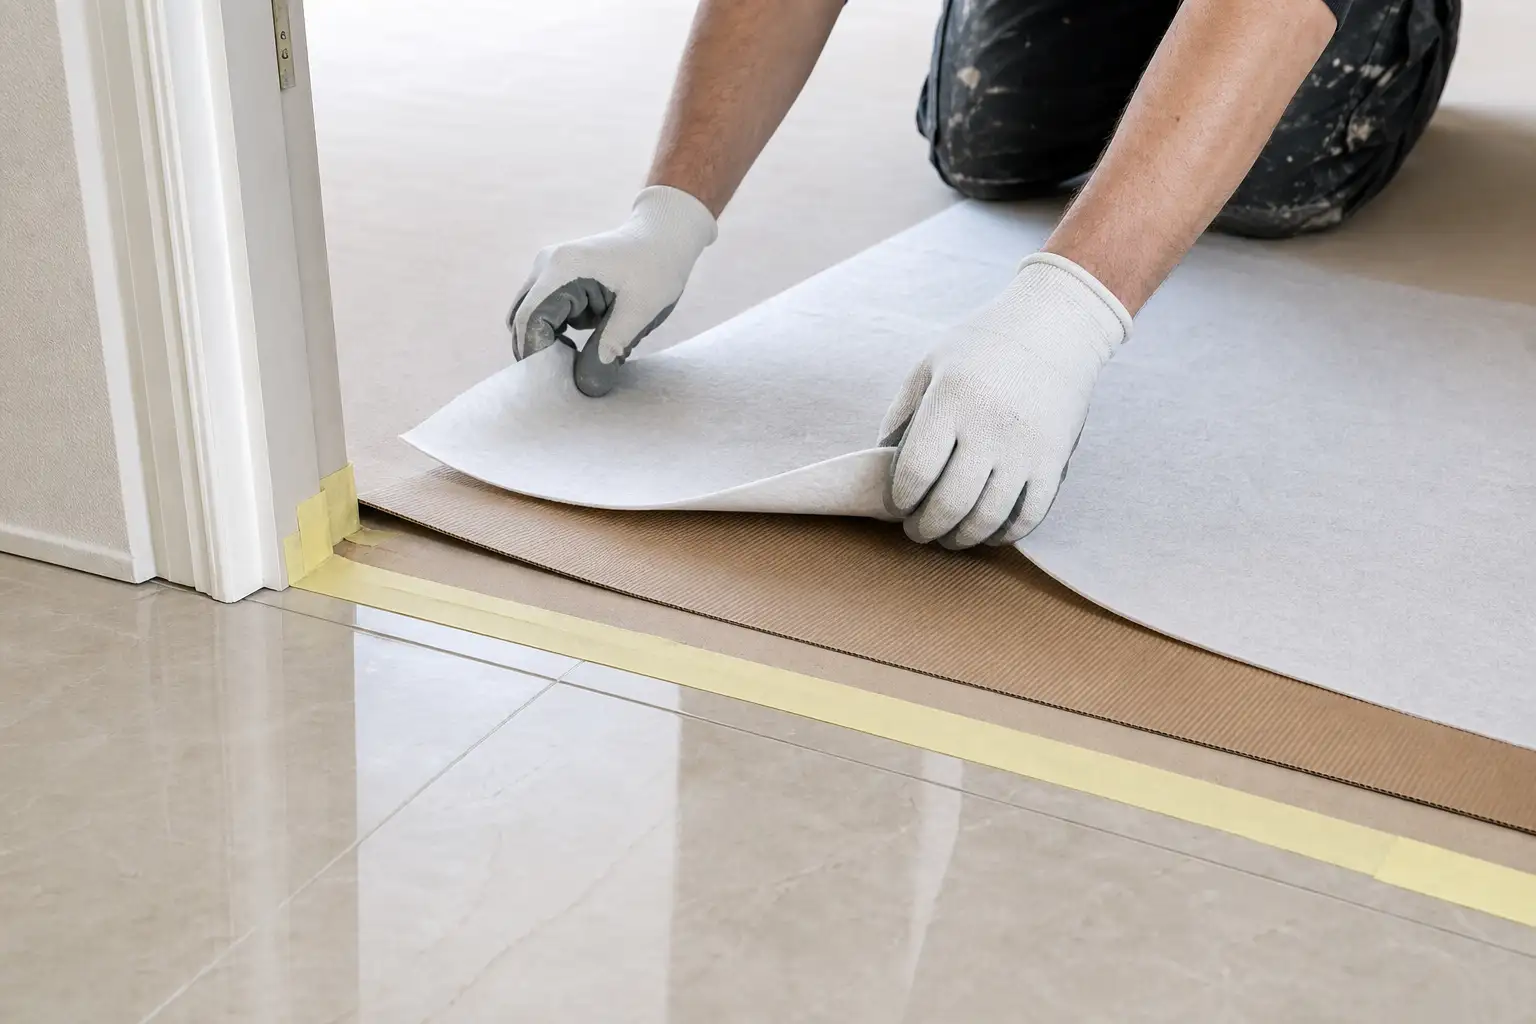
In many renovations, a layered system performs best. A breathable protective fleece can reduce abrasion and cushion small particles; heavy corrugated board or purpose-made boards above it help spread the load from ladders, boxes and trolleys. In high-traffic routes, rigid protective panels, joined securely and without raised edges, provide better resistance to impact.
Waterproof plastic is useful where there is a short-term risk of splashes, but it should not automatically be laid over timber or moisture-sensitive finishes. Trapped water, condensation or a generally damp site can turn protection into the source of damage. Absorbent cardboard should not be exposed to mortar, paint or water either: once softened, it loses strength, transfers dirt and becomes an obstacle.
Tape requires equal care. Use low-tack tape suited to the substrate and, wherever possible, apply it to the protective layer rather than straight onto the finished surface. Test it in an inconspicuous location and do not leave it in place longer than the manufacturer advises. For finishing-stage coordination, see our guide to preparing interior walls before painting; orderly sequencing reduces splashes and rework.
Get the sequence right: protect after acceptance, before heavy traffic
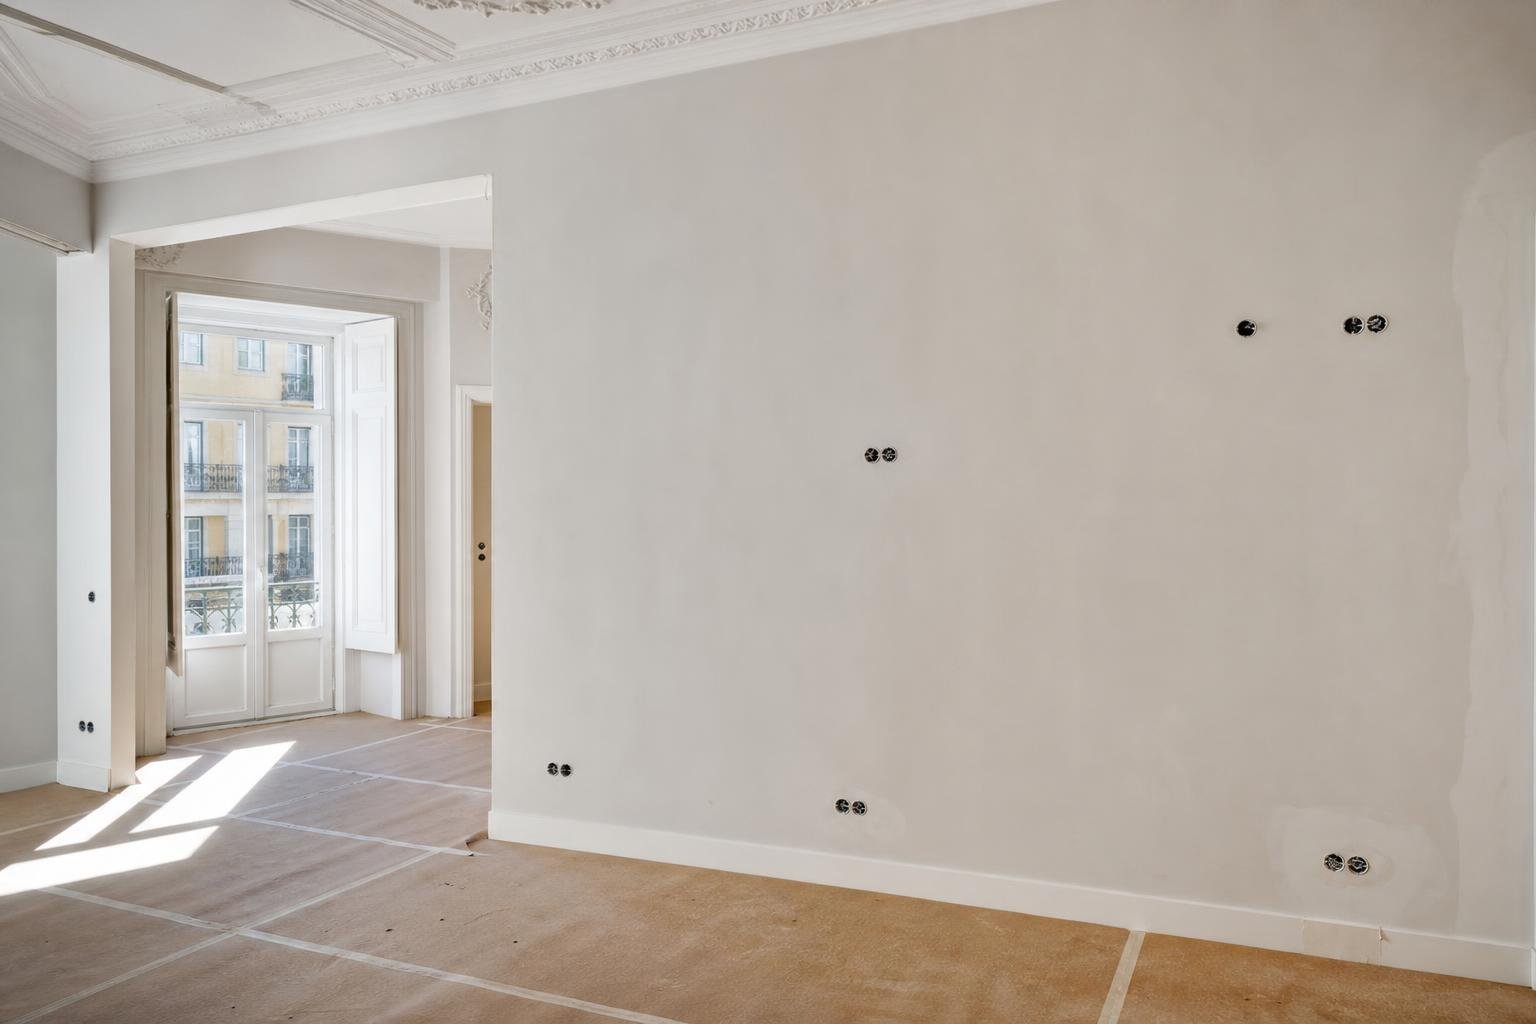
The working rule is straightforward: the floor should be sufficiently cured, clean and accepted before it is covered; protection should go down before intensive traffic from later trades begins. That means coordinating floor installers, carpenters, painters, electricians and kitchen fitters. Installing protection too late exposes the finish unnecessarily. Installing it too early can interrupt curing or conceal defects that should have been corrected first.
Before covering, vacuum thoroughly and confirm that no sand, screws, metal shavings or dried filler remains. A single particle trapped beneath board and repeatedly walked over can scratch a whole surface. Carry out a visual acceptance check in natural daylight and, where possible, with raking light, which reveals scratches and unevenness.
Where work involves structural changes, façades, shared areas or street occupation, site logistics should be checked before work begins. Lisbon’s guidance on prior communication for building works explains that certain procedures require projects, execution documents and identified responsible professionals. Floor protection does not replace those duties, but it is part of the execution discipline that prevents avoidable damage and last-minute improvisation.
Protect doorways, corners, lifts and delivery routes
A properly covered floor can still be at risk if a load strikes a door frame, a trolley turns over a lifted edge or dirty wheels enter the property. Establish one clear route from the entrance to the work area and protect changes in level, thresholds, wall corners and doors. Where boards meet, tape the upper face so that there is no dangerous ridge. Do not leave loose edges that can cause trips or catch trolley wheels.
Create a receiving area for materials away from completed surfaces. Whenever possible, unload, unpack and cut materials in a separate location. Boxes of screws, metal profiles and tools need their own support; they should not be placed directly on lightweight protection. Ladders and mobile access equipment need clean, stable feet and support appropriate to their load.
If the renovation needs skips, scaffolding, material storage or other equipment outside, check site organisation and the relevant permissions. Lisbon’s guidance on public-space occupation for works exempt from prior control notes that a licence or notification may be necessary and that the plan should address equipment, circulation and scheduling. Better external logistics mean fewer unnecessary journeys and less dirt carried inside.
Inspect daily and adjust protection as the work changes
Protection only works while it remains intact. Add a brief check at the start or end of every day: look for open joints, loose tape, wet board, crushed sections, accumulated debris and wheel marks. Replace a damaged area promptly. Waiting until final cleaning allows grit and dust to act like sandpaper for days.
Rules should also change with each stage of work. During painting, prioritise splash and dust control; during furniture installation, reinforce load points; before handover, remove heavy layers progressively so that the finish can be inspected. Removal should be slow, in dry conditions, with debris vacuumed between layers. Do not drag boards across the floor or pull tape off sharply.
Supervision and records make this routine more reliable. A daily list with photographs, protected areas and incidents helps establish whether a problem comes from the material, the method or site traffic. This is the kind of practical control discussed in our article on why construction supervision matters.
Avoid the mistakes that make protection fail
The most expensive mistakes are predictable: covering a dirty floor; sealing moisture-sensitive surfaces beneath plastic; applying aggressive tape directly to the finish; allowing water, filler or paint to penetrate joints; cutting and mixing materials on protected finished areas; and removing everything only on the final day, when there is no time left for repair.
Another mistake is treating protection as a task with no owner. One person or team should approve the start of coverage, explain routes, inspect damage and decide when protection must be reinforced or removed. It is also sensible to appoint properly qualified contractors and check their credentials. The IMPIC guidance on construction activity credentials outlines the qualifying documents used in the sector, including licences and certificates for private works.
Finally, do not hide defects. If there is a stain, crack, chip or scratch, photograph it, report it and assess the remedy before the work moves on. A careful handover is not one that never encounters an unexpected issue; it is one that finds issues early, protects good work already completed and keeps decisions clear until the end.
A well-organised renovation protects new finishes, but also protects the programme and budget. If you are planning work in Lisbon and want to define sequencing, access routes and quality control from the outset, speak with Obra Lisboa for a practical, rigorous assessment of your project.
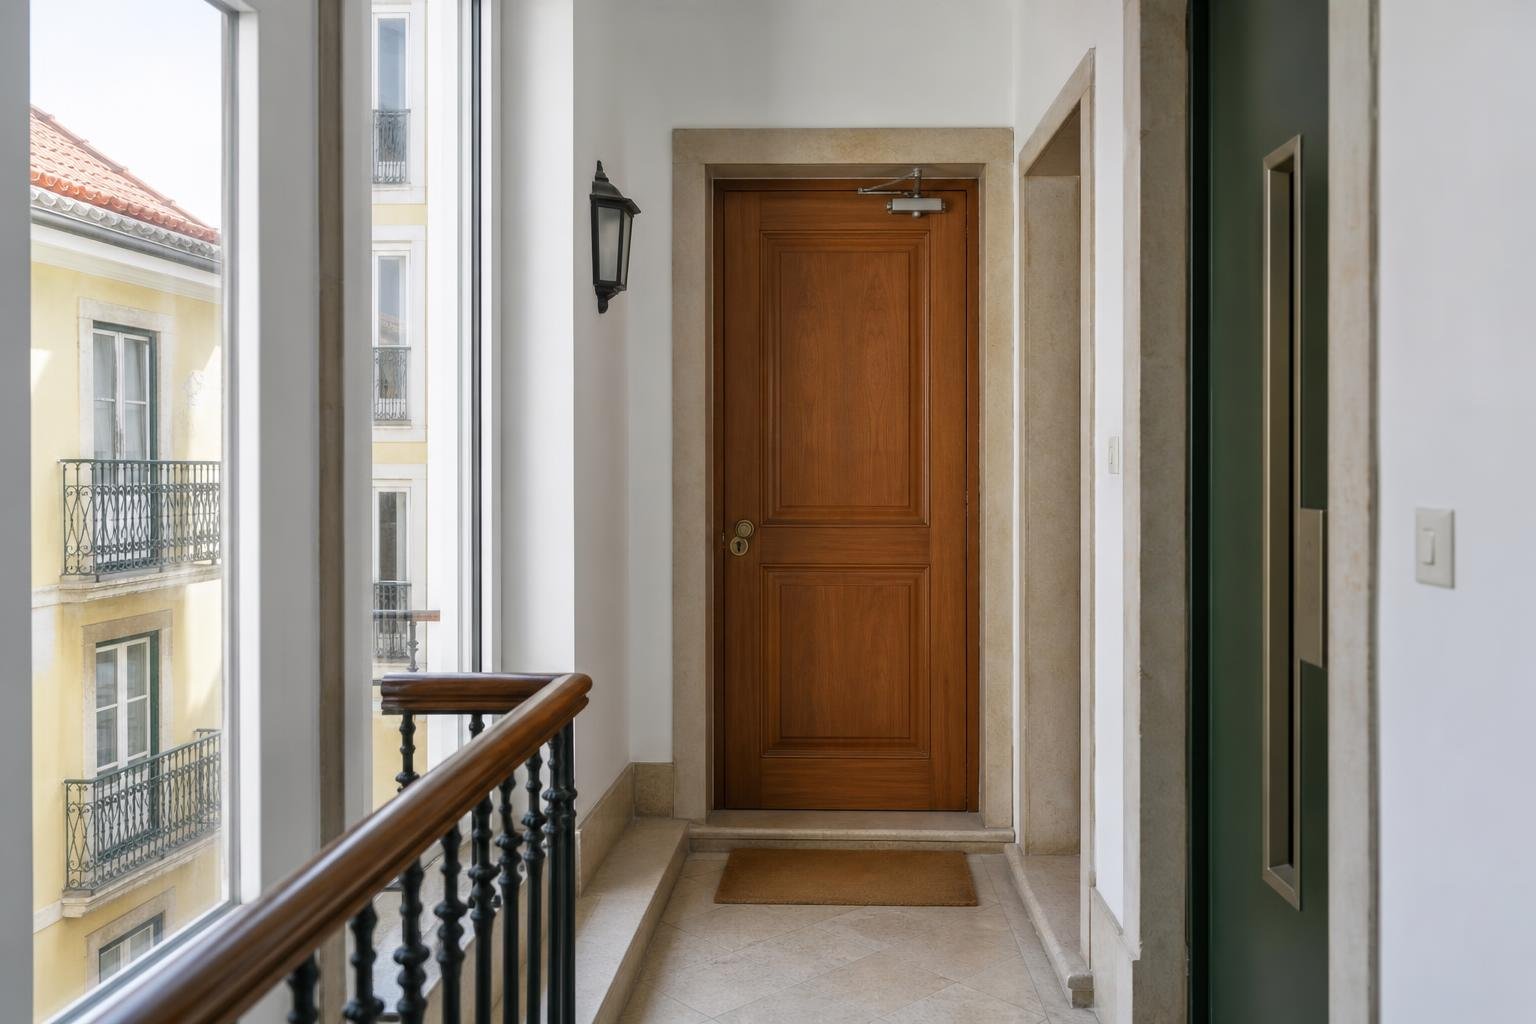
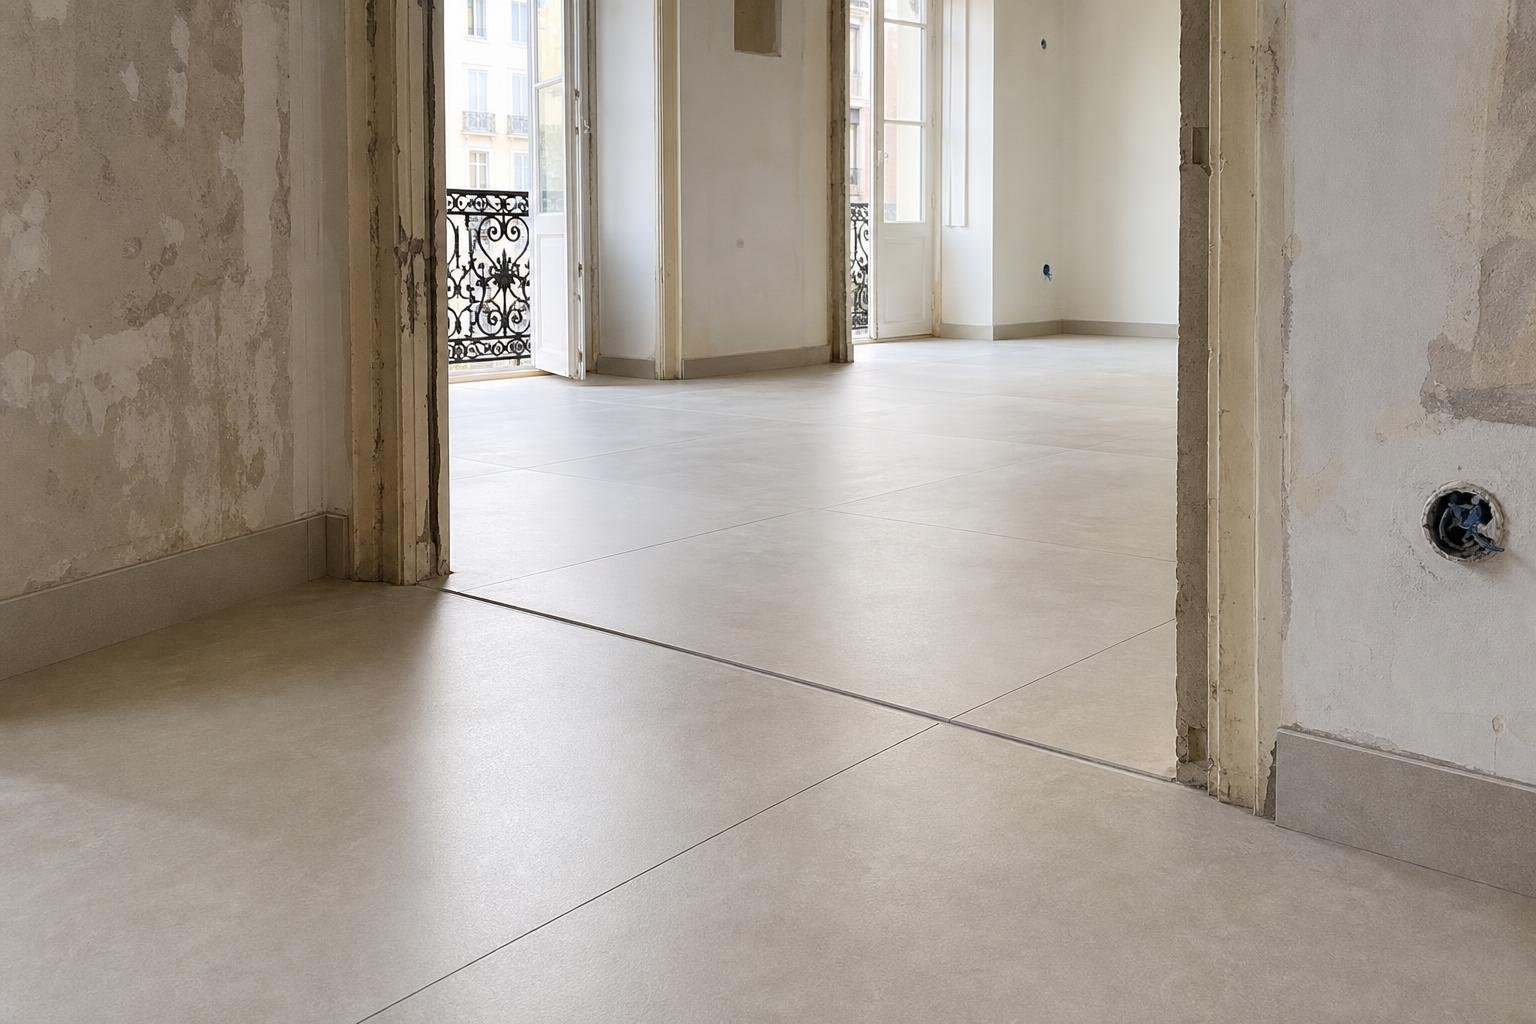
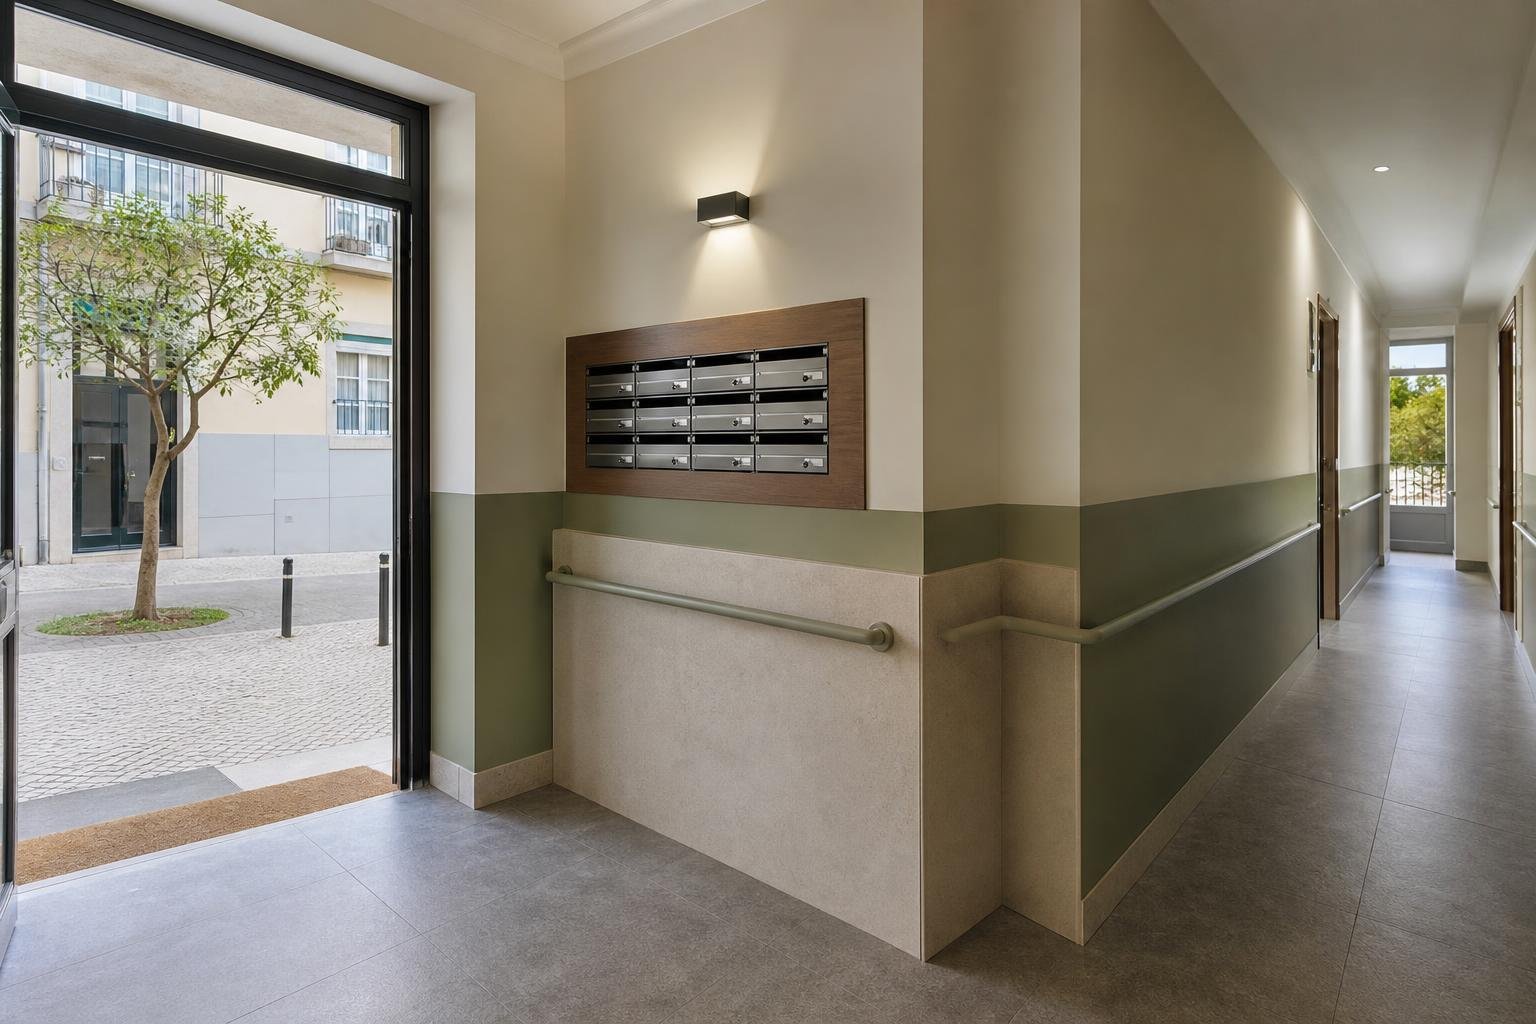
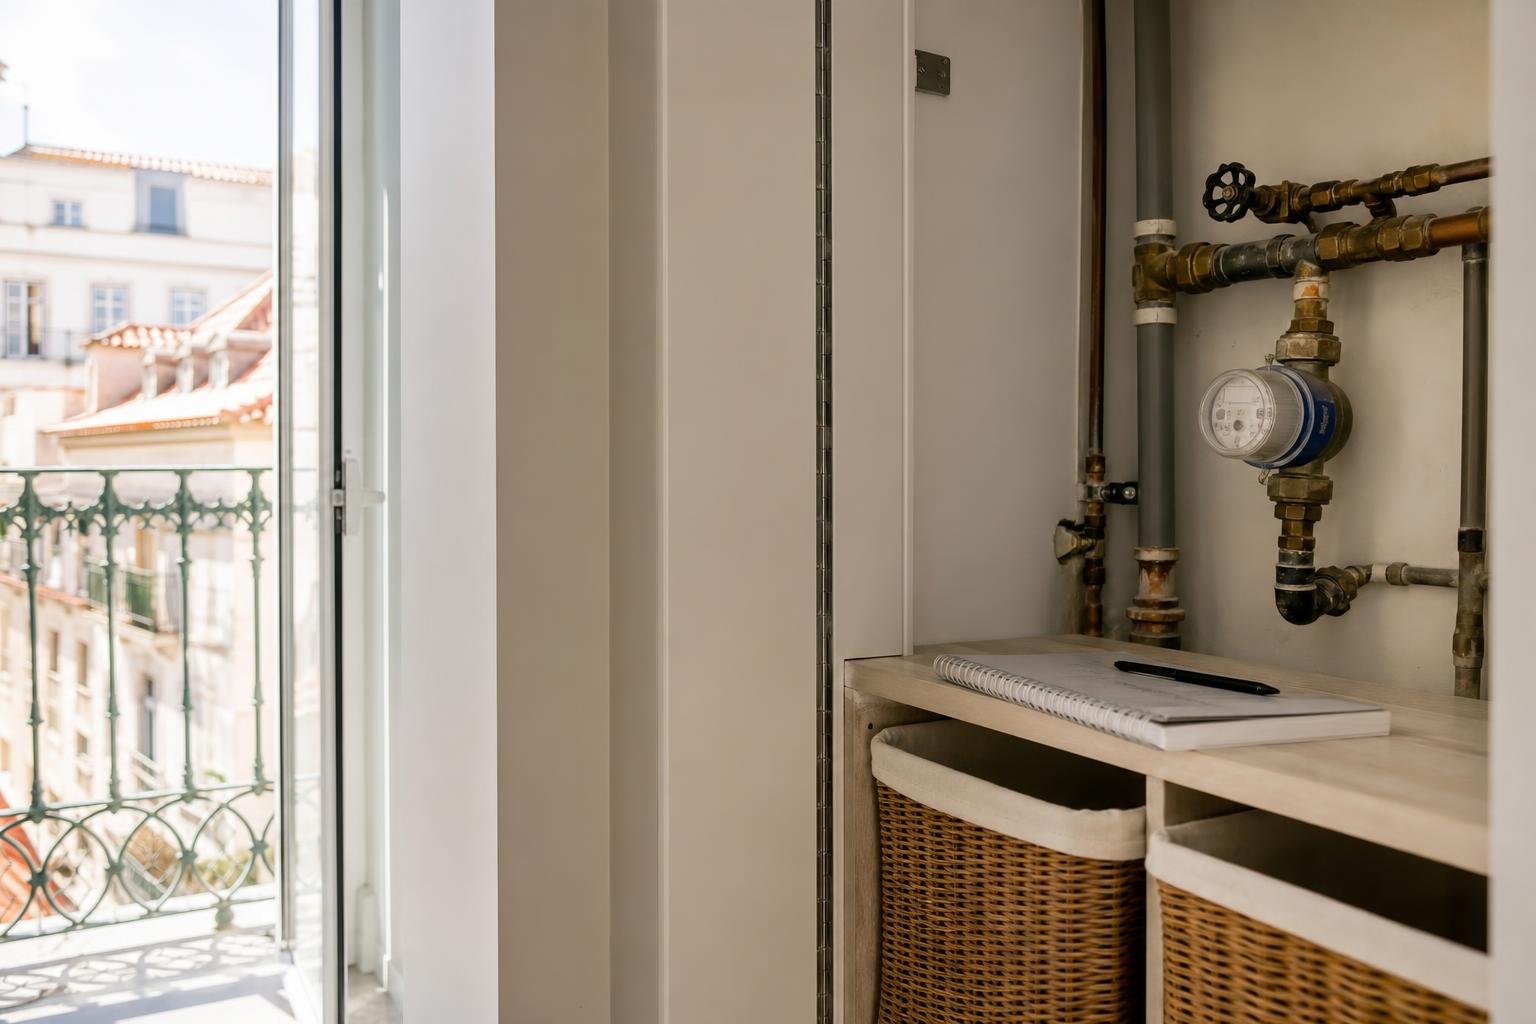
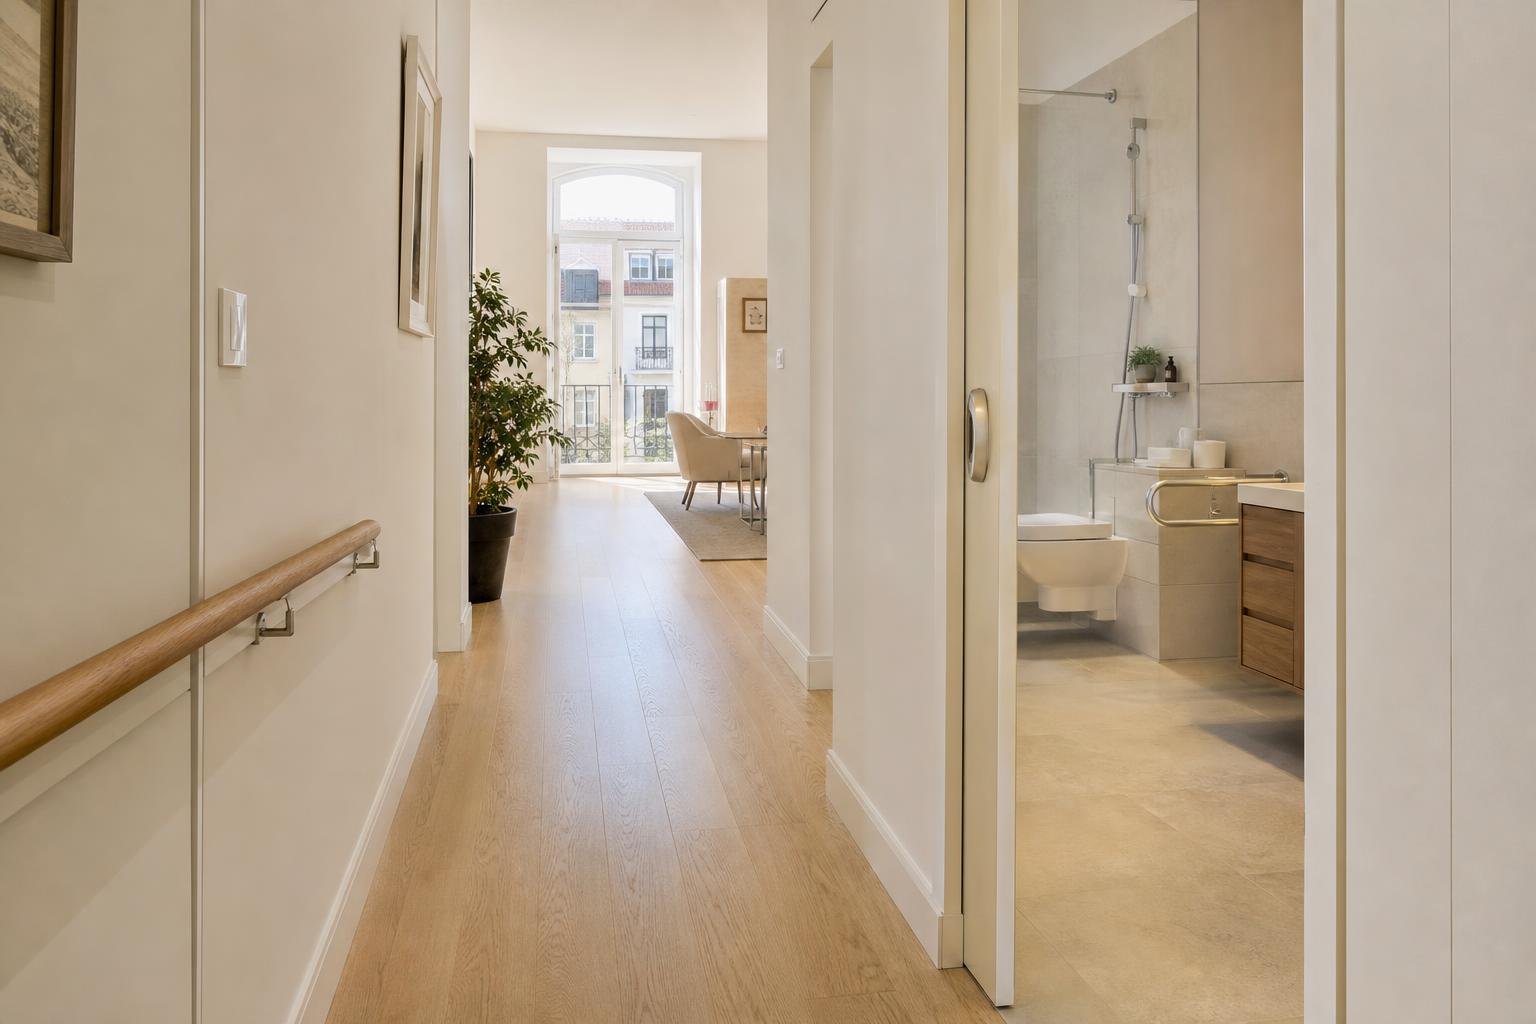
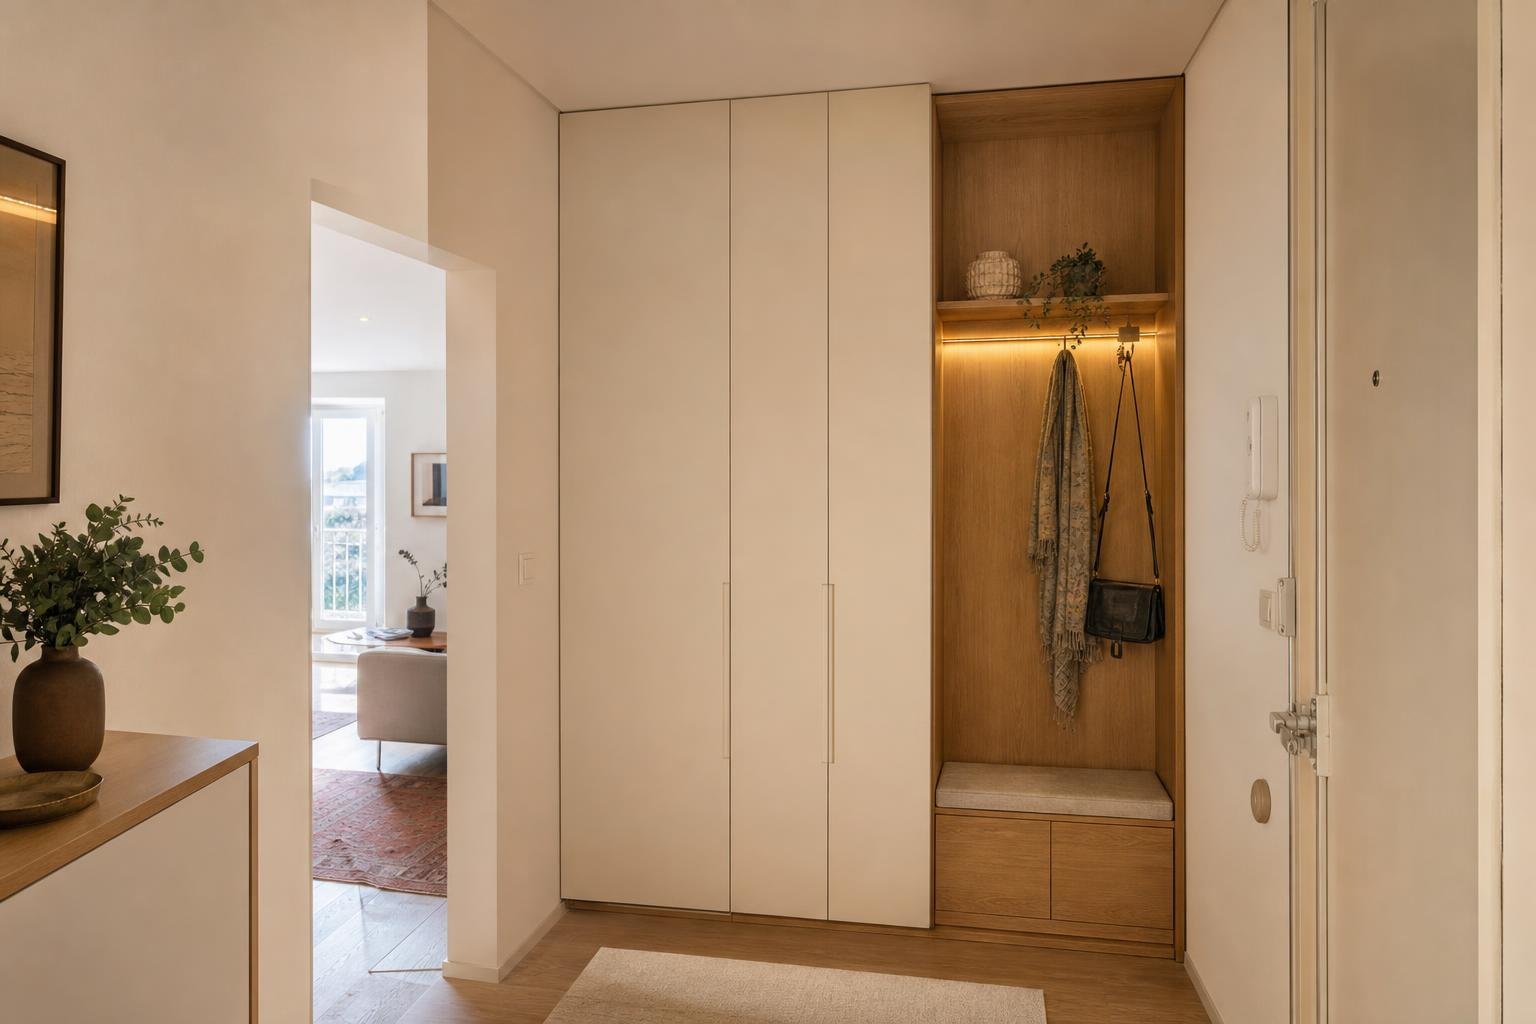
AI-generated editorial image; it does not depict an Obra Lisboa project.

Obra Lisboa