
Before a leak happens, you should know which valve shuts off water to the whole apartment and which ones isolate the kitchen, bathrooms and individual appliances. A simple map, a durable label and a controlled test can prevent a loose hose or failed tap from running unchecked for too long. It is also useful preparation before opening walls, replacing sanitary fittings or installing appliances. Technical rules require isolation valves wherever zoned shut-off is likely to be needed for maintenance, repair or replacement, as set out in this regulation published in Portugal’s official journal.
Contents
- First, tell the apartment valve apart from the building valve
- Survey each room without shutting anything off blindly
- How to test the main valve without creating an emergency
- Labels and a simple map that work under pressure
- What should remain accessible in a renovated kitchen or bathroom
- When to shut off water, avoid electricity and call for help
First, tell the apartment valve apart from the building valve
In an apartment, the valve you need in an emergency is often near the individual meter, in the floor’s utility cupboard, by the entrance, in a meter box or inside the flat itself. It shuts off the apartment’s internal supply; it is not necessarily the valve serving the whole building.
Do not force sealed valves, valves in public-street boxes or any identified as belonging to the water utility. Under water-supply regulations, the service-connection shut-off valve and certain items near the meter may be the utility’s responsibility, while keeping the private internal installation in working order is the owner’s responsibility. This distinction is explained in the water-supply service regulation.
- Apartment main valve: should stop cold water to taps, toilet cisterns and appliances in the flat.
- Zone valves: may isolate the kitchen, a bathroom or hot-water production.
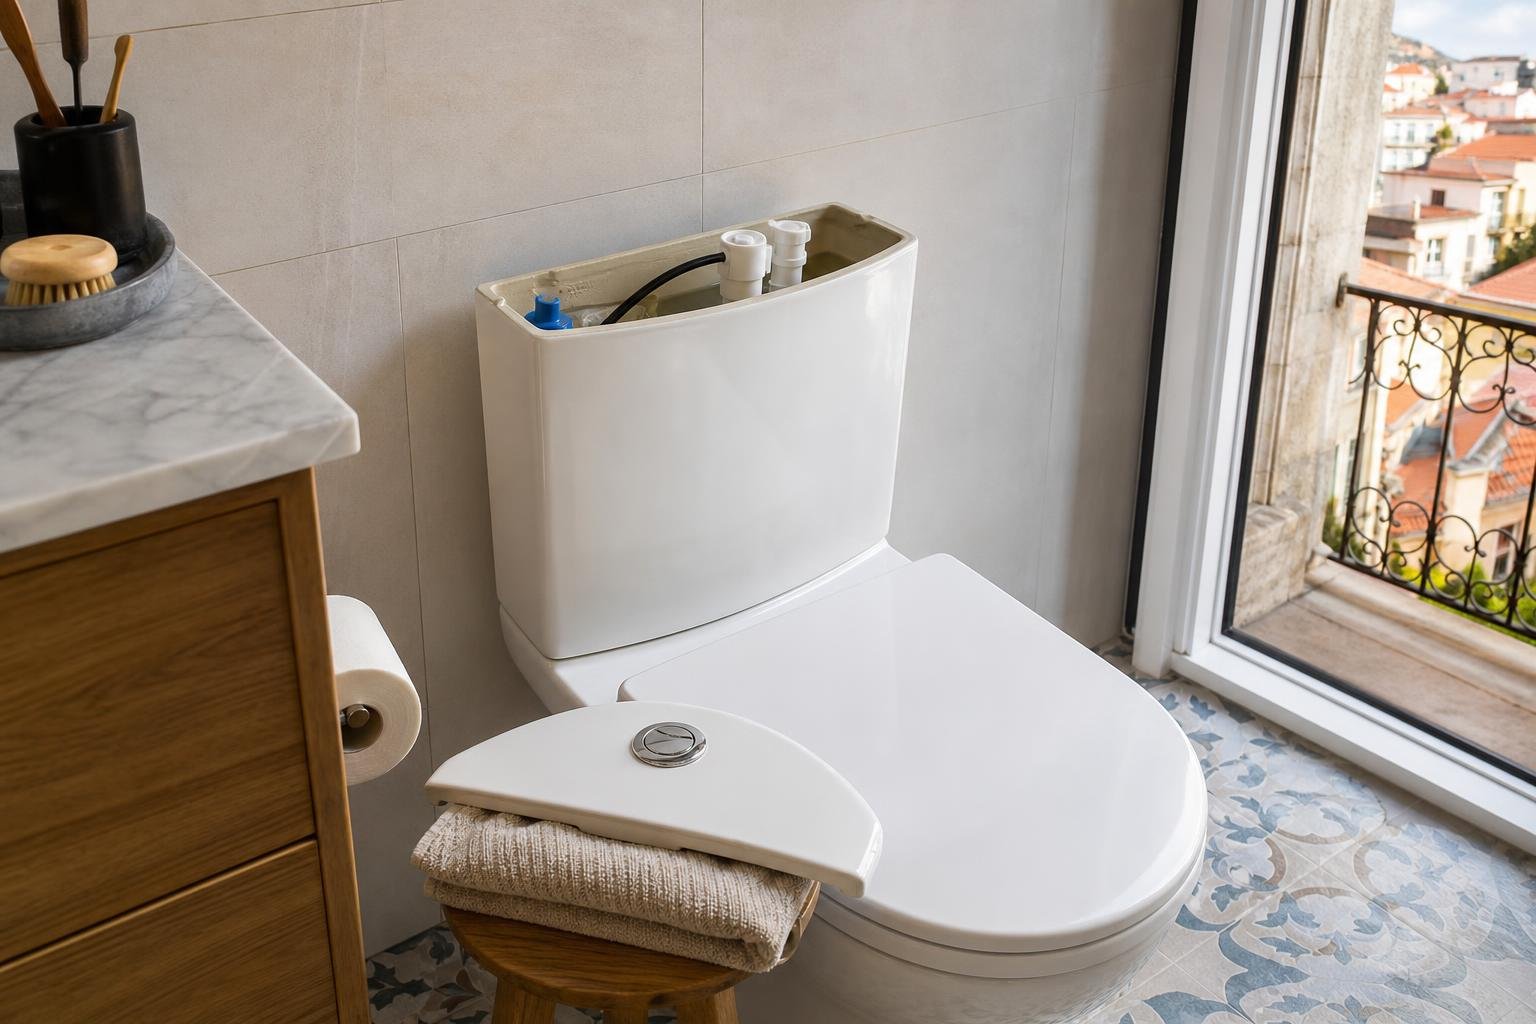
- Appliance valves: are commonly under the sink, behind the washing machine, beside the toilet cistern or near the hot-water cylinder.
In an older Lisbon building, do not assume the layout follows a neat logic. Look first without removing cabinetry or opening suspended ceilings. Photograph the location, note the floor and ask the condominium manager whether the utility box is a shared area.
Survey each room without shutting anything off blindly
Walk through the home with a sheet of paper or a phone note. List every point supplied with water: sink, dishwasher, washing machine, basin, shower, bidet, toilet cistern, fridge with a water connection, under-sink filter and water heater or cylinder, where present.
Then look for the nearest valve serving each item. An accessible valve beside the washing machine allows a hose to be replaced without cutting water to the entire home. In the kitchen, check that drawers, plinths and appliances will still leave room to turn the handle.
- Open a cold-water tap to confirm the supply is live.
- Close one local valve slowly.
- Check which outlets have stopped receiving water.
- Open the valve again and check that it does not drip.
- Record the result: “kitchen”, “washing machine”, “guest WC” or “main”.
Do not mistake an appliance shut-off tap for the main valve. If a hose beside the washing machine leaks, the local valve is the quickest response. If you cannot identify the source, use the apartment main valve first and investigate only once the flow has stopped.
To reduce the chance of repeat trouble at the toilet, it is also useful to know how to diagnose and repair a running cistern.
How to test the main valve without creating an emergency
Choose a time when nobody needs to shower, cook or run an appliance. Tell everyone at home and leave one tap open during the test. Turn the valve gently and slowly; do not use pliers, extensions or excessive force.
Once the water stops, wait a few minutes and check the main outlets again. A short residual flow is normal: it is water left in the pipes. The important point is confirming that no new water is entering.
If the valve is seized, corroded, hidden behind finishes or starts dripping when moved, stop. Do not try to free it with blows or sprays without understanding the condition of the installation. In apartments with ageing pipework, forceful operation can create a leak where there was none before. If renovation is planned, establish the material and condition of the system first; this guide to old lead pipes helps frame that decision.
After the test, leave the valve fully open unless a professional has told you otherwise. A partly closed valve can reduce flow and make it harder to tell whether low pressure comes from a fault or from the valve itself.

Labels and a simple map that work under pressure
The best map is not a perfect technical drawing. It is the one another person can follow when water is already on the floor. Put a short label beside every valve without covering the direction of operation or moving parts. Use moisture-resistant material and avoid sticking labels onto hot pipes or dirty surfaces.
- At the main valve: “APARTMENT MAIN — shuts off cold water”.
- Under the sink: “kitchen” and, where relevant, “dishwasher”.
- By the washing machine: “washing machine”.
- In each bathroom: “cistern” or “basin” where the valves are separate.
Keep one overall photo and a close photo of each valve set. On the map, add the electrical panel location and the relevant contacts: condominium manager, landlord, plumber or maintenance provider. During a renovation, give this information to the team at the start and update it if appliances or pipe routes change.
Where several trades are involved, set out in writing who can approve changes to pipework and who signs off the final tests. It is a straightforward way to avoid conflicting decisions between trades; see also who is responsible for each task in a renovation.
What should remain accessible in a renovated kitchen or bathroom
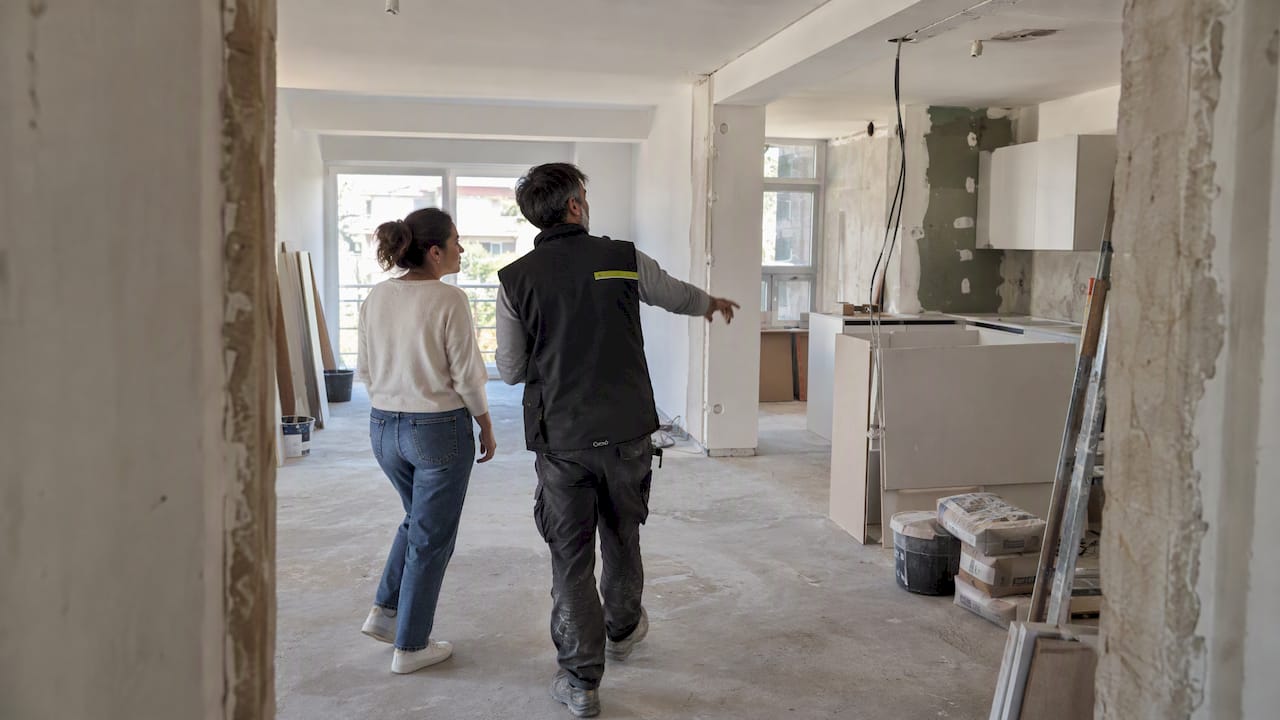
A renovation is the right time to correct arrangements that currently require removing panels, emptying cupboards or pulling out an appliance simply to stop the water. The practical rule is simple: anything likely to need operation, inspection or replacement should not be permanently buried.
Ask for appliance shut-off valves to remain reachable without specialist tools. Allow enough room to connect and disconnect hoses, spot early signs of damp and use an access solution compatible with the cabinet. In new installations, isolation valves allow zones to be shut down for maintenance, repair or replacement, a principle stated in the technical building rules.
Avoid three common mistakes:
- Closing valves inside boxes with no access panel.
- Positioning an appliance so tightly that nobody can reach its tap.
- Hiding a utility cupboard behind fixed furniture without allowing simple removal.
If the work includes new pipework, ask for photographs before walls and floors are closed. They do not replace a design or a proper test, but they can make future repairs far less intrusive.
When to shut off water, avoid electricity and call for help
Close the main valve when there is an active leak that cannot be isolated locally. If water is near sockets, extension leads, connected appliances or the electrical panel, do not touch the equipment or walk through an area with an electrical hazard. The Portuguese health authority advises against handling electrical appliances while water is standing inside a home.
Call a professional when the valve will not close, drips after being operated, the leak comes from a wall or ceiling, hot water is involved, the source is a shared building riser, or concealed pipework must be altered. In flooding involving outside water or sewage, protect yourself with suitable gloves and waterproof boots, avoid direct contact and do not begin dismantling electrical equipment.
Once the source is controlled, dry surfaces, ventilate and do not hide persistent damp behind furniture. The Portuguese health authority recommends daily ventilation and preventing water ingress and standing water, which can support mould and other indoor-air problems.
Your next step is modest: find the main valve this week, test it at a quiet time and leave a readable map in the utility cupboard or by the electrical panel.
Key takeaways
- Find the apartment main valve before you need it, and do not force valves belonging to the public network or shared building systems.
- Test each valve slowly with a tap open, then record exactly which area it isolates.
- During renovation, keep valves, joints and inspection access reachable without destructive dismantling.
- Where water is close to electricity, do not handle appliances: stop the water, stay clear of the risk area and call for help.
If your renovation will change a kitchen, bathroom or water pipework, add valve locations, maintenance access and a final installation map to the decision schedule. Obra Lisboa can incorporate these practical details into renovation planning before walls and cabinetry are closed.
Sources and further reading
- regulation published in Portugal’s official journal
- water-supply service regulation
- Portuguese health authority advises against handling electrical appliances while water is standing inside a home
- Portuguese health authority recommends daily ventilation and preventing water ingress and standing water
Editorial image; it does not depict an Obra Lisboa project.

Obra Lisboa