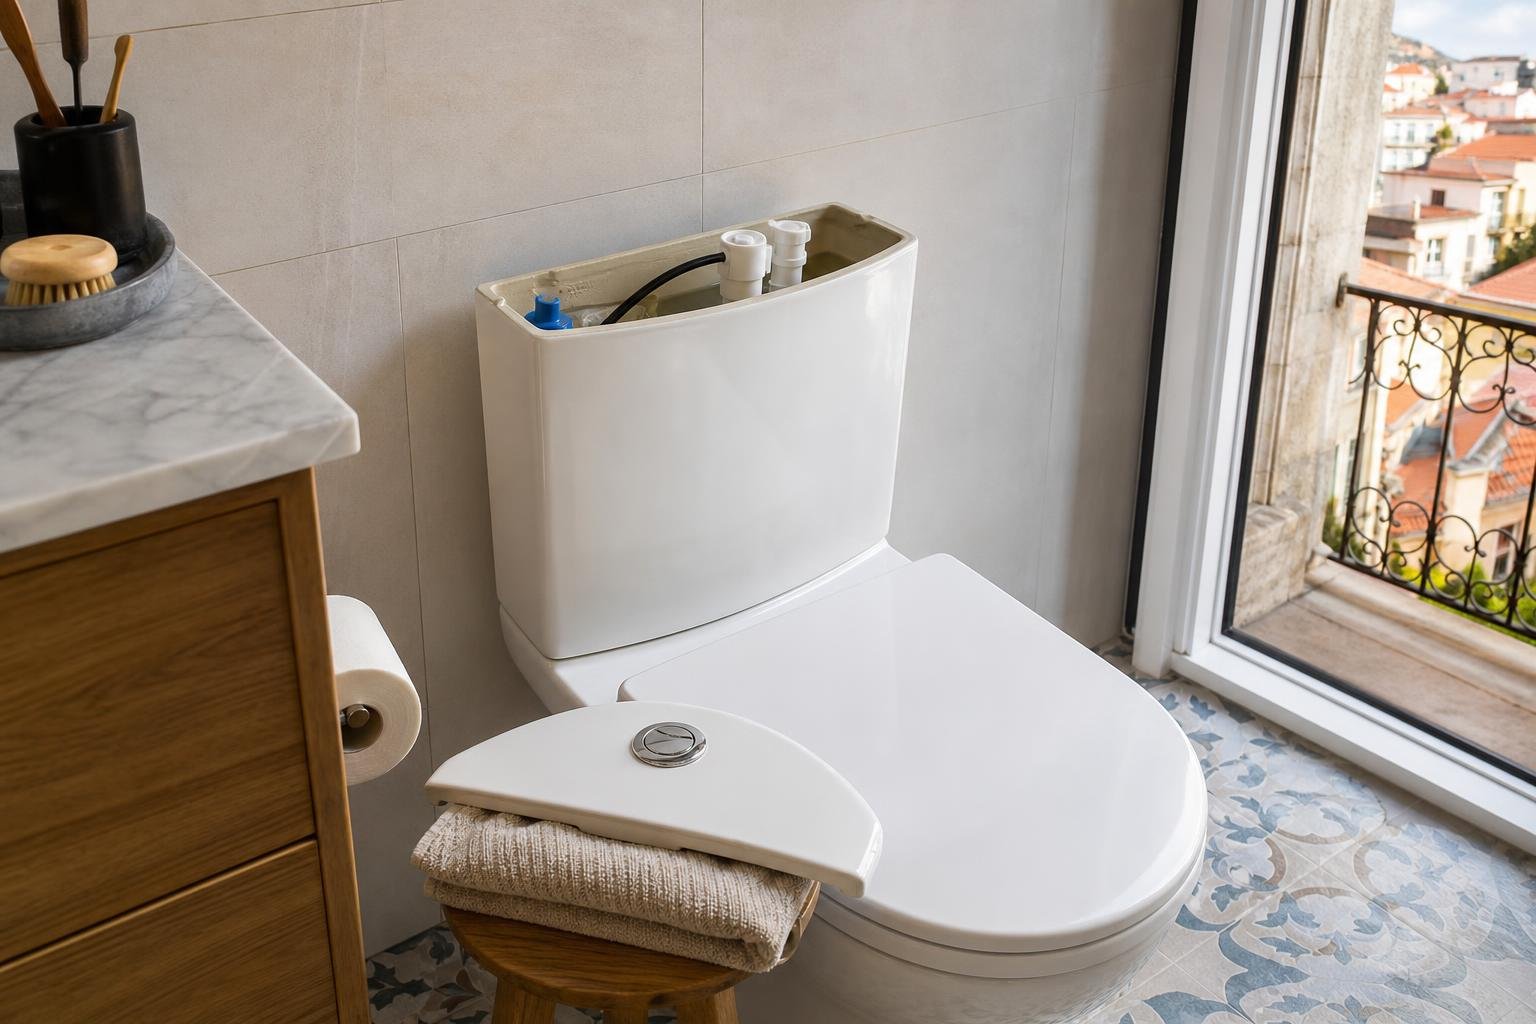
A toilet cistern that keeps sending water into the bowl can usually be traced to an overfilling inlet valve, a leaking flush seal or a sticking button. Start by closing the small isolation valve beside the toilet, lift the lid carefully and observe the mechanism before buying parts. A quiet leak can continue unnoticed for weeks, so the useful first decision is whether the problem is a simple adjustment, a worn seal or a fault in the water supply assembly.
Contents
- First, find out where the water is going
- Prepare the job without causing a leak
- Adjust the cistern water level
- Clean or replace the flush seal
- Set up dual flush properly instead of defeating it
- When to stop the DIY work and call a professional
First, find out where the water is going
Lift the cistern lid and wait for filling to finish. If water keeps entering and flows down the central overflow tube, the water level is too high or the inlet valve is failing to shut off. If the cistern looks still but there is a thin stream in the toilet bowl, the usual cause is the flush valve or its rubber seal.
Use a simple test: dry the bowl, add a few drops of food colouring to the cistern and do not flush. If colour appears in the bowl, water is passing through the flush assembly. Do not use harsh cleaning chemicals for this test, as they can damage rubber components and finishes.
- Water entering the overflow tube: check the float and inlet valve.
- Water in the bowl while the cistern is full: check the flush seal, valve seat and button.
- Short repeated refills: look for a slow loss through the flush valve.
Domestic water devices, including toilet cisterns, are part of the water-efficiency assessment covered by ADENE’s AQUA+ scheme, so a persistent leak is worth addressing before it becomes an invisible running cost. See ADENE’s guidance on water efficiency in buildings. For wider context on reducing waste at home, see this ADENE article on water efficiency and avoidable water losses.
| Sign | Likely cause | First action |
|---|---|---|
| Water keeps entering the central overflow tube | Water level too high or faulty inlet valve | Close the isolation valve and inspect the float |
| Thin stream in the bowl | Dirty, distorted or worn flush seal | Clean the valve seat and inspect the rubber seal |
| Button does not return properly | Misaligned button, rods or cable | Remove the lid and check the control travel |
| Cistern refills in short cycles | Slow loss through the flush valve | Carry out the food-colouring test |
Prepare the job without causing a leak
Before touching the mechanism, close the isolation valve. Flush to empty the cistern and keep a sponge or towel ready for the water left at the bottom. Take a photograph before dismantling anything: dual-flush buttons, cables, rods and flush towers vary between models.
- Do not force the lid: many buttons unscrew, while others release with clips.
- Look for a brand name or part reference moulded into the components.
- Measure the old seal or take it with you if a replacement is needed.
- Avoid undoing the inlet-water connection when the fault is clearly limited to the flush assembly.
In an older flat, an isolation valve that will not close or a corroded connection changes the safe limit of the task. If you find old pipework, damp around the wall or signs of lead plumbing, do not improvise; read how to confirm the risk from old lead pipes before renovation.
Adjust the cistern water level
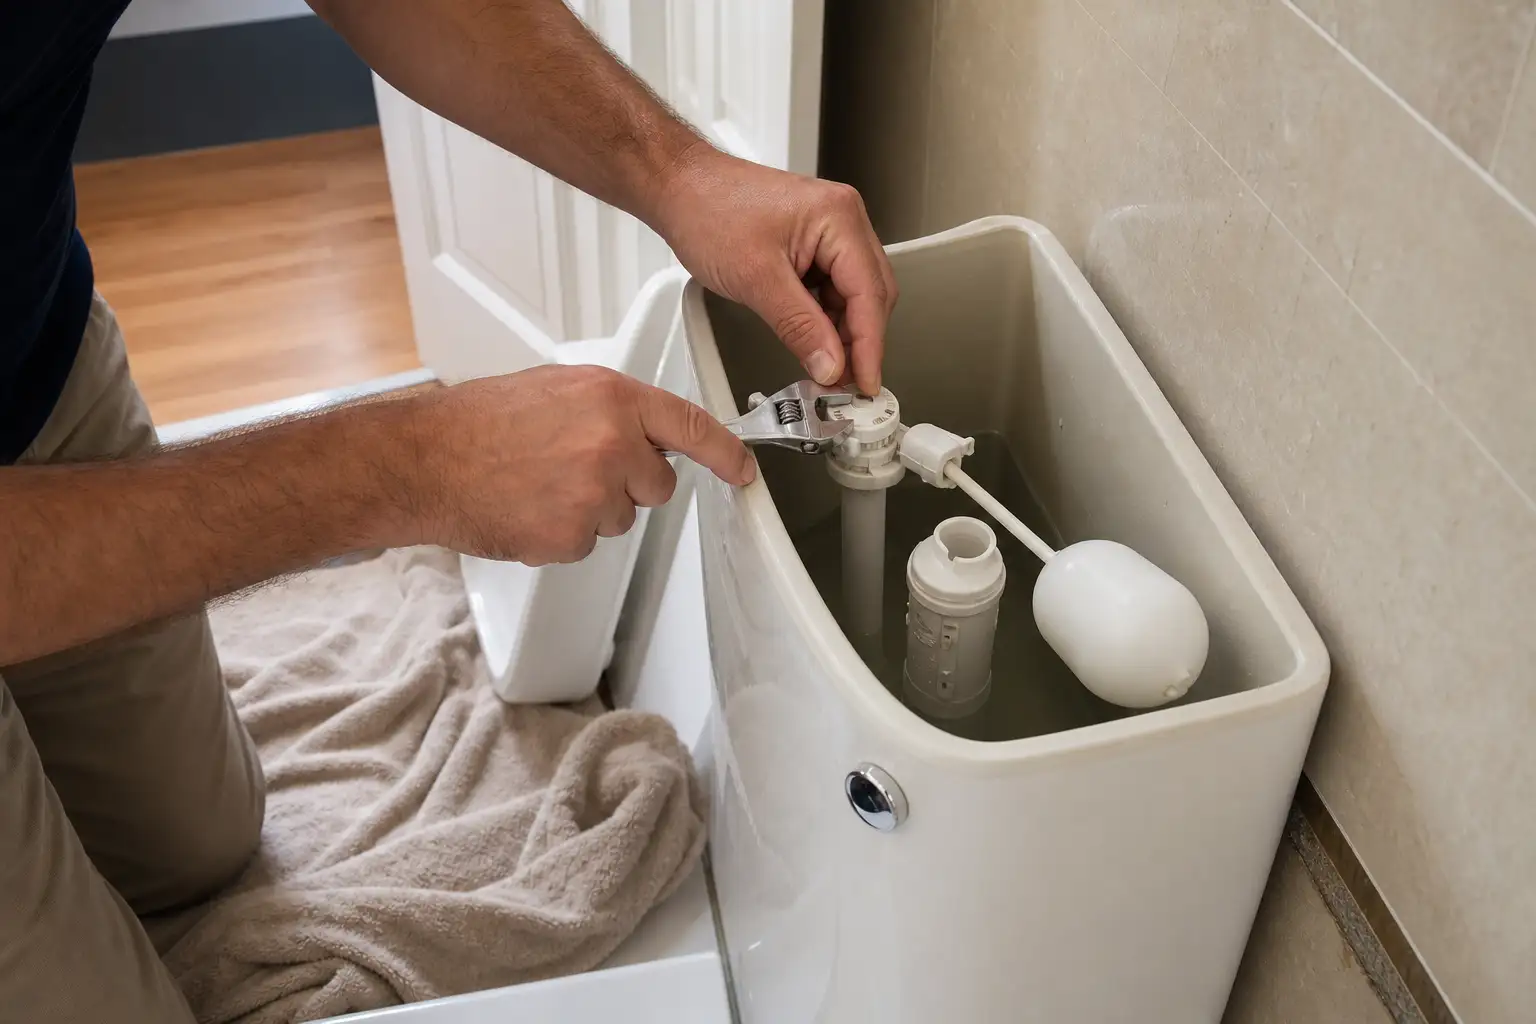
The final water level should sit below the opening of the overflow tube. On many modern mechanisms, adjustment is made with a clip, screw or sliding float: lower it in small increments, reopen the isolation valve and test. Do not cut parts or force metal arms into position.
If the water still rises after lowering the float, the inlet valve may have internal dirt, limescale or wear. Close the supply and follow the manufacturer’s instructions only when removing a filter or valve cap. If there is no manual, replacing a compatible assembly is generally safer than dismantling brittle components without a reference.
Reducing flush volume where the model allows it is an efficient-water-use measure mentioned in regulations published in the Diário da República. The adjustment must still produce an effective flush: test it several times and make sure the full-flush option remains functional.
Clean or replace the flush seal
When water reaches the bowl without going down the overflow tube, lift out the flush tower or bell assembly as the system requires. Wipe the rubber seal and the surface it sits on with a soft cloth. A grain of debris, mineral build-up or a twisted seal can be enough to prevent a watertight closure.
Reassemble the parts, refill the cistern and repeat the colouring test. Replace the seal if it is hard, cracked, sticky or distorted. A similar-looking rubber ring with the wrong diameter or thickness may leave the leak unchanged or make it worse.
Do not try to compensate for a failing seal by overtightening the button or adding weight to the valve. That temporary fix can wear the mechanism further. If you are improving water use around the home, combine this repair with maintenance of tap aerators, where measuring and choosing the right part also matters.
Set up dual flush properly instead of defeating it
On a dual-flush cistern, the smaller and larger buttons trigger different water volumes. If the small button does not flush or the larger one sticks, first check that rods or cables have enough free movement and meet the correct points on the flush tower. A badly refitted lid can keep pressure on the mechanism all the time.
Avoid putting bottles, bricks or loose objects inside a modern cistern to reduce water use. They can obstruct the float, overflow tube and flush mechanism. Adjust the manufacturer-designed controls, or choose an efficient unit when replacement is due. ADENE includes toilet cisterns among the devices that influence water management in buildings; see how the AQUA+ system identifies water-saving opportunities.
When to stop the DIY work and call a professional
Close the water supply and call for help if the isolation valve does not work, water reaches the floor, the flexible connector is corroded, the ceramic cistern is cracked, or the toilet itself needs to be removed. A plumber is also the sensible choice when the leak returns after replacing seals, or when pressure seems abnormal at other taps in the home.
If the work means opening walls, changing pipe runs or reorganising a bathroom, plan access and waterproofing before closing finishes. In a wider refurbishment, the choice between liquid and sheet shower membranes should be made together with the drain system and edge details, rather than at the end of the work.
One final useful check: after the repair, dry the outside of the cistern, reopen the isolation valve, flush several times and confirm the following day that there is no refill noise and no water in the bowl. It is a small maintenance task that can prevent continuous waste.
Key takeaways
- Close the isolation valve before removing or adjusting cistern components.
- Water entering the overflow points to filling; water in the bowl usually points to the flush assembly.
- Photograph the mechanism and find its part reference before buying seals or valves.
- Do not force old connections, seized isolation valves or cracked ceramic parts.
If the cistern still leaks, or if the repair reveals ageing pipework, failed finishes or damaged waterproofing, gather photographs of the mechanism and surrounding area. Ask Obra Lisboa to assess the scope of the repair or bathroom renovation before starting more extensive work.
Sources and further reading
- ADENE’s guidance on water efficiency in buildings
- Diário da República
- the AQUA+ system identifies water-saving opportunities
- ADENE article on water efficiency and avoidable water losses
Editorial image; it does not depict an Obra Lisboa project.

Obra Lisboa