Waiting for hot water at the shower or kitchen tap may seem like a small inconvenience, until it happens every day. In an older Lisbon home, the cause may be an unnecessarily long route, uninsulated pipework, concealed joints or changes layered over several previous refurbishments. Replacing the water heater or fitting a heat pump can improve production, but it will not fix poorly planned distribution on its own.
The best time to solve the issue is before chases, suspended ceilings and kitchen cabinets are closed. The aim is not to fill the home with pipework or create an over-complicated system. It is to provide short, readable routes, accessible valves, continuous insulation and practical repair access. Here is what to request in the design and check during the work.
Map every point that uses hot water
Start by mapping where hot water will actually be used: basins, showers, a bath, the kitchen sink and, where relevant, a dishwasher. Then mark the domestic hot-water unit. This simple drawing exposes an important decision: whether to bring the unit closer to the most frequently used outlets or to group wet rooms so that pipe runs stay short.
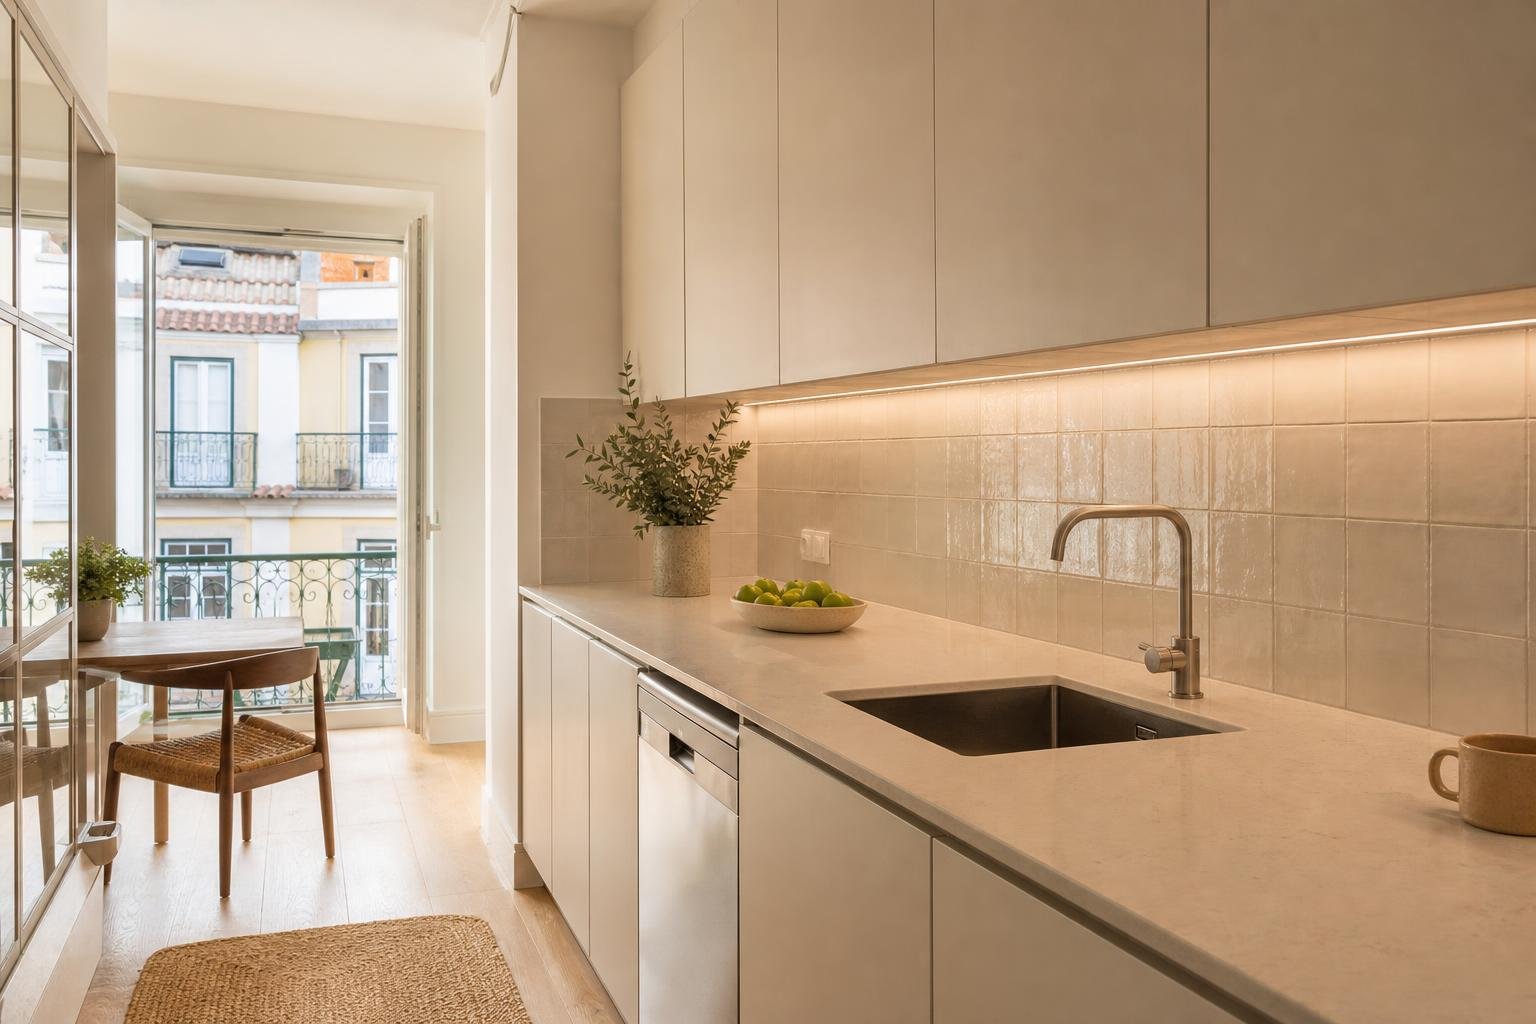
In a Lisbon two-bedroom flat, moving the kitchen to the far end of the property can create an irritating delay at the tap even when the installation is brand new. Moving a kitchen is not always sensible for this reason alone, but while the plan remains flexible it is worth comparing layouts before drainage, service shafts and cabinetry are fixed.
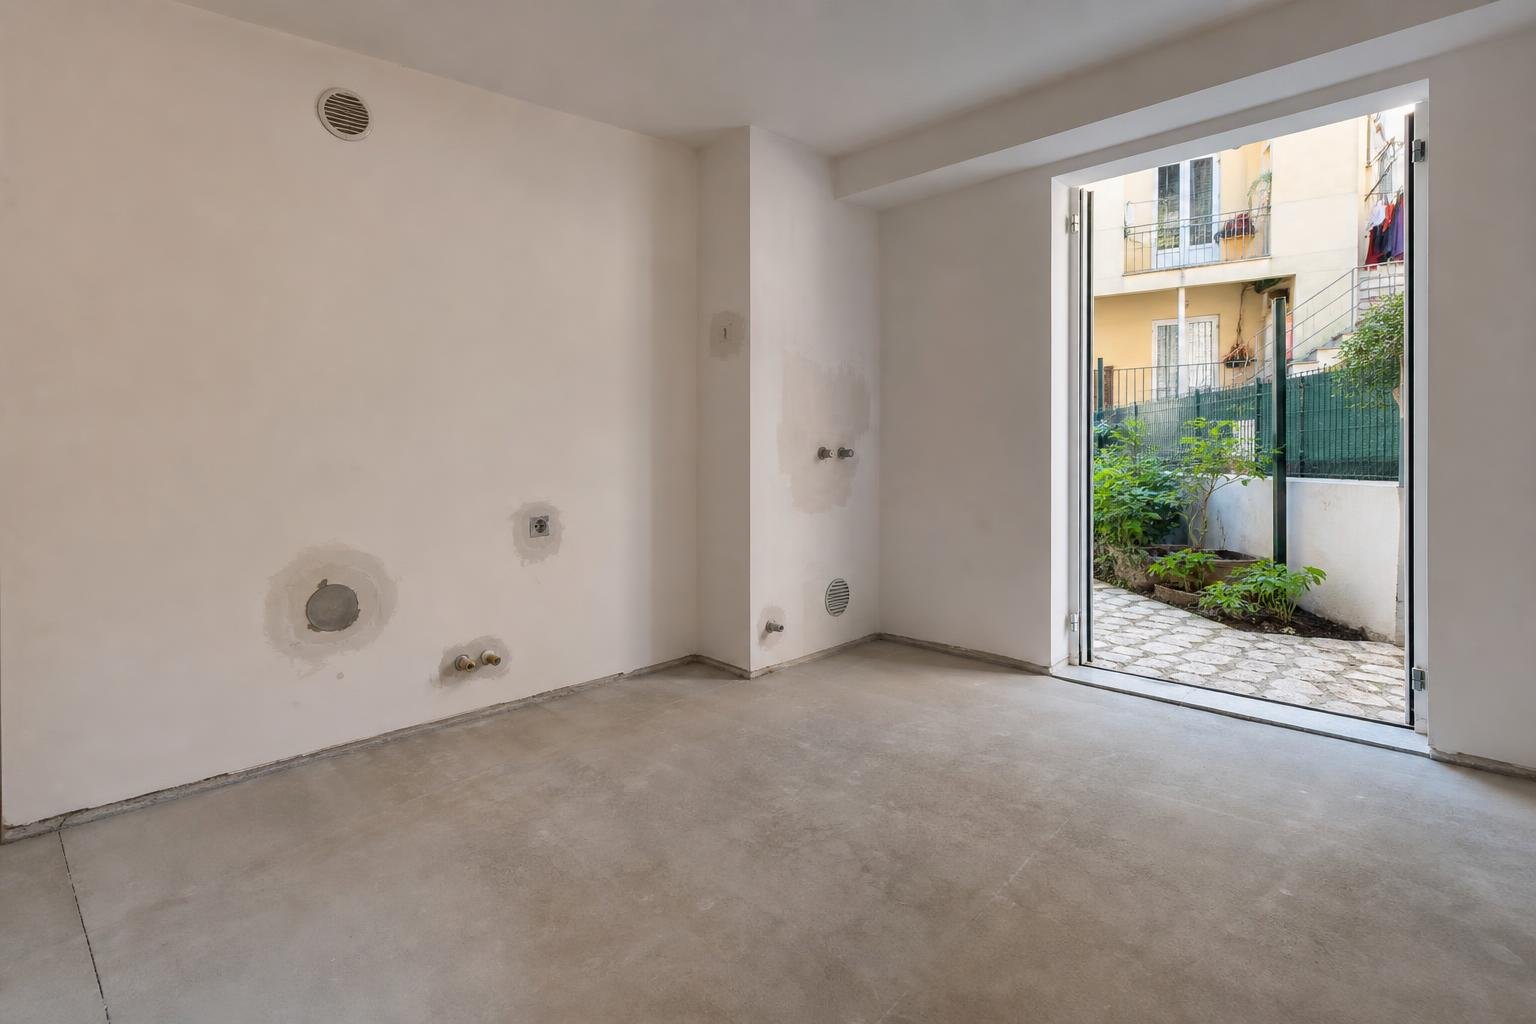
Also note likely future uses, such as a second bathroom or a washing machine in a utility area. Preparing a route while the wall is open is far easier than improvising later. For the wider choice of equipment and efficiency upgrades, see ADENE’s guidance on energy certificates and domestic hot-water systems.
Shorten routes before considering recirculation
The greater the volume of water sitting between the unit and the tap, the longer you will wait for hot water. The strongest response is to shorten the route and remove needless detours. Grouping the kitchen, bathroom and laundry around a service riser or technical corridor can simplify the work, reduce crossings and make later repairs easier.
Recirculation can suit larger installations or unavoidable long runs, but it should not be the automatic cure for an inefficient layout. It introduces a return line, pump, controls, electrical use, demanding insulation and maintenance. In a compact apartment, a direct, well-insulated route is usually simpler to operate and maintain.
Ask for every branch to have a clear purpose. Zigzag routes, pipes crossing bedrooms or lines hidden behind wardrobes make leaks harder to trace. If the refurbishment includes older services, also read what to check in drainage and plumbing systems before renovation.
Insulation is not an optional finishing detail
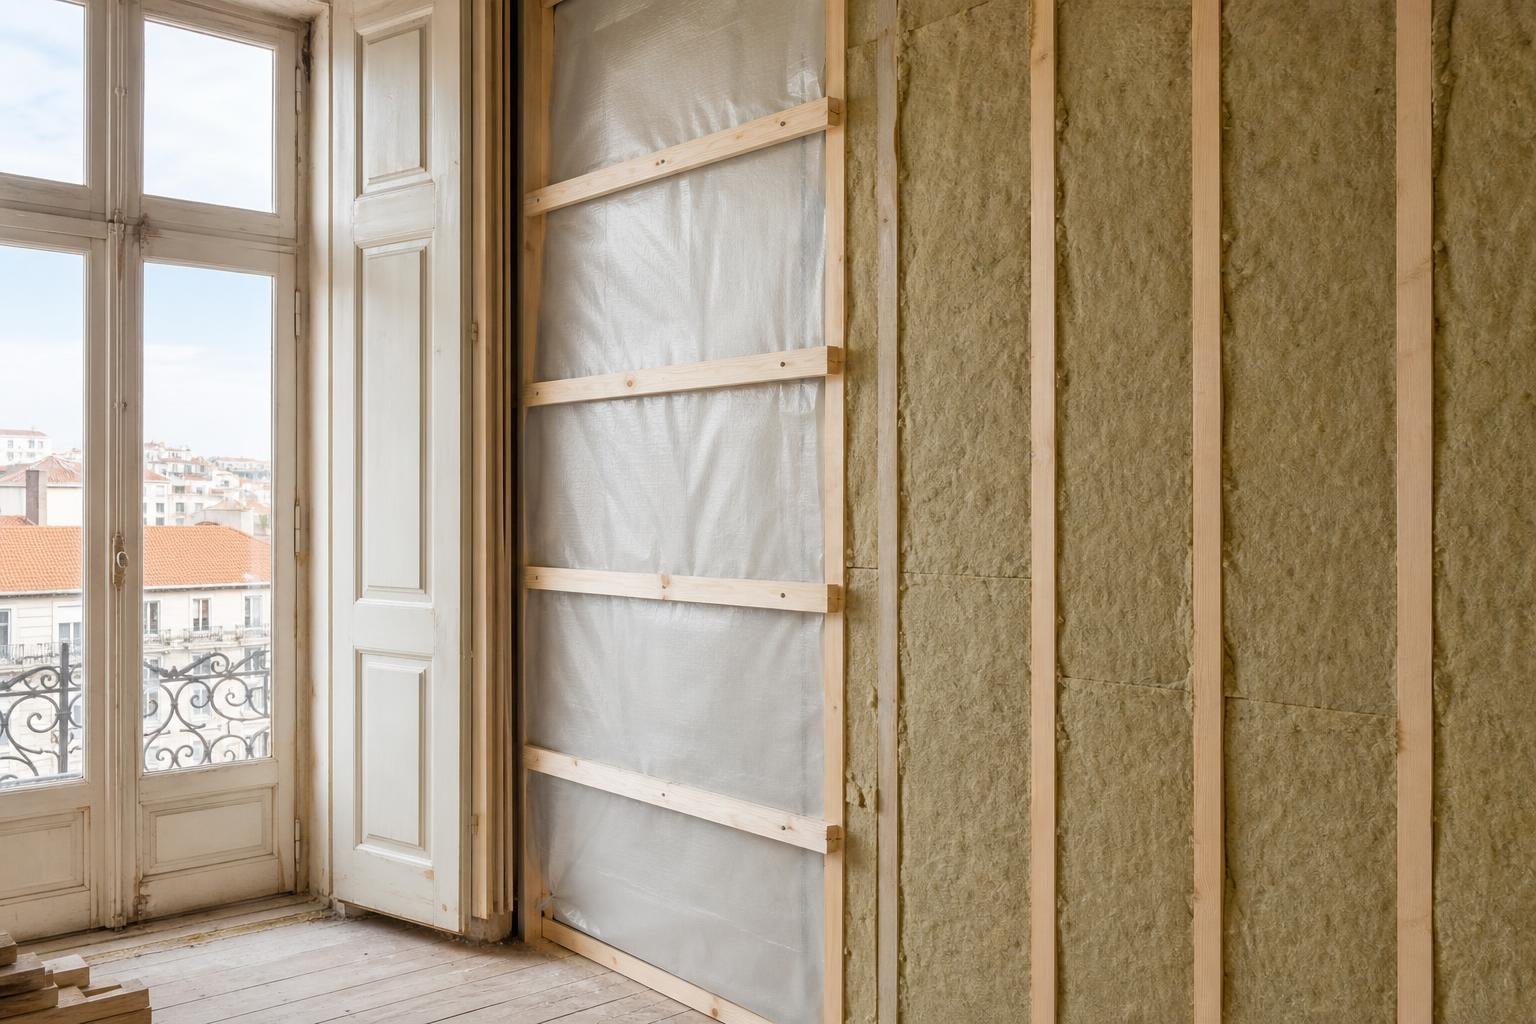
Insulating hot-water pipes limits heat loss along the route and helps water retain its temperature until it reaches the outlet. It is not enough to fit insulation sleeves only on the easy-to-reach lengths: bends, joints and areas near the equipment deserve the same care. A poorly closed cut or an uninsulated section becomes a point of loss and may contribute to condensation where cold-water lines are nearby.
The technical rules applying to fluid transport networks require thermal insulation across the full length, including fittings and components, and set minimum thicknesses according to installation conditions. For exterior elements, the requirement is increased and mechanical and ultraviolet protection matter too. See the pipe-insulation requirements published in Portugal’s Diário da República.
Before closing the work, check three points: the material is suitable for the temperature, joints are continuous, and there is enough space so insulation is not crushed by mortar, clips or boards.

Keep hot and cold lines orderly and avoid dead legs
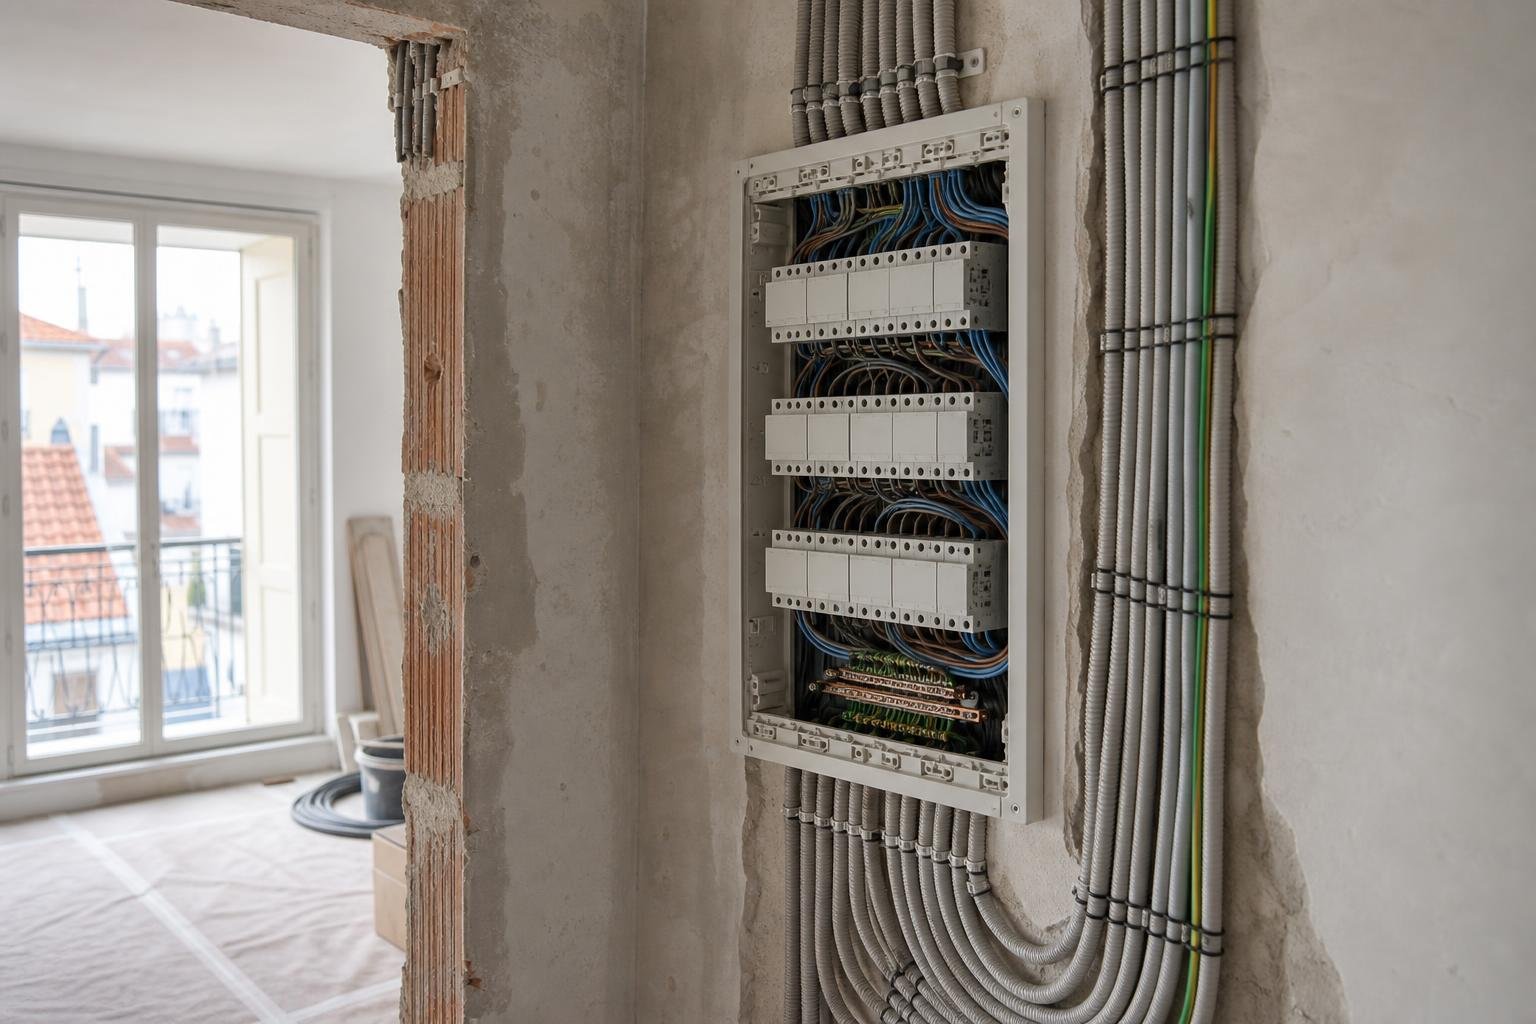
A well-organised installation does not crowd hot-water pipes, cold-water pipes, drains and electrical cables into the same void without a plan. Close contact can warm the cold supply, complicate repairs and make a minor leak more damaging. Where possible, keep routes clear, minimise crossings and provide enough identification for anyone opening a service panel to understand what they are seeing.
Avoid abandoned branches, long unused runs and connections left “just in case”. A future provision should end in an accessible valve and be documented; a concealed blind pipe is simply another item that will be difficult to maintain. Portugal’s Directorate-General of Health advises avoiding stagnant areas in distribution systems and notes, particularly for larger installations, the importance of keeping hot water above 50°C and cold water below 20°C to make microbial growth more difficult. Read the DGS guidance on Legionella prevention and control.
These references do not replace design by a qualified professional, but they explain why a short, insulated layout with no stagnant water is preferable to an improvised network.
Valves and access panels prevent major disruption
Every area that may need to be isolated should have a clear shut-off logic. An accessible main valve is essential, but separate valves for the kitchen, bathrooms or hot-water unit are also useful. A local repair can then happen without leaving the entire home without water.
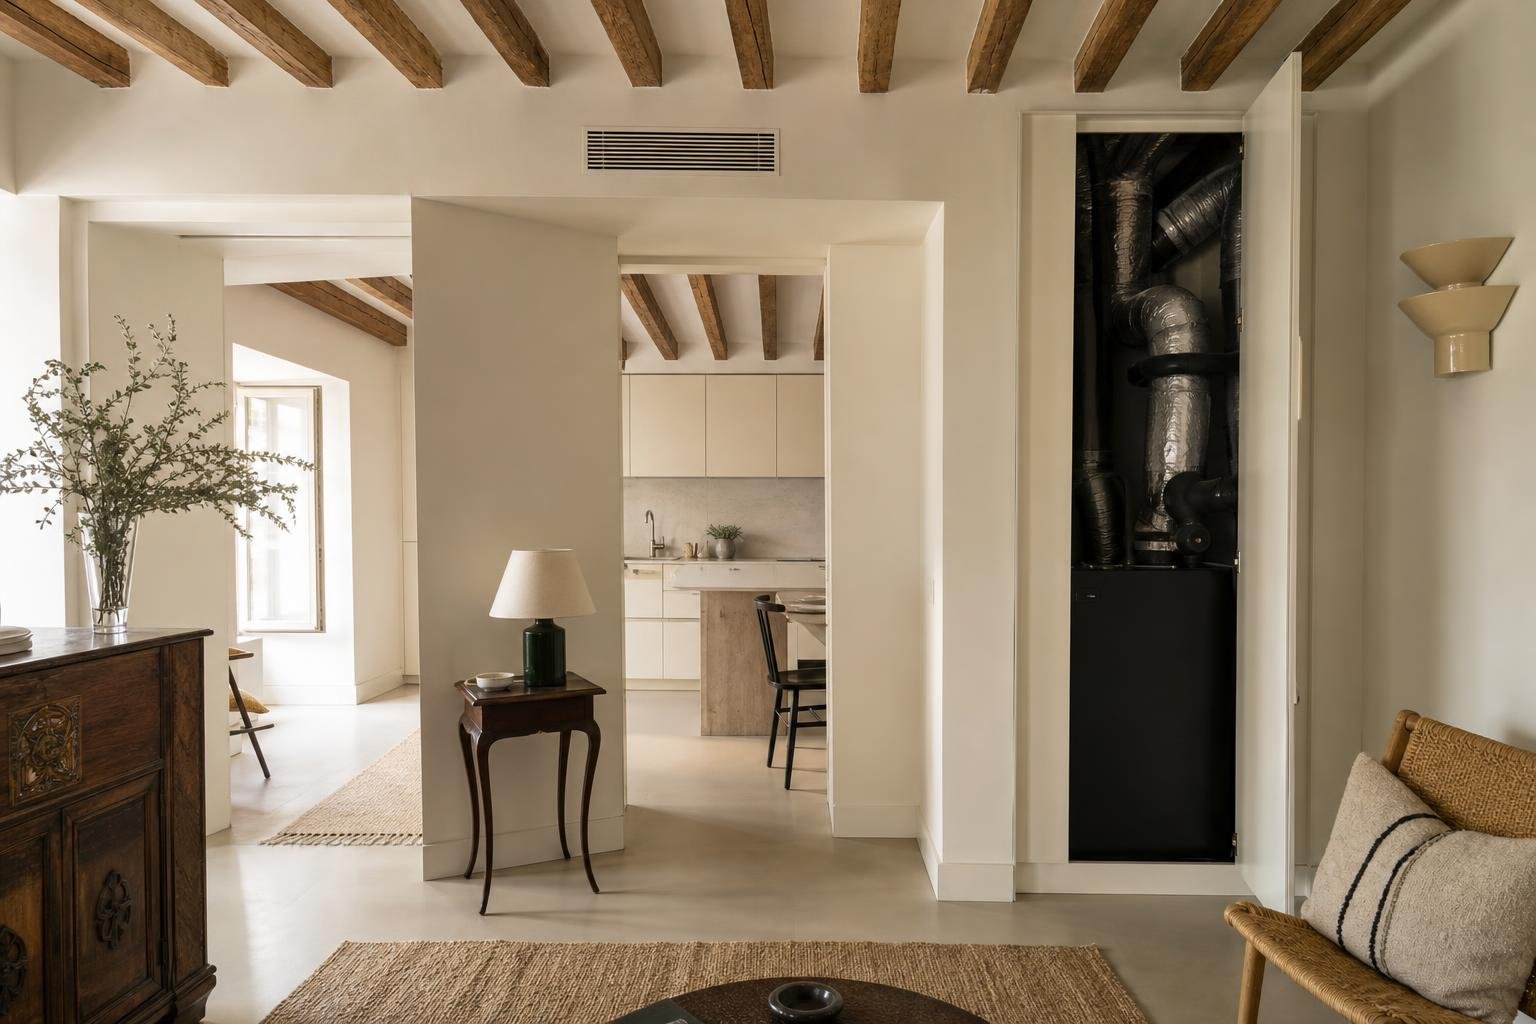
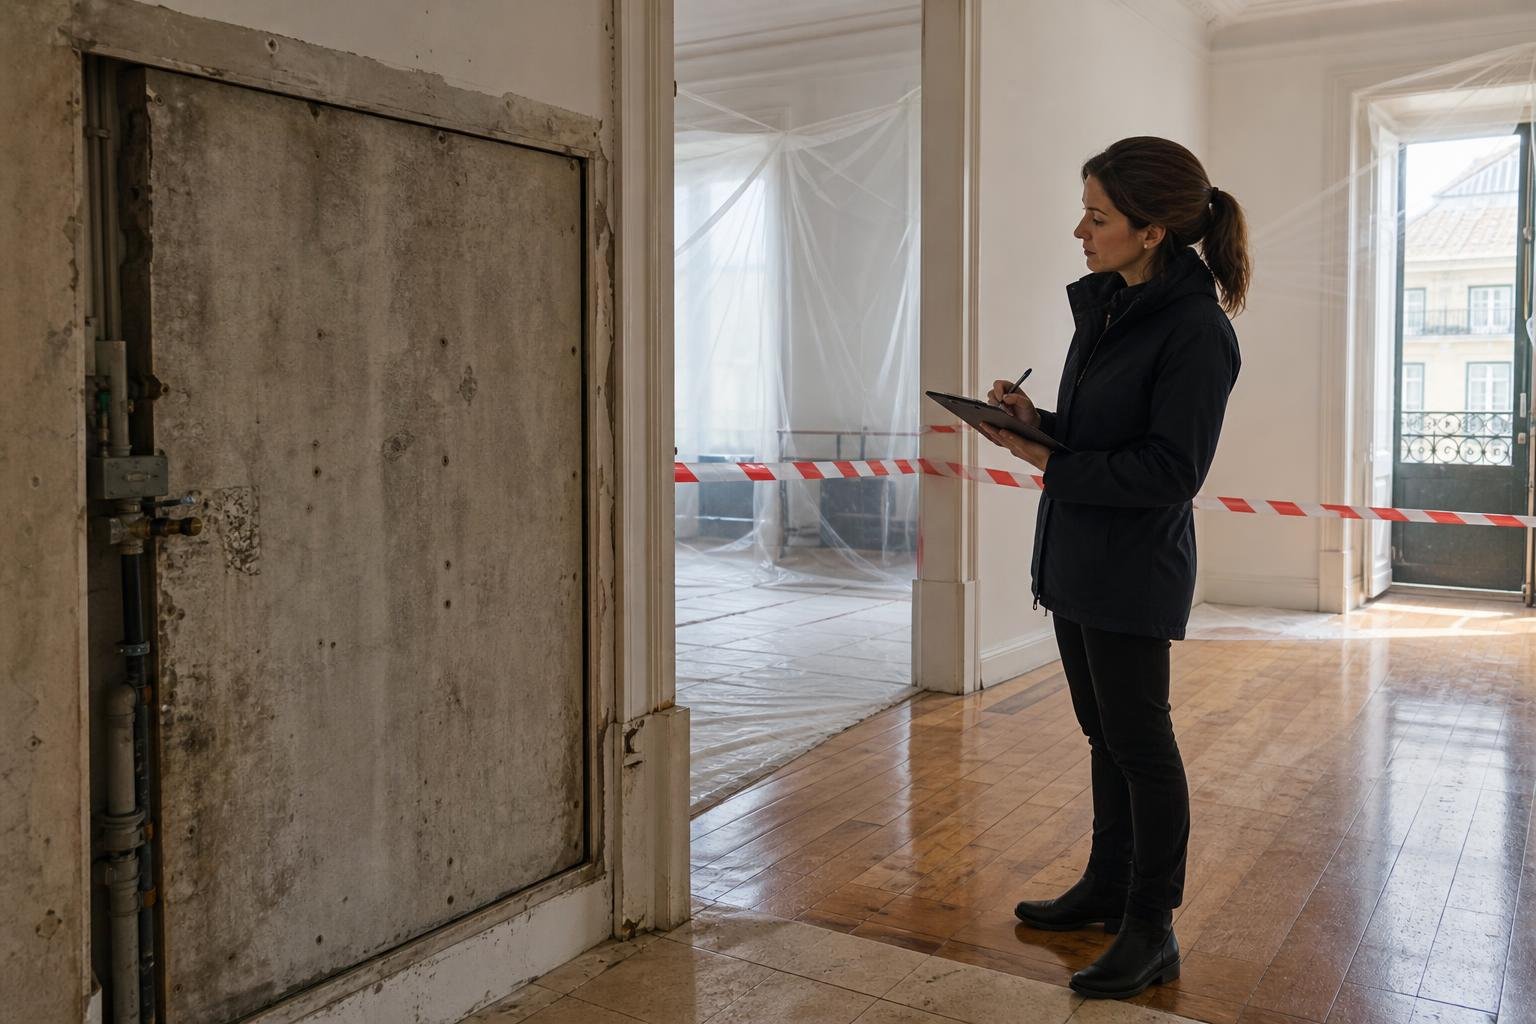
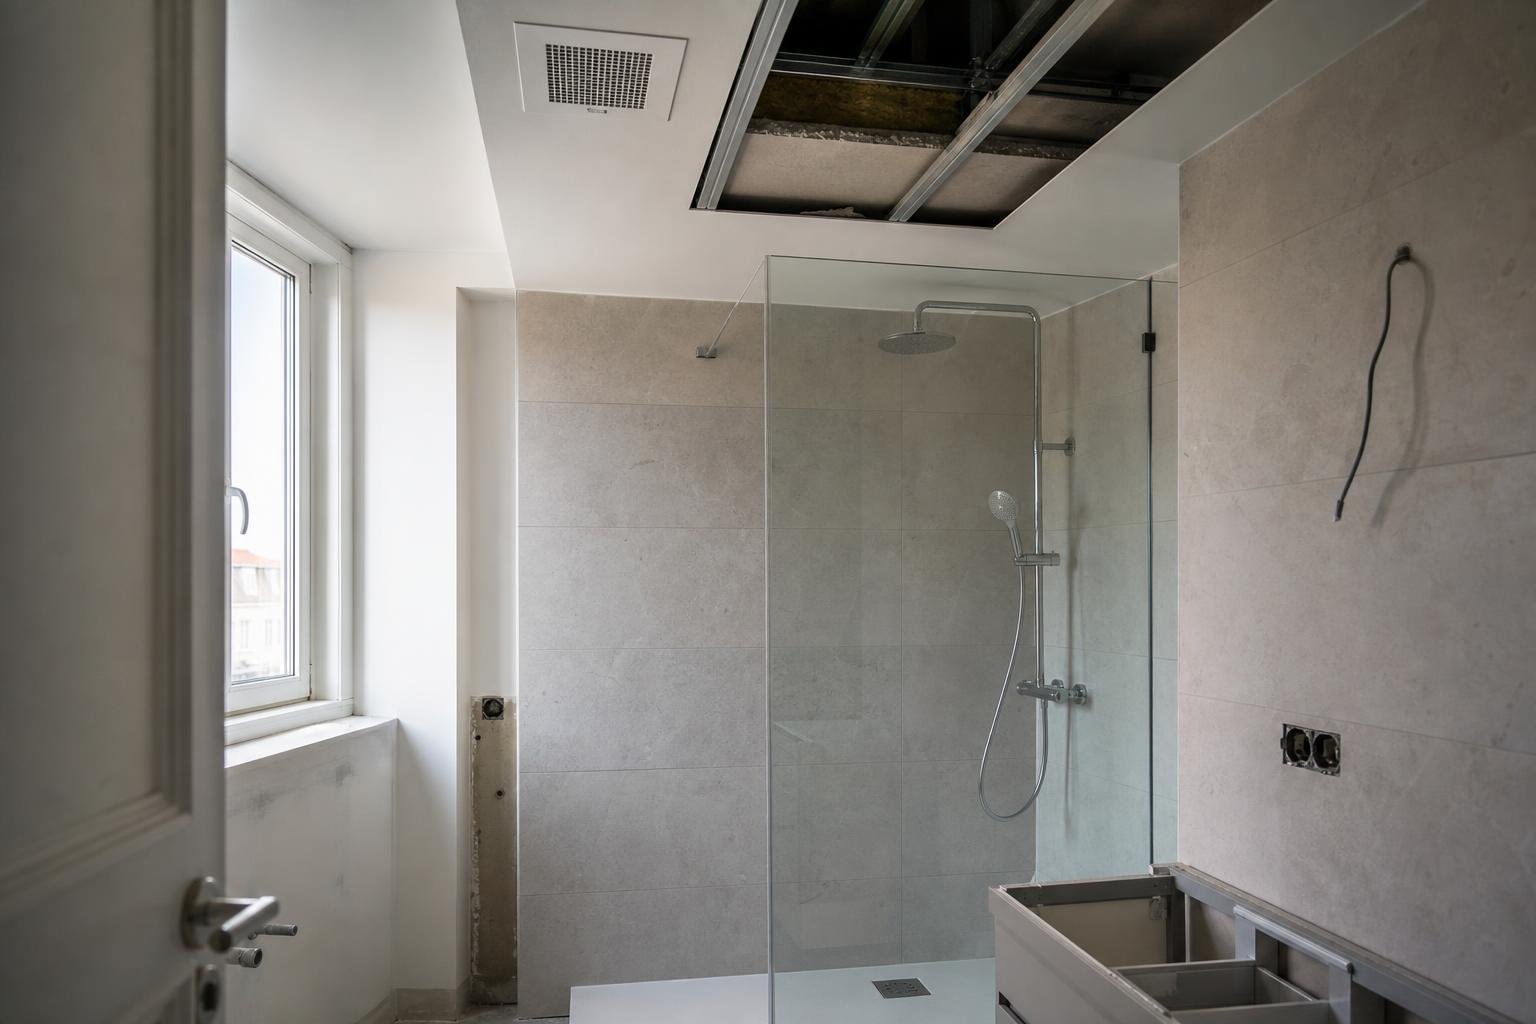
Do not conceal valves behind fixed cabinetry, appliances with no clearance or bonded finishes. If they sit inside a cupboard, leave room to turn the handle, replace a part and contain a possible leak. In suspended ceilings and technical walls, inspection panels should open without damaging finishes and should be recorded in the final project information.
This is especially important near heat pumps, safety groups, filters and condensate traps. For equipment layout and maintenance clearance, see how to plan a hot-water heat pump during a renovation.
Specify tests, photographs and handover information
Before pipes are covered, agree on a leak-tightness check and record the result. Photograph the installation with positional references — doors, corners and approximate dimensions — so routes can be found years later. Keep product data sheets, a valve diagram, equipment manuals and service contacts together.
At handover, run every hot-water outlet, check that flow is steady and look for noise, vibration or an excessive delay at the furthest points. Confirm that the safety group, discharge and filters can be reached once furniture and doors are in everyday use. A solution is only genuinely useful if it can be inspected, cleaned and repaired without dismantling half the room.
If several trades are being coordinated, connect this decision with planning sockets and switches before walls are closed. Good coordination prevents pipes, electrical boxes and fixings from competing for the same limited space.
Renovating a home in Lisbon and want to define hot-water routes, access points and equipment before the walls are closed? Obra Lisboa can help coordinate these choices with the wider design and construction work.
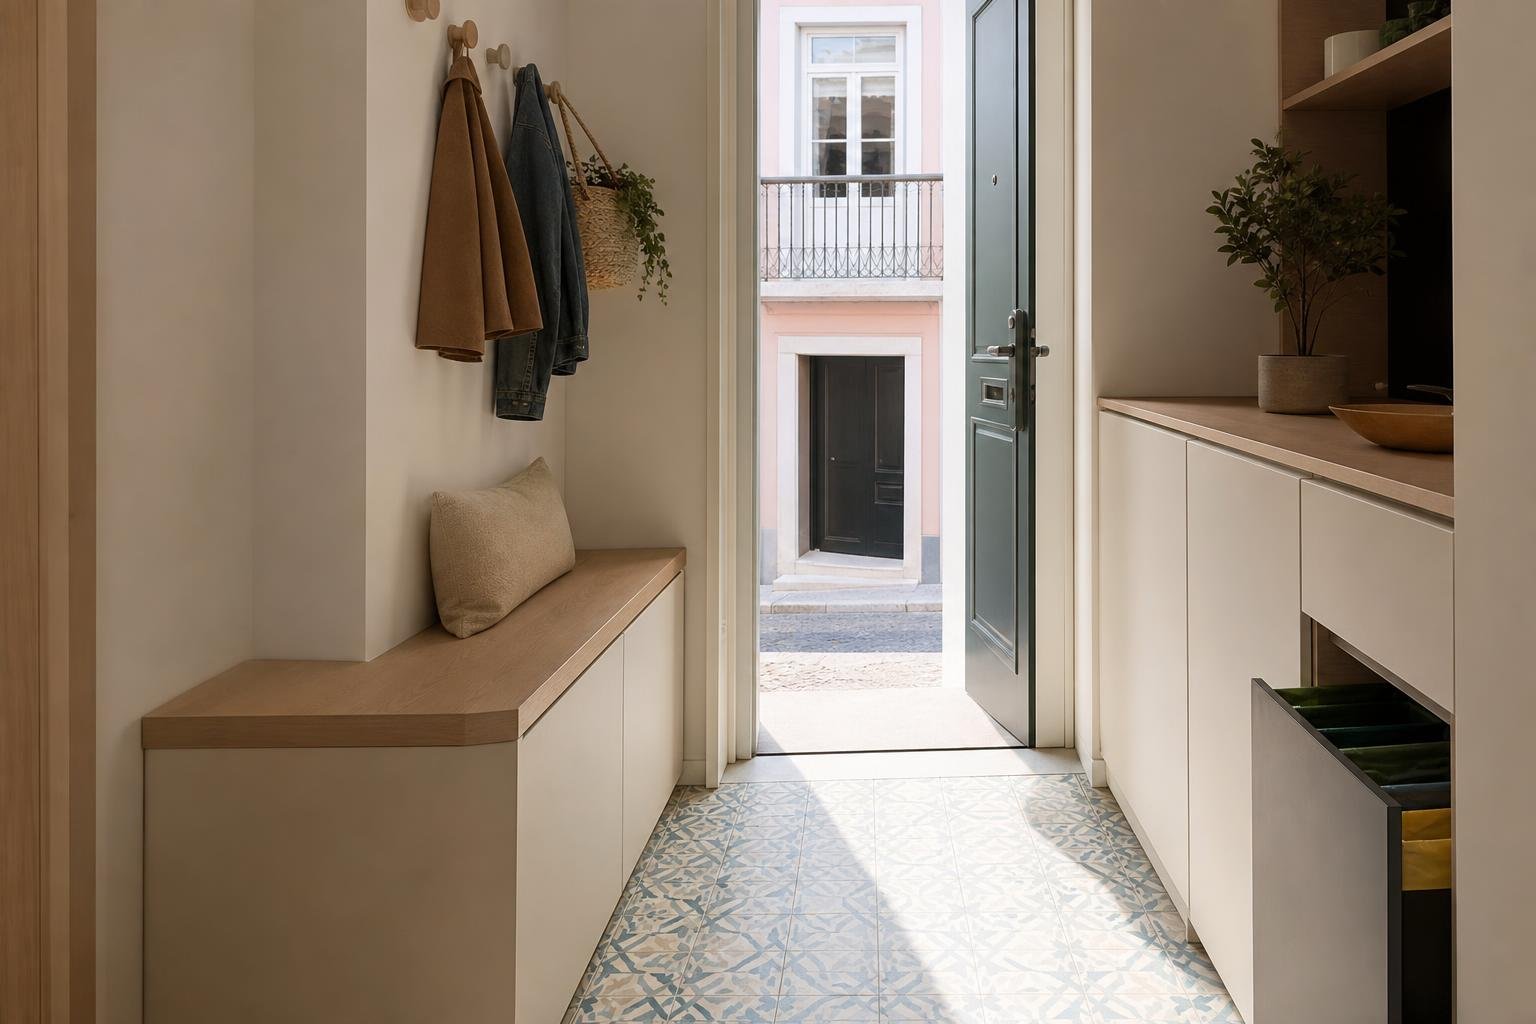
AI-generated editorial image; it does not depict an Obra Lisboa project.

Obra Lisboa