
A CO₂ monitor helps you see when a room needs fresh air, avoiding both habitual open windows and a sealed home kept shut to retain indoor temperature. In a Lisbon flat, it is especially useful in occupied bedrooms, home-working rooms and homes with newer, airtight windows. Use it as a ventilation guide: it does not measure mould, particles, VOCs or carbon monoxide, and it does not replace investigation of water ingress, condensation or combustion appliances.
Contents
- What the monitor shows — and what it leaves out
- Where to place the monitor for a useful reading
- How to test your routines over one week
- Which routine works in winter and on hot days?
- When a high reading reveals a limitation in the home
- What to include in the renovation plan
What the monitor shows — and what it leaves out
People and pets release carbon dioxide when breathing. The DGS Lisbon and Tagus Valley information on indoor-air quality identifies occupants, domestic activities, materials, chemical products and system maintenance as factors that affect indoor conditions. At home, CO₂ is mainly an indirect sign of occupancy and air renewal.
If the reading rises quickly in a closed bedroom with two people, that suggests air renewal is not keeping up with the use of that room. It does not mean that CO₂ is the only cause of discomfort. Cooking fumes, smoking, candles, paints and cleaning products can worsen indoor air without a matching rise on the monitor.
Do not confuse a CO₂ monitor with a carbon-monoxide detector. A home with a gas water heater, boiler, stove or fireplace still requires checks, ventilation and safety devices suited to that equipment. A low CO₂ reading does not confirm that these risks are absent.
Avoid treating the display as a constant test. The useful approach is to observe patterns for one week: room, time, number of people, windows, doors and activity. Compare readings at bedtime, on waking, after showering and after an afternoon of working from home. This distinguishes a one-off event from a routine that needs changing.
Where to place the monitor for a useful reading
Put the device in the room you want to understand, on a stable table or shelf, at roughly the height at which people breathe when sitting or sleeping. In a bedroom, a chest of drawers away from the window and door will usually represent the general room air better than a bedside table pressed against the person sleeping.
Avoid locations beside an open window, grille, fan-coil unit, radiator or indoor air-conditioning unit. Direct sunlight, very localised draughts and heavy curtains can make the reading unrepresentative. A kitchen measurement should not be used to draw conclusions about a bedroom.
With one device, start in the most-used bedroom. A consistent overnight rise may point to an inadequate airing routine, a door that blocks air transfer or a solution that should be included in the renovation. If the room is cold and has condensation, link the records to choices for a north-facing Lisbon bedroom without mould. Ventilation, surface temperature and moisture need to be considered together.
Do not hide the device inside a cupboard, behind books or on a tightly enclosed shelf. The aim is to measure the room air, rather than the microclimate within a piece of furniture.
How to test your routines over one week
Before buying equipment or opening walls, run a simple test on days with similar use. There is no need to change everything at once: if you alter windows, doors, blinds and schedules on the same day, you will not know what made the difference.
- First two days: use the home normally. Record occupancy time, the highest reading, whether windows were open and whether the air felt stale.
- Third and fourth days: open windows on different façades for a few minutes, where the layout permits. Close them afterwards and see how long the reading takes to rise.
- Fifth day: try keeping the internal door partly open, provided privacy, noise, children and pets allow it.
- Final two days: compare that short air change with a window left slightly open for hours.
The aim is not to chase one perfect number. You want to understand whether brief airing solves the problem, whether the bedroom depends on an open door for fresh air, or whether the room becomes stuffy again shortly afterwards. This observation helps avoid excessive, poorly timed ventilation without accepting stale air as the price of thermal comfort.
Do not automatically use the legal thresholds published for commercial and service buildings as a domestic target. The DGS page on protection thresholds and reference conditions explains that those requirements belong to the framework for commercial and service buildings. In a home, the most valuable role of the monitor is to reveal how your own rooms behave and respond to changes.
Which routine works in winter and on hot days?
In cold or damp weather, favour short, intentional air changes rather than leaving a narrow gap open all day. Open more than one window when conditions allow, let air move through for a few minutes, close them and resume heating. A poorly closed window for many hours can cool walls, floors and furniture without ensuring effective air exchange throughout the flat.
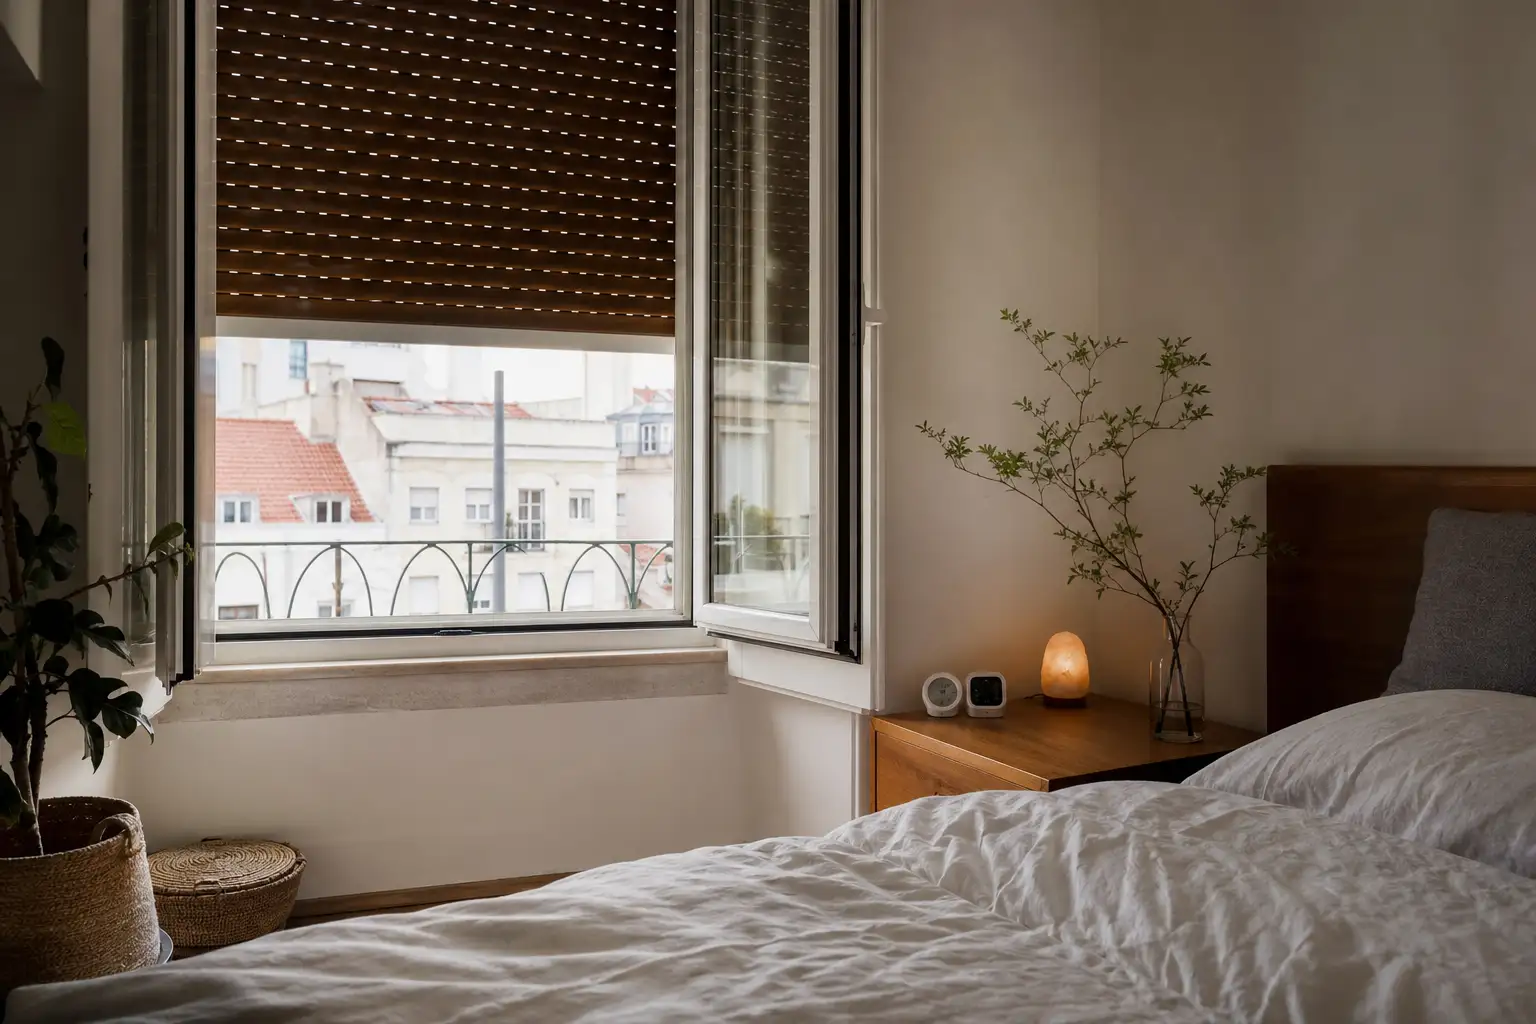
On hot days, timing is decisive. Air the home early or at night, once the outside has cooled; during the hours of greatest solar exposure, reduce heat gain with shutters, blinds or external shading. The monitor can show whether solar protection has left the bedroom with insufficient air renewal while it is occupied.
Do not open windows indiscriminately if there is outdoor smoke, very dusty work beside the façade or heavy traffic noise that makes the routine impractical. In those situations, review the timing, the façade used and the ventilation solution planned. The ADENE Sistema SMARTER document addresses the building envelope, technical systems and ventilation as connected choices in a home's performance.
In the living room where you work or spend most of your time, keep the monitor accessible without placing it at the centre of the room. When reviewing outlets, side tables and lighting, this guide to lighting a living room that does everything can help prevent the device from becoming another visual or circulation obstacle.
When a high reading reveals a limitation in the home
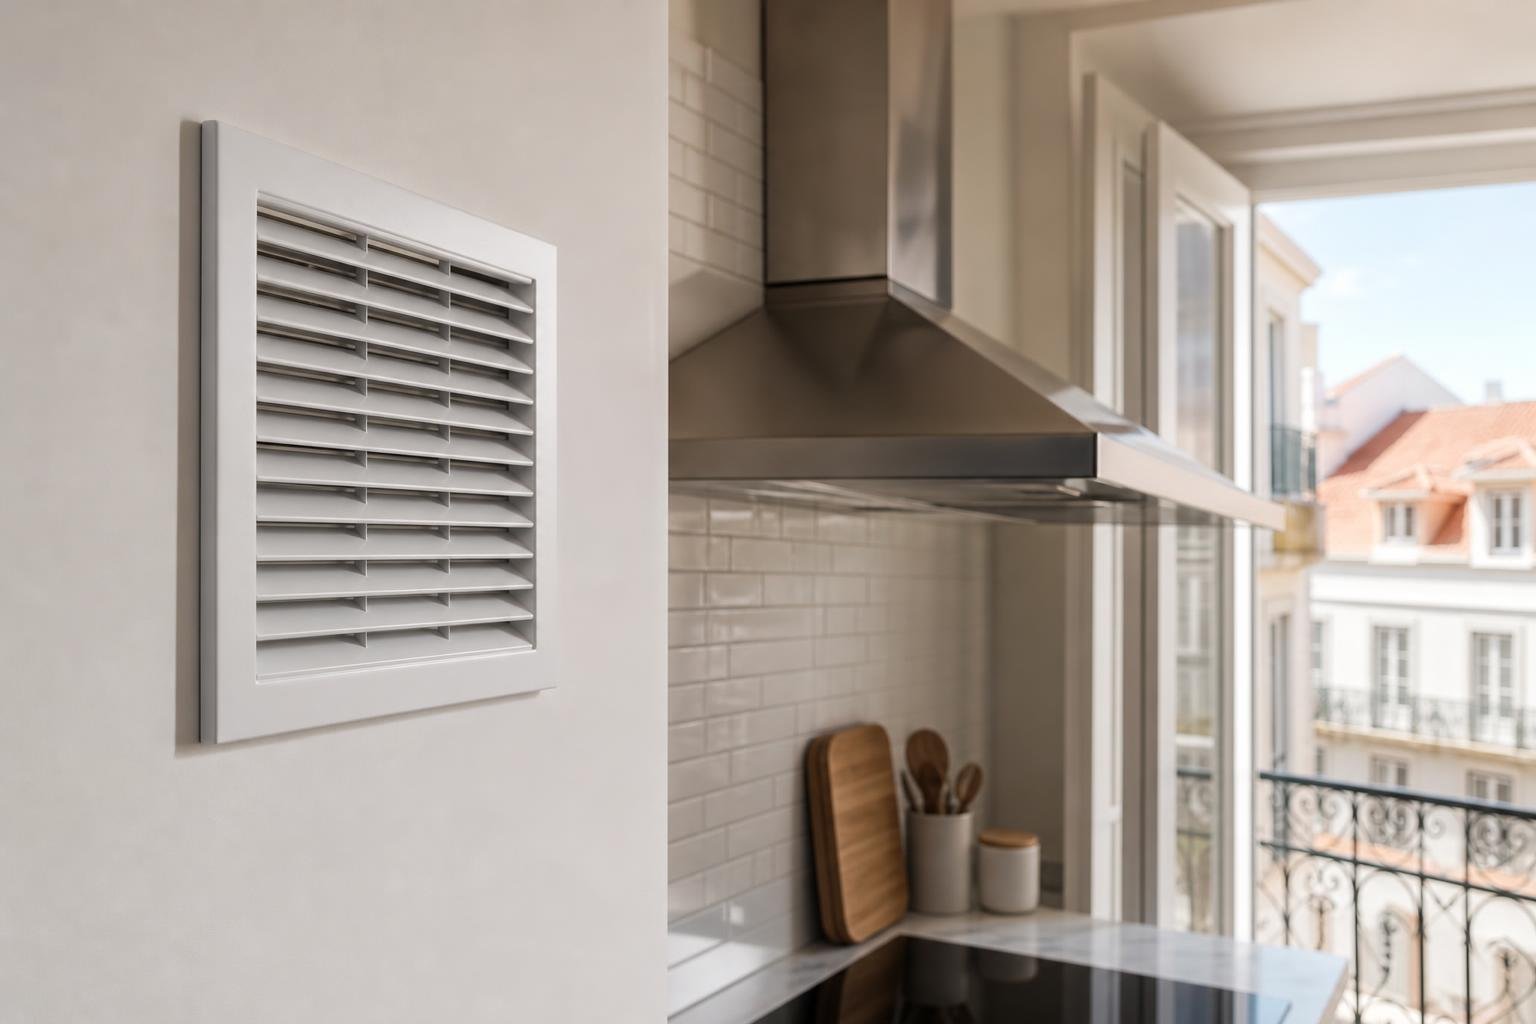
If CO₂ rises quickly even with a window open, do not immediately conclude that mechanical ventilation is needed. First check whether the window opens far enough, whether another useful opening is available, whether grilles are clean and whether an internal door interrupts air transfer. Curtains, tall cupboards or furniture arranged continuously against walls can also obstruct the route between bedrooms and extract areas.
When the pattern repeats in several rooms, consider the whole system: very airtight windows, weak kitchen extract, a bathroom without effective extract ventilation, a problematic shutter box or an internal layout that has isolated bedrooms. The answer may be a combination of air supply, transfer between rooms and extract, rather than simply installing a more powerful fan.
Do not block permanent grilles because incoming air feels cold. Do not install a stronger extractor without deciding where replacement air will enter either. It can increase noise, cause uncomfortable draughts or draw odours from unsuitable areas. Where there is recurring mould, damp staining, persistent gas or combustion odour, repeated physical symptoms or uncertainty about ducts, stop improvising and seek technical assessment.
What to include in the renovation plan
Bring the records to the renovation kick-off meeting. They are clearer than saying that the home feels stuffy because they identify the room, time and occupancy in which the issue occurs. Ask for the air route to be defined: supply in dry rooms, transfer through circulation spaces and extract through kitchen and bathrooms.
Before walls or ceilings are closed, confirm:
- the position and future access to grilles, ducts and fans;
- door undercuts or another air-transfer solution;
- timed controls or humidity sensors where appropriate;
- compatibility between ventilation, insulation, windows and heating;
- conditions for cleaning and maintenance without dismantling finishes.
A well-planned suspended ceiling can accommodate ducts and provide maintenance access, but it cannot solve air supply on its own. If the home still feels cold after airing, address heat losses as well. This guide to heating one room without wasting energy helps distinguish controls, daily use and safety.
The next step is straightforward: keep one week of records before ordering windows, extractors or climate-control equipment. A decision based on the real behaviour of rooms reduces expensive corrections after the renovation.
Key takeaways
- Use CO₂ to compare rooms and routines, rather than as the only indoor-air indicator.
- Use short, effective airing periods in cold weather; in heat, air at cooler times and shade the glass.
- Do not block grilles or increase extract airflow without planning air entry and its route.
- Bring one week of records into the renovation process and turn vague complaints into practical decisions.
If you are planning a renovation and want ventilation, condensation control and thermal comfort addressed together, contact Obra Lisboa before walls are closed or windows are ordered. Bring your records: they help define solutions proportionate to the home and to how it is used.
Sources and further reading
- DGS Lisbon and Tagus Valley information on indoor-air quality
- DGS page on protection thresholds and reference conditions
- ADENE Sistema SMARTER document
Editorial image; it does not depict an Obra Lisboa project.

Obra Lisboa