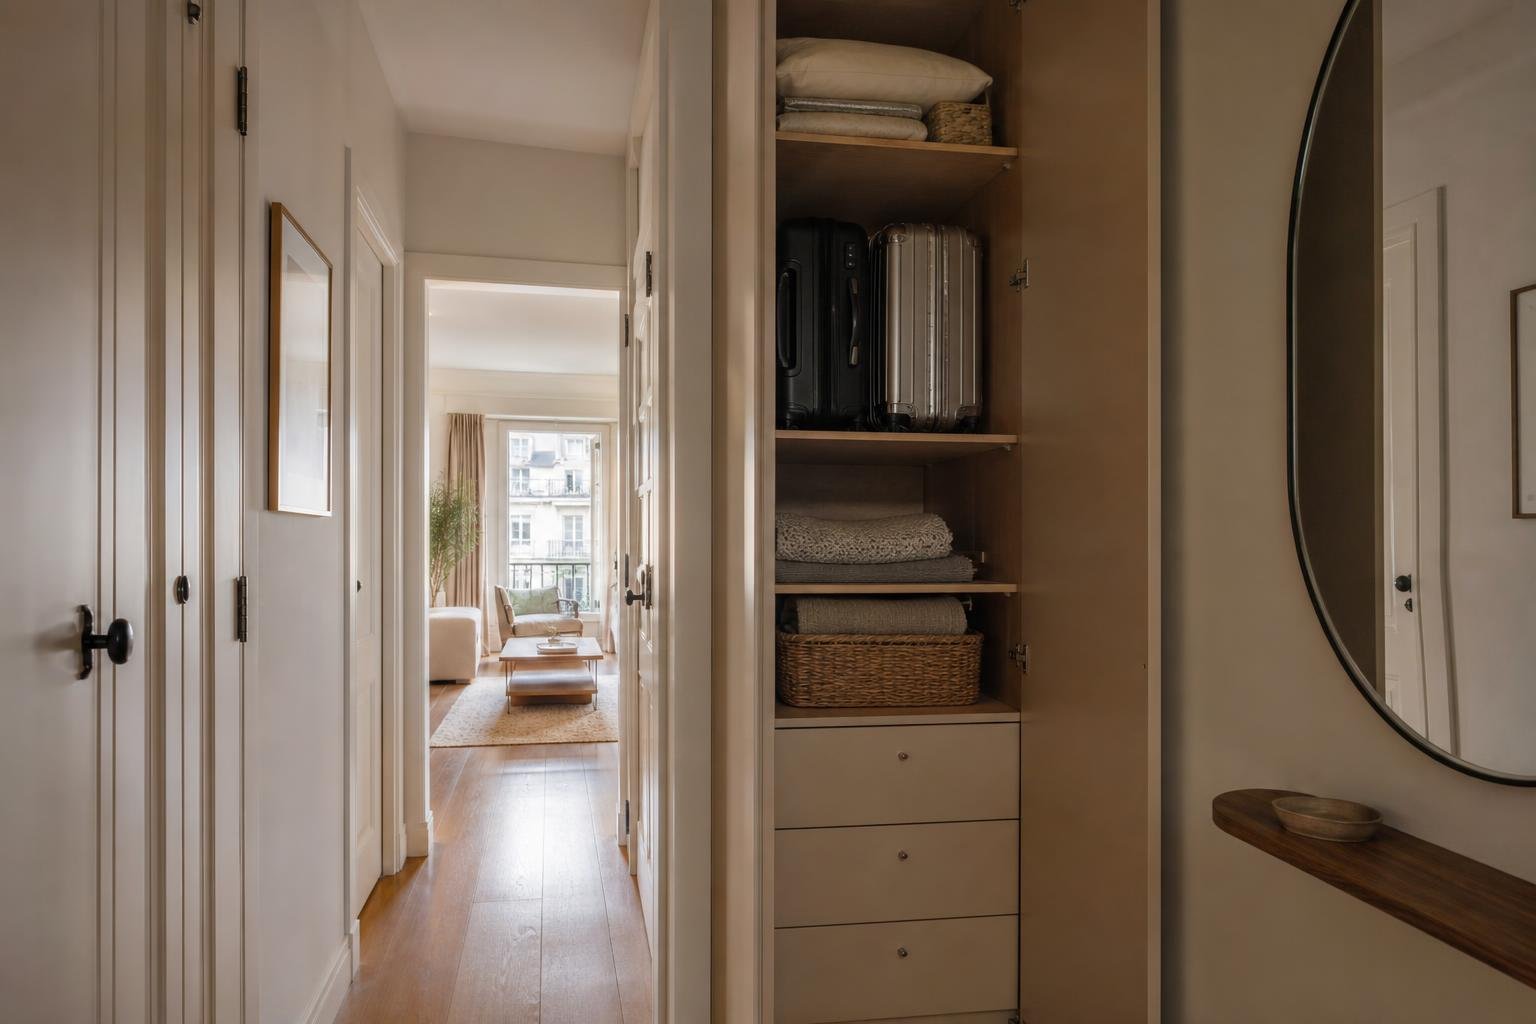
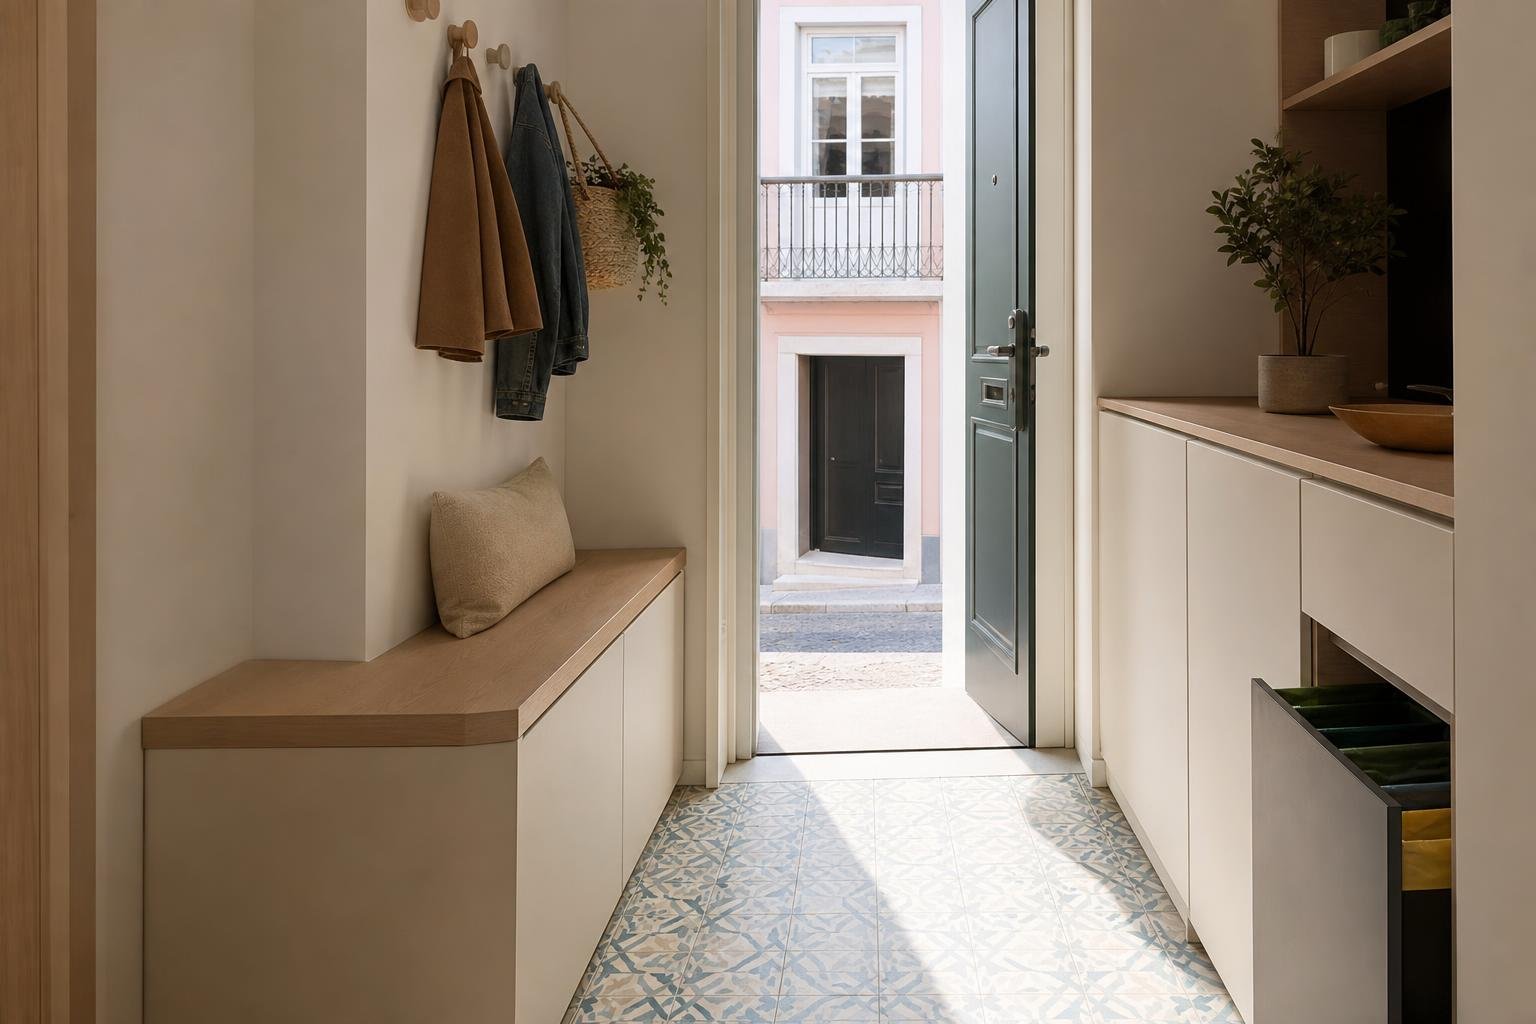
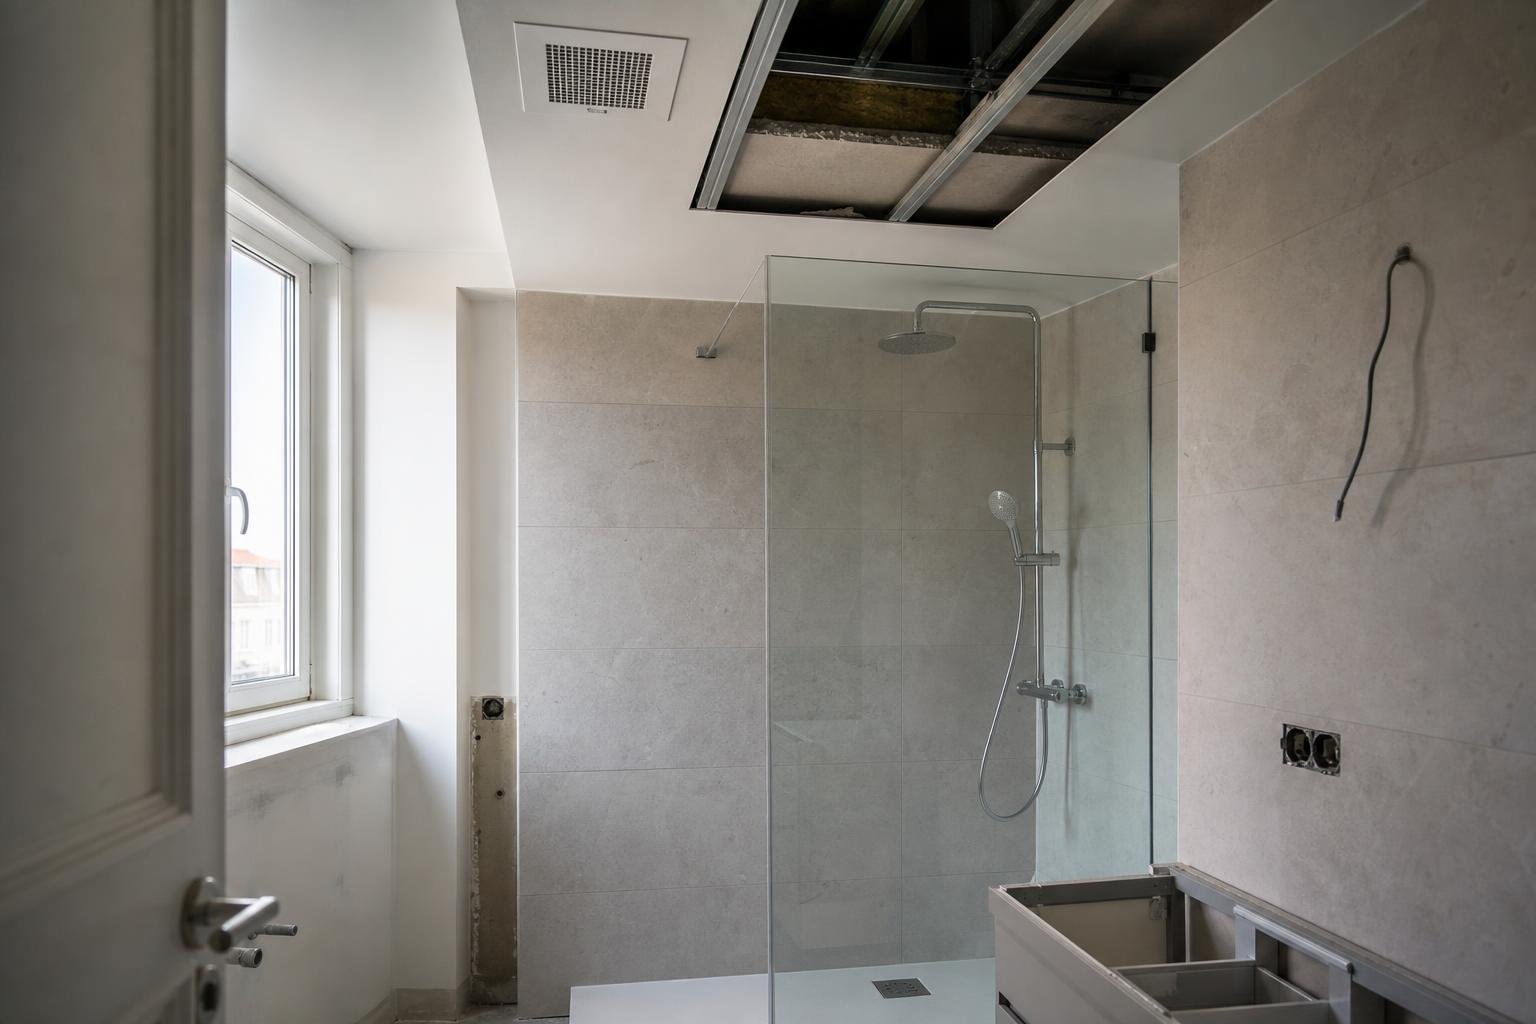
A dehumidifier can improve comfort, but it does not automatically solve the source of damp. When it runs for long periods in a laundry area, basement, internal bedroom or poorly ventilated flat, the tank fills quickly. Emptying it becomes an easily missed task, and the consequences are often mundane but expensive: water on the floor, swollen skirting boards, damaged cabinetry or a machine that stops just when it is needed.
During a renovation, decide early whether the unit will remain portable or live in one fixed location. A permanent position makes it possible to plan a correctly located socket, stable base, hose route and safe discharge point. Portugal’s health authority highlights humidity control and increased ventilation as key measures for limiting condensation and mould. Drainage should therefore support a wider moisture strategy, rather than disguise a leak or inadequate ventilation.
Separate collected water from the cause of damp
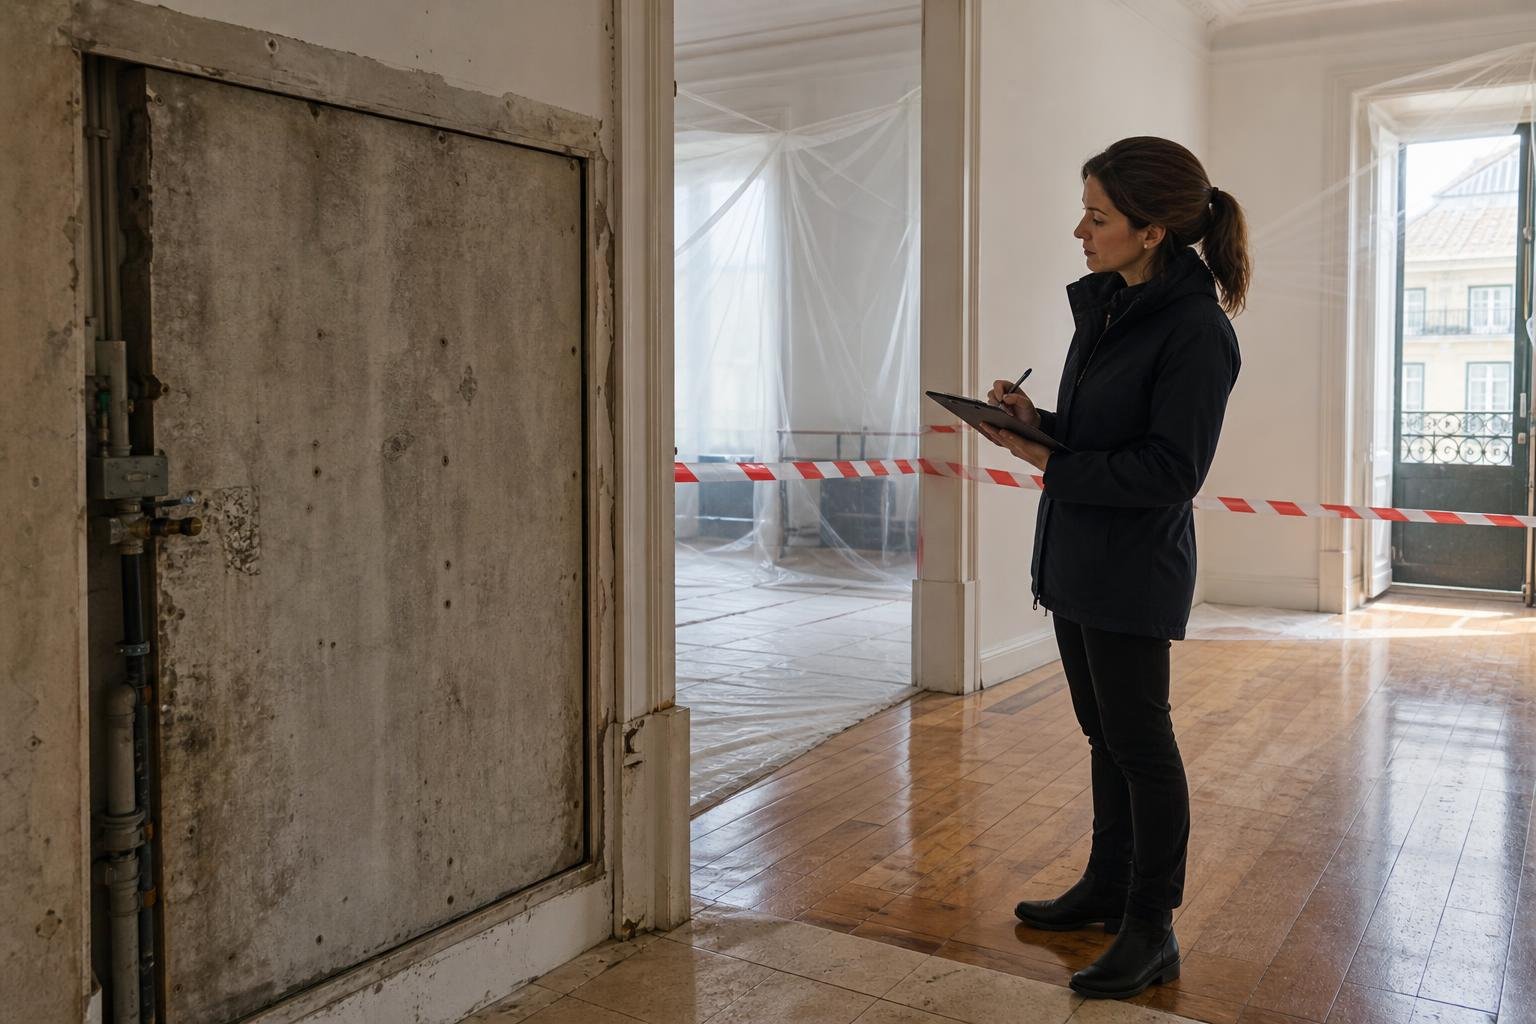
Water in the tank is condensate removed from indoor air. It is useful evidence, but it does not automatically reveal the underlying cause. Before opening walls or choosing a continuously drained appliance, look at the pattern: is mould appearing on external corners? Does humidity rise after showers, cooking or drying laundry? Is there a local stain near a window, pipework run or party wall?
The Portuguese health authority’s guidance on damp and mould lists household behaviour, inadequate ventilation, construction characteristics and structural defects among possible causes. If there is a leak, rainwater ingress through a façade or rising damp, running a dehumidifier continuously may soften the symptom while leaving the building unprotected. Diagnose the source first, then decide on a lasting response.
A hygrometer used for several days in different rooms can help connect humidity peaks with activities and timings. For a practical starting point, see Obra Lisboa’s guide to using a hygrometer to understand damp.
Choose a position that handles water and remains serviceable
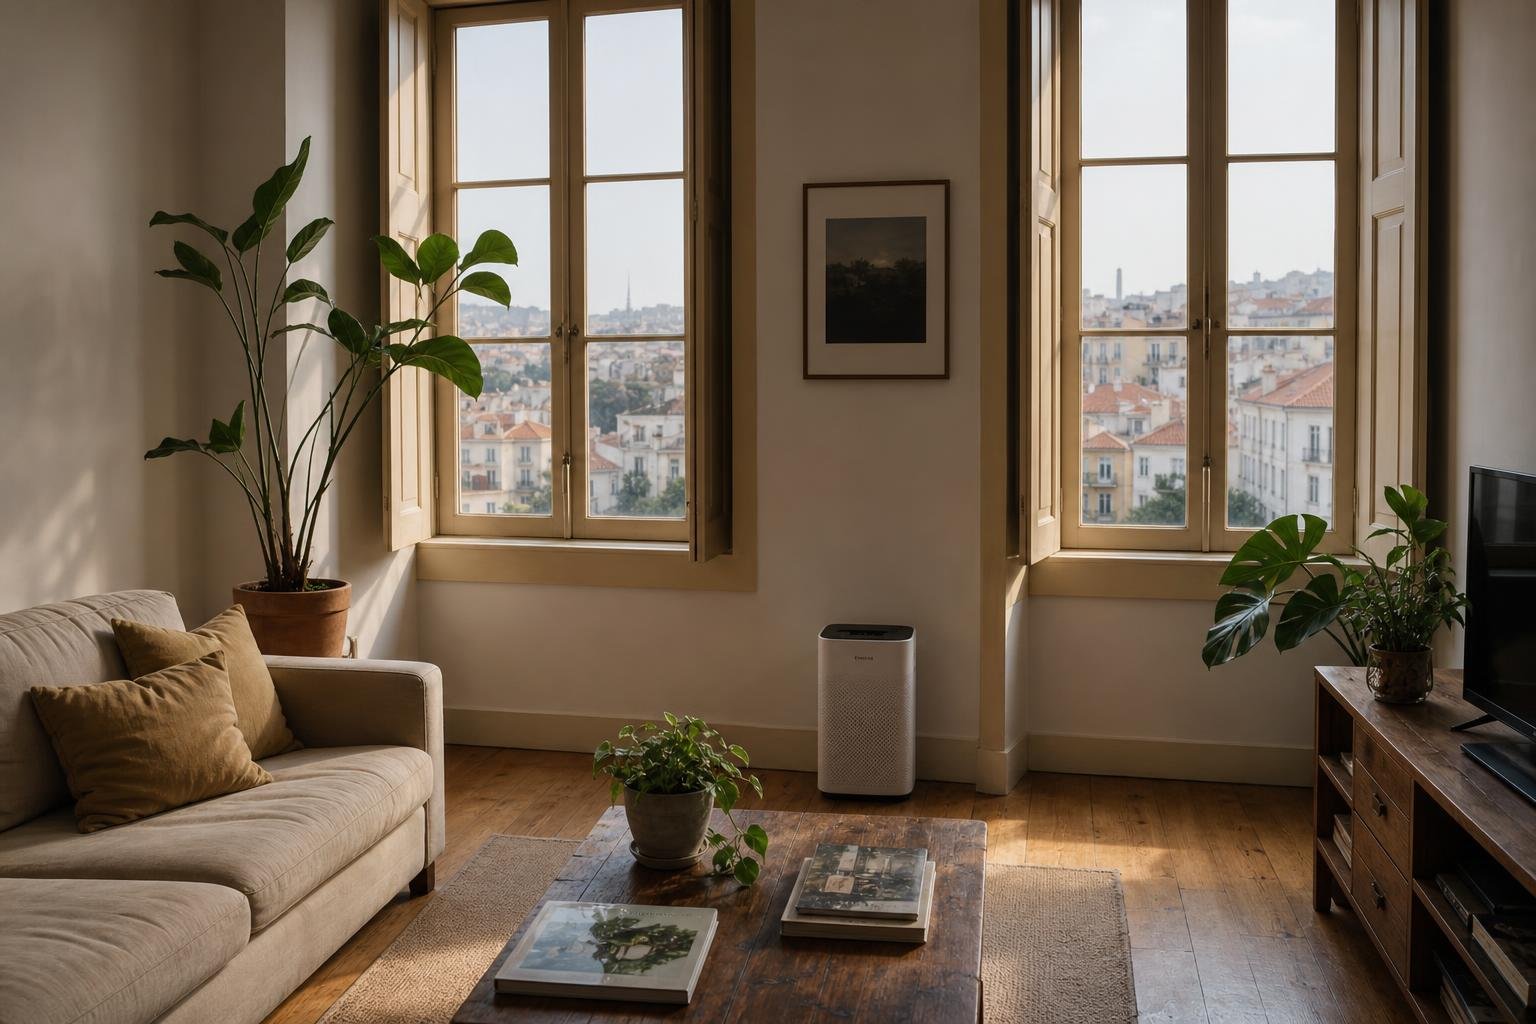
The most convenient location is not always the safest. Avoid pressing the unit against cold walls, standing it on moisture-sensitive timber or hiding it inside a cupboard with no air renewal. Leave enough room around the intake and outlet grilles, the water tank and the hose connection. You should be able to check at a glance that the hose has not kinked, slipped loose or been trapped behind furniture.
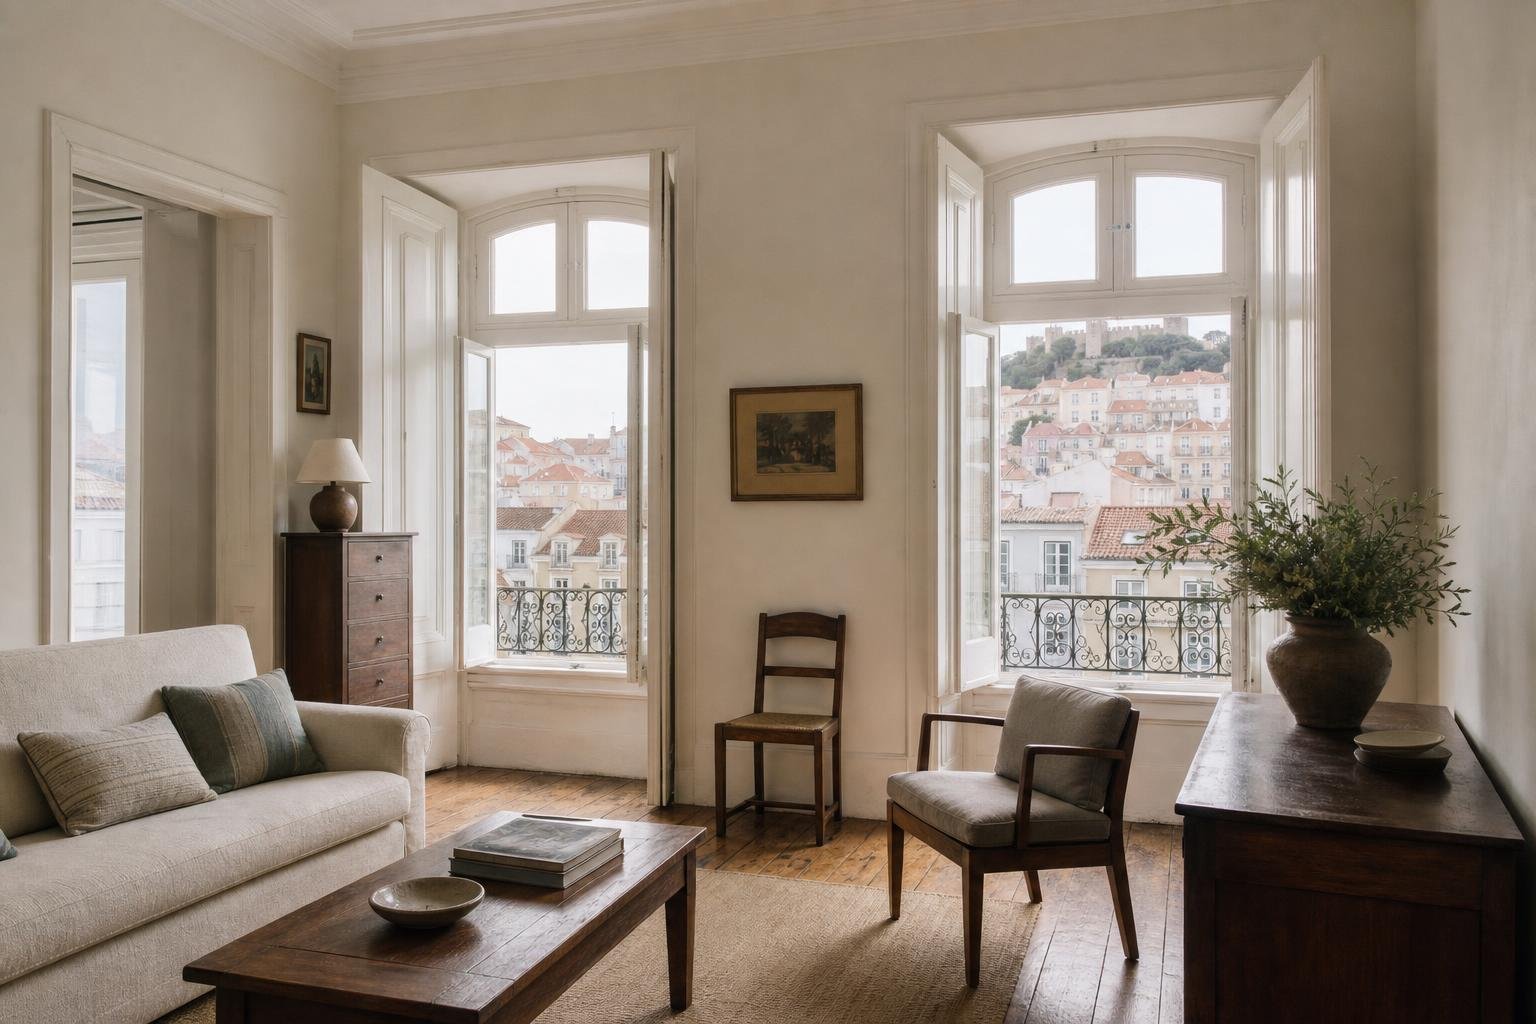
Laundries, technical cupboards and bathrooms can work well where there is water-resistant flooring, a suitable socket and straightforward access. In Lisbon flats, enclosed balconies are also commonly considered; in that case, assess ventilation, solar gain and condensation on the window frames before relying on the space. The aim is to avoid creating a concealed warm, damp pocket around the appliance.
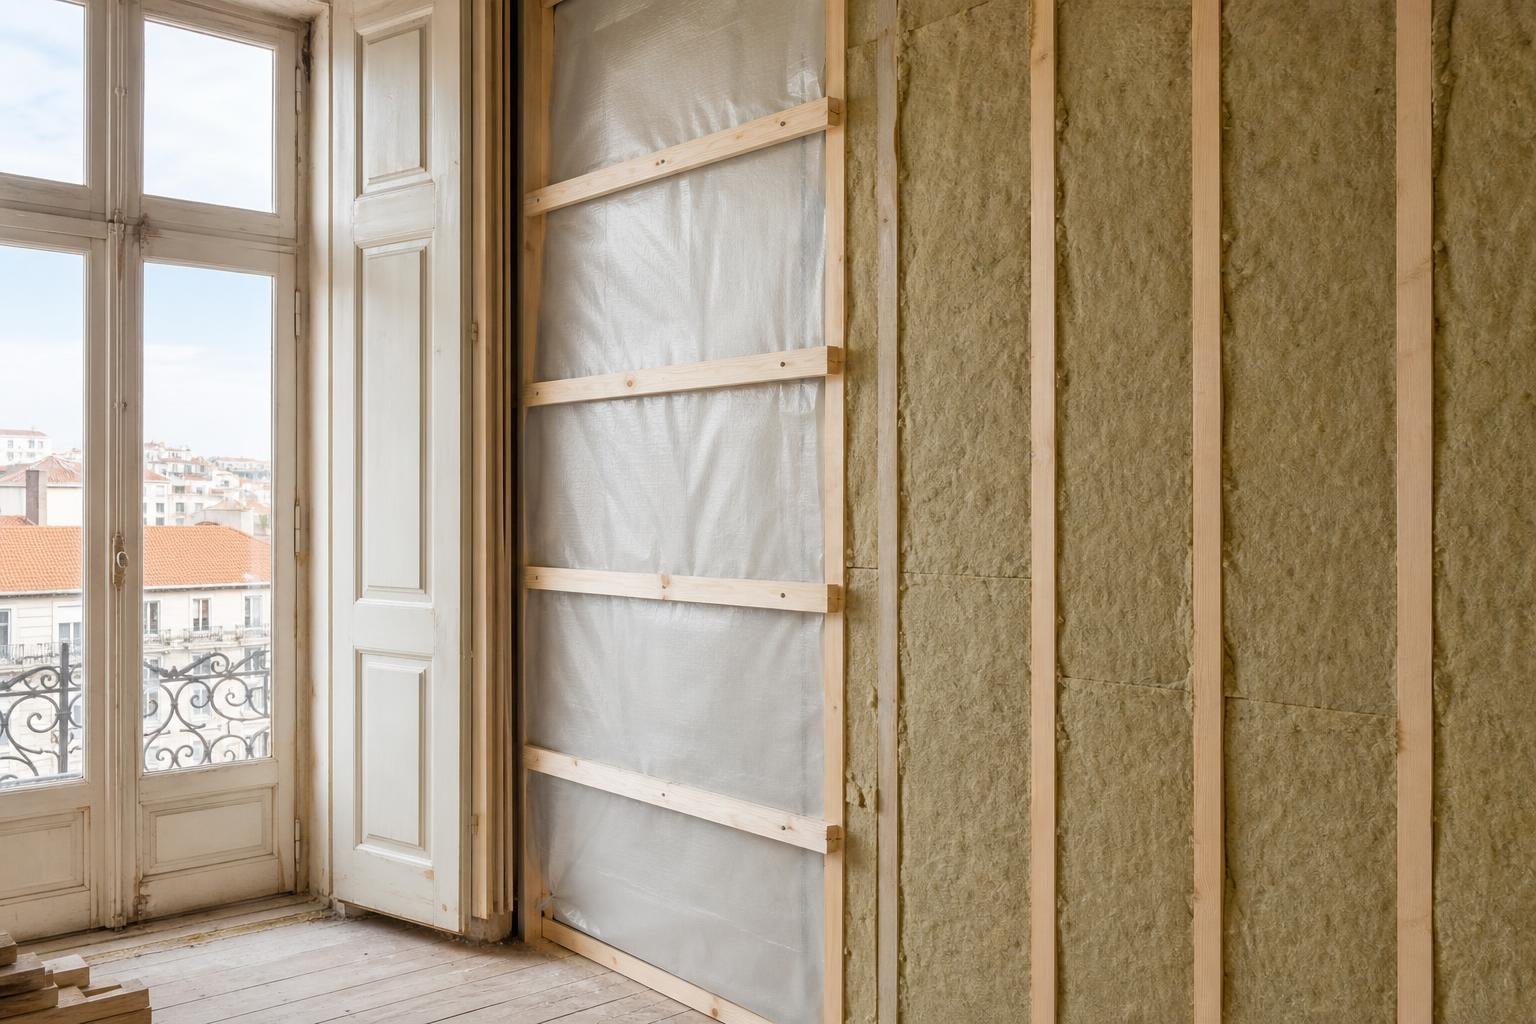
Where cabinetry is part of the renovation, provide a removable door or service panel. Do not build the appliance into a made-to-measure niche without allowing clearance, airflow and a realistic way to remove it later. The ADENE glossary notes that indoor-air quality includes ventilation, temperature and humidity alongside other factors.
Plan continuous drainage without an improvised outlet
Not every dehumidifier supports continuous drainage, and those that do may require a particular hose or may work only where water can run away by gravity. Read the chosen model’s instructions before fixing the drainage point. A hose that is too long, crushed behind a cabinet or forced to rise towards a waste connection can lead to backflow, overflow or an automatic shutdown.
In renovation work, the cleanest option is usually to reserve an accessible drainage connection near the laundry or technical area, with a short route that can be inspected. Do not discharge onto a balcony, public pavement, into a hidden container or directly beside electrical equipment. If the available waste point requires lifting the water, do not assume that the appliance’s internal pump will solve it; confirm its capacity and installation conditions with the manufacturer.
When work affects drainage, finishes and building services, use contractors with appropriate credentials. The IMPIC guidance on contractor qualifications for HVAC work is relevant when a simple appliance placement becomes a coordinated alteration involving specialist trades.
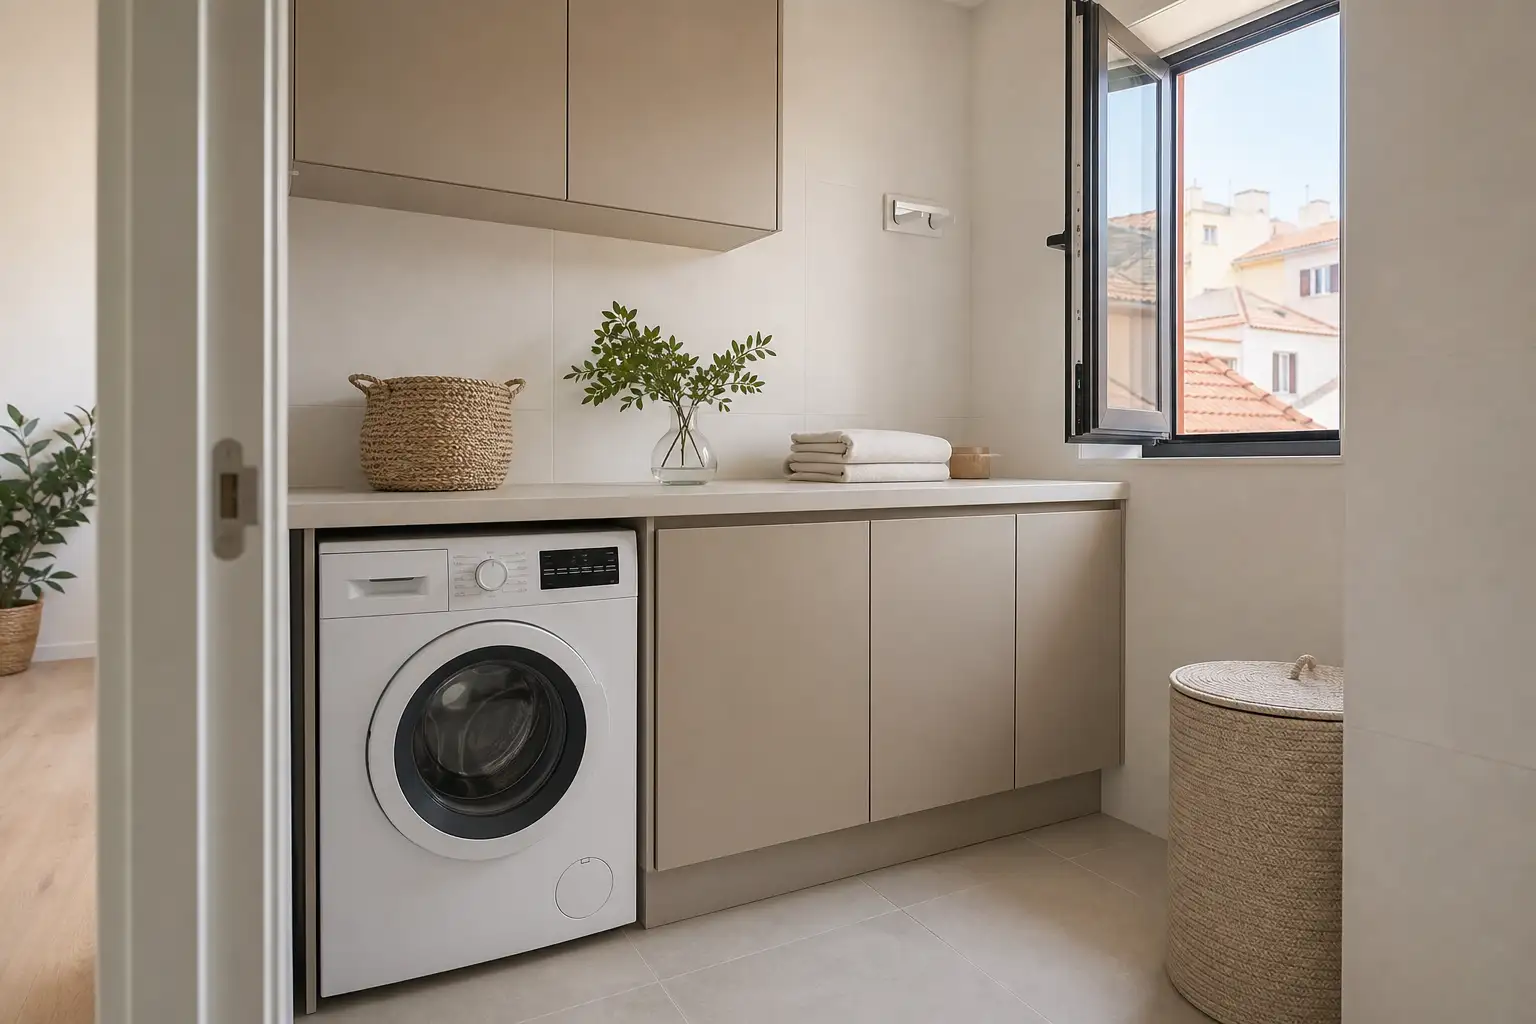
Resolve traps, odours and access before the joinery is closed
A discharge hose should not end in an improvised connection. Poorly considered drainage can allow odours from the waste system to enter the room or make blockages impossible to clear. The right detail depends on the existing network, connection point and equipment, but the design principle remains the same: routes must stay visible or accessible wherever they can fail.
Before installation, identify three points: where the hose starts, where it joins the fixed plumbing and where the assembly can be disconnected or cleaned. If it sits in a low cabinet, include a technical door; if it is behind a washing machine, keep a workable service zone. A flawless finish that requires dismantling a kitchen to repair one joint is not a good solution.
The same logic applies when you plan access panels for concealed plumbing: test before closing up, photograph routes and ensure that critical components can be reached.
Coordinate power, electrical safety and floor protection
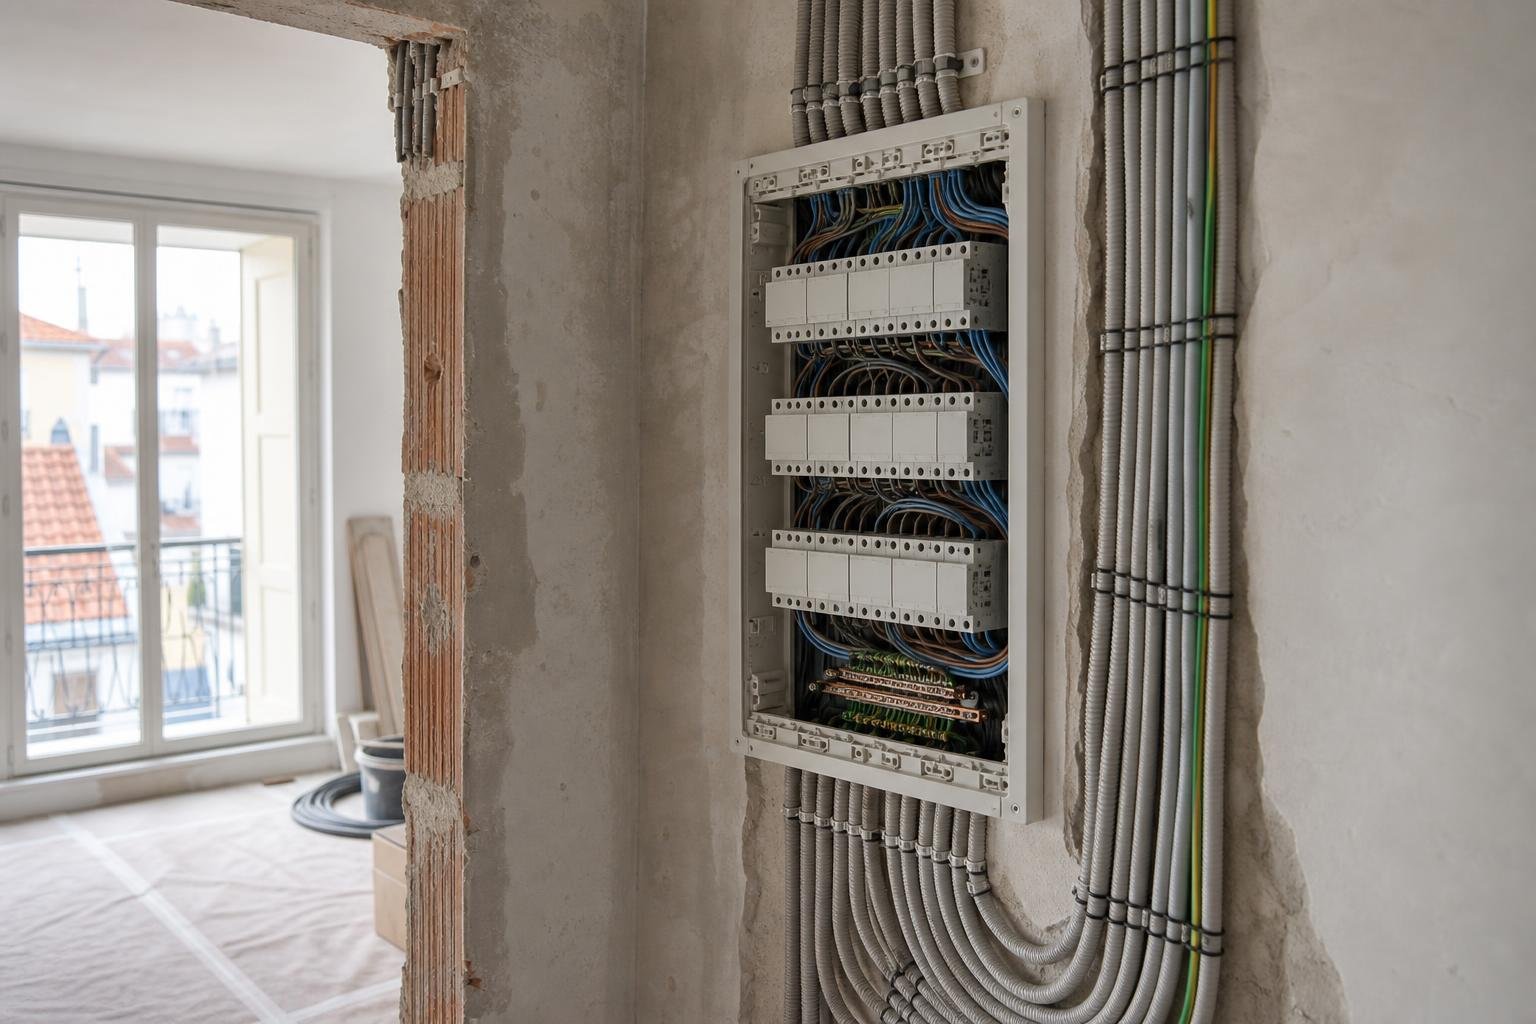
Drainage does not replace sound electrical planning. The cable should not cross wet areas, be pinched by doors or rely on permanent extension leads. In a renovation, provide an accessible socket away from splash risk instead of leaving the appliance plugged in behind a washing machine or cupboard.
Also plan for failure: a loose hose, blocked trap, appliance moved during cleaning or a power cut. A rigid base, raised slightly where appropriate, and a washable surface make minor incidents far less damaging. With floating floors or timber, do not rely solely on the appliance’s internal tank; protect the area and keep the drainage arrangement visible through the first weeks of use.
If the room is being rebuilt, coordinate the socket with lighting, laundry appliances and any extractor fan. It is far easier to do before finishes are closed, as outlined in our article on planning sockets and switches before walls are closed.
Know when the work needs further checks
Putting a portable appliance in place is very different from altering drainage pipes, cutting slabs, changing façades or creating new external outlets. In Lisbon, internal changes that do not affect structural stability, façades, roofs or protected elements may be exempt from prior planning control, but the classification depends on the work actually being carried out. Check the municipality’s page on exempt works and public-space occupation before assuming a technical solution has no formal implications.
Condominium rules, heritage restrictions and the building’s own conditions can also matter. If drainage requires intervention on a shared stack, façade or common area, confirm permissions and future maintenance responsibilities before work begins. Record the installed route, retain manuals and make the isolation point, socket and access panel easy to find.
Well-planned continuous drainage reduces repetitive chores. The more important priority, however, is still to address the source of moisture, ventilate properly and choose a system that can be cleaned, inspected and repaired without destroying finished surfaces.
Renovating a laundry, basement or damp-prone room? Obra Lisboa can help coordinate drainage, ventilation, electrics and finishes before walls and cabinetry are closed.
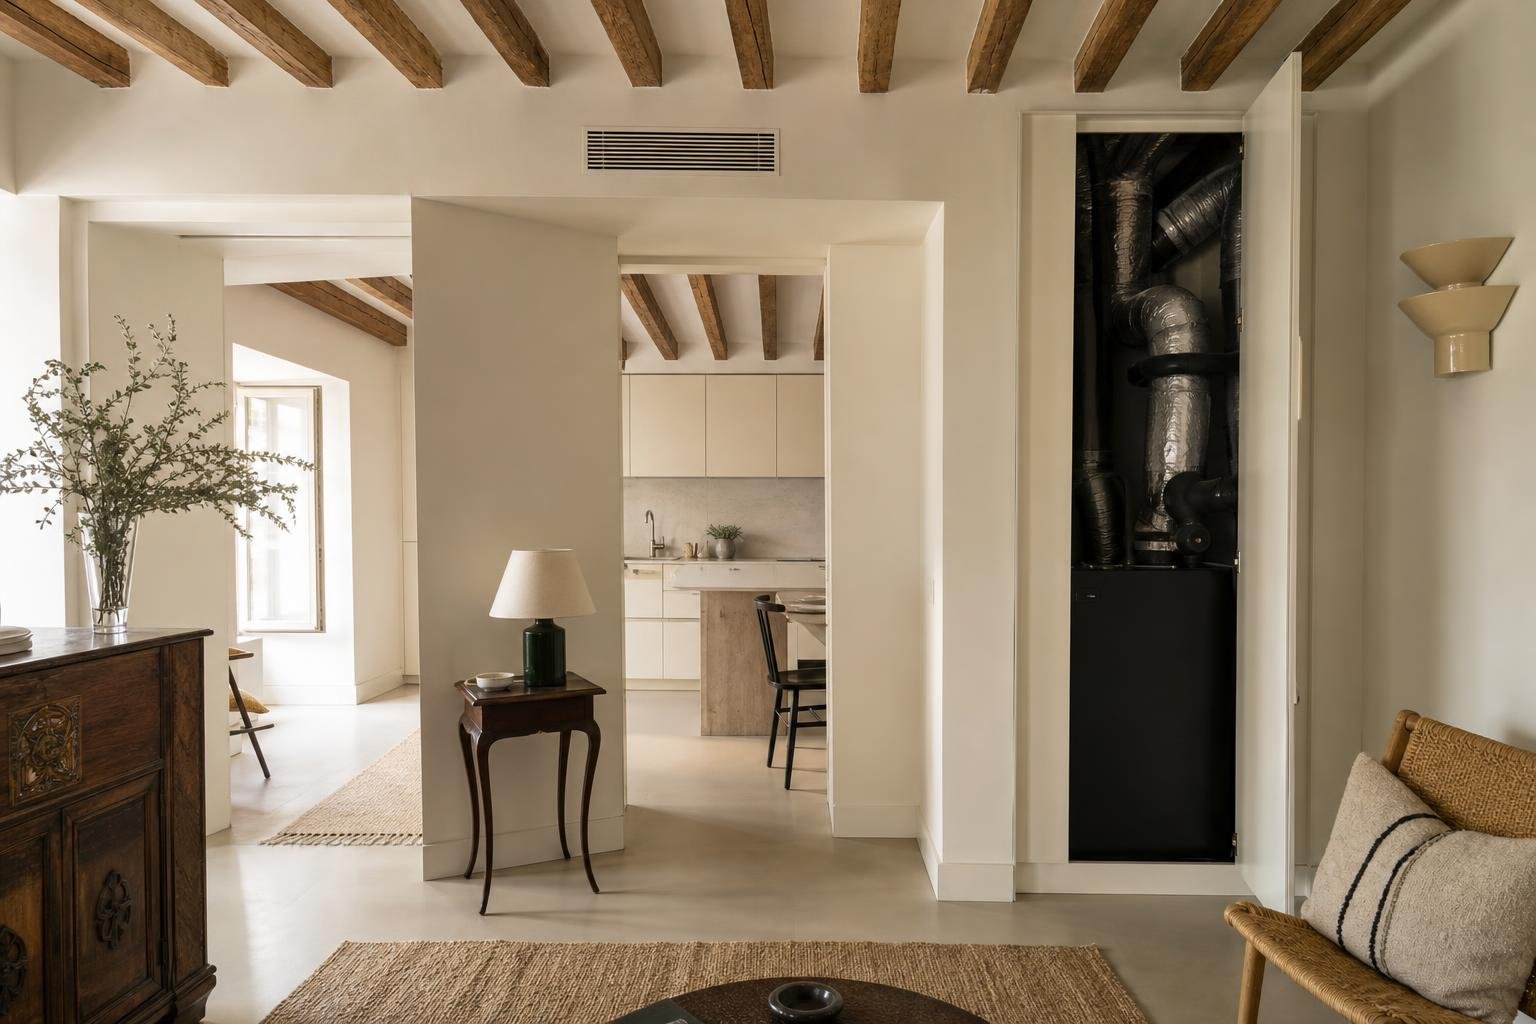
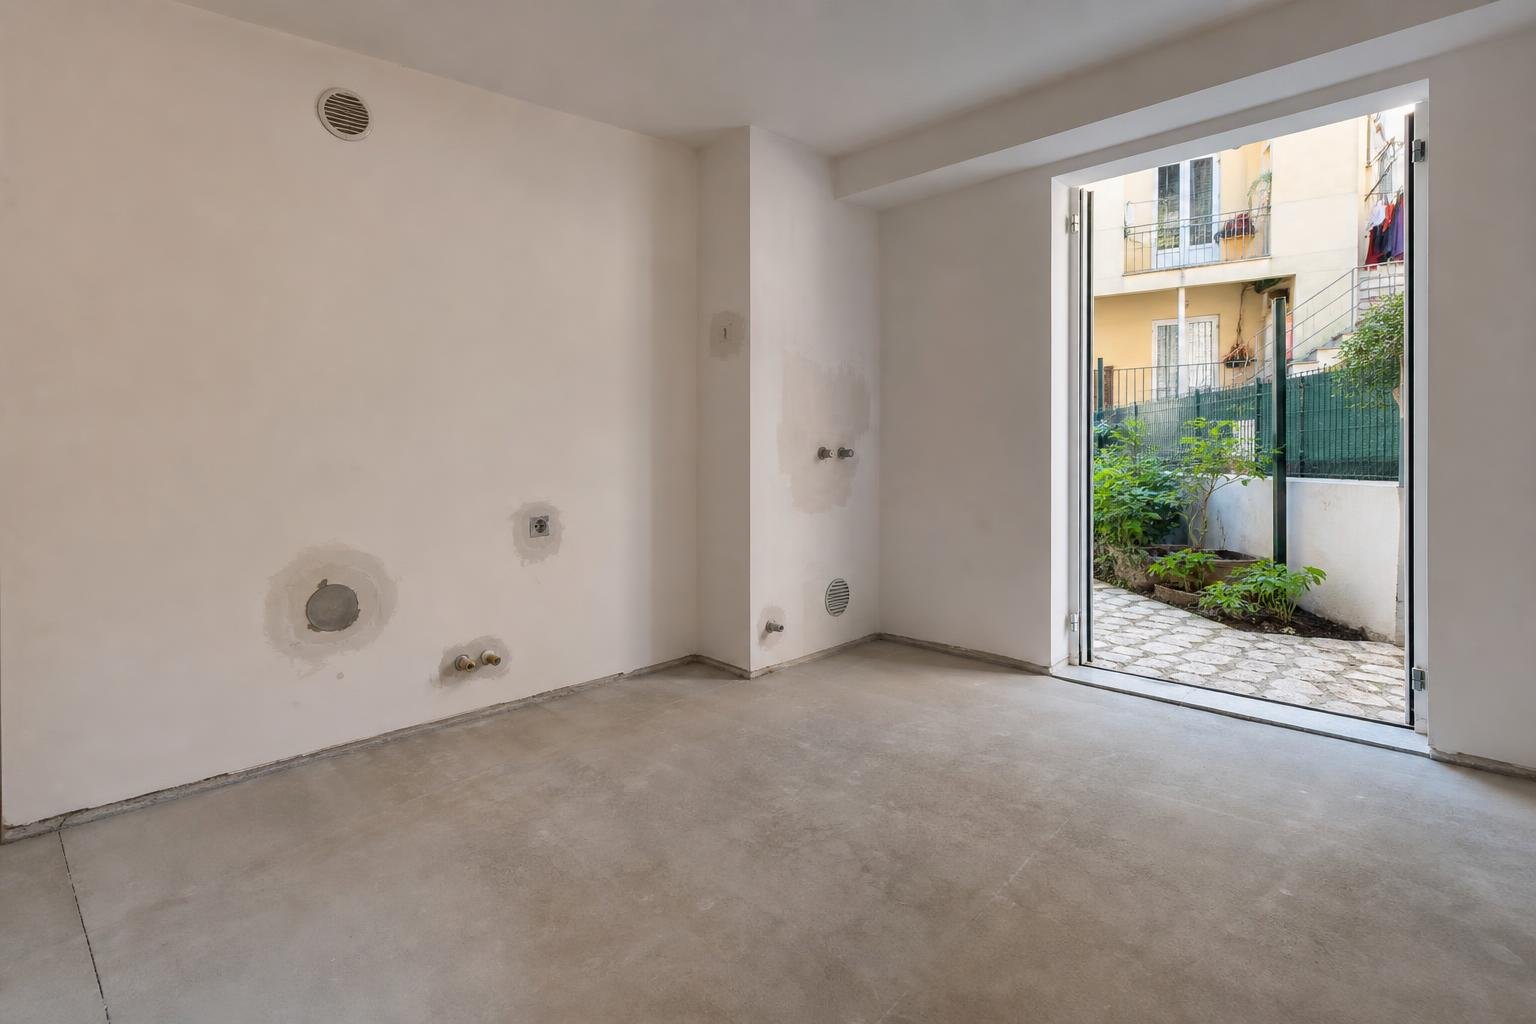
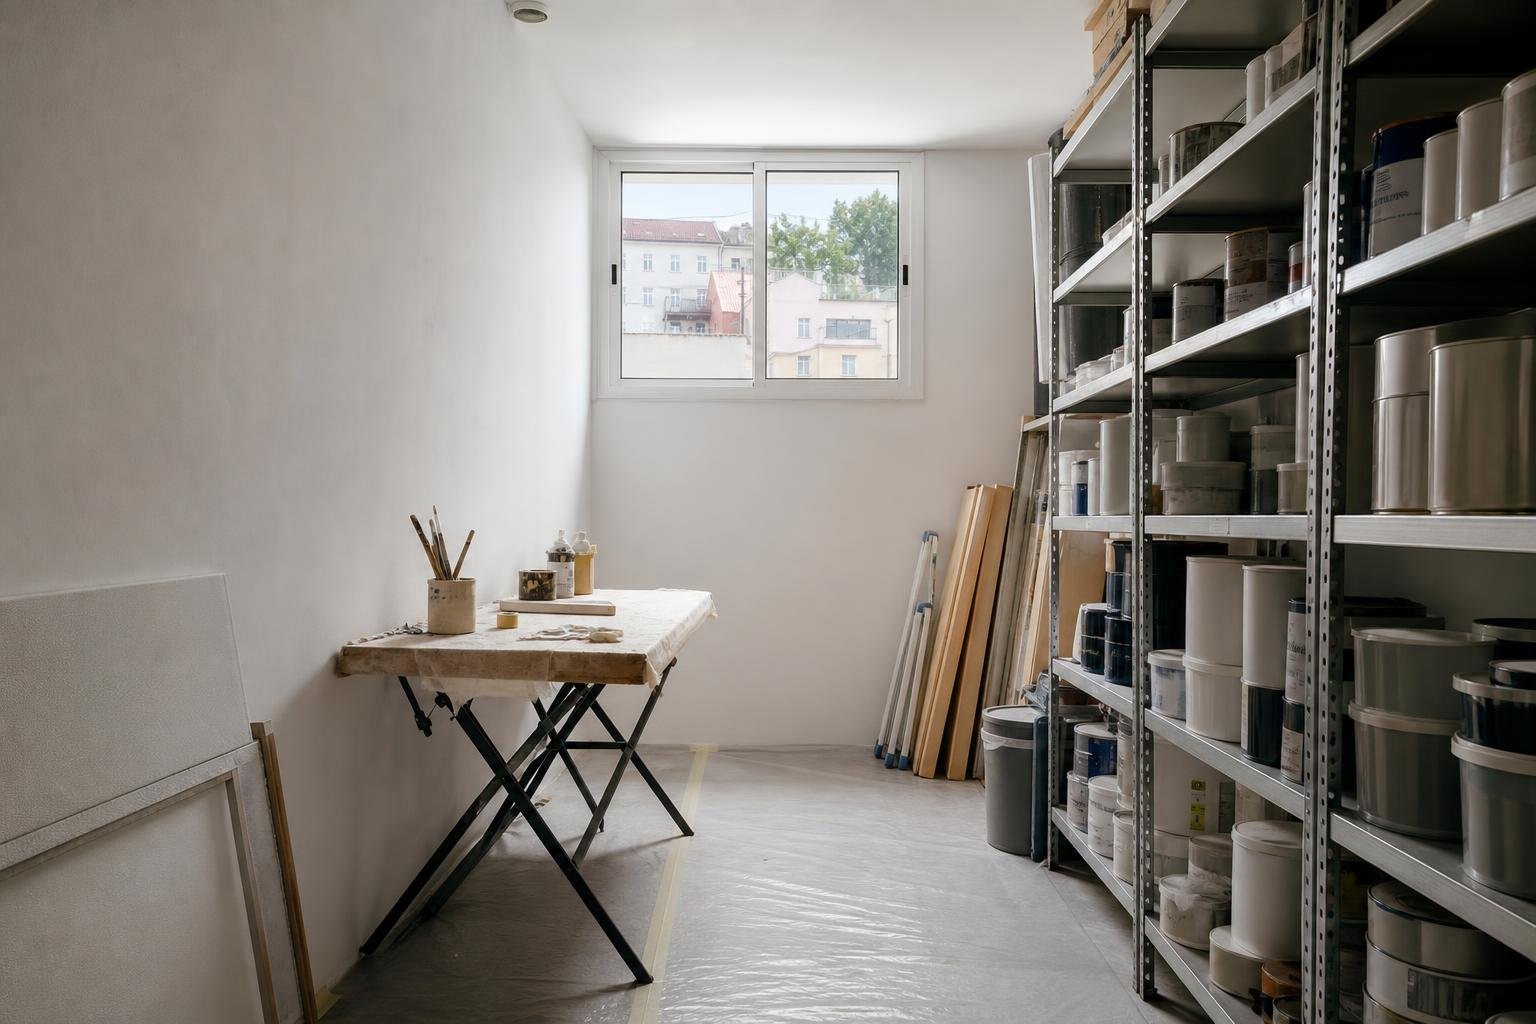
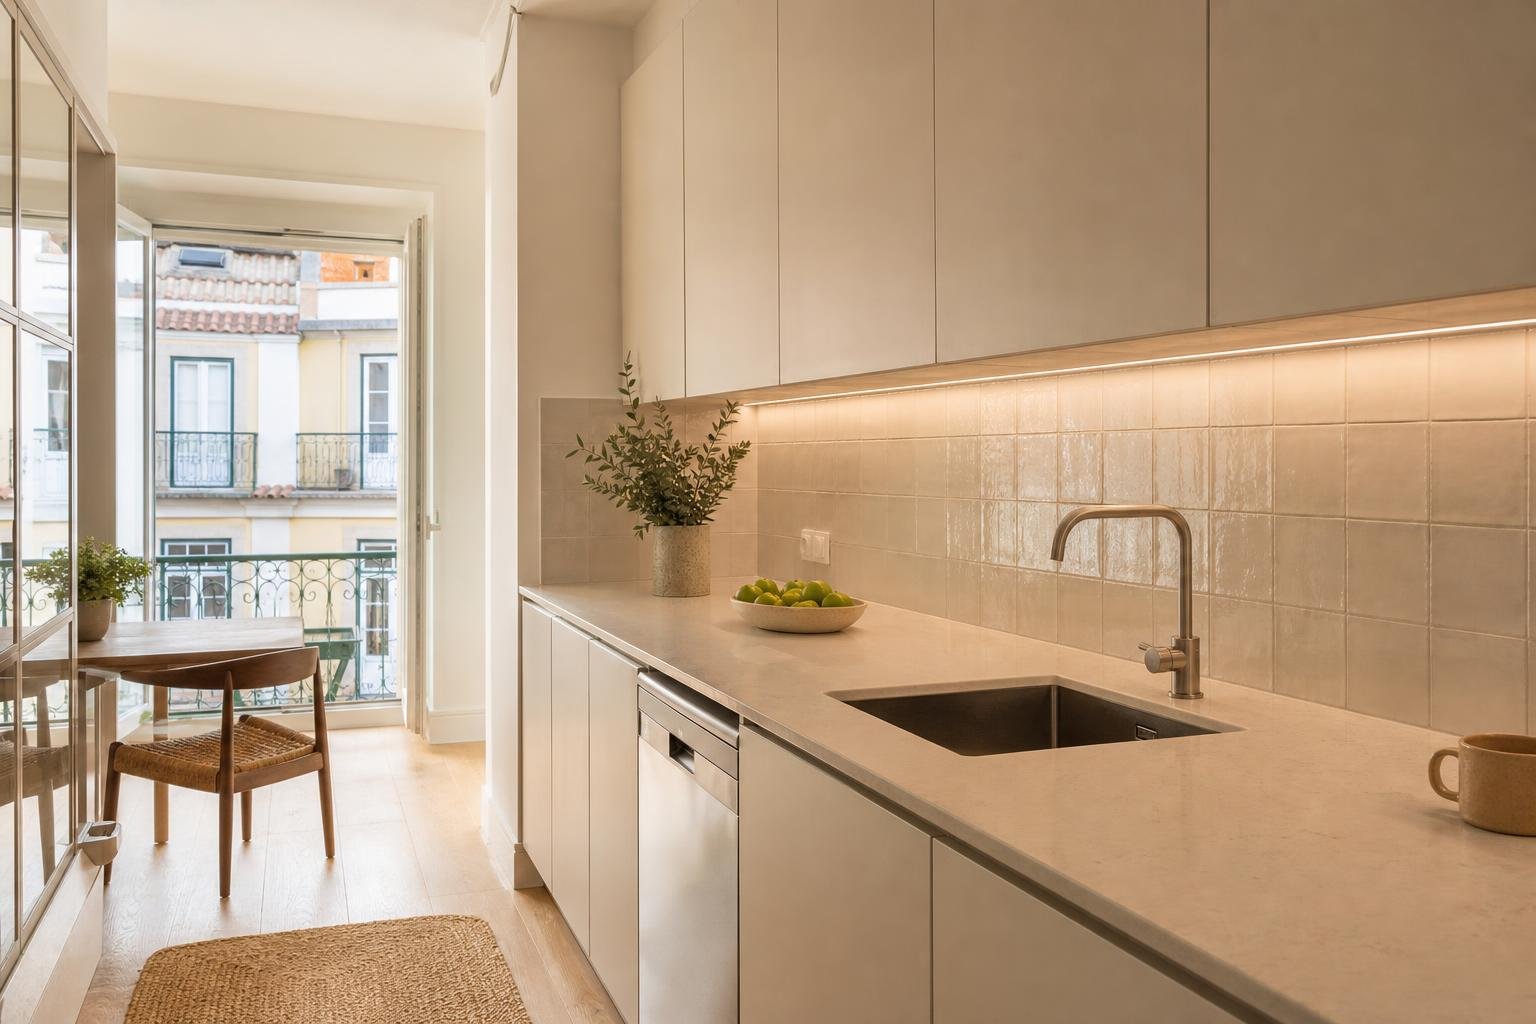
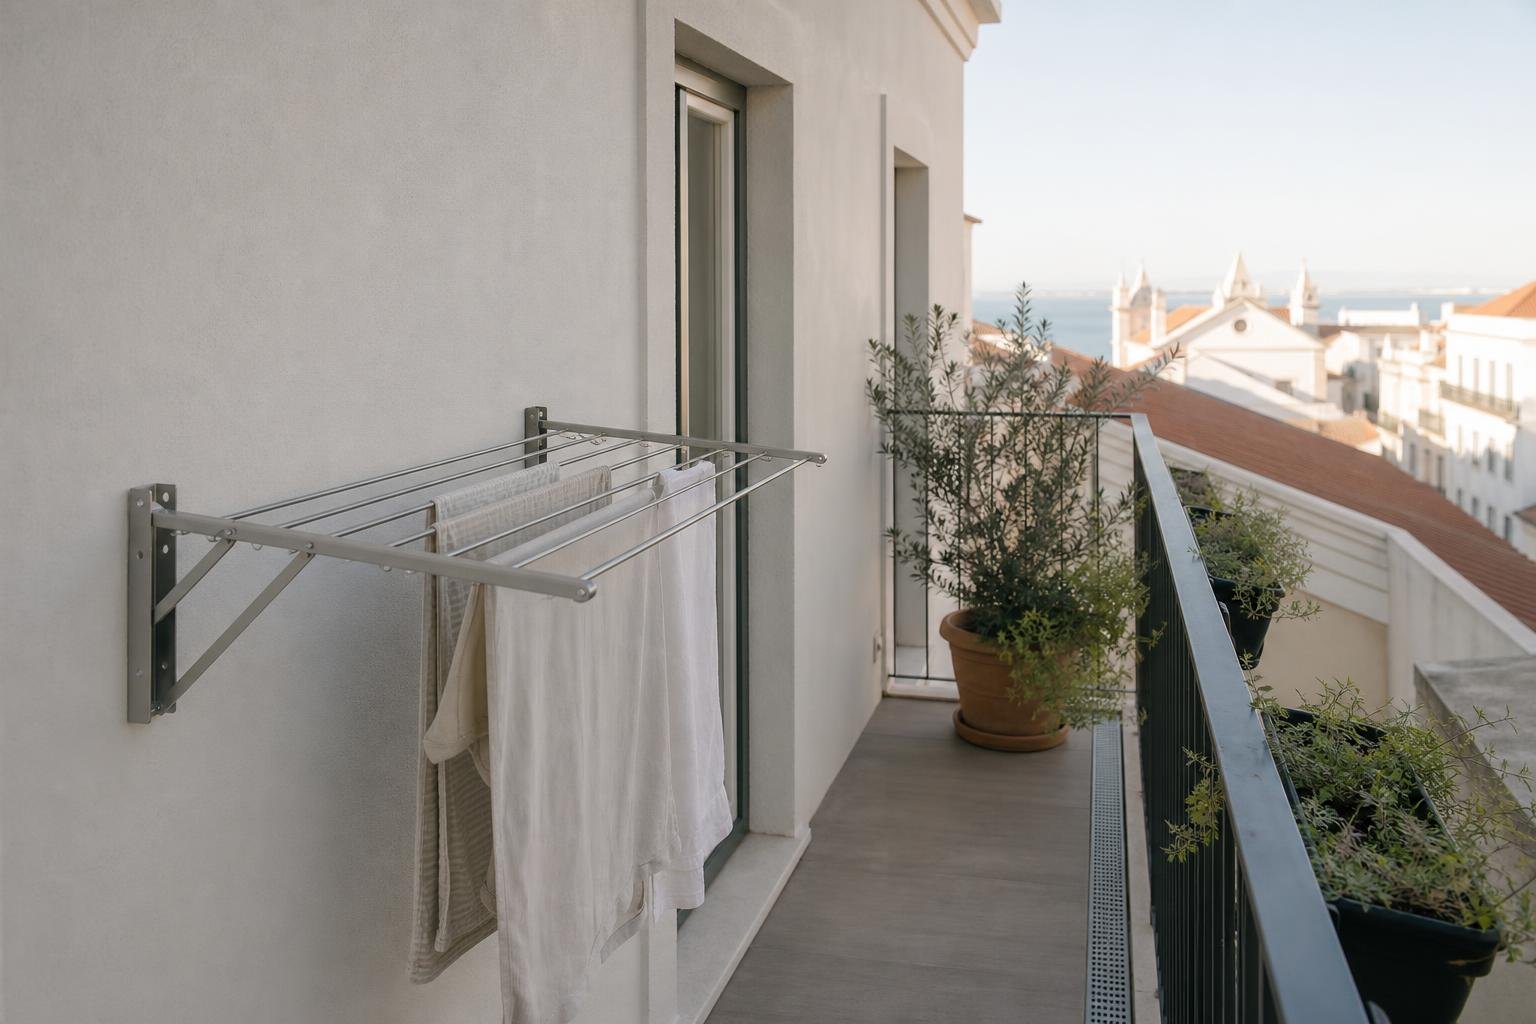
AI-generated editorial image; it does not depict an Obra Lisboa project.

Obra Lisboa