An outdoor socket feels like a minor detail until you need to run a hedge trimmer, irrigation pump, pressure washer or temporary garden lighting. Then an extension lead crosses a doorway, lies near water and ends up supplying more equipment than it should. In a Lisbon house, where patios, balconies and gardens are used for much of the year, exterior electricity deserves to be planned as its own part of the renovation.
The decision is not simply about buying a socket with a cover. It means deciding where real use will happen, how the cable will reach it, what protection the circuit needs and how it can be maintained. Portugal’s low-voltage technical rules remain the essential reference for design and installation; review the Diário da República guidance on technical rules and residential installations before walls or paving are closed.
Start with uses, not with a socket count
Make a straightforward list of equipment that may be used outdoors over the next few years: lawn mower, trimmer, irrigation pump, table lighting, tool charger, pool robot, occasional fridge for an eating area or an e-bike charger. Then mark where each item will actually be used. A socket beside the kitchen door rarely serves the far end of the garden; one near a pedestrian gate can prevent cables from crossing the main access route.
Rather than grouping every outlet on one façade, it is usually more useful to distribute them by area: near the terrace, near the washing point, on a wall close to the storage room and, for a deep garden, at a dedicated point supplied through buried conduit. Each outlet should be reachable without pulling leads across planting beds, steps or a door swing.
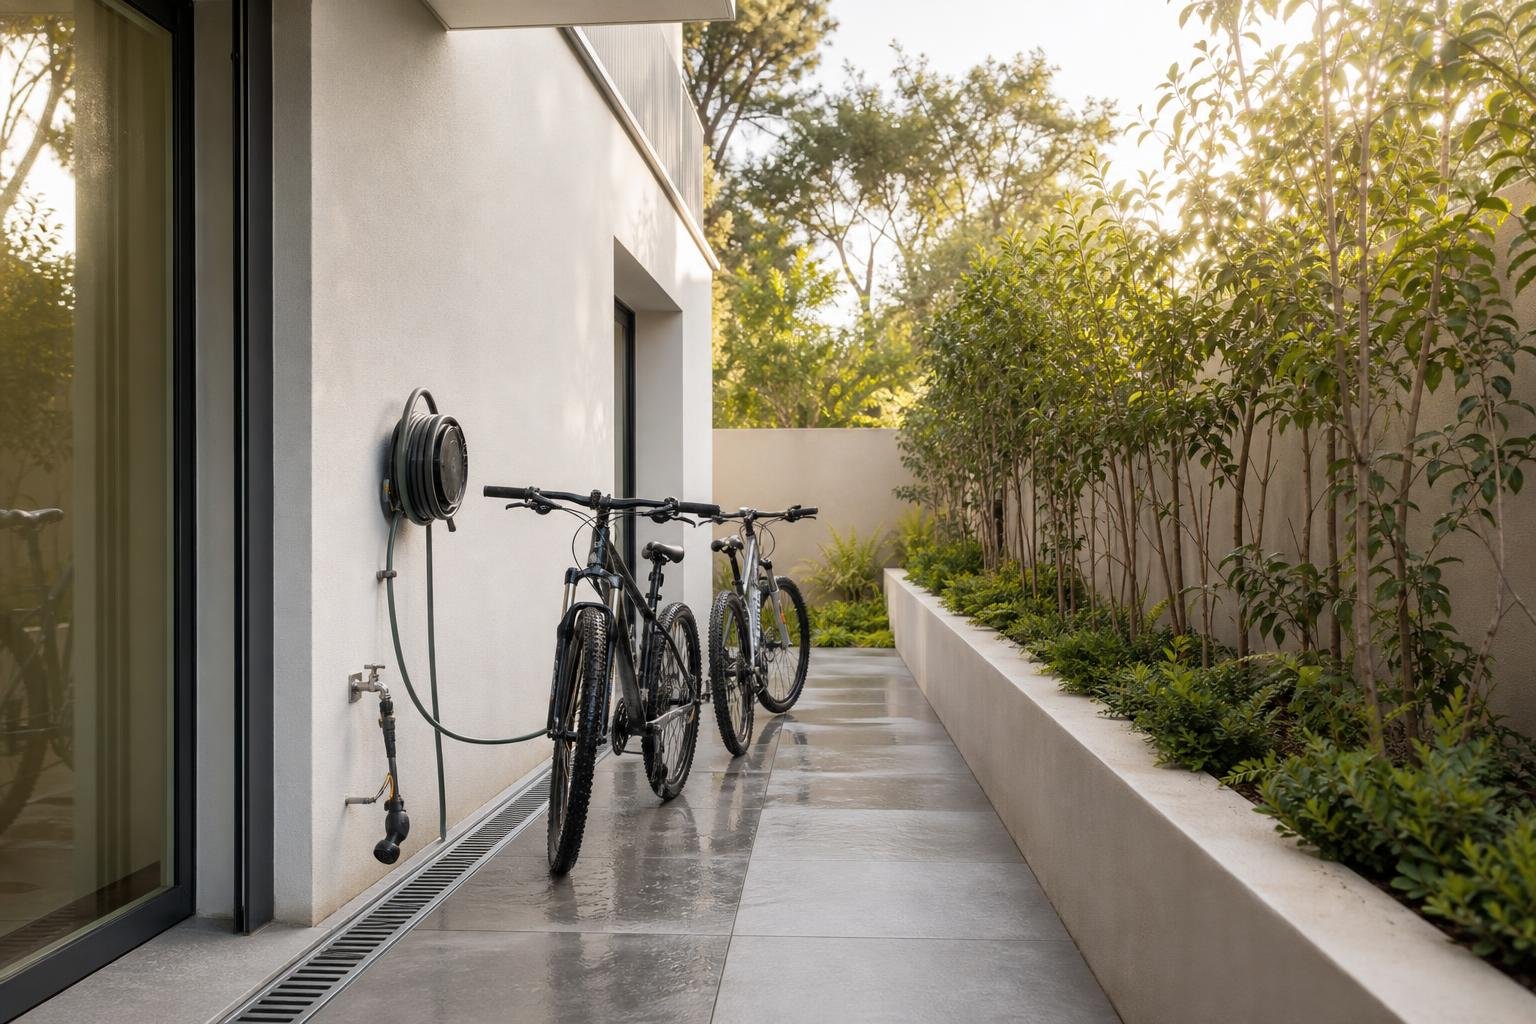
This approach should be coordinated with other exterior services. If you are adding a tap, also read our guide to an outdoor tap at a house: water, drainage and electricity should not compete for the same awkward corner or create an area that is difficult to keep clean.
Choose sheltered positions, but do not hide them
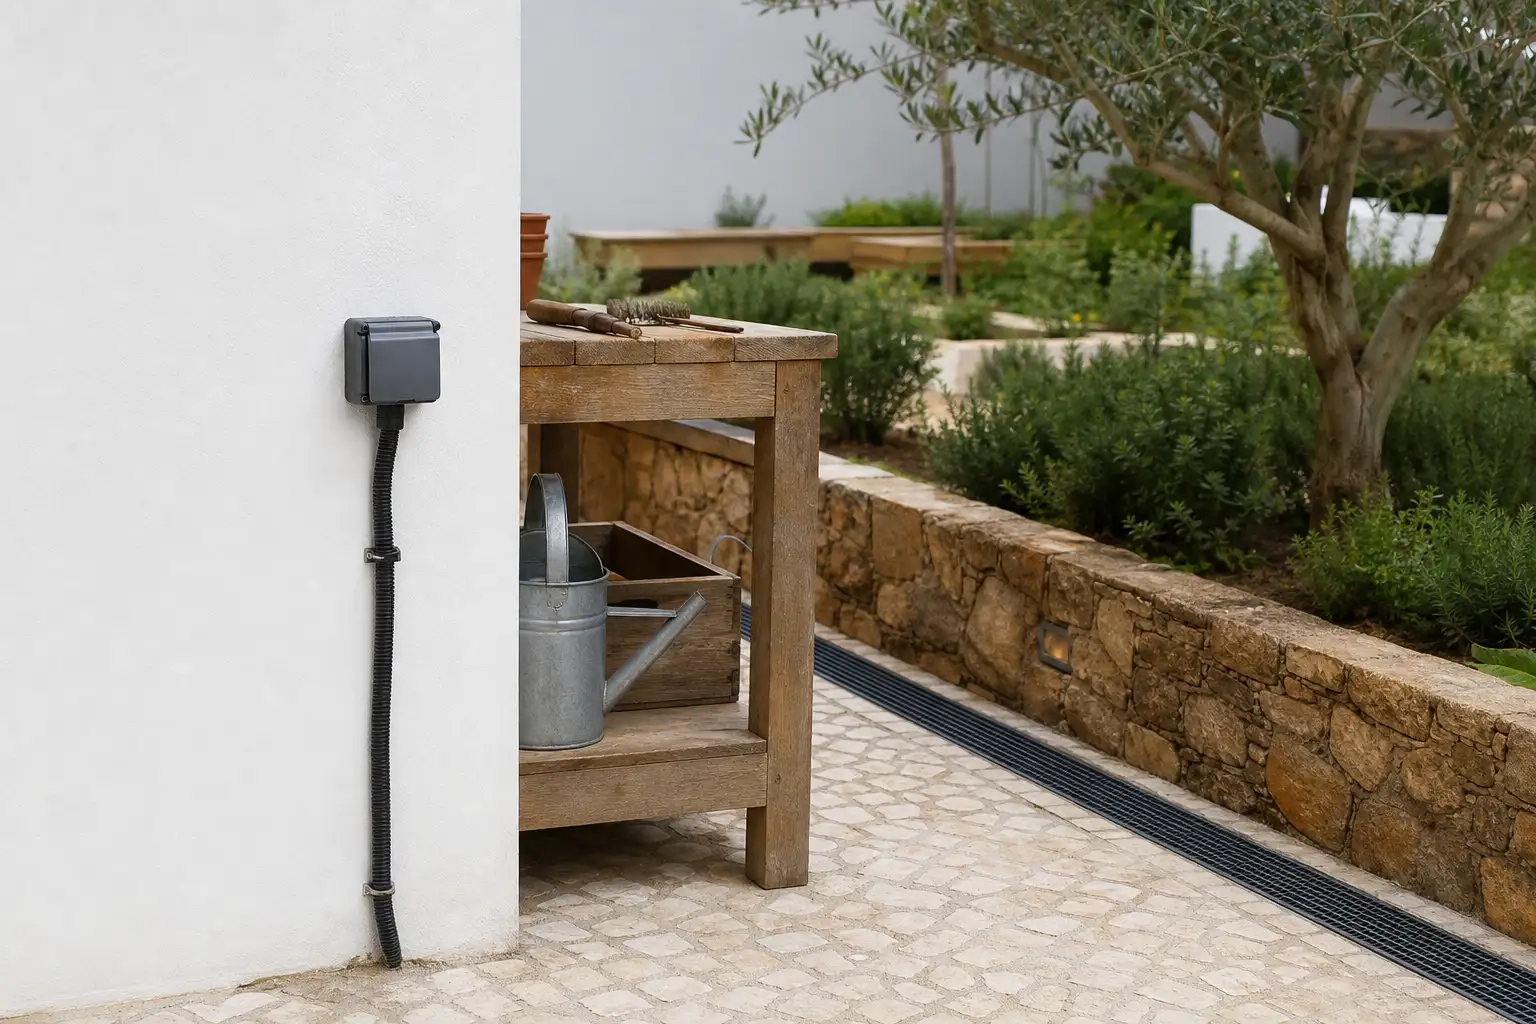
The best position is not necessarily under complete cover. An outdoor socket should be usable and inspectable without moving planters, furniture or finishes. Set it at a height that limits persistent splashes and small build-ups of leaves, soil or wash water. In low patio areas, first establish where water drains; a well-chosen enclosure cannot compensate for an outlet placed where rainfall regularly collects.
Avoid immediate proximity to taps, outdoor showers, irrigation zones and condensate outlets. Where the socket serves a dining area, think about cable routes as well: a side position behind a fixed bench or on a supporting wall can keep the connection available without crossing the route between house and garden.
On a boundary wall, do not assume that the handiest side is the safest one. Check thickness, stability, reinforcement, top copings and possible water ingress. Where a wall has cracks or damp marks, resolve the cause first. See when to repair, drain or rebuild a residential boundary wall before adding boxes, drillings and conduits.
Rain protection depends on the whole assembly
Outdoors, the complete assembly matters more than the socket alone. Choose equipment intended for that environment, with a cover that closes properly when unused, a compatible enclosure and carefully sealed cable entries. A warped cover, poorly tightened cable gland or open route through the wall stops being a minor defect when rain is wind-driven, paving is washed or irrigation is used frequently.
Avoid fitting an outlet over very uneven surfaces, degraded joints or finishes that are still unstable. The junction between enclosure and wall should prevent water from reaching the back of the equipment. If the installation is concealed, make the decision before plaster is completed; if it is surface-mounted, the conduit should be firmly fixed, protected from knocks and laid out in a clear route.
Do not select a protection rating solely because of a code on the packaging. Ask the installer to confirm its suitability for the precise site: rain exposure, washing, dust, impact risk and use while a plug is connected. The installation must comply with applicable safety requirements, within the framework of the Diário da República regime for private electrical installations.
Separate circuits for demanding loads
A socket used for charging a phone and one intended to supply tools, pumps or pool equipment should not be treated identically at the planning stage. If you expect high loads or extended running times, ask for an assessment of available capacity, the existing consumer unit, conductor sizing and the protection required. The point is to avoid repeated trips, overloaded indoor circuits and permanent extension leads that gradually become a substitute for proper fixed wiring.
For a garden workshop or an area with several tools, a dedicated circuit can improve both safety and everyday convenience. The same applies to outlets intended for permanent equipment: they should remain accessible for isolation, testing or replacement, without lifting a deck or moving a heavy machine.
It is also sensible to retain space in the electrical panel for future needs, including lighting, automated irrigation or charging. That does not mean installing everything now; it means leaving a rational technical route. Before work begins, confirm that the contractor is appropriately qualified for low-voltage electrical work. The IMPIC lists low-voltage electrical installations among construction activity subcategories.
Plan cable routes before paving the garden
The most economical time to provide outdoor power is before paving, boundary walls, fixed planting beds and seating areas are completed. Draw the route from the electrical panel to each point and identify turns, path crossings, wall connections and places where future access may be useful. An empty conduit installed properly during the works can prevent the need to open new paving when you later decide to add lighting, irrigation or another outlet.
For buried routes, do not improvise depth, mechanical protection or conduit connections. Roots grow, gardens are dug over and planters or pergolas may need fixings later. Record the route in the house file and photograph the work before it is covered. This simple record can reduce risk during later alterations.
If the project includes a terrace, deck or permeable paving, coordinate electricity with falls and drainage points. Water should not be trapped around enclosures or allowed to travel through conduits. For the drainage side of the decision, see our guide to permeable paving in residential patios.
Keep the exterior from becoming a temporary installation
Once the work is complete, the practical rule is simple: do not use an outdoor socket as a permanent hub for extension leads, adaptors and multi-socket blocks. Use cables suited to exterior conditions, keep plugs and covers clean, and disconnect equipment left outside when it is not needed. If an outlet becomes warm, loose, damp or repeatedly trips its protective device, stop using it and arrange a check.
Add these points to the seasonal maintenance of the house. Before wet weather, inspect covers, seals, enclosures, visible conduits and signs of water on adjacent walls. Before summer, test the outlets that will serve the garden, outdoor meals and tools. A well-positioned outdoor socket is not a luxury: it reduces improvised solutions, protects finishes and makes outside space easier to use every day.
Planning an exterior renovation or preparing a house for new uses? Obra Lisboa can help coordinate technical routes, paving, drainage and finishes so that outdoor sockets are safe, discreet and ready for everyday use.
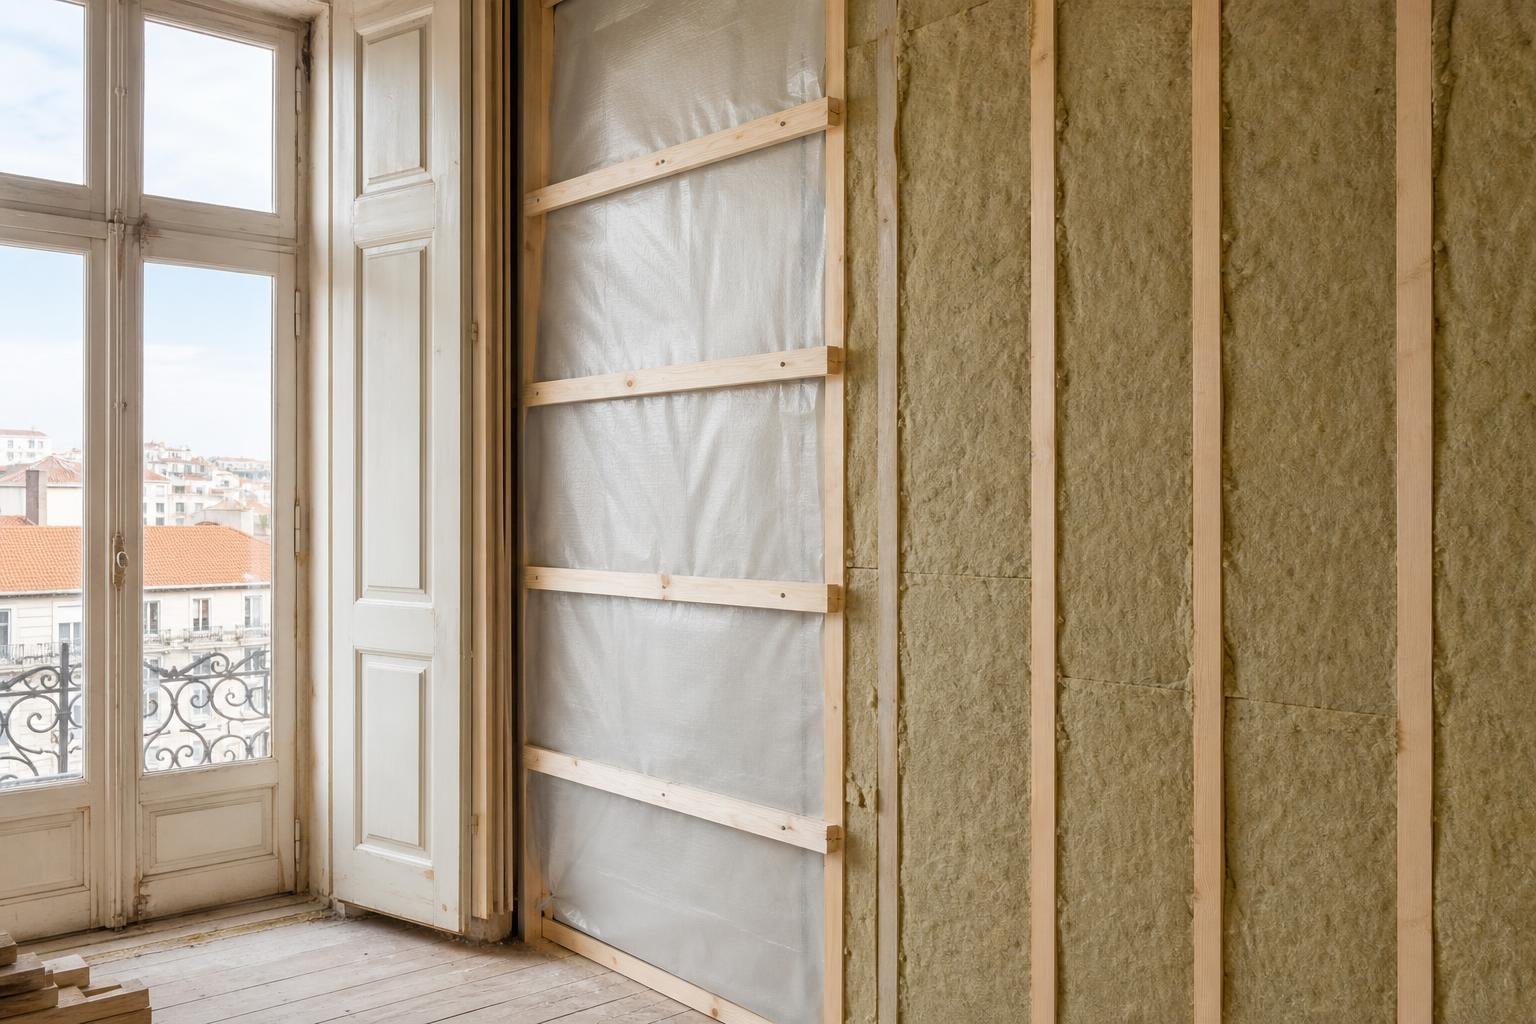
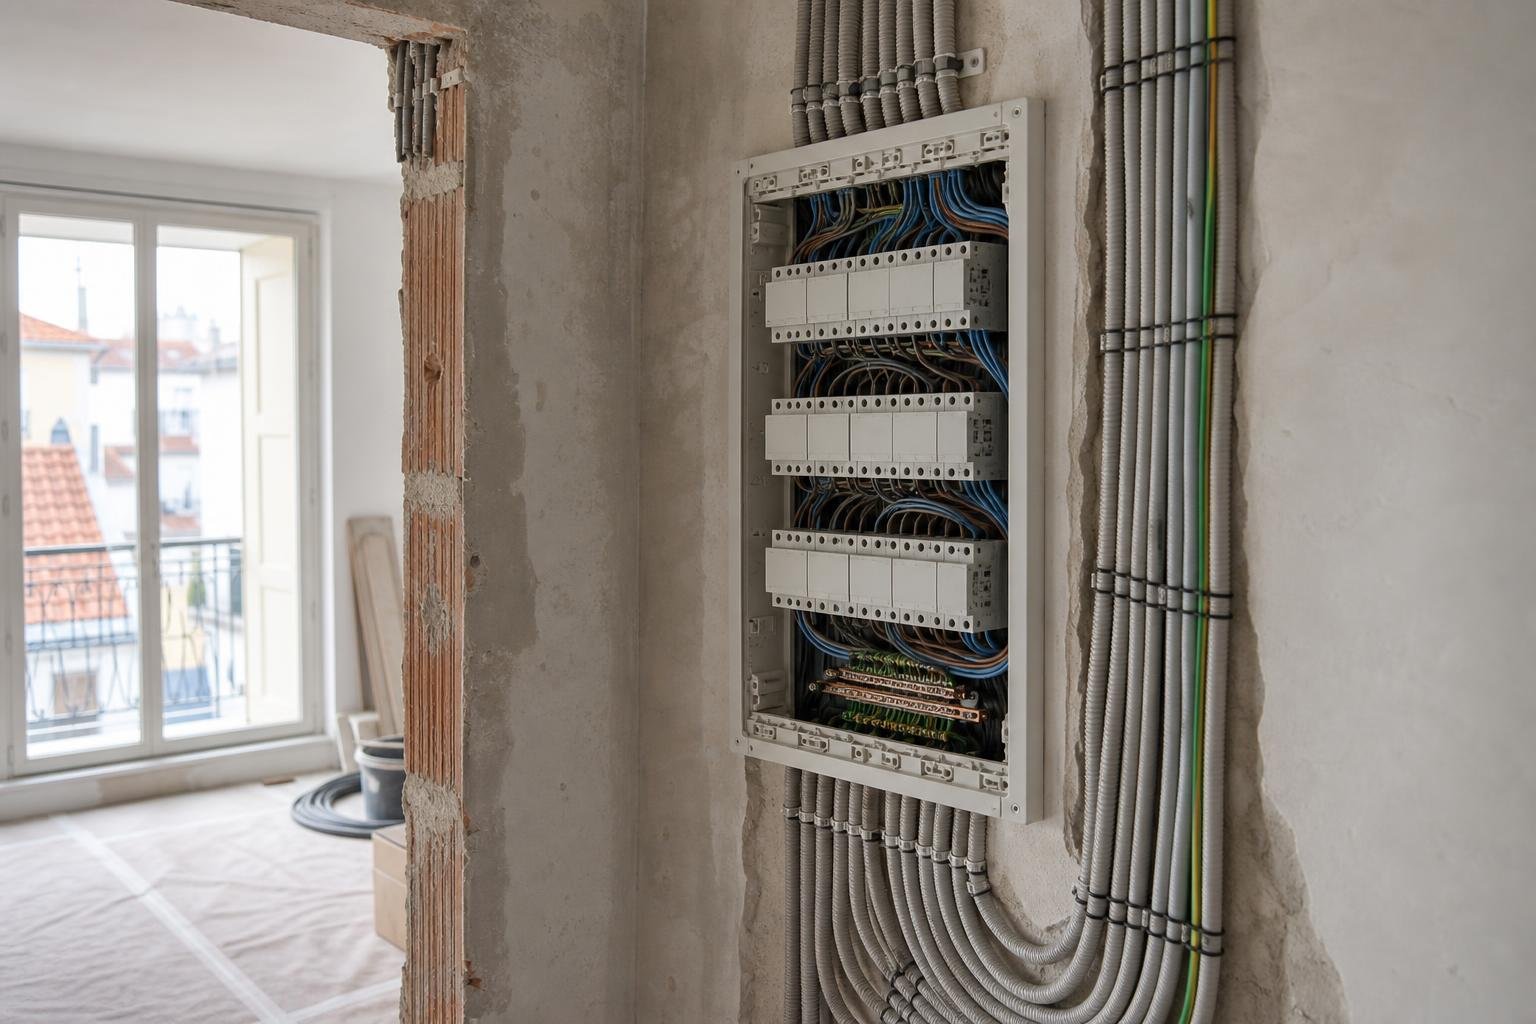
AI-generated editorial image; it does not depict an Obra Lisboa project.

Obra Lisboa