Installing floating flooring in a bedroom can look straightforward until the floor meets the wall. That junction determines whether the room feels carefully finished or hastily covered over. Skirting boards conceal the perimeter gap required by the floor, protect the bottom of the wall and make the transition between materials look intentional. They cannot, however, solve every issue: a wavy wall, poorly finished door lining or a door that sits too close to the floor must be addressed before materials are ordered.
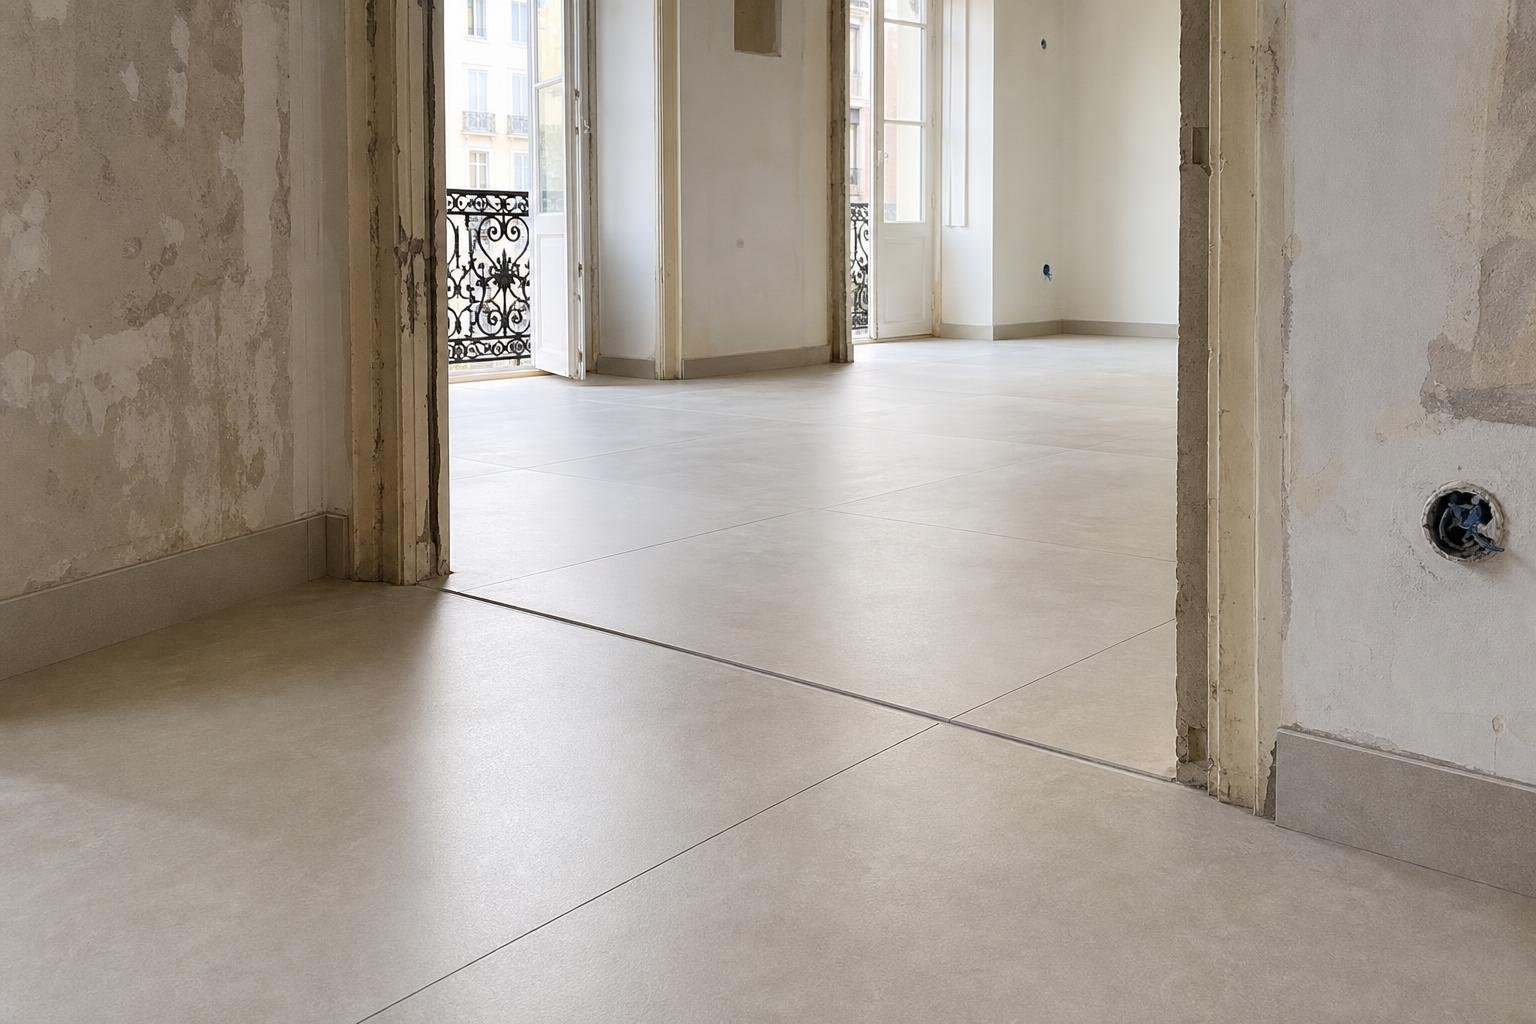
In Lisbon apartments, plaster walls often have small deviations, old floor layers may have been removed unevenly and door openings are not always perfectly square. A reliable result therefore starts with measuring and sequencing, rather than choosing a colour. This guide sets out how to fit bedroom skirting boards without pinning the floor down, leaving obvious gaps or making later repairs harder.
Understand what the perimeter gap is for
A floating floor should not be trapped between walls, door linings, fixed furniture or pipes. Its perimeter gap allows for small dimensional changes in the finish and subfloor. The skirting board is there to conceal that gap without preventing the flooring from moving.
In practical terms, check the gap specified for the flooring system and keep it continuous around the room. Do not fill it with mortar, rigid sealant or offcuts. Where the bedroom meets another type of floor, use a suitable transition profile rather than forcing two finishes tightly against one another.
This matters particularly in long rooms, rooms with strong sun exposure or bedrooms opening onto balconies. A very tight edge may look neat on day one, but it can lead to noise, localised lifting or open joints as the floor responds to changing conditions.
Before deciding where each run of flooring stops, review the principles behind interior floor expansion joints.
Measure the walls before ordering the skirting
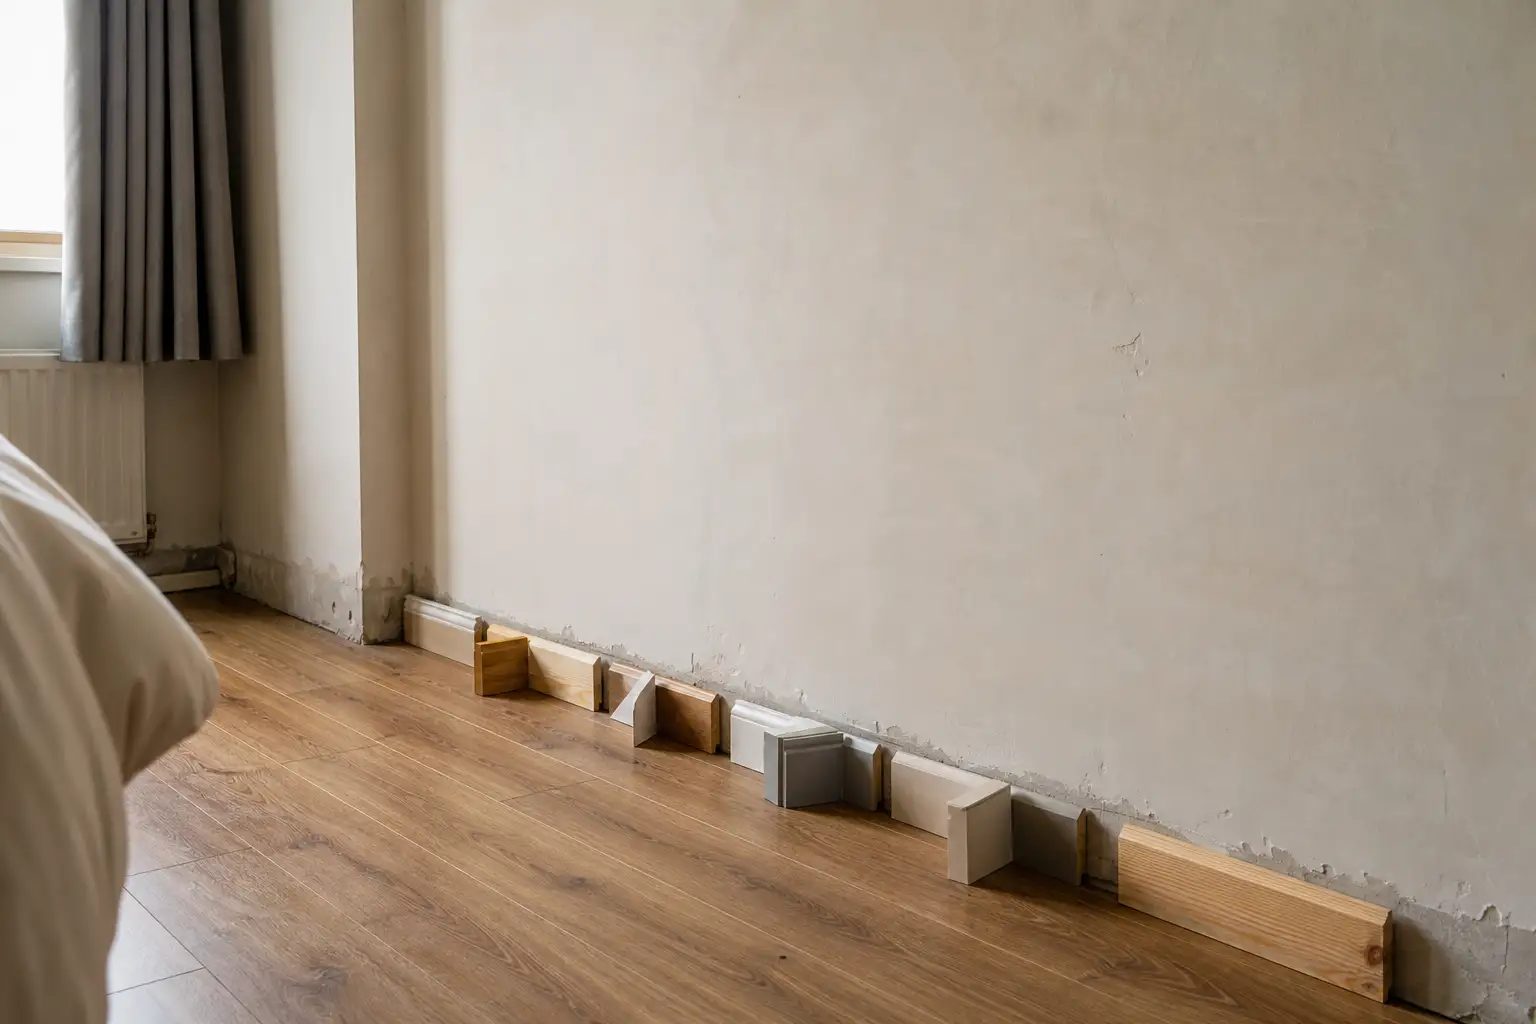
Do not assume that every wall is straight. Hold a long straightedge or a sample skirting board against the wall, especially at corners, behind the door and on the wall where the bed will sit. This reveals whether the variation can be handled by a slightly thicker profile, a local wall repair or a very discreet flexible finishing bead.
A tall skirting board can give a bedroom presence, but it also makes waviness more noticeable. A slim profile follows some irregularities more easily, although it leaves less tolerance for cuts and edge gaps. Choose height in relation to the existing doors, linings and character of the apartment, not just a current look.
Make a simple perimeter drawing showing doors, radiators, wardrobes and pipes. Allow for cutting waste and retain a few pieces for a future repair. In older buildings, keep a record of the chosen model, batch and finish.
Choose material for the bedroom’s actual conditions
Solid timber, lacquered MDF, laminate and polymer skirting boards have different behaviours and finishes. Timber can be repaired and has a natural appearance, but it needs appropriate moisture protection and finishing. Lacquered MDF produces very even lines in dry interiors. Laminate skirting can continue the floor visually, provided its joints and corners are carefully detailed.
For a bedroom, the choice is not only about water resistance. Consider cleaning, sunlight, potential condensation near a window and knocks from a vacuum cleaner, luggage or furniture. Portugal’s health authority advises controlling humidity and ventilating homes regularly; those measures also help protect finishes next to external walls. See the DGS indoor-air recommendations.
You can match skirting to the floor or create contrast with white skirting. A technical specification published in Portugal’s official journal expresses a preference for skirting matching the flooring material in its particular procurement context. It is not a rule for private bedrooms, but it shows one coherent visual approach. Read the official-journal specification.
Resolve doors, linings and reveals before fitting
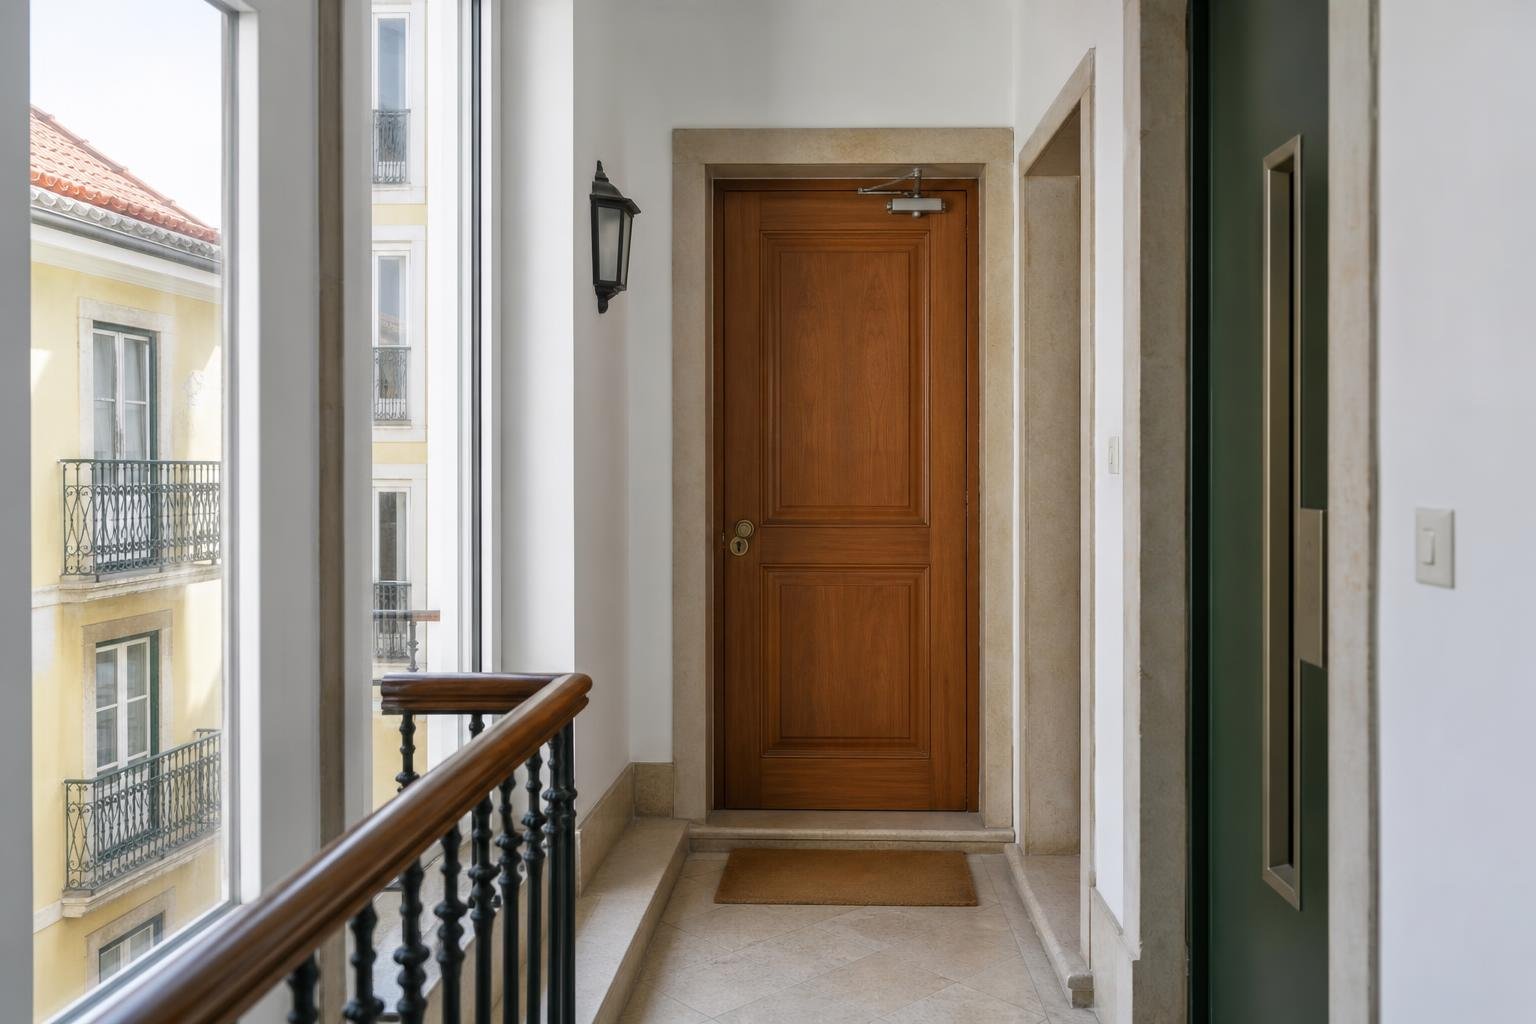
Door openings are where poor planning is most visible. Before installation, check that the door leaf will retain enough clearance over the new floor and that the linings allow the flooring to pass beneath with a clean cut. Where appropriate, undercutting a lining or architrave normally gives a more integrated result than cutting tight shapes around it.
Do not fit skirting against a door that still needs adjustment. Set the finished floor levels, transition profiles and thresholds first; only then complete the skirting. For a built-in wardrobe, decide whether skirting stops at the sides, runs in front of the base or is replaced by a purpose-made trim. Each approach should allow doors to operate and the area to be cleaned without fragile details.
Where the bedroom forms part of a wider renovation, coordinate these decisions with the remaining finishes. Our guide to skirting boards in older apartments can help when deciding whether existing elements should be retained rather than automatically removed.
Fit in sequence and treat corners carefully
Install the flooring, remove spacers only once the system is stable, and then fit the skirting. Clean the base of the wall and make sure that no adhesive ridges, screws or loose plaster prevent a regular fit.
At internal corners, a well-fitted cut matters more than excessive filler. At external corners, use purpose-made pieces or protected mitre cuts, as these locations receive knocks. Fix the skirting to the wall, not to the floating floor. Adhesive, pins or clip systems should suit the wall material and the weight of the profile.
- Start with the longest and most visible wall runs.
- Avoid joints in the middle of an uninterrupted wall.
- Where possible, place joints behind a door, bed or furniture.
- Use finishing filler only for minor imperfections, not to disguise inaccurate cuts.
Know when a simple internal job still needs checking
Replacing flooring and skirting within an apartment, without affecting structural stability, façades, roofs or shared parts, is generally a lower-complexity internal intervention. Context still matters: changes in level that affect entrance doors, ventilation, services or shared elements should be checked before work begins.
Lisbon City Council states that internal alteration work may be exempt from prior planning control when it does not affect structural stability, façades or the roof. If a skip, delivery area or other support is needed in the street, public-space occupation may require its own permit and plan. Check the council’s guidance on public-space occupation for exempt works.
If the old floor exposes damp, a deformed subfloor or active cracking, stop before covering it. Skirting is the final trim; it should never be used to conceal a problem that remains behind the wall or beneath the floor.
Planning a bedroom renovation or coordinating new flooring with doors, paintwork and wardrobes? Obra Lisboa can help turn these finishing decisions into a clear, well-sequenced work plan.
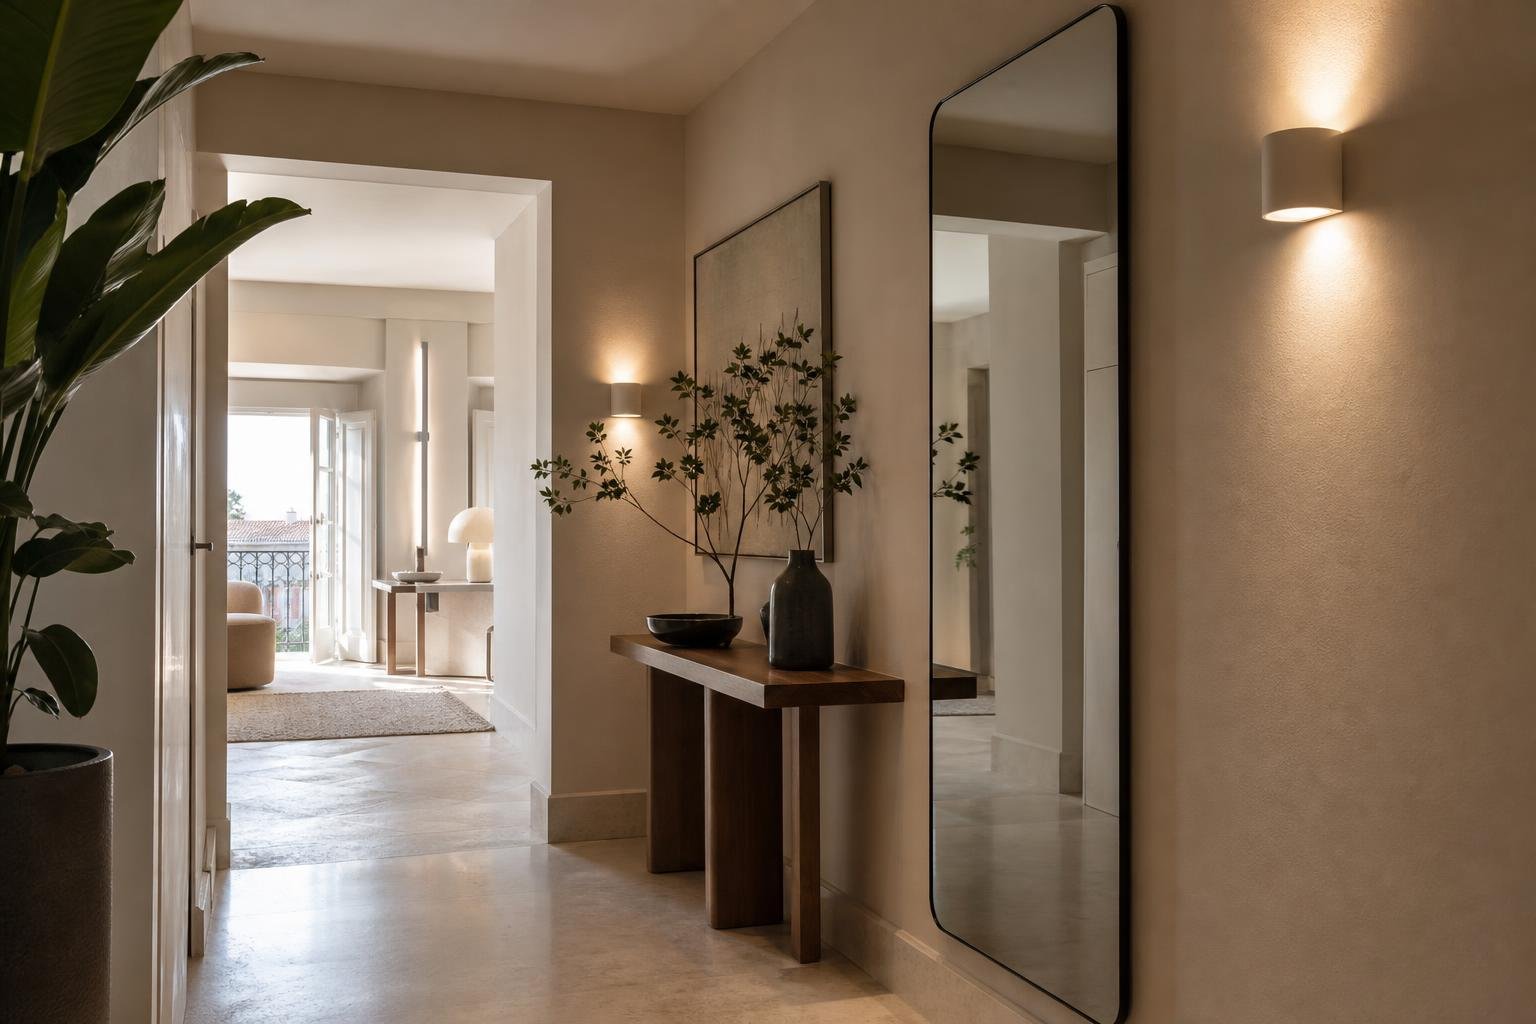
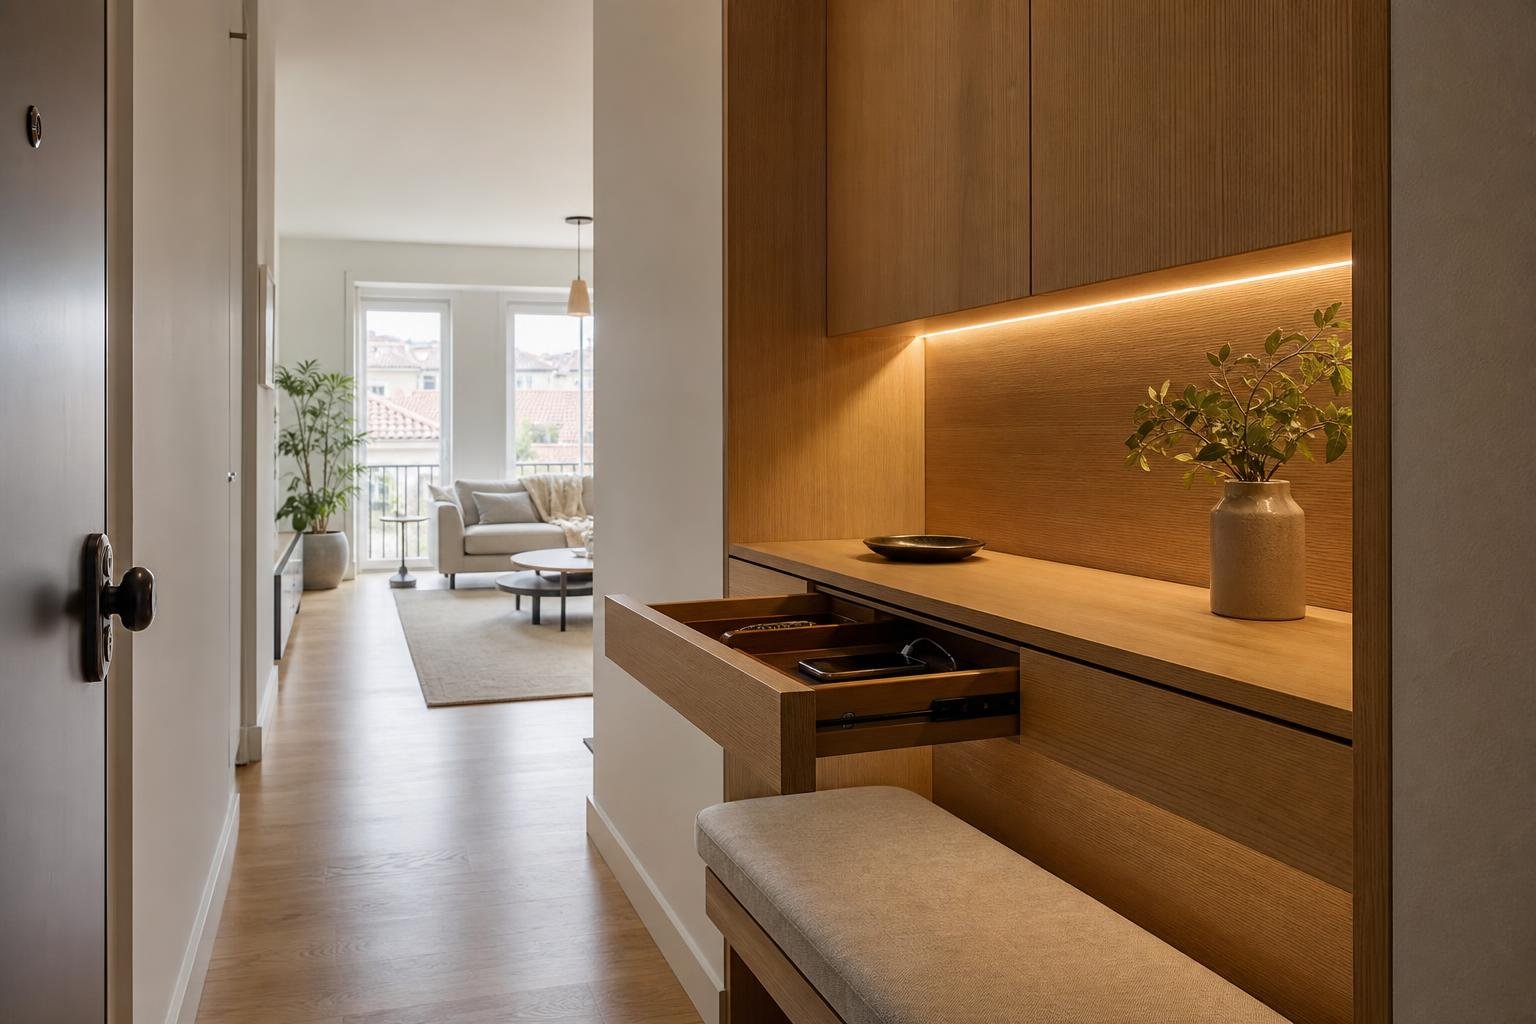
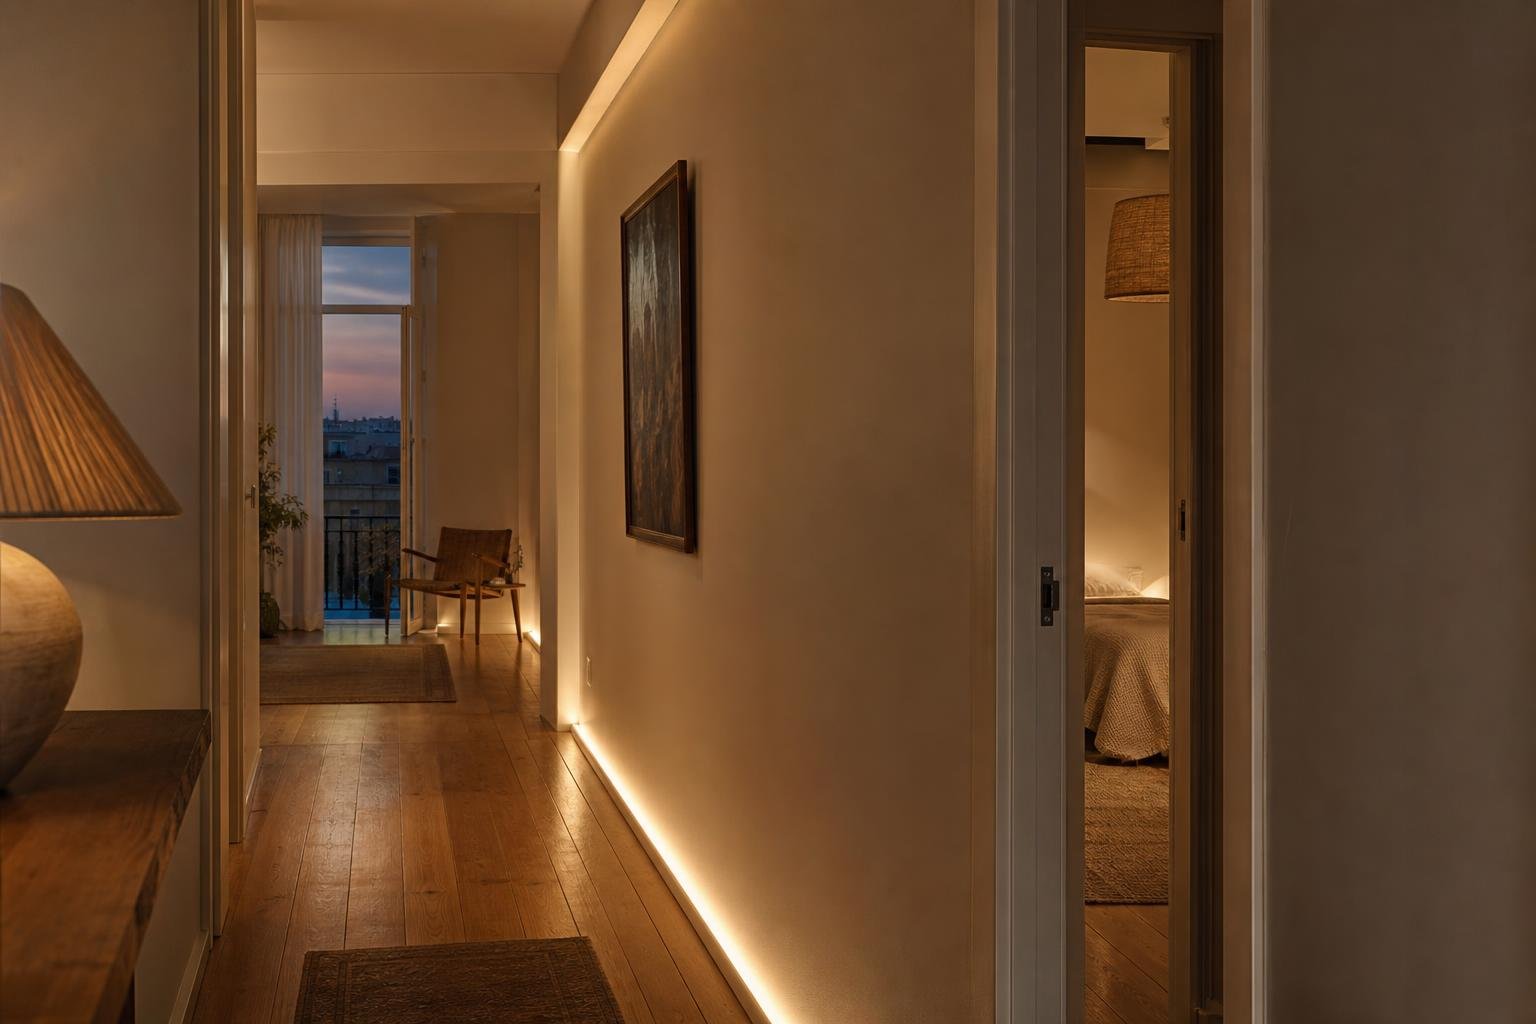
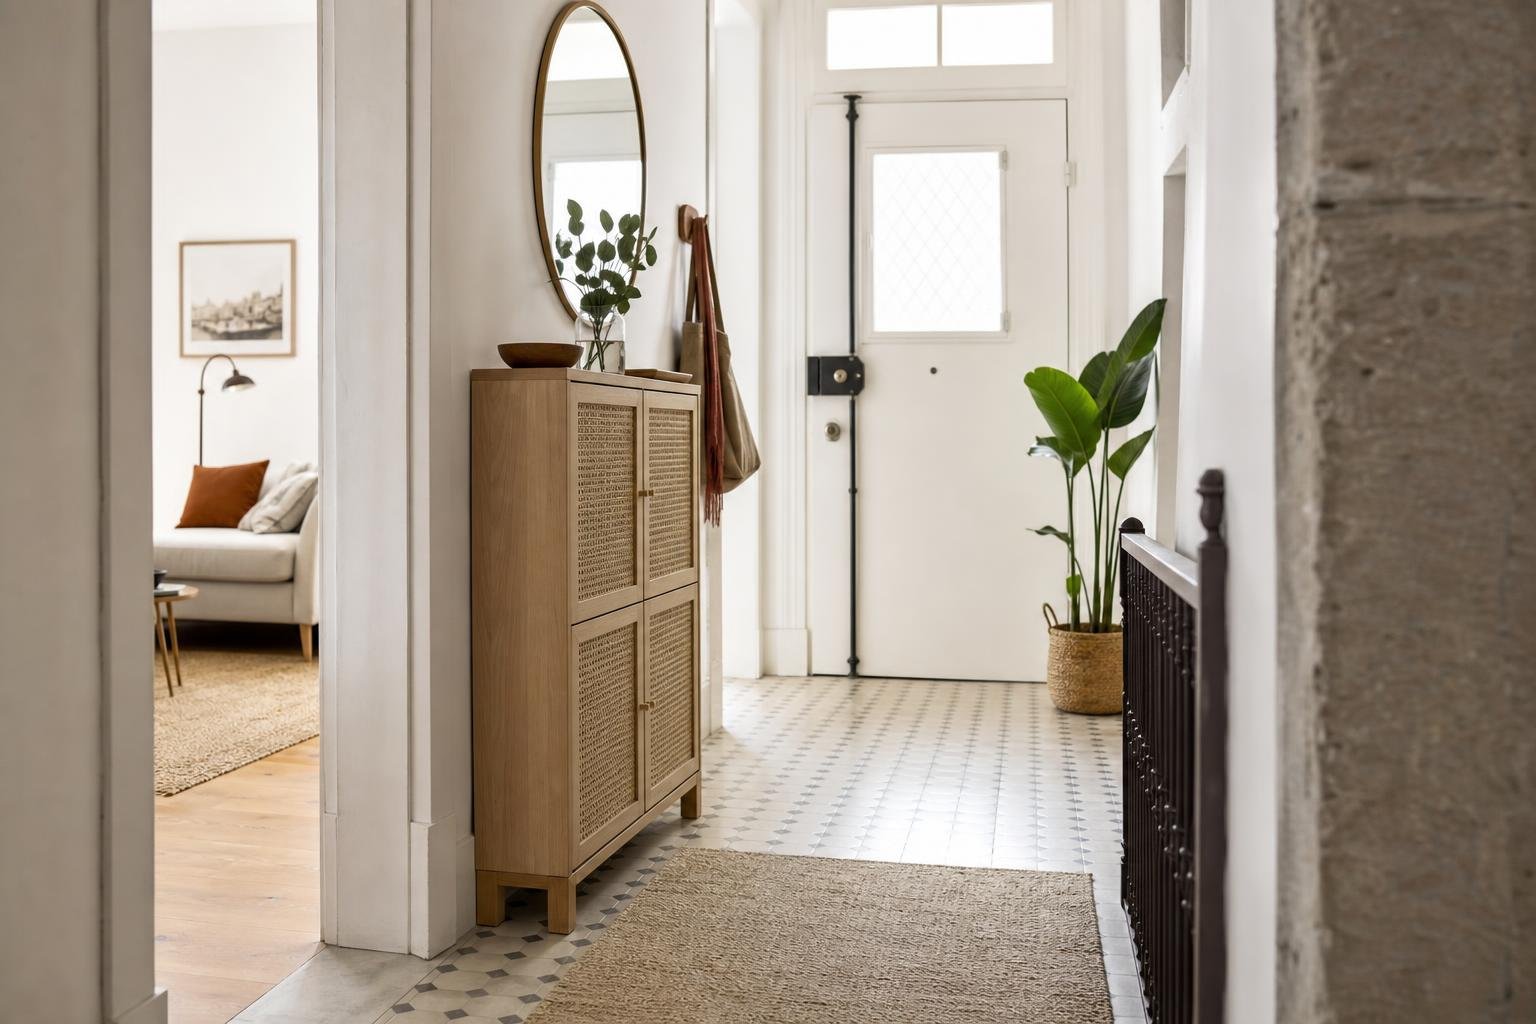
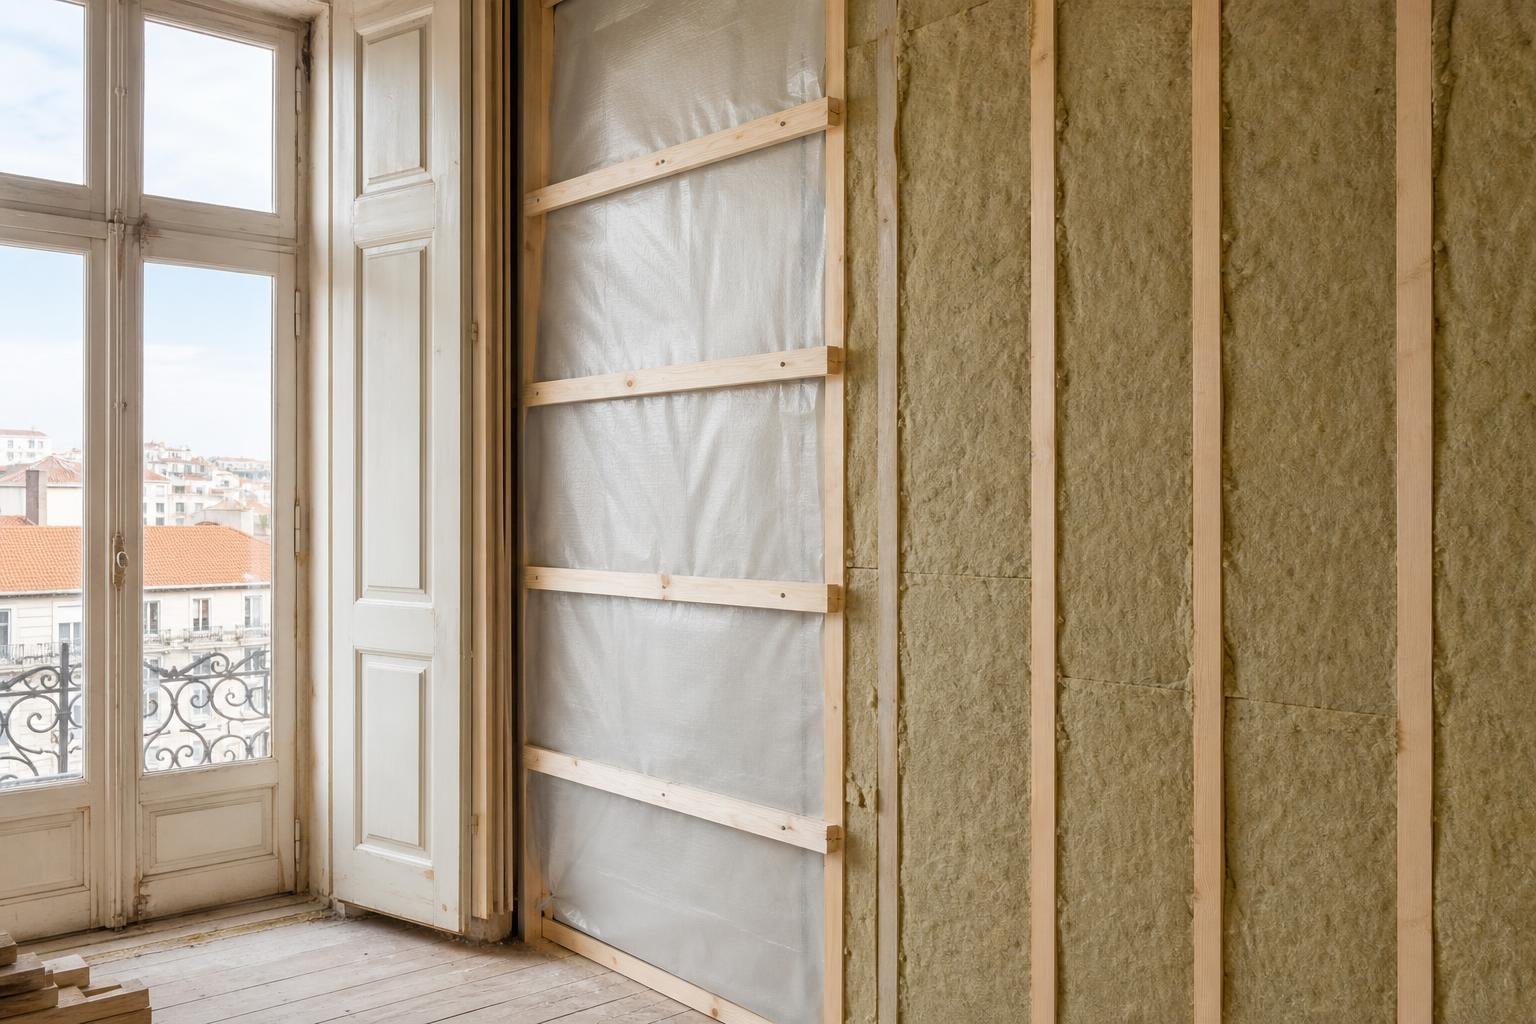
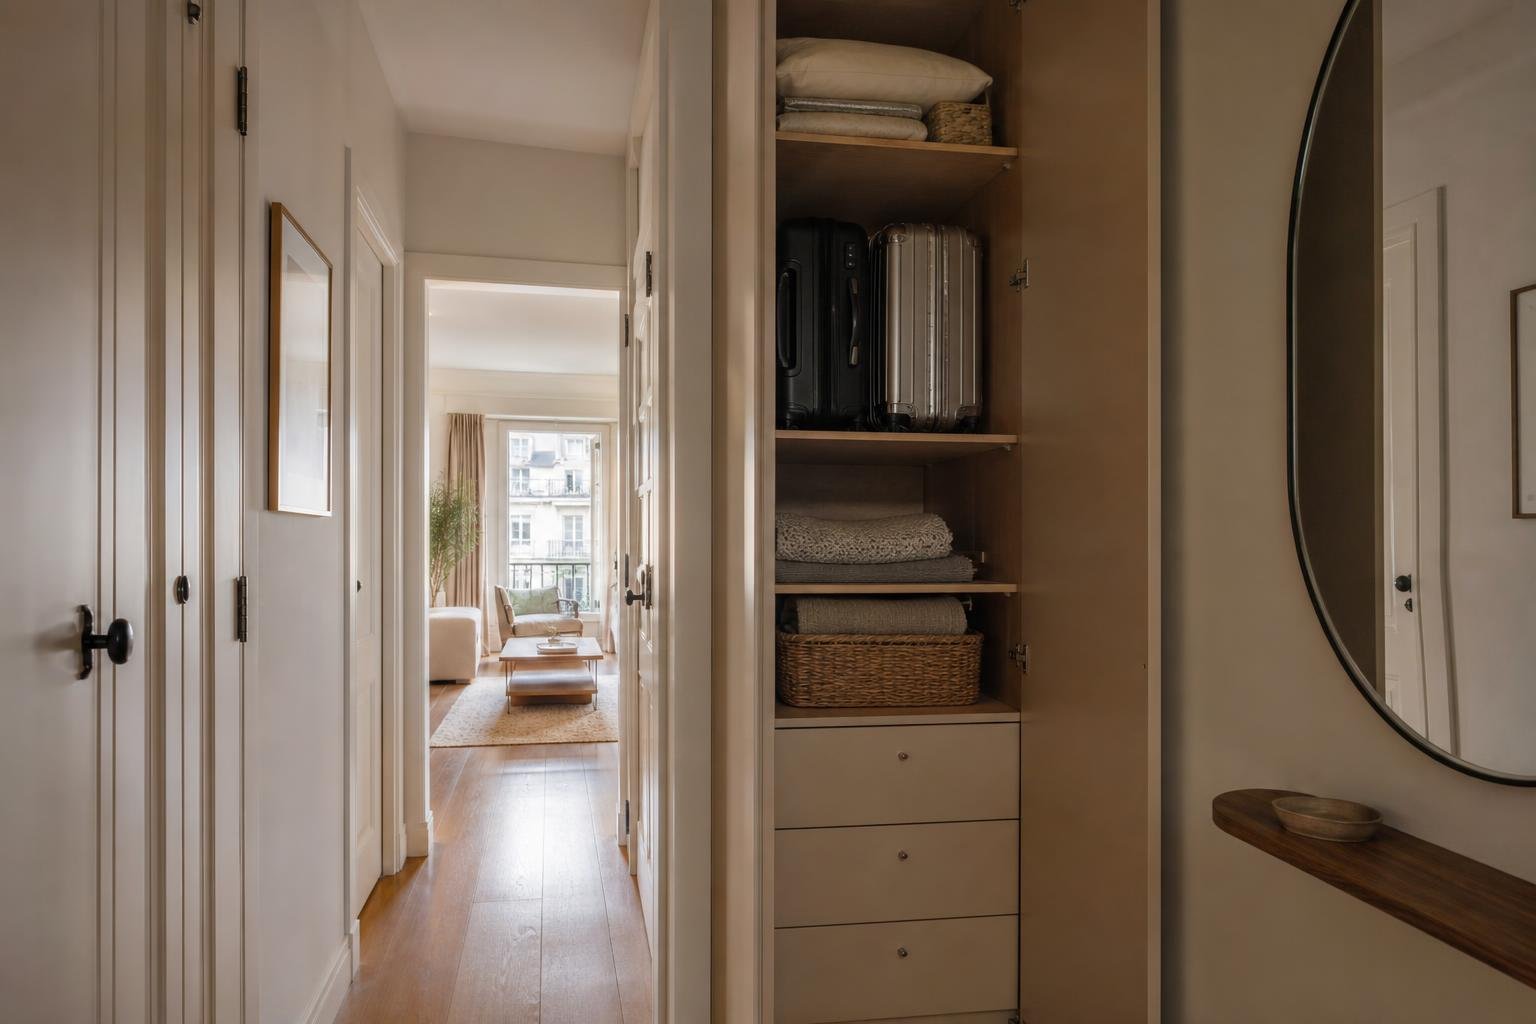
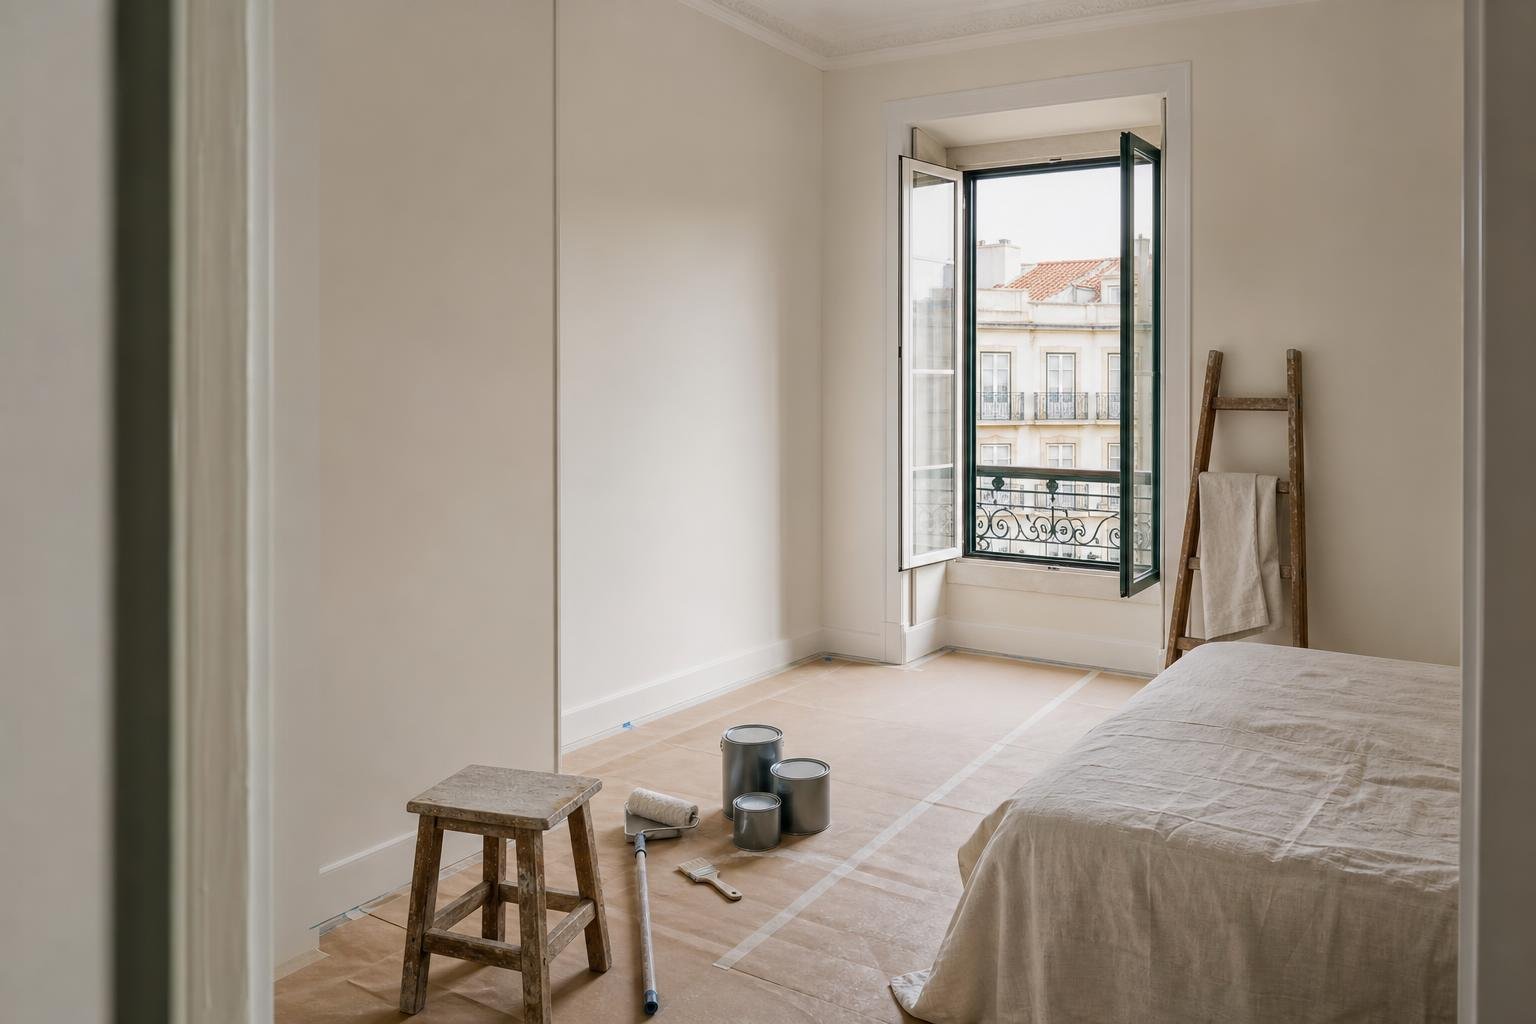
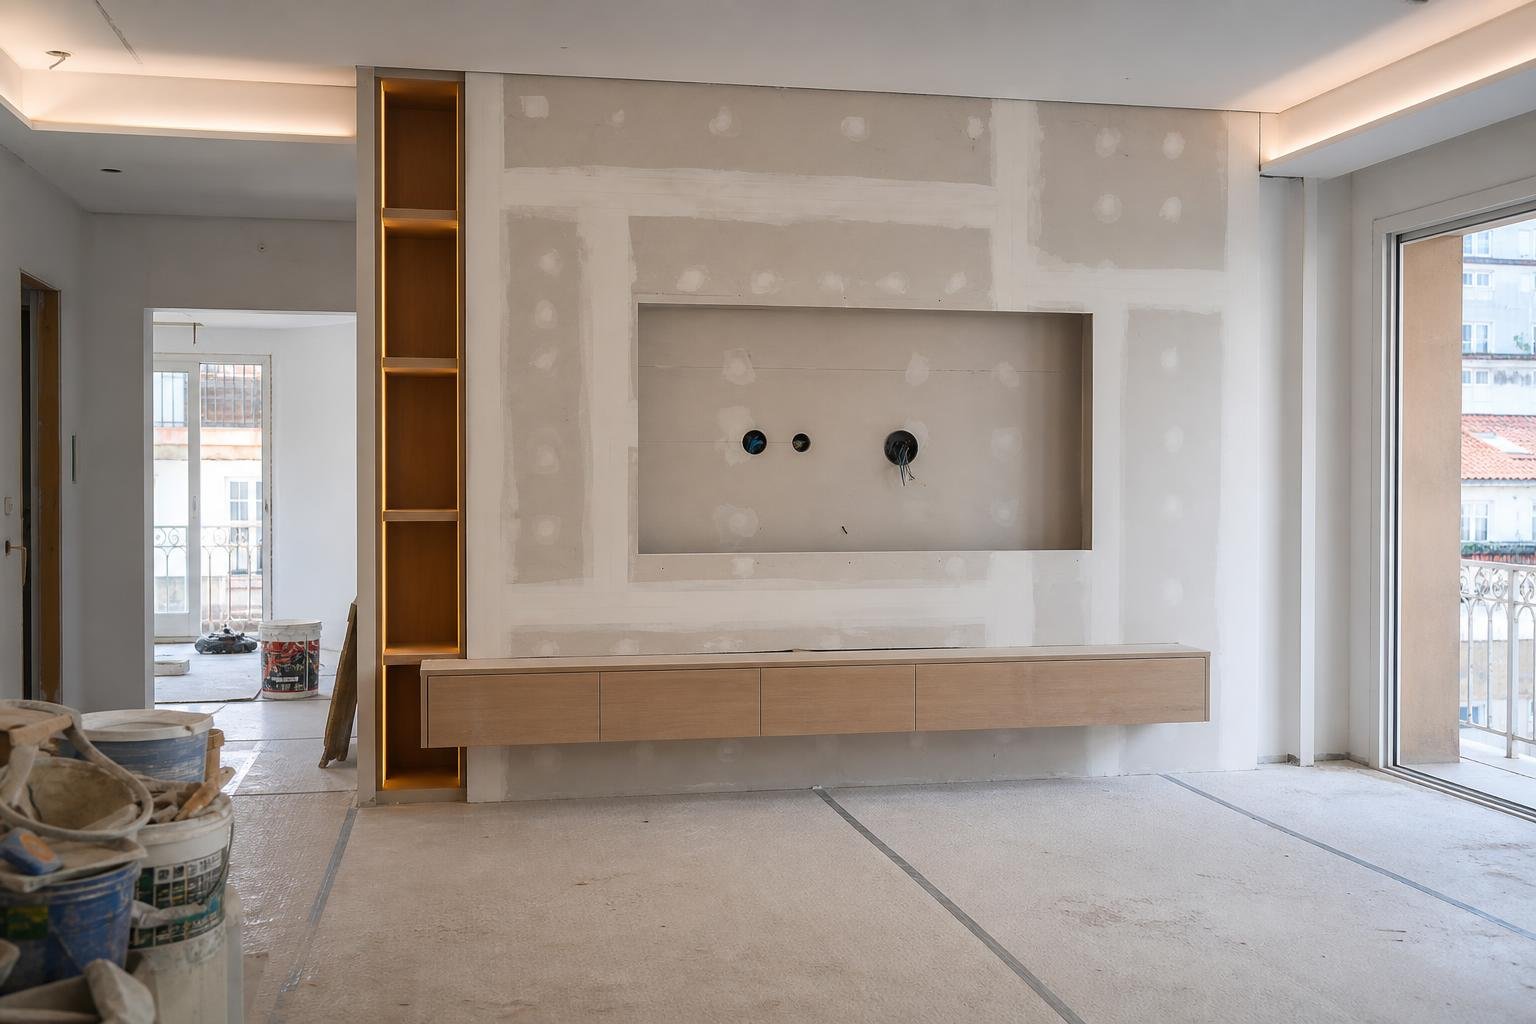
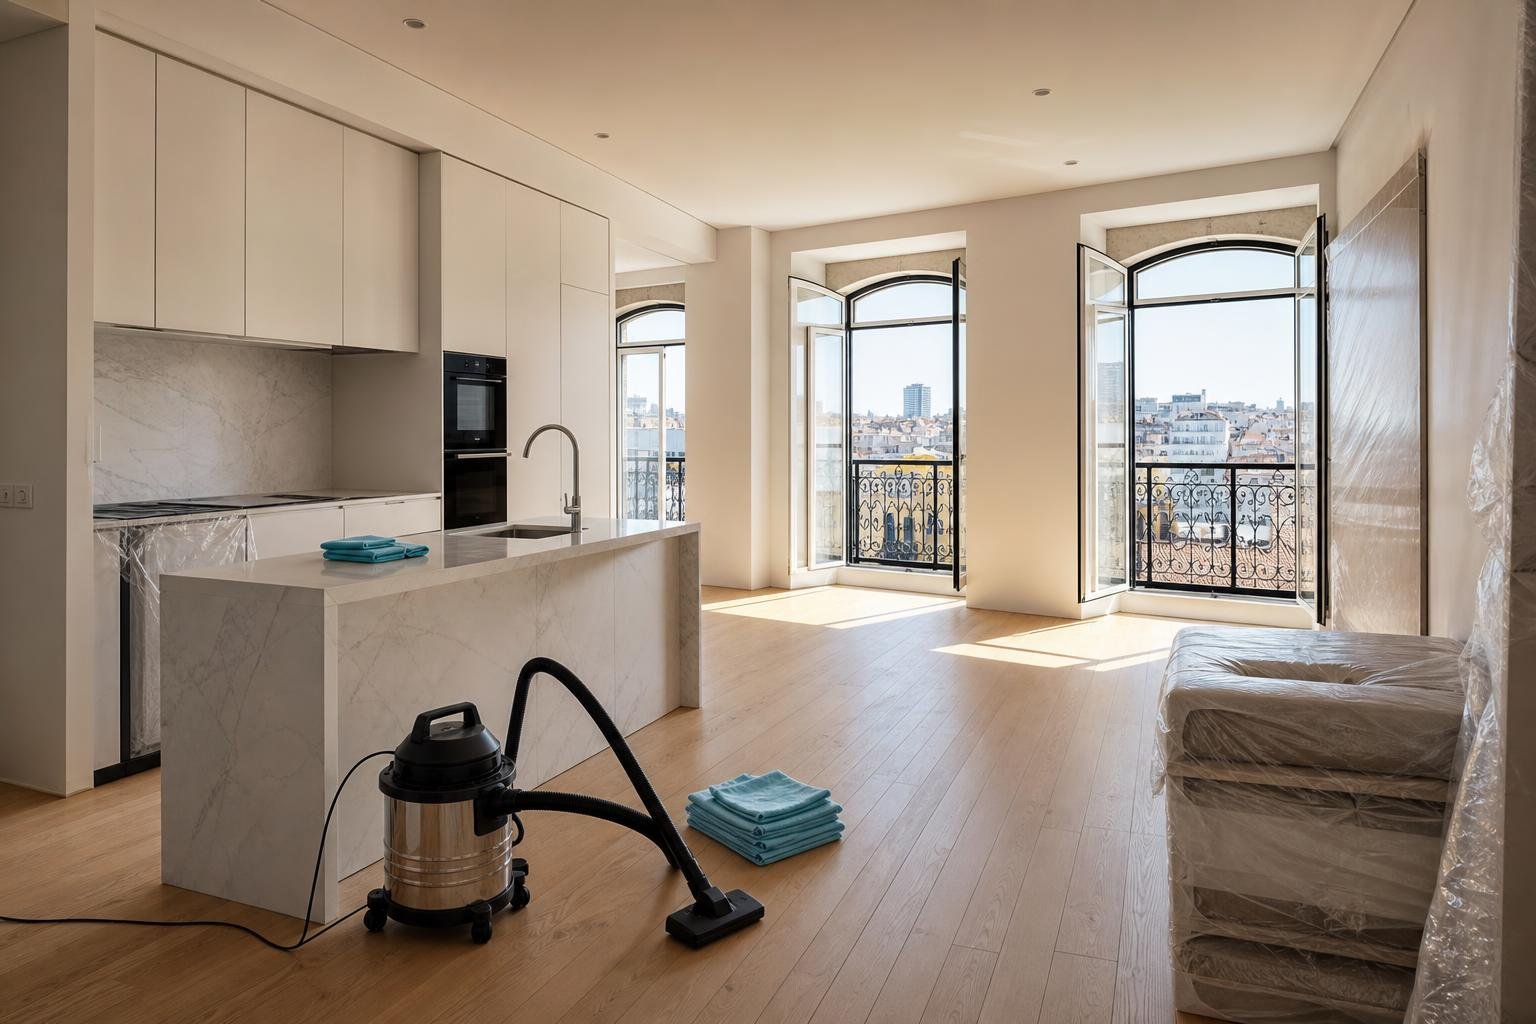
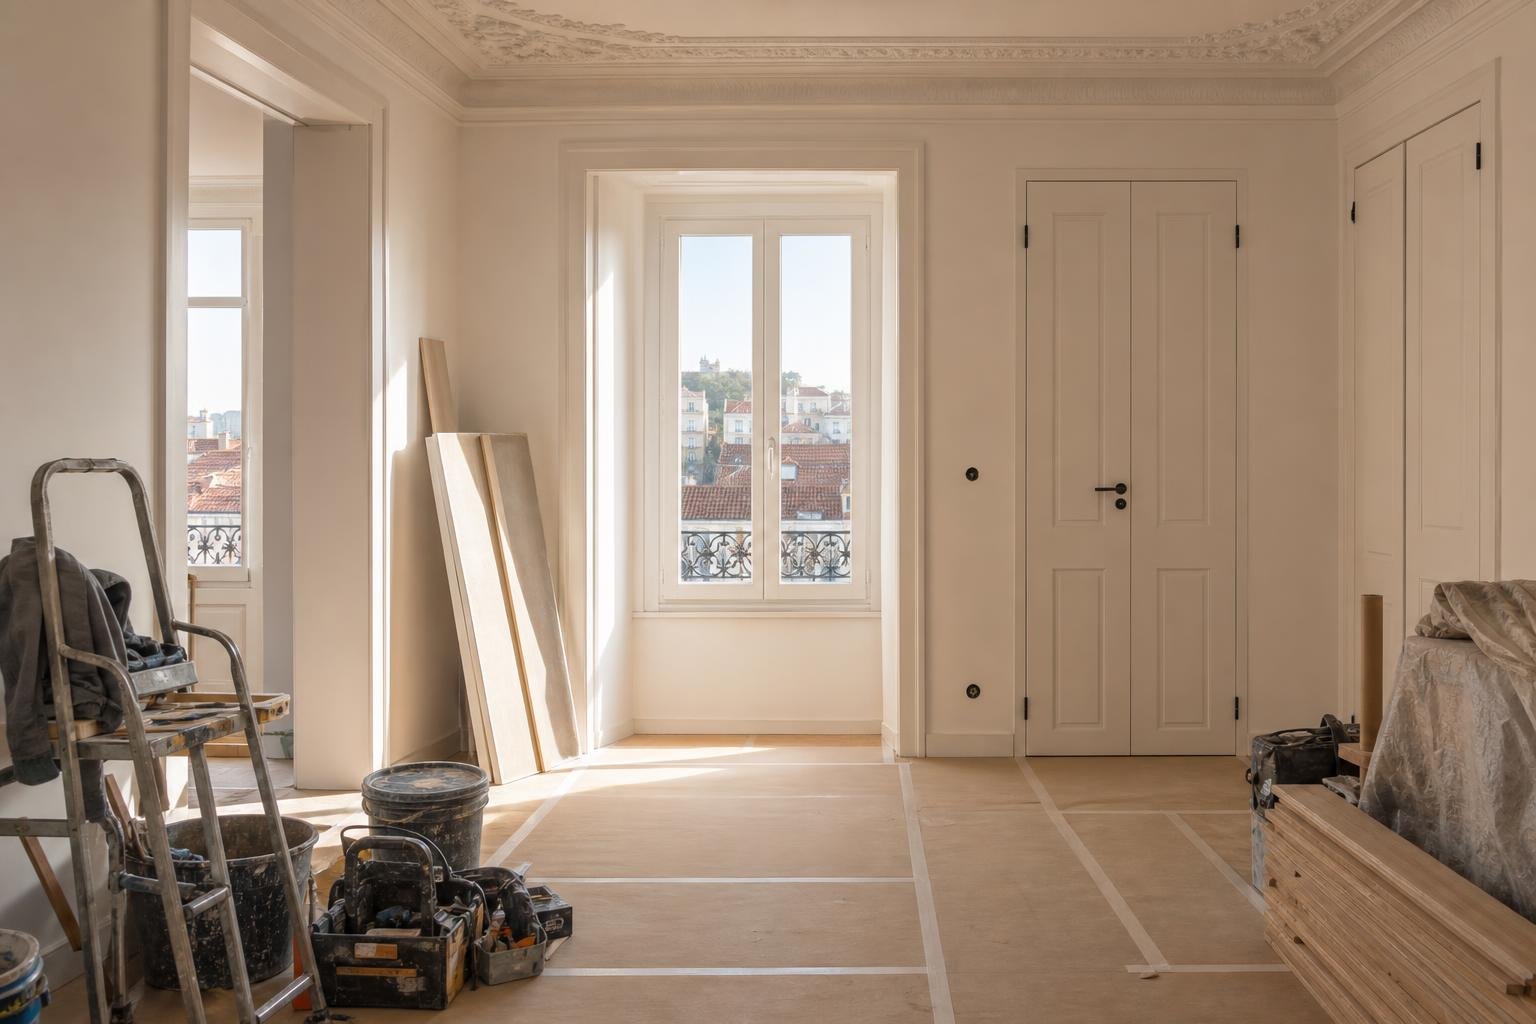
AI-generated editorial image; it does not depict an Obra Lisboa project.

Obra Lisboa