A pegboard can make a storage room far more useful: it takes tools off the floor, cuts the time spent looking for a spanner and shows what you already own before buying another one. It is not, however, a decorative feature solved by adding a few hooks. In an apartment storage room, where walls may be concrete, hollow masonry or lightweight partitions, safety depends on the fixing method, the true load and the clear space left around it.
Start by deciding what deserves to remain visible. Pliers, spanners, tape measures, small drill-bit cases and regularly used hand tools work well on a board. Heavy machines, solvents, batteries, saws and overloaded boxes need a different storage strategy. That distinction prevents the board becoming a cluttered wall—and, more importantly, a falling hazard.
It also helps to place the board within a wider plan for the room. Obra Lisboa’s guide to planning a home tool area can help coordinate the worktop, lighting and storage before drilling begins.
Assess the wall before choosing the board
Before selecting a pegboard, identify the substrate behind it. A solid concrete or dense masonry wall takes fixings differently from hollow brick, old plaster or plasterboard partitioning. Tapping the wall may offer a clue, but it is not a reliable substitute for checking carefully: look at available drawings, nearby electrical boxes, plumbing points and likely service routes.
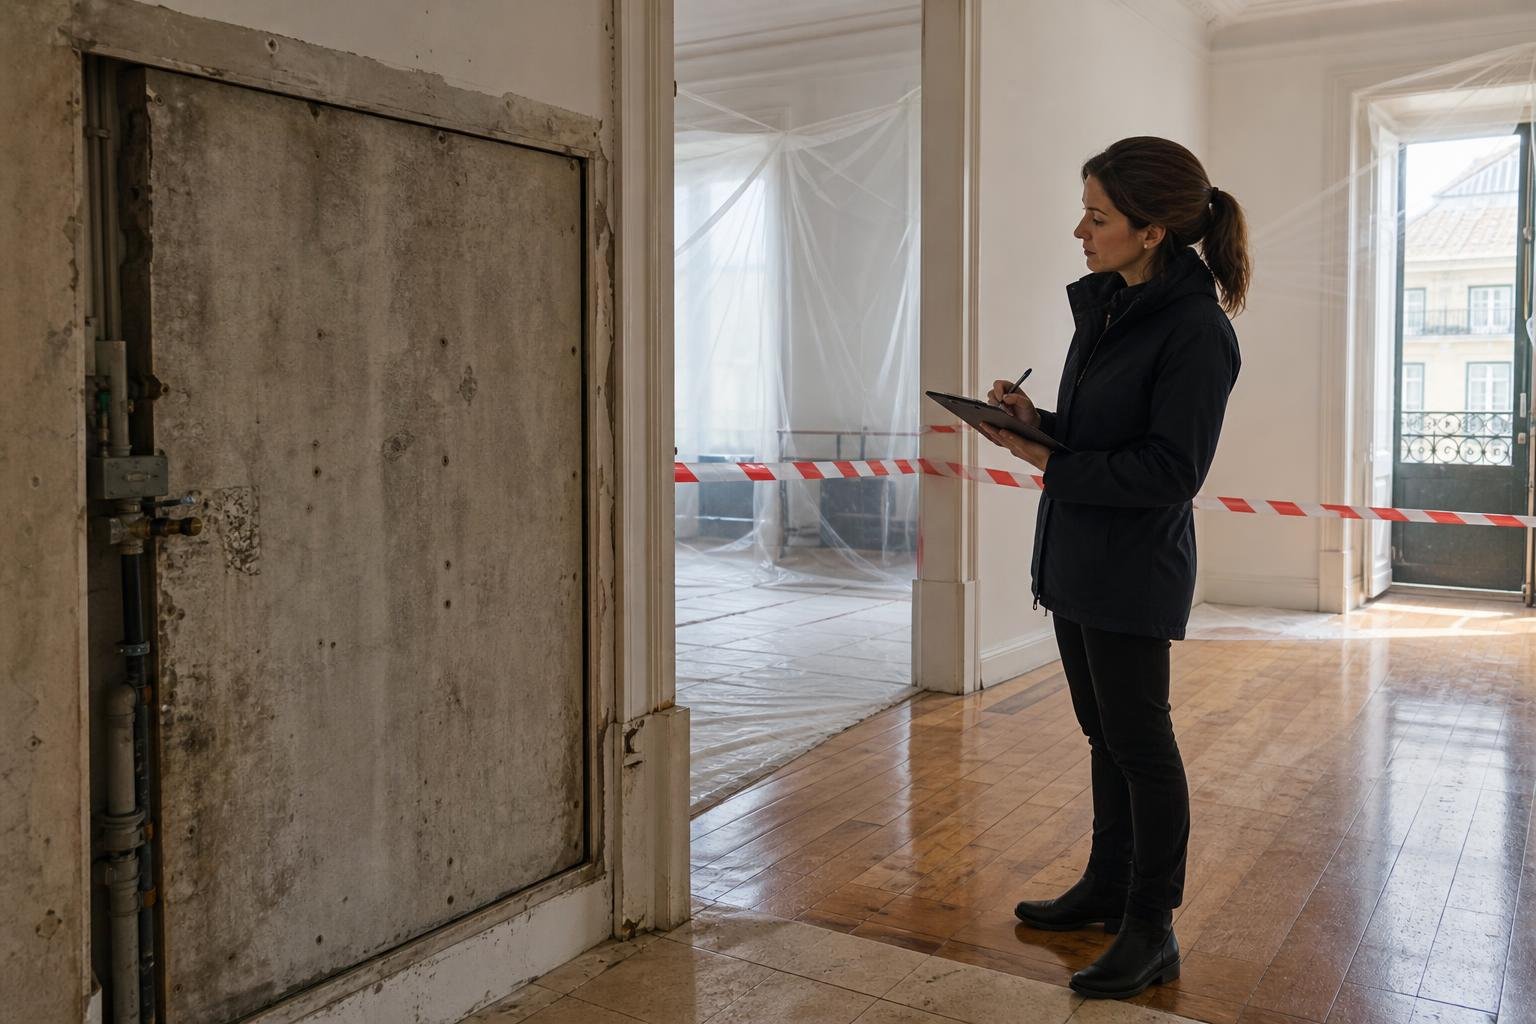
The board should sit on a dry, stable, well-lit section of wall. Avoid a surface affected by condensation, water ingress or run-off from an external door. If the storage room already shows damp, deal with the cause first; tools stored against a cold, damp wall corrode quickly even when the pegboard itself looks tidy.
Where there is uncertainty about the wall or concealed services, do not proceed by trial and error. For work involving installations or building alterations, verify the contractor’s credentials. The IMPIC guidance on construction activity explains that, for private works, the responsible contractor must hold a licence class covering the overall value of the work.
Work out the real load and keep a margin
Do not count only the weight of individual tools. Add the hooks, trays, brackets, vibration from taking a machine down and the almost inevitable habit of adding more items over time. One adjustable spanner is light; several spanners, hammers, a drill-driver and metal organisers concentrated in a small area are something else entirely.
Spread the weight across the board: keep heavier items low and close to fixing points; place lightweight, frequently used tools at hand height; position long items such as levels or hand saws at the side without entering the walking route. Do not hang a coiled extension lead, a heavy drill or a loaded tool case from a hook whose rating is unknown. When a board or hook has a stated maximum load, regard it as a limit—not a target.
This approach follows a sound safety principle. Decree-Law No. 50/2005 requires work equipment to be chosen and maintained with its risks and conditions of use in mind. A domestic storage room is not a commercial workshop, but the logic still applies: wall, fixing and intended use must work together.
Match the fixing system to the substrate
The visible screw is only one part of the fixing system. The plug or anchor, drill diameter, useful embedment depth and condition of the substrate determine whether the result is dependable. In solid walls, an appropriate plug and correctly sized screws will usually provide a secure outcome. In hollow brick, use a fixing designed for cavities and avoid over-tightening, which can crush or damage the substrate. With plasterboard, the location of internal studs matters: meaningful loads should be transferred to a strong structure rather than relying on the board alone.
Use every fixing point specified by the pegboard manufacturer and level the board accurately. A slightly sloping board concentrates stress and can make accessories migrate. If you are creating a full tool wall, a properly fixed timber batten or intermediate rail can distribute loads more evenly and make later changes easier.
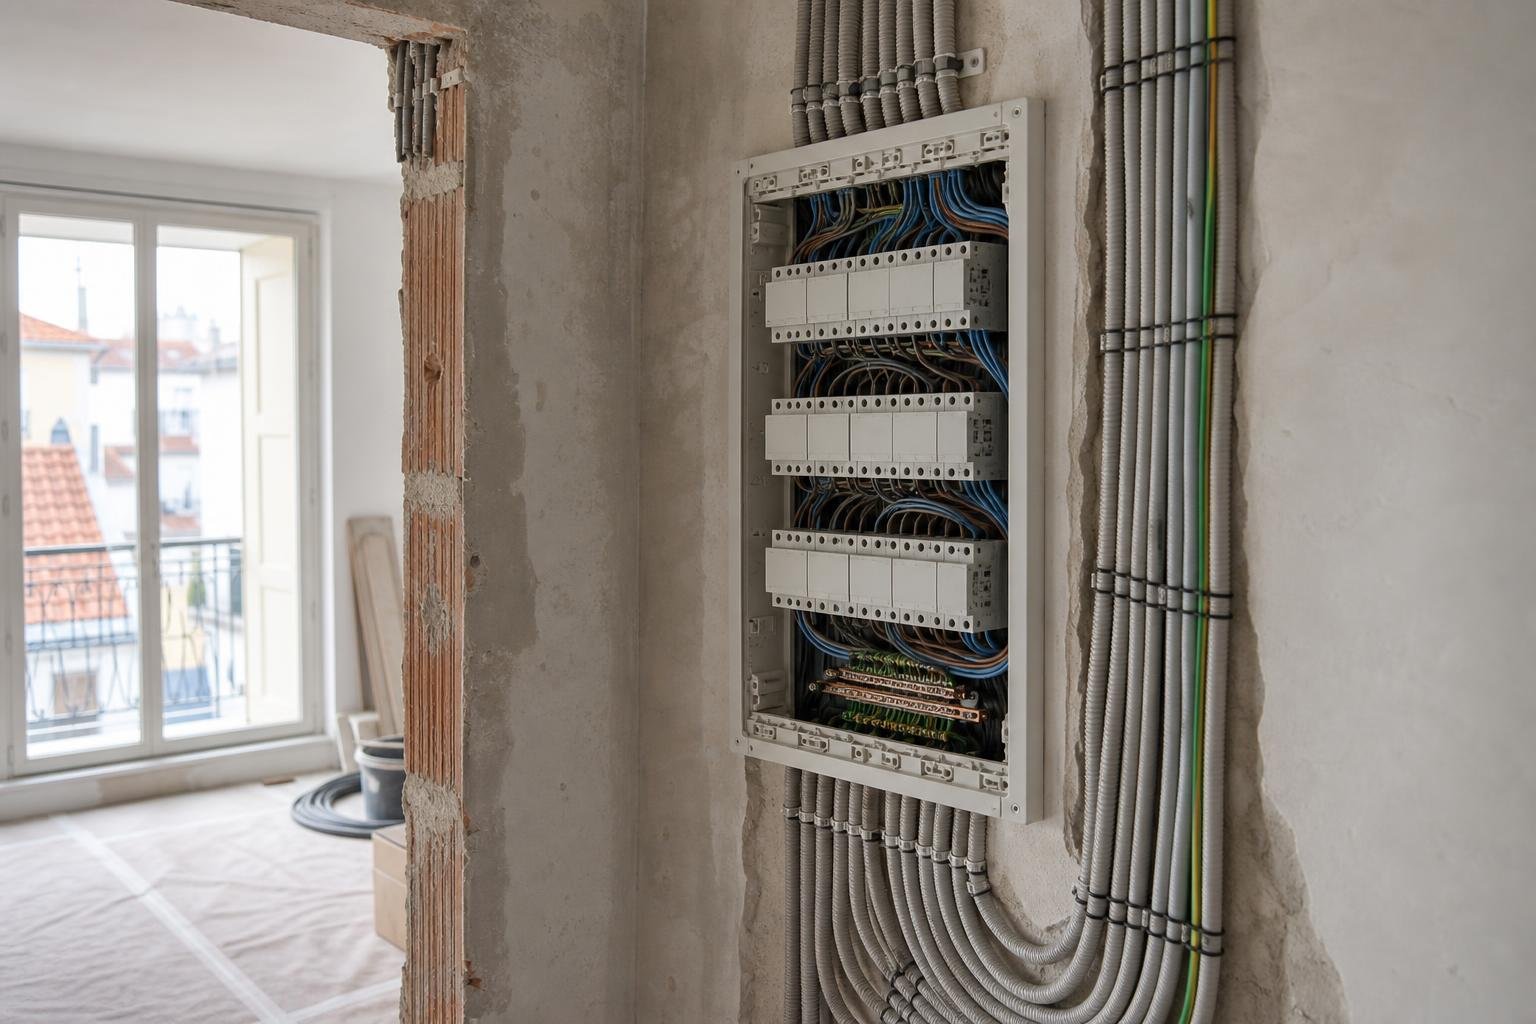
Switch off the relevant circuit whenever there is a risk of drilling near sockets or switches. Electrical planning deserves its own attention; see also Obra Lisboa’s guide to electrical panel planning for a house renovation if the room is gaining sockets, worktop lighting or charging points.

Lay out the tools before hanging them
Place every tool on the floor or a worktop and group it by task: measuring and marking, tightening, cutting, drilling, painting and small consumables. Then sketch the board on a simple sheet, taking its installation height into account. This quick exercise prevents the frustrating sequence of fitting everything, discovering the tape measure sits behind a cable and drilling more holes than necessary.
Keep the central area for items used every week. Store cutting tools with blade protection or in holders that prevent accidental contact. For bits, screws and small fittings, use clear boxes or closed containers on a shelf. A pegboard is excellent for fast access, but not for every small loose item.
- Leave one free area for a future tool rather than filling every hole.
- Keep duplicates together only when they are genuinely used at the same time.
- Avoid protruding hooks at face height or beside the doorway.
- Keep the heaviest tool below shoulder height.
A quick photograph of the finished board, stored on your phone, can serve as a simple inventory and makes it easier to spot what is missing after a repair job.
Protect access, manage damp and keep the floor clear
The board should release usable floor area, not create a wall of obstacles. Measure the door swing, the route to the back of the storage room and the space needed to carry boxes. In a narrow room, choose short hooks and low-profile accessories; a tool projecting too far can catch clothing, bags or a bicycle.
Do not store flammable products, unlabelled chemicals, aerosols exposed to sun or damaged batteries on the board. Those items need specific conditions and often a dedicated cabinet or container. Keep the floor beneath the board clear as well: an empty surface makes a dropped screw easier to find and reveals water leaks sooner.
When replacing electrical equipment, extension leads or chargers, do not leave them in storage indefinitely. Lisbon’s rules cover the collection and transport of waste electrical and electronic equipment, and state that the municipality collects up to 5 m³ per week from each producer free of charge. Check the Lisbon Waste Management Regulation for the appropriate preparation and handover requirements.
Inspect it briefly, but regularly
Once installed, a pegboard needs a simple check rather than constant attention. During the first few days, look for looseness, unusual movement when tools are removed, bent hooks or dust appearing around the drill holes. Afterwards, make it part of a seasonal review: tighten what needs tightening, remove rusty tools for maintenance and discard accessories that no longer have a purpose.
This is particularly useful after building work, moving heavy boxes or a spell of damp weather. A small change in the wall can cause a board that was previously stable to start moving. If you notice new cracks, anchors pulling out, extensive corrosion or water marks, remove the load before attempting to reinforce the installation.
A successful pegboard is not a full pegboard. It is one that lets you enter the room, pick up the right tool within seconds, work safely and put everything back without reorganising the entire space.
Planning to improve a storage room or create a compact work area at home? Obra Lisboa can help integrate fixings, lighting, sockets and storage into a renovation plan that suits the room and its existing services.
AI-generated editorial image; it does not depict an Obra Lisboa project.

Obra Lisboa