A pool heat pump can make a swimming pool comfortable for longer each year, but it is not an appliance to choose by advertised output alone. At a house in Lisbon or its surrounding areas, location, wind exposure, pipe runs, condensate drainage and the relationship with neighbouring homes matter just as much as the model itself.
The common mistake is to leave these decisions until the end: the pool is complete, the plant area is full and the only free wall is beside a bedroom or boundary line. That can lead to disturbing noise, awkward servicing, standing water or an improvised electrical connection. This guide explains what to prepare before buying, without confusing water heating with pool treatment and filtration.
Start with how you will actually use the pool
Before comparing units, decide which months you want to swim, what temperature you consider comfortable and how the pool is normally used. Heating water in May and September requires a different approach from maintaining a stable temperature throughout the year. Whether the pool has a cover also matters: reducing overnight heat loss and evaporation changes the demand placed on the system.
Ask for a proposal based on water volume, pool location, solar exposure, prevailing wind and intended season of use. A size selected from a generic table alone may produce very long heating cycles or an oversized machine that costs more and starts and stops too often. Allow space for a suitable cover, plant equipment and future servicing; efficiency begins by limiting heat loss, not simply by fitting a larger appliance.
A heat pump joins a system that already includes circulation, filtration and water treatment. The Portuguese health authority’s technical note on pools and spas makes clear that water quality control requires its own procedures. Heating water does not replace filtration, disinfection, chemical balance or routine maintenance.
Choose a position with free air, access and useful clearance
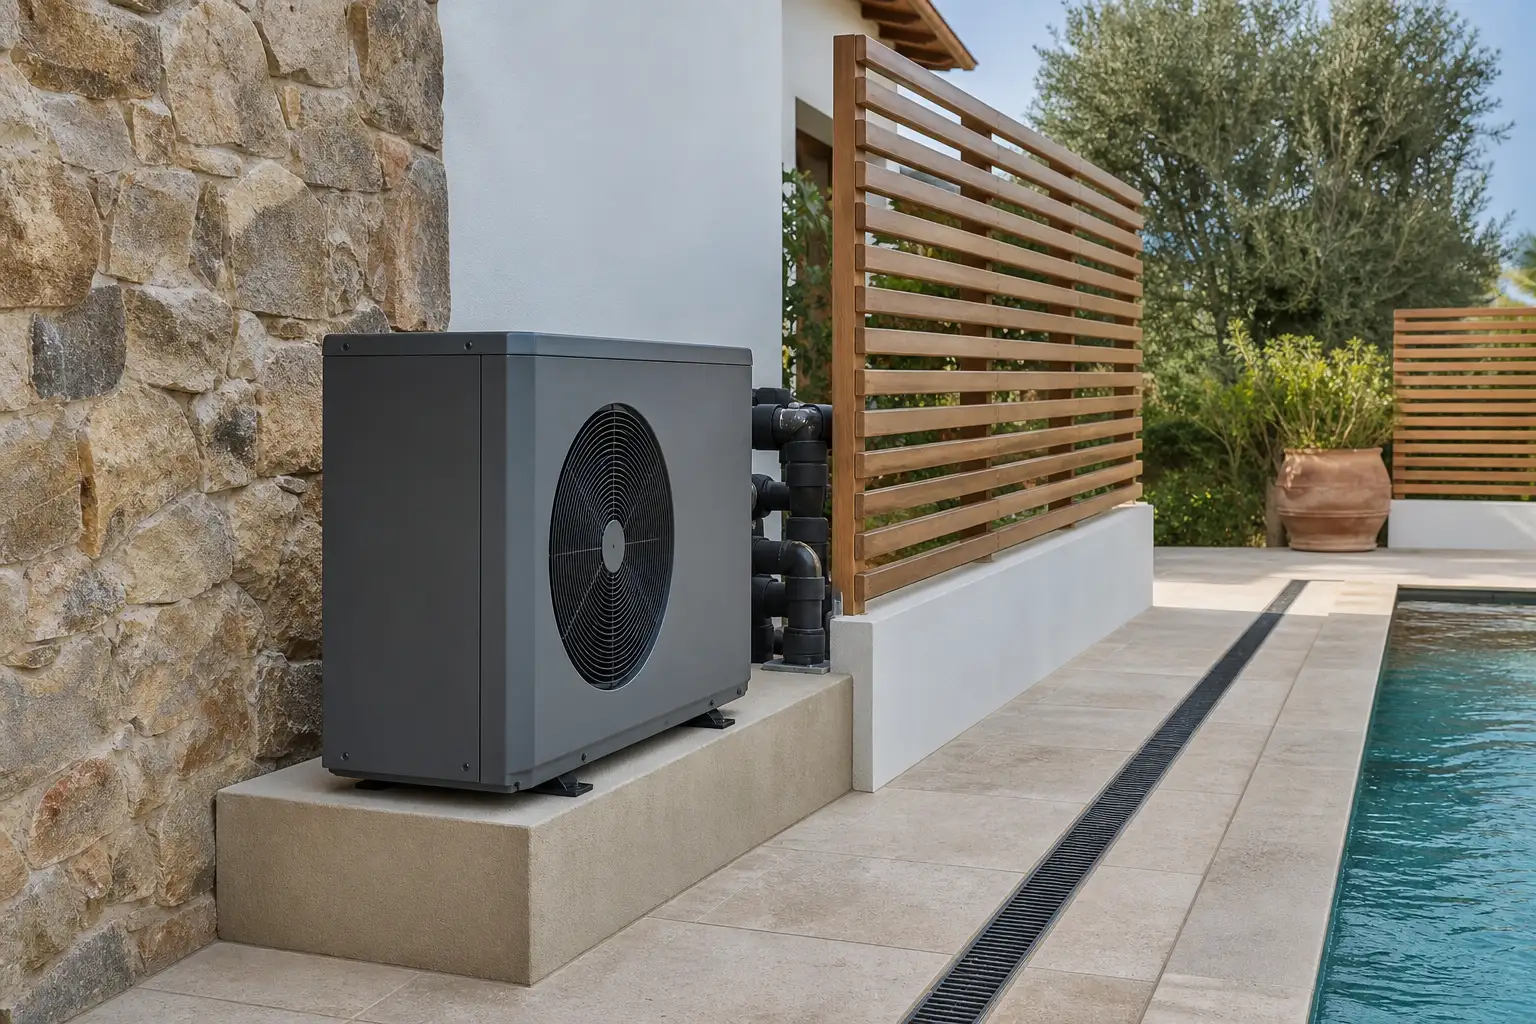
A pool heat pump exchanges energy with outdoor air. It therefore needs an open location and the clearances specified by its manufacturer around air intakes and discharge. Pushing it against a wall, enclosing it in a storage room or hiding it behind an unventilated screen may seem visually neat, but it compromises performance and can increase perceived noise.
Do not direct the air discharge towards windows, bedroom doors, dining areas or a neighbour’s plot. Think about service access as well: will there be room to remove panels, clean the heat exchanger and reach valves? A narrow gap between a fence and the house may work on a drawing yet become impractical when an intervention is required.
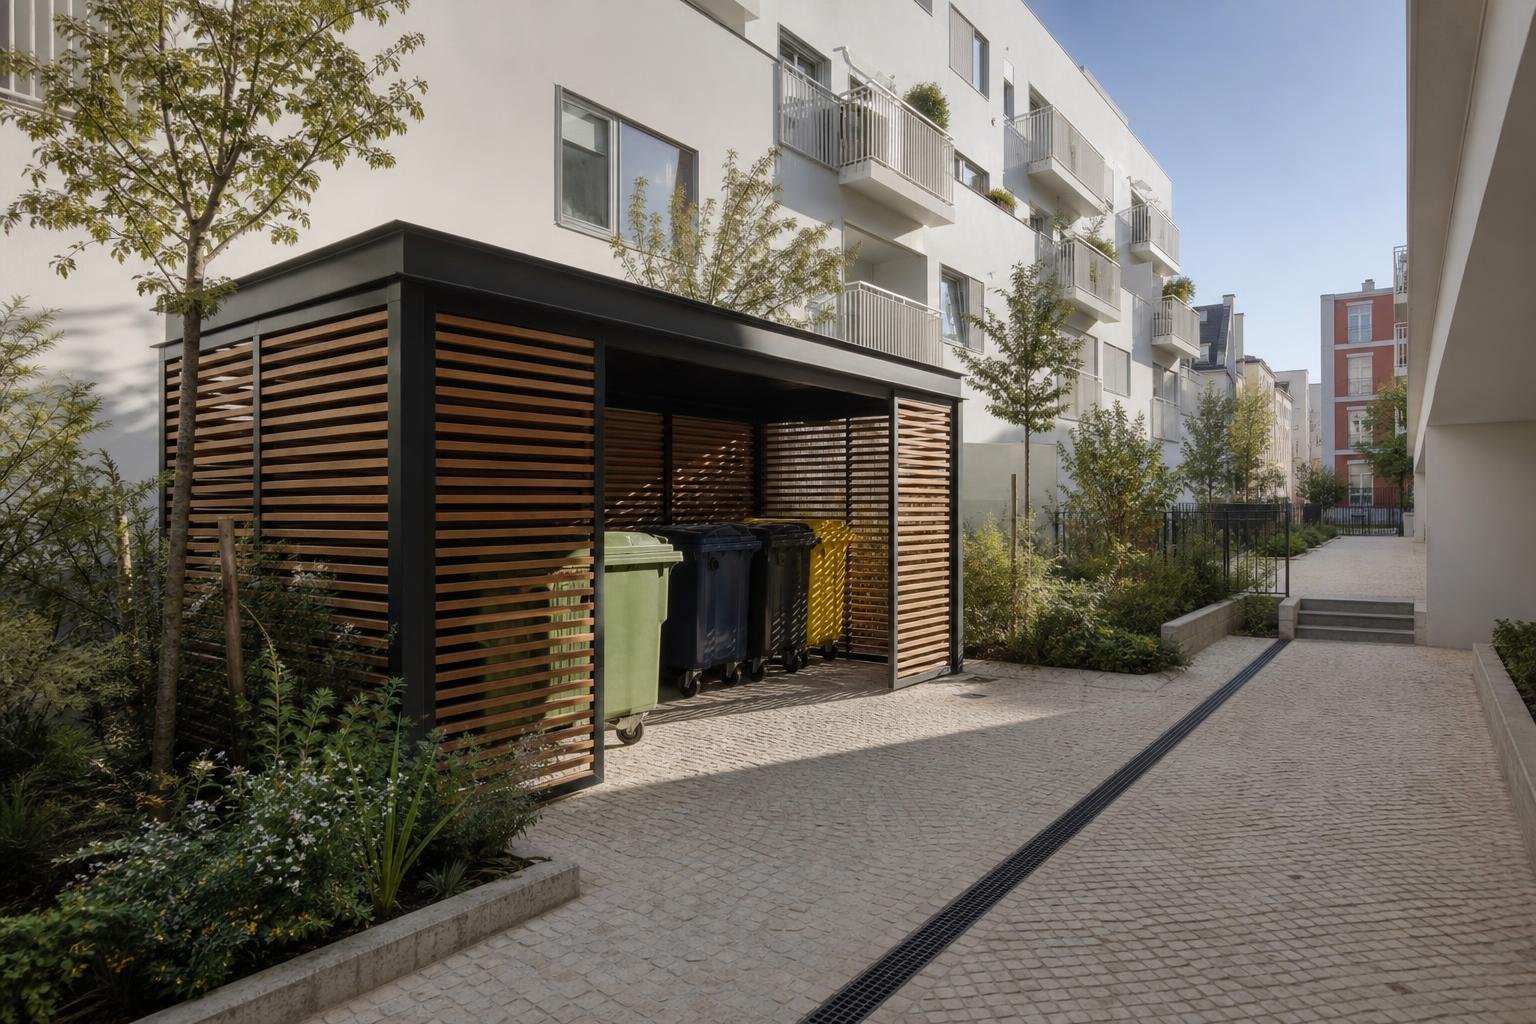
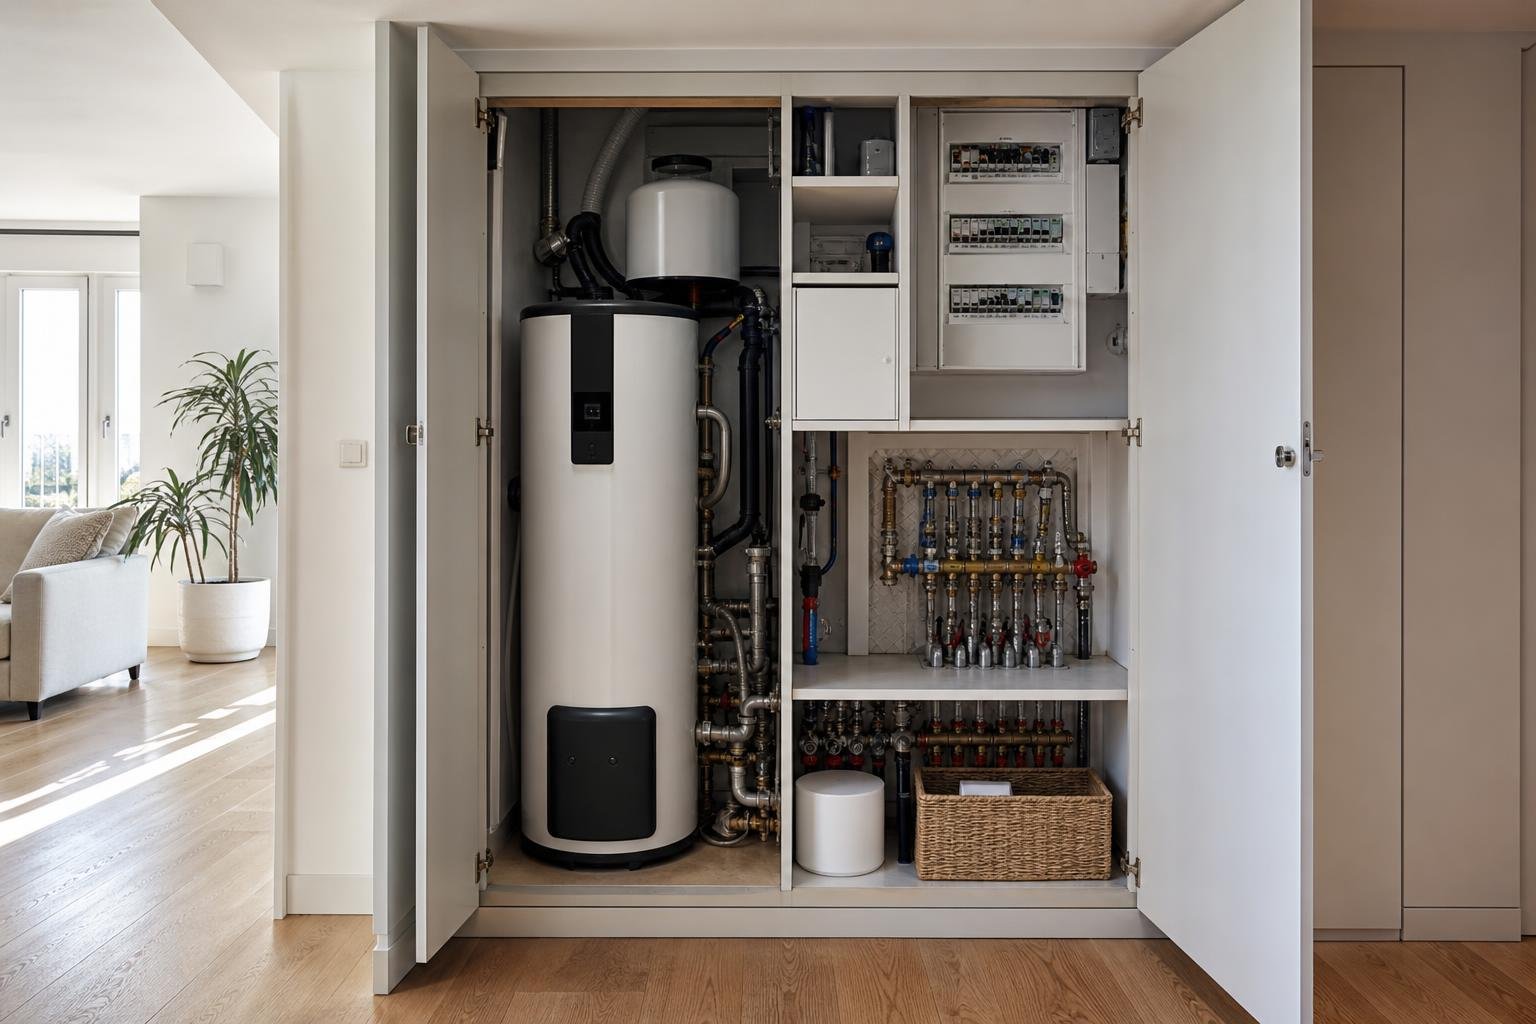
On a compact plot, the most balanced answer is often a small outdoor technical zone: a stable base, a clear side route, visual screening that still lets air circulate, and short pipe runs. If the work involves changes to the plant room, coordinate it with the drainage and plumbing layout before renovation, rather than allowing drains, cables and pipes to cross without a clear plan.
Treat noise as a design decision
The sound value on a technical sheet is relevant, but it is not enough. The experience changes with the time of day, the quietness of the street, nearby reflective façades, the direction of airflow and the presence of walls that throw sound back. A unit that is acceptable near a garage may be disruptive beside a bedroom window, especially early in the morning or late in the evening.
Before fixing the location, mark the likely position on site and look at what surrounds it: your own and neighbouring windows, patios, balconies, seating areas and hard surfaces. An acoustic screen only helps when it is designed without obstructing airflow. Do not improvise a sealed timber or masonry box around the unit.
Portuguese rules identify pumps, air-conditioning units, condensers and similar equipment as potential sources of nuisance, requiring care in location and isolation. Read the relevant requirements in the Portuguese official technical electrical rules, then confirm distances, anti-vibration supports and operating settings with the installer. Set neighbour-friendly operating hours rather than relying solely on a quiet mode.
Plan the base, condensate and rainwater route
The outdoor unit needs a level, durable and stable base. A properly formed small slab or suitable supports prevent tilting, vibration and constant contact with splash water. Do not place the machine directly on loose soil, lawn or unconstrained gravel: the support can settle over time and make drainage more difficult.
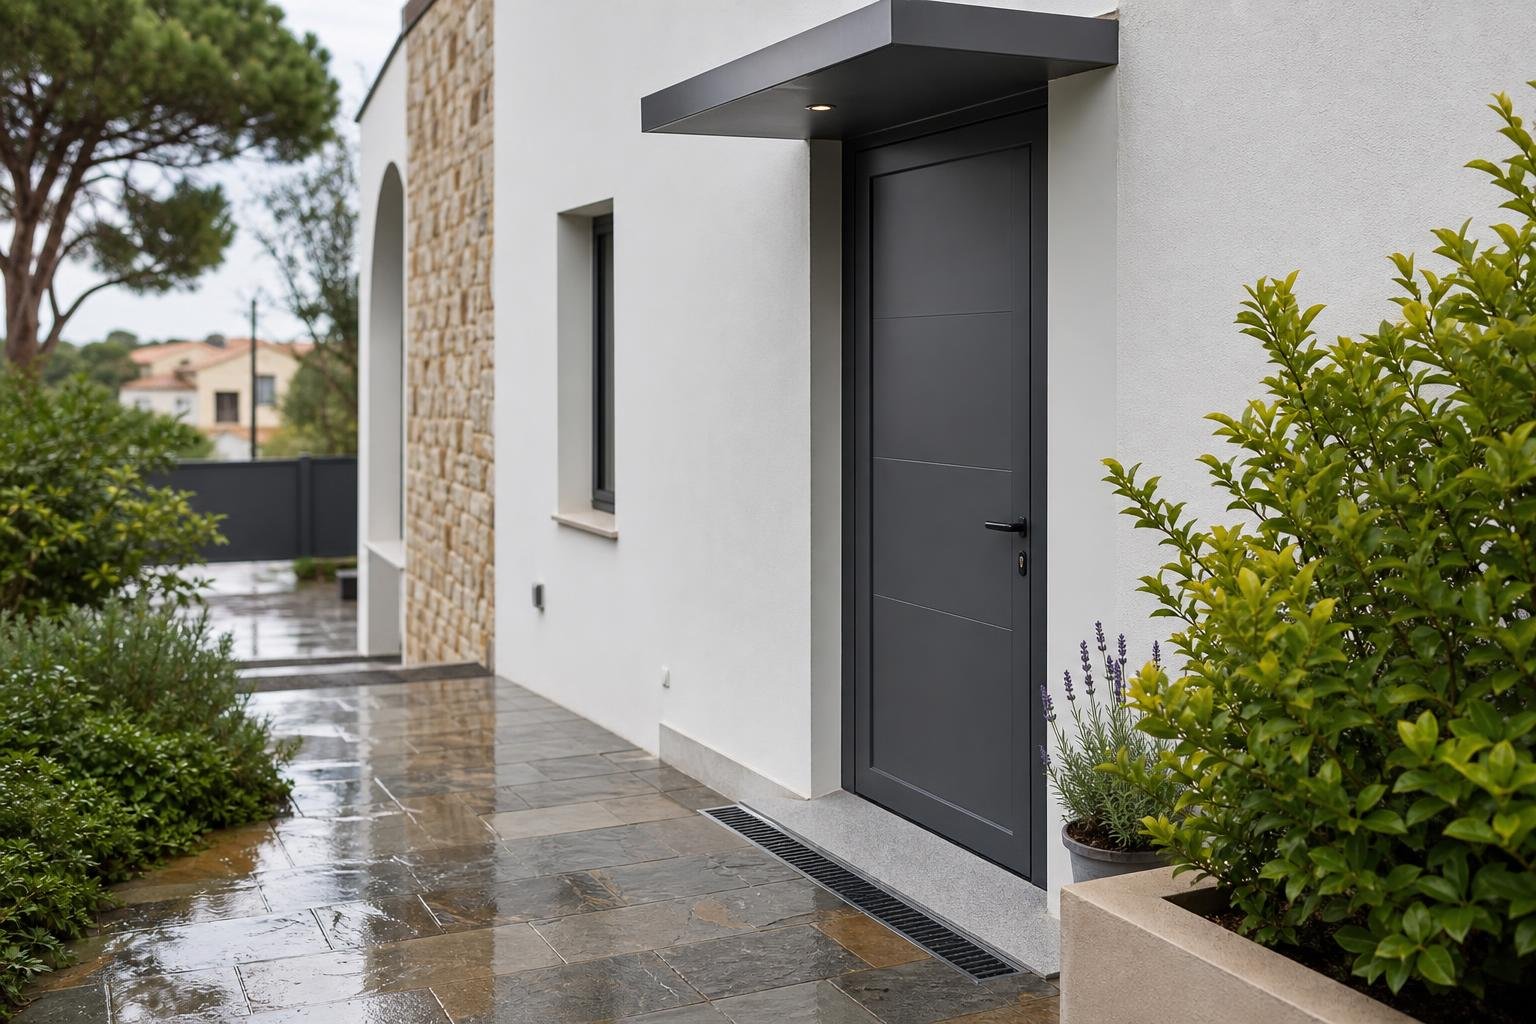
While operating, the heat pump can create condensate. In winter or humid weather, this water may be substantial and should not end up by the foundations, on a walking route or in a spot where it creates slippery deposits or puddles. Decide where it will go in advance: a properly planned drain, a permeable area away from the house or a technically appropriate connection to the existing system, without allowing water to return to the plant area.
Also consider water arriving from above. A gutter discharging onto the unit encourages dirt and corrosion; wash-down water should not enter the base or connections. If the outdoor area already drains poorly, correct the falls and drainage first. A new heat pump should not be the element that exposes an old defect in the garden paving.
Design the electrical installation before surfaces are finished
A heat pump should not be connected to the nearest socket as if it were a small household appliance. Its supply, consumer-unit protection, cable sizing, local isolation and earthing should be defined by a qualified professional, taking account of the unit’s output and the special conditions of a wet area.
Electrical safety around pools demands particular attention to distances, protected zones and permitted equipment. The regulation available through the Diário da República technical document includes pool-specific electrical rules, including references to distances from the pool edge. Do not treat one measurement as a universal answer: the full cable route, board position, pipework and all nearby equipment must be assessed together.
If you are renewing the outdoor area, include empty and accessible conduits for power, controls, a possible automatic cover and future needs. It is far easier to provide a crossing before stone, decking or concrete is installed than to cut a finished surface afterwards. For circuits and locations inside the home, see also how to plan sockets and switches before walls are closed.
Coordinate installers, maintenance and final records
A sound installation relies on coordination between the pool contractor, electrician, plumber and HVAC technician. Confirm in writing who supplies each item: base, bypass valves, pipework, insulation, electrical feed, drainage, commissioning, configuration and handover instructions. Without this division of work, essential small tasks are often left “between trades”.
Ask for the manual, warranty details, final hydraulic and electrical diagrams, identification of breakers and valves, and a straightforward explanation of routine operation. Future access should allow filters to be cleaned, leaks to be checked and the heat pump to be isolated without stopping the entire system. Avoid concealing valves behind fixed finishes or heavy outdoor furniture.
When appointing HVAC contractors, check that the company holds the appropriate credentials. The IMPIC guidance on HVAC work in private construction explains the relevant types of contractor authorisation. This does not replace technical project assessment, but it helps establish clearer responsibilities from the start. The right purchase is the one that fits the site, respects the existing installation and remains serviceable years from now.
Planning a new pool or reorganising the technical area of a house? Obra Lisboa can help coordinate space, drainage, electrical work and finishes before installation begins.
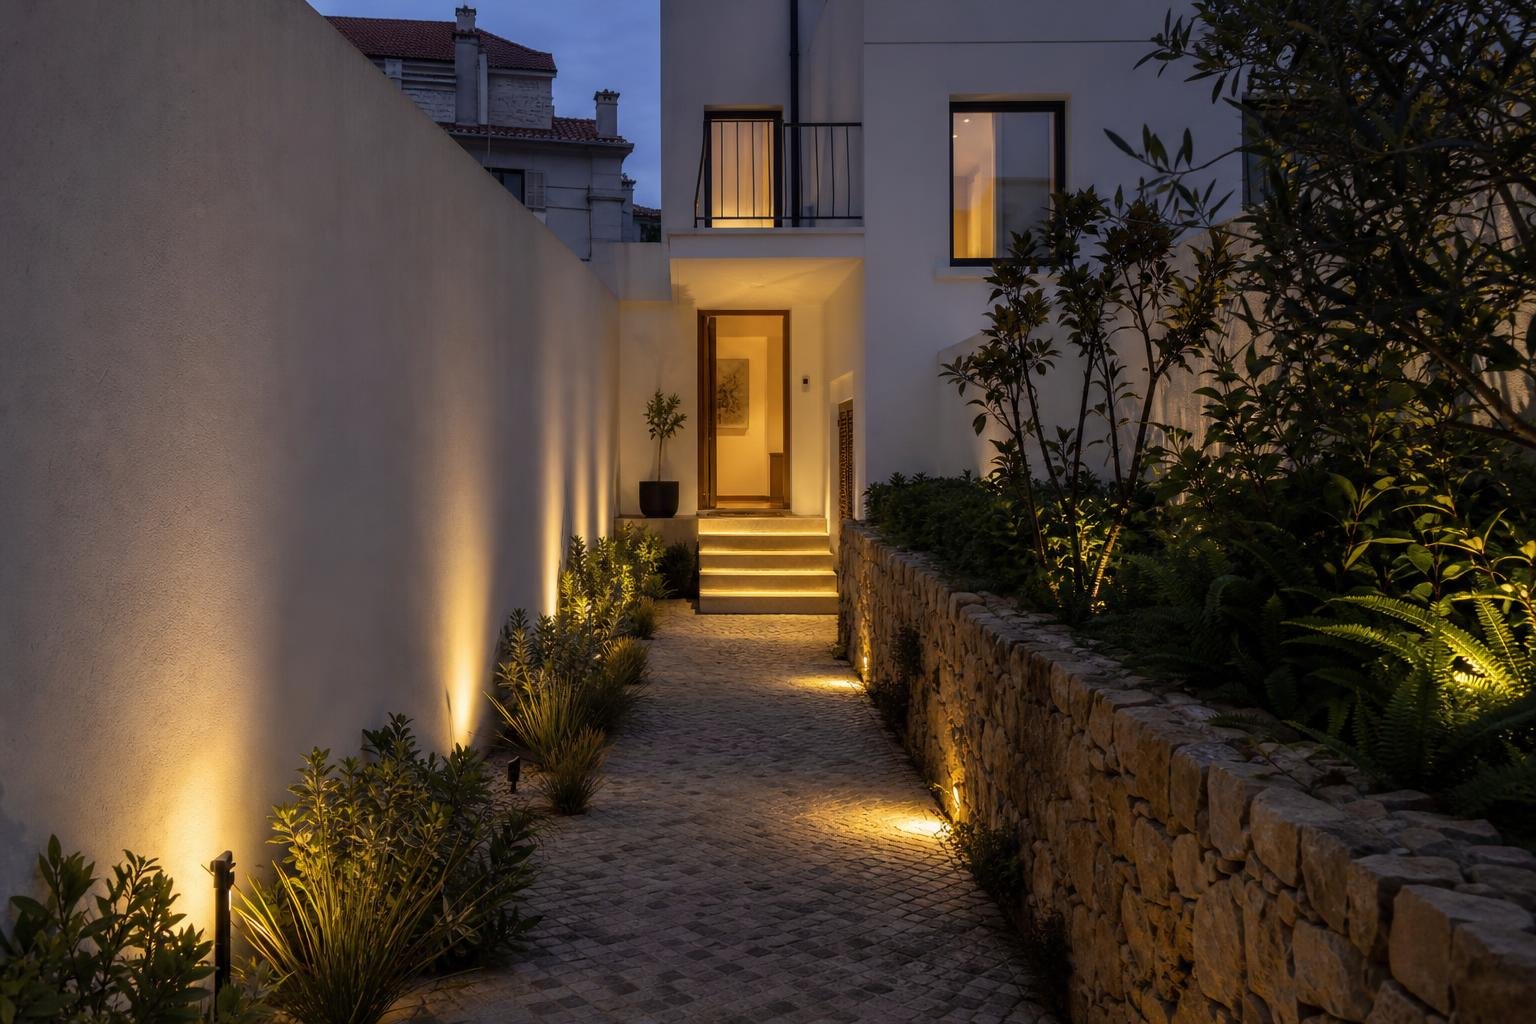
AI-generated editorial image; it does not depict an Obra Lisboa project.

Obra Lisboa