A cordless vacuum leaning against the kitchen wall, phone cables across the table, a tool battery in a drawer and a robot vacuum dock competing for an outlet in the hallway: charging points tend to appear at home by accident. The result is rarely practical. Cables cross circulation routes, adapters pile up, devices warm up inside closed furniture and one outlet ends up supplying far more than it was intended to handle.
A home charging zone does not mean turning a room into a technical station. It means deciding what will be charged, where it will sit, how long it will remain connected and under what conditions. In Lisbon flats, where storage is scarce and entrances, kitchens and utility areas often perform several jobs at once, a simple solution planned before walls and furniture are finished prevents long-term improvisation.
This guide covers everyday small devices: cordless and robot vacuums, phones, tablets, laptops, electric toothbrushes, low-power tools and removable batteries. It is not a substitute for designing electric-vehicle charging, solar systems or high-power equipment.
Map the devices first — not just the outlets
Before choosing a shelf or drawer, make a short list of the devices that genuinely stay connected at home. Note the room, original charger, whether charging happens overnight, whether the battery can be removed and whether the device must return to the same place. A cordless vacuum and robot vacuum need clear access; phones and tablets need a resting surface; tool batteries need separation, supervision and a dry place.
Then separate permanent uses from occasional ones. A robot vacuum dock may justify a dedicated, visible outlet. A drill used a few times a month does not need to occupy the kitchen worktop: it can live in a ventilated tool area, with enough room to remove the battery and check charging status. This distinction helps prevent the slow spread of extension leads.
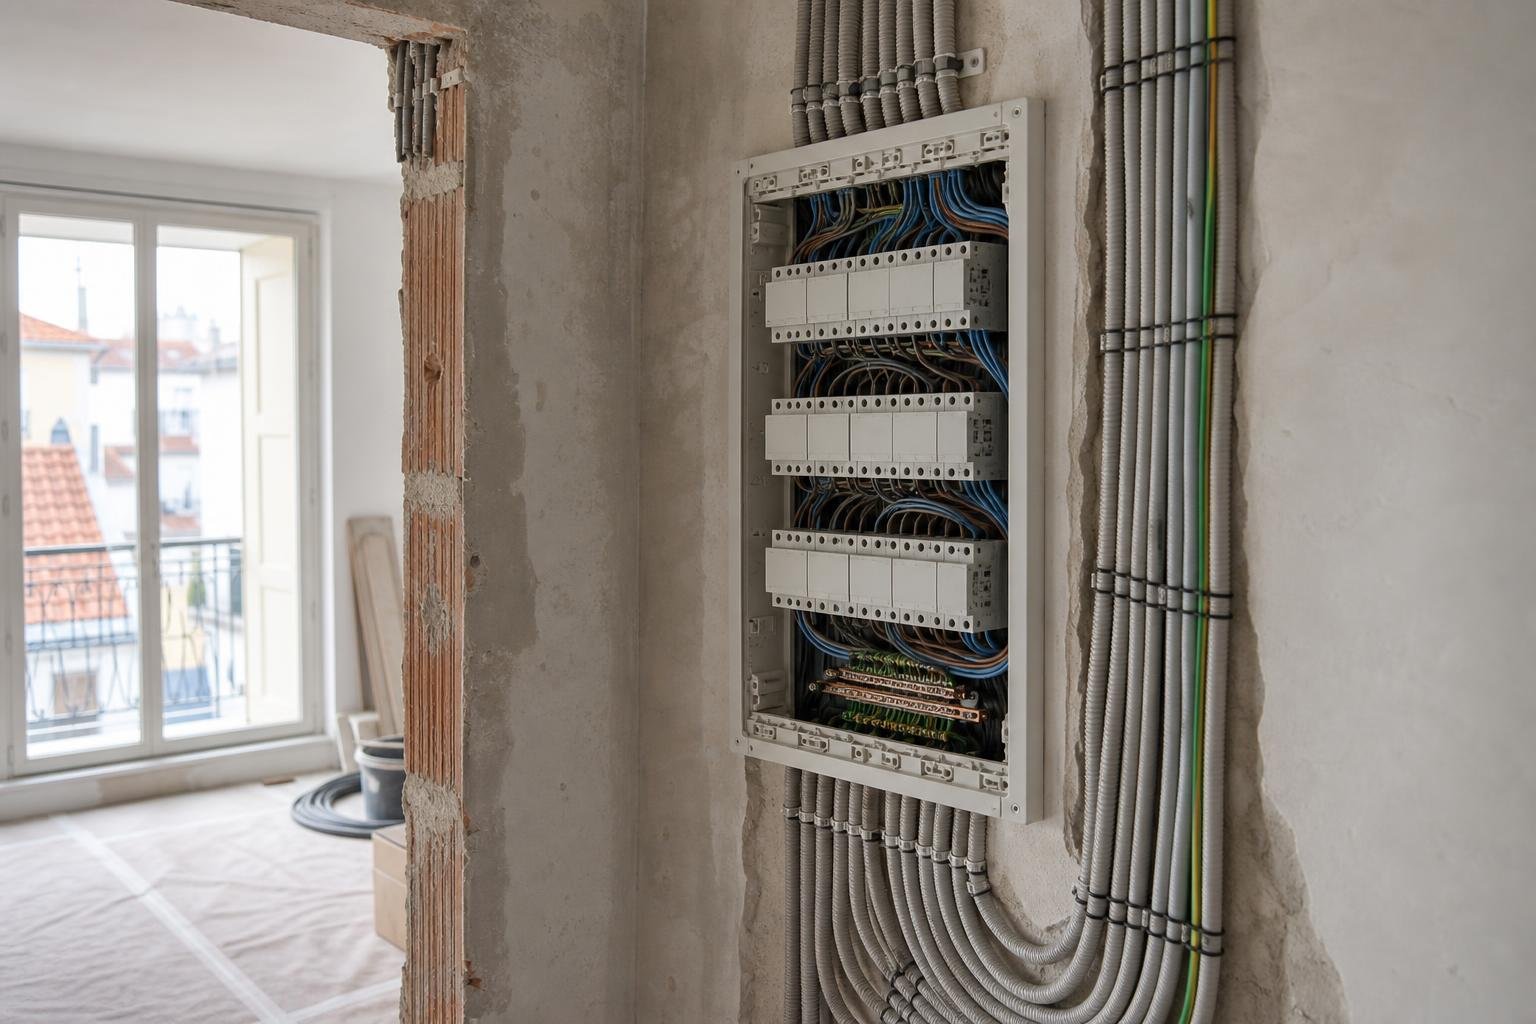
When renovating, the useful principle is to provide outlets for simultaneous use rather than merely counting the ones already on the wall. Portugal’s Technical Rules for Low-Voltage Electrical Installations require equipment to be installed without compromising its intended cooling conditions, and connections to be safe and durable. At home, that means not hiding a fully loaded power strip behind a door with no air gap.
If you are reviewing the wider electrical layout, pair this inventory with a plan for sockets and switches before walls are closed. The charging zone should be part of the drawing before bespoke furniture is made, not a late fix involving a multi-plug adapter.
Choose the location around use, heat and circulation
The best location brings routine and safety together. A storage column near the entrance can take a vacuum, phones and headphones; a laundry area can accommodate a cordless vacuum if there are no splashes, condensation or access problems; a utility cupboard can serve some devices, but should not become a nest of chargers.
Avoid three common positions: inside unventilated drawers, on the floor in hallways and against textiles, paper or flammable products. Charging on a bed, sofa or pile of laundry is also a poor choice. This is not about making ordinary daily use seem alarming; it is about avoiding a heat point where a fault or damaged cable could go unnoticed.
In an older flat, distinguish between an outlet that is nearby and one that is suitable. Check that the charger reaches without tension in the cable, that the plug is not crushed by furniture and that there is room to remove the device without pulling on the lead. Where an outlet sits behind fixed cabinetry, provide an access door, removable shelf or technical recess. The same maintenance-access logic applies to an apartment utility cupboard: meters, valves and equipment requiring service should not be blocked by improvised storage.
In homes with children or pets, choose a point above casual reach, or furniture that can contain cables without trapping heat. The goal is not to conceal everything; it is to make everyday use predictable.
Outlets, power strips and circuits: decisions to make before work begins
Individual small chargers may draw little power, but several devices on one strip can add up — especially if that same outlet also serves a heater, coffee machine, printer or another higher-power appliance. Do not judge by the size of the plug: read the manufacturer information for both the device and the power strip, and do not exceed their stated limits.
A switched power strip can be useful for devices that do not need to remain connected. ADENE notes that equipment left plugged in may continue using electricity even when not actively in use, and suggests cutting supply through the cable or switched outlets. Read its guidance on hidden energy use at home before buying smart products purely for convenience.
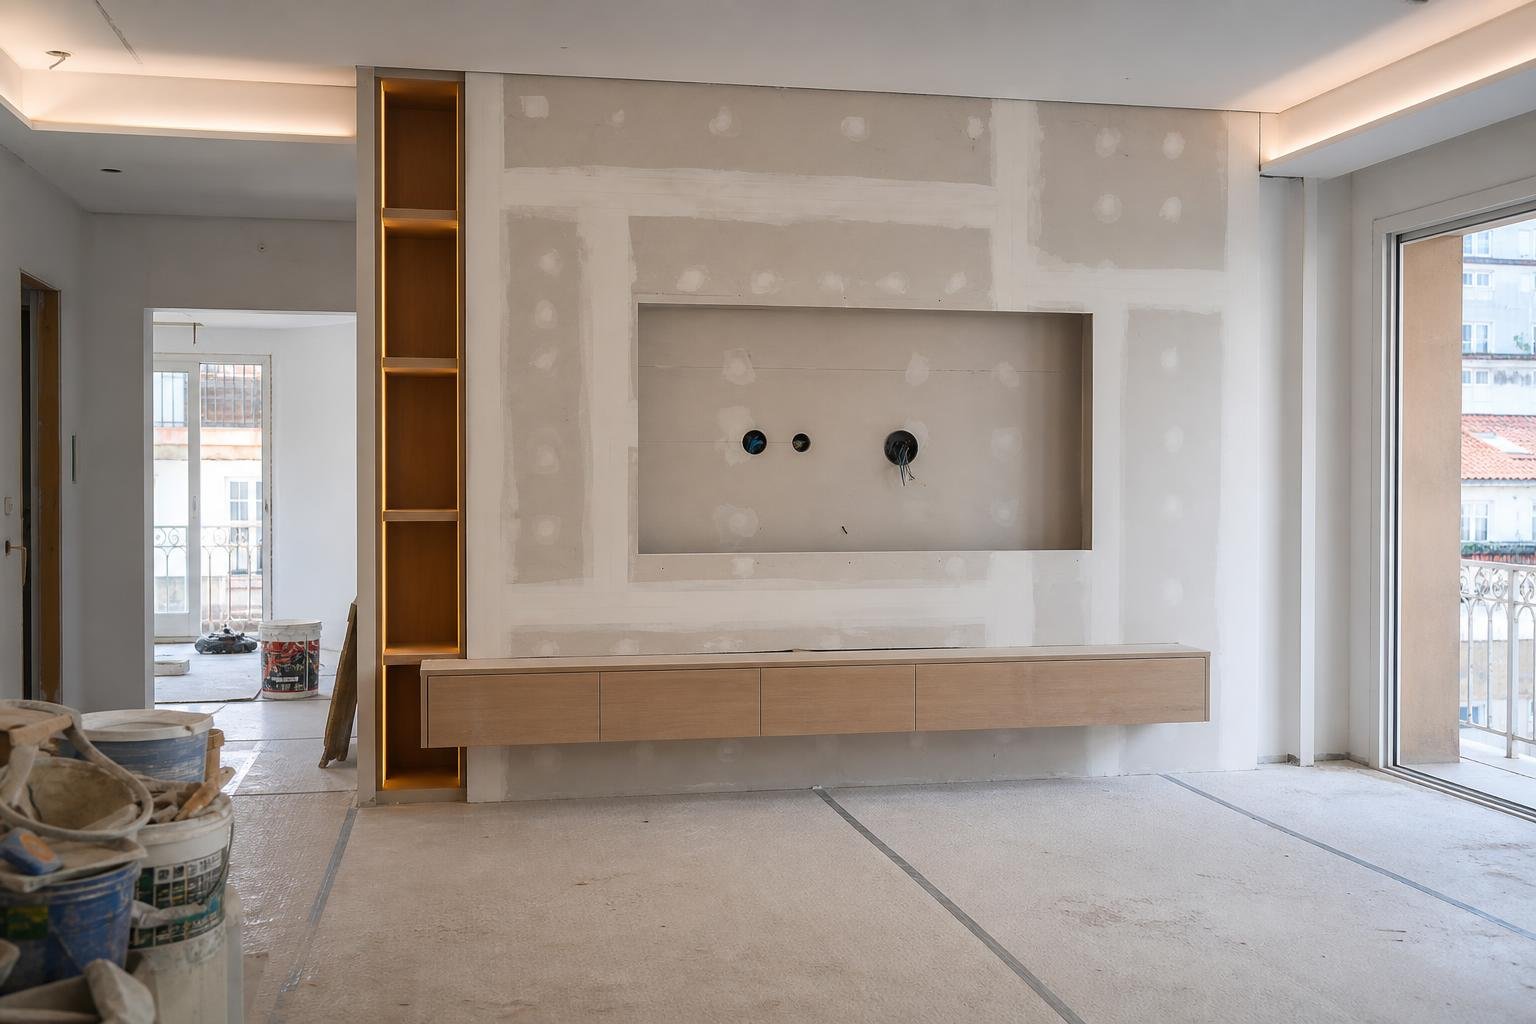
During a renovation, favour enough well-placed outlets over a layout dependent on permanent extension leads. Consider a low outlet for a robot dock, another at mid-height for a cordless vacuum and an outlet inside an open niche for phones or tablets. If the area includes a desk, printer and chargers, route cables through an accessible compartment with generous openings rather than forcing them through a small hole.
Any circuit change, added outlet, consumer-unit alteration or new fixed supply should be handled by qualified professionals. Portugal’s rules for private electrical installations set responsibilities for technicians and installation entities, and work must comply with applicable standards. Consult the legal framework for private electrical installations and check the competence of whoever will carry out the work.
Ventilation and surfaces: details that prevent trapped heat
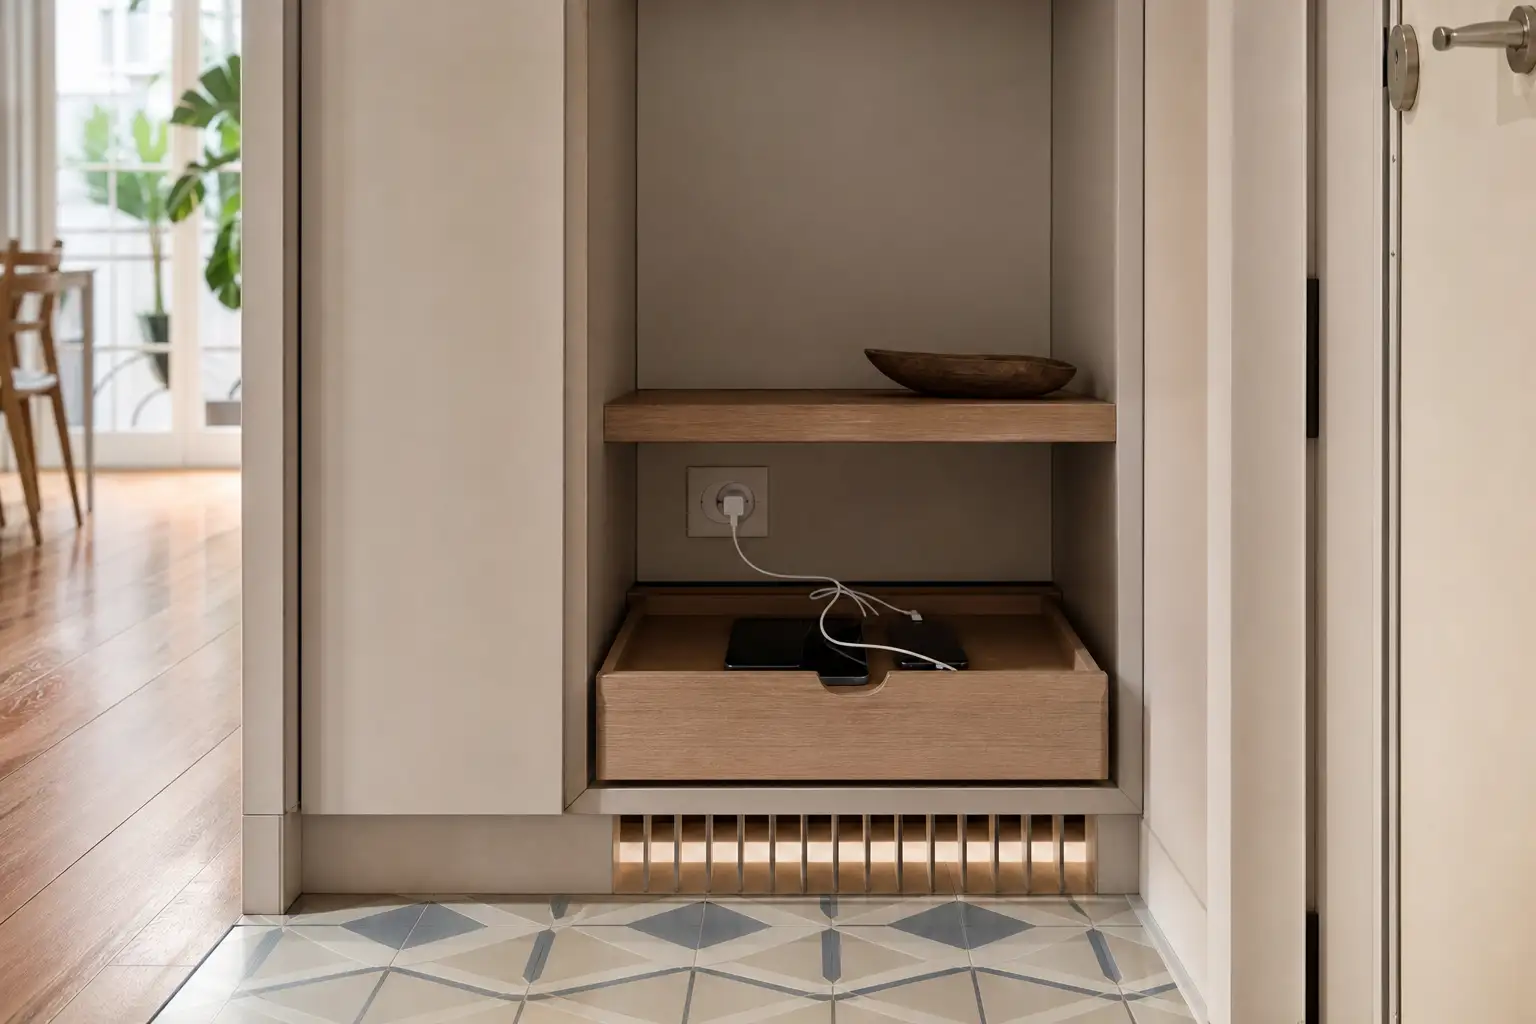
Charging is not the same as storing. A device may fit inside a drawer while its charger still needs to release heat. Leave space around power bricks, do not cover device vents and avoid tightly coiling a cable next to the plug. An open shelf, a niche with an unobstructed front or a cupboard with a discreet grille is usually more sensible than an airtight box.
Choose stable, easy-clean and hard-wearing surfaces. A sound melamine shelf or compact worktop performs better than a cloth, deep-pile mat or fabric basket. In a laundry area, keep chargers away from traps, hoses and detergent containers; in a kitchen, keep them clear of the sink, hob and food-preparation zone.
Do not stack power blocks on top of each other. They need space and become difficult to inspect when hidden among boxes. Mark each cable discreetly or use organisers that make it clear which lead belongs to which device. That prevents accidentally unplugging the robot dock or using an unsuitable charger for another battery.
For cordless vacuums, coordinate this choice with vertical storage and the cleaning route. The ideal point is not necessarily the prettiest room: it is the one where the appliance can be parked, charged and removed without hitting doors or narrowing a route.
Removable batteries and warning signs that need attention
Whenever possible, use the charger supplied or recommended by the manufacturer. Incompatible chargers, damaged cables and unverified adapters add unnecessary uncertainty. Do not charge a battery showing damage, swelling, leakage, unusual smell or excessive heating. Disconnect it, move it away from combustible materials and follow the manufacturer’s instructions for support and disposal.
Batteries for tools, scooters or e-bikes need a separate assessment: they have higher capacity, may have specific charging requirements and should not be treated like a phone. If the property has an outside area or storage room, do not assume it is suitable merely because it is outside the living room; assess damp, temperature, ventilation, rain protection and the state of the electrical installation.
When a charging area needs a new circuit, outdoor outlet, consumer-unit work or raises questions about available capacity, use a qualified professional. IMPIC states that work on electrical installations requires properly qualified practitioners under the applicable rules; see its guidance on professionals for electrical installations. This is not a place for improvised connections inside boxes, concealed splices or repairs made simply to make something work.
A simple layout for a more orderly home
A practical charging zone can remain very discreet. Think of an entrance column with an accessible internal outlet, an open shelf for the vacuum, a tray for phones and a cable channel; or a ventilated drawer for small devices while larger charging blocks remain outside it. In both cases, keep one outlet free. It will be useful when a new device arrives, without forcing a rebuild of the whole arrangement.
Review the area every six months: remove unused cables, clear dust, check that plugs fit firmly, look for signs of overheating and reorganise devices that have changed location. This small maintenance habit limits the tendency to accumulate unidentified chargers and extension leads.
If charging organisation is part of a wider renovation, coordinate it with furniture, lighting and circulation routes. The benefit is not having more technology on display; it is being able to charge everyday devices without cables underfoot, overheated cabinets or rushed electrical decisions.
Planning a renovation and want outlets, storage and charging points to work together without makeshift solutions? Obra Lisboa can help turn everyday requirements into a clear, coordinated construction plan.
AI-generated editorial image; it does not depict an Obra Lisboa project.

Obra Lisboa