A light that comes on at the right moment may seem like a minor detail. In a home used every day, it can prevent trips, make night-time routines easier and stop a hallway light being left on for hours. It is particularly useful at entrances, windowless corridors, short routes between bedrooms and bathrooms, laundry areas and storage access. Yet the wrong sensor quickly becomes frustrating: it reacts to a pet, switches off while someone is looking for keys, or triggers because movement is detected beyond a doorway.
The aim is not to automate every corner of the apartment. It is to create a clear, dependable lighting sequence that suits the people living there. Portugal’s health authority recommends good lighting throughout rooms and stairs as part of fall prevention, a useful starting point for homes with children, older residents or regular night-time movement. Read the DGS guidance on preventing accidents at home before making a purely decorative lighting decision.
This guide sets out what to check before walls or ceilings are opened, how motion sensing differs from daylight sensing, and how to keep the installation discreet during a renovation. For the wider electrical layout, also review sockets and switches to plan before walls are closed.
Plan the routes first, not the rooms
A sensor is more valuable on a short, repeated route than in a room where a person may sit still to read, work or talk. Draw a quick plan of the apartment and mark the everyday movements: front door to kitchen, bedrooms to bathroom, living room to laundry. Then identify where people routinely search for a switch in the dark.
In a typical Lisbon two-bedroom apartment, a balanced scheme might cover the entrance, the bedroom corridor and the route from kitchen to laundry. There is no need to automate every light. Bedrooms and living rooms benefit from direct user control; a corridor benefits from reliable orientation.
- Entrance: immediate light for keys, shoes and parcels.
- Internal corridor: uninterrupted light between doorways.
- Guest bathroom: soft guidance light at night.
- Pantry or utility cupboard: brief, practical light when hands are occupied.
If the corridor also leads to a home workspace, do not put the general route light and task lighting on the same automatic setting. They serve different activities and need separate control.
Choose sensor technology by what it can actually detect
PIR, or passive infrared, sensors detect thermal changes caused by movement. They are widely available, cost-effective and dependable when a person crosses their detection field. They do require a clear line of sight: an open door, tall cupboard or sharp turn can leave a blind spot.
Microwave sensors can detect more subtle movement and may work through some lightweight materials. That can be useful in a tightly enclosed area, but it also calls for caution in apartments: they may respond to movement outside the zone you intended to control. More sensitive presence sensors are available for particular circumstances, but they are not automatically the best answer for every hallway.
As a working rule, use PIR for clear, short routes; consider more sensitive equipment only where a person may remain almost still and the product has been assessed on site. Check the angle, reach and manufacturer instructions before fixing anything. Portuguese technical requirements for lighting systems recognise the value of control and regulation; the relevant Diário da República technical requirements are a useful reminder to plan circuits rather than improvise them.
Place the sensor to catch the approach, not only the crossing
In a straight corridor, the best location is not always the geometric centre of the ceiling. It is the point that detects someone before they enter the dark part of the route. Often this is close to the start of the corridor, aimed towards the expected approach. In an L-shaped corridor, one device may not cover both legs: two small, well-adjusted zones are usually better than one over-sensitive sensor.
Avoid aiming the sensor towards a window with direct sun, a heat source, the doorway of a busy room, or an exterior area that remains in view. Door swings matter too: an open leaf may block the detection field or cause unexpected triggering.
Where a suspended ceiling is planned, confirm the position of beams, wiring and junction boxes in advance. If there is no false ceiling, a surface-mounted sensor can be an honest, maintainable solution; concealing it at all costs can make future access needlessly difficult. This coordination belongs early in the design of interior corridor lighting, especially when finishes and painting are also being renewed.
Set three things properly: daylight level, delay and brightness
The installation is not finished when the sensor is wired. First set the daylight threshold: a corridor with enough natural light should not switch on unnecessarily during the day. At night, the response should be consistent. Test it at more than one time of day, because a north-facing window behaves very differently from a window onto an internal courtyard.
Then set the hold time. At an entrance, 30 to 60 seconds may be enough; on the route between bedrooms and bathroom, one or two minutes may be more comfortable. Very short settings make people rush or wave at the light. Very long settings reduce the energy benefit.
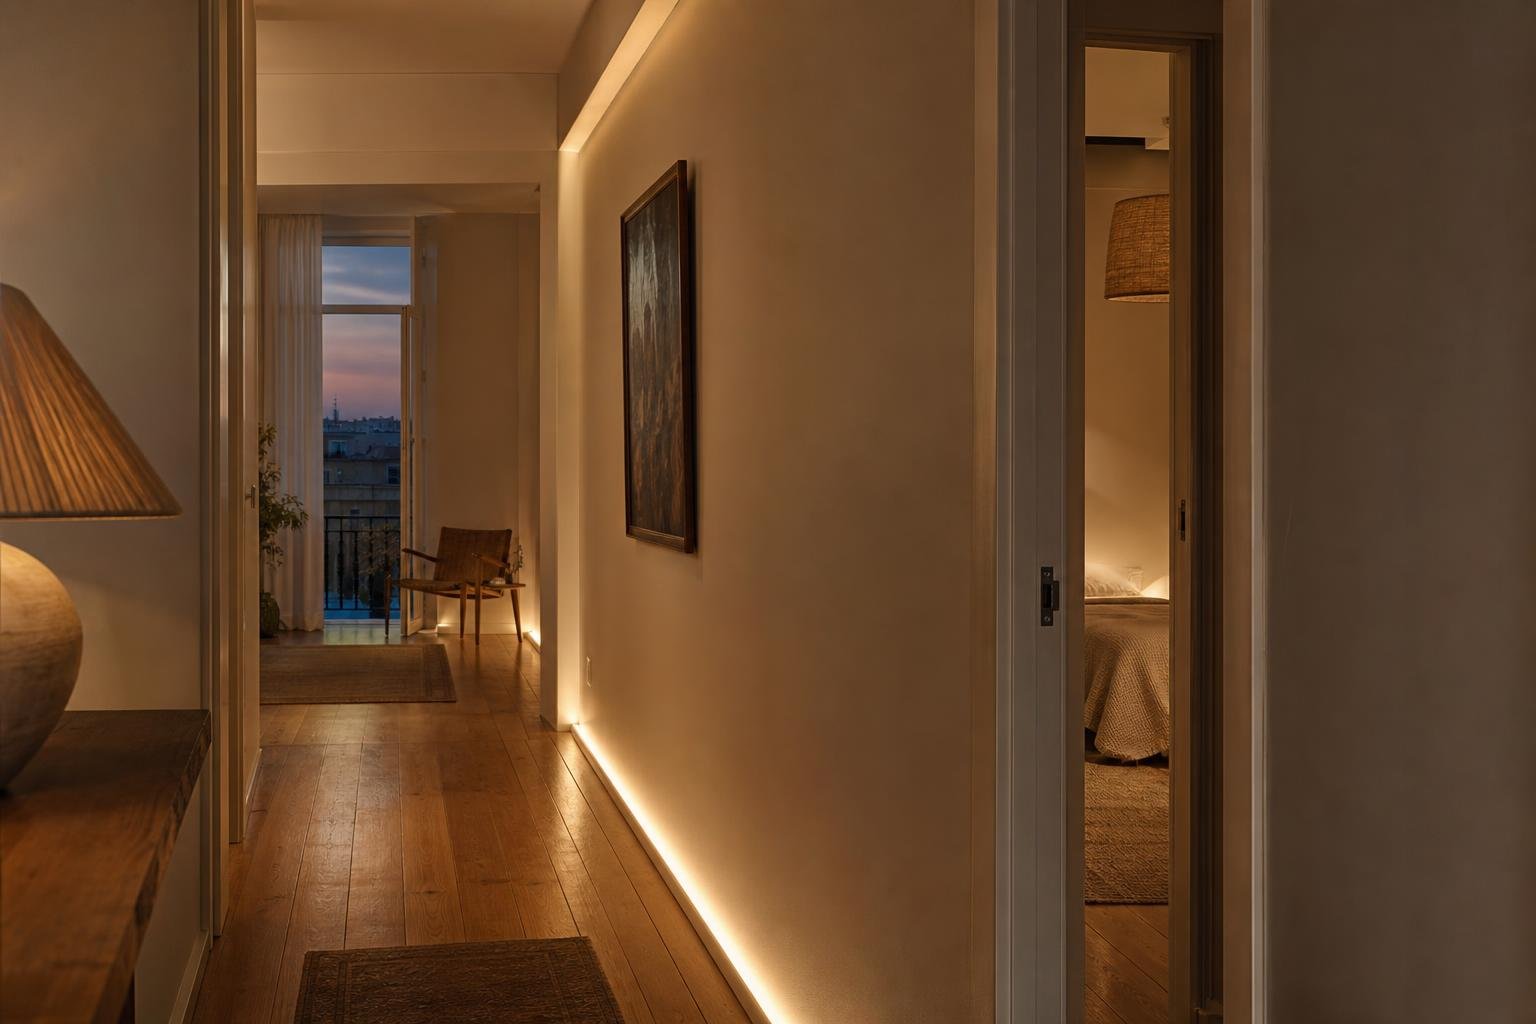
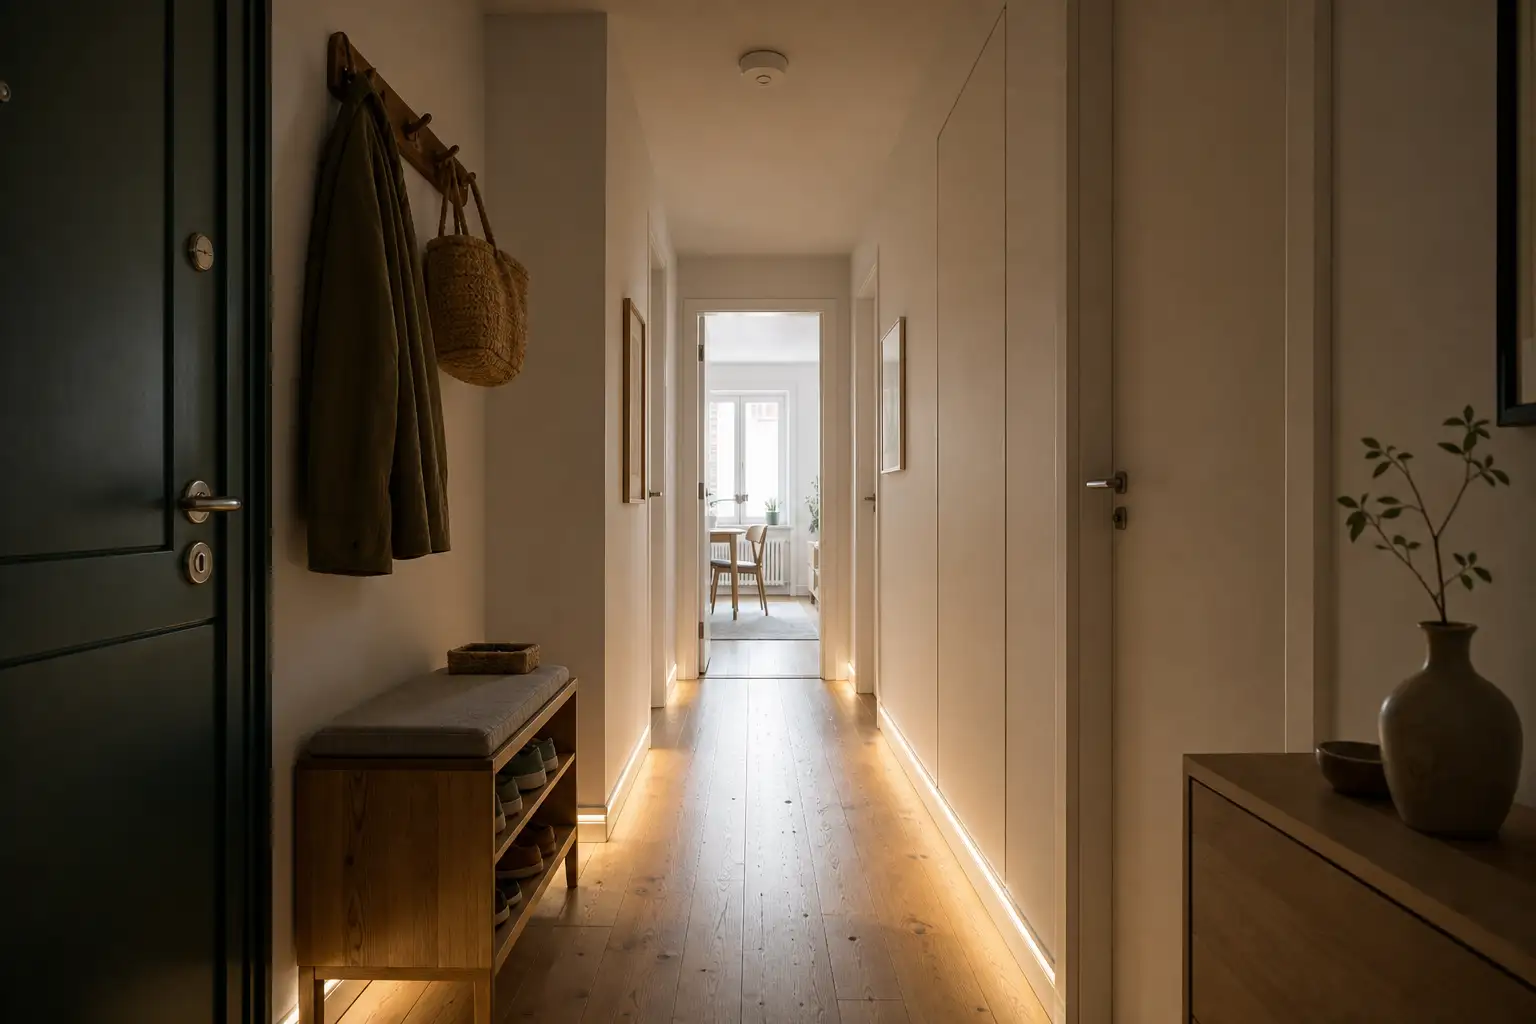
Finally, set the light output. At night, it should not wake someone sleeping or produce glare in a mirror or glazed door. A diffused fitting or low-level skirting light often guides better than a powerful ceiling spotlight. Efficiency is not only about LED lamps: it is about using light only where, when and at the level it is needed. The ADENE energy-saving plan includes presence sensors among lighting-control measures, supporting this practical approach.
Keep an easy manual override
Automatic should not mean compulsory. Provide a conventional switch, two-way switch or accessible override mode, according to the circuit and chosen system. It is useful for cleaning, moving furniture, extended activity in the corridor, or temporarily dealing with a sensor fault.
It is also worth deciding what happens after a power cut: does the light return off, on, or in its last state? In circulation areas, the simplest behaviour is usually the easiest to understand. Ask the electrician to identify the circuit at the consumer unit and leave clear information about sensor settings.
Do not add sensors or change electrical connections without checking circuit capacity and the existing installation. A renovation involving walls, ceilings or building services should be assessed according to its real scope. Lisbon City Council sets out procedures for building works and licensing; for modest internal work, confirm what applies to your property and condominium.
Avoid the mistakes that make automation annoying
The most common mistake is buying the sensor before planning the light. A detector cannot fix a poorly placed fitting, uncomfortable colour temperature or shadows caused by doors. The second is trying to make one sensor serve the corridor, entrance, kitchen and living room: each area has a different rhythm and need.
Avoid very cool white light on night-time routes, inaccessible drivers hidden inside ceilings, and systems that rely exclusively on a phone app. A home solution should still work for a child, a visitor or anyone unfamiliar with the controls.
Good sensor lighting does not draw attention to the technology: it lets people move through the home without searching for a switch or turning night into artificial daylight.
Before work starts, prepare a short sheet showing fittings, sensors, manual controls, expected delay and night-time scene. That small plan reduces last-minute changes and gives everyone a clear basis for testing the finished installation.
Renovating an apartment in Lisbon and want lighting, controls and finishes coordinated rather than decided one by one? Obra Lisboa can help structure the technical planning of the work, from circulation routes to lighting points and maintenance access.
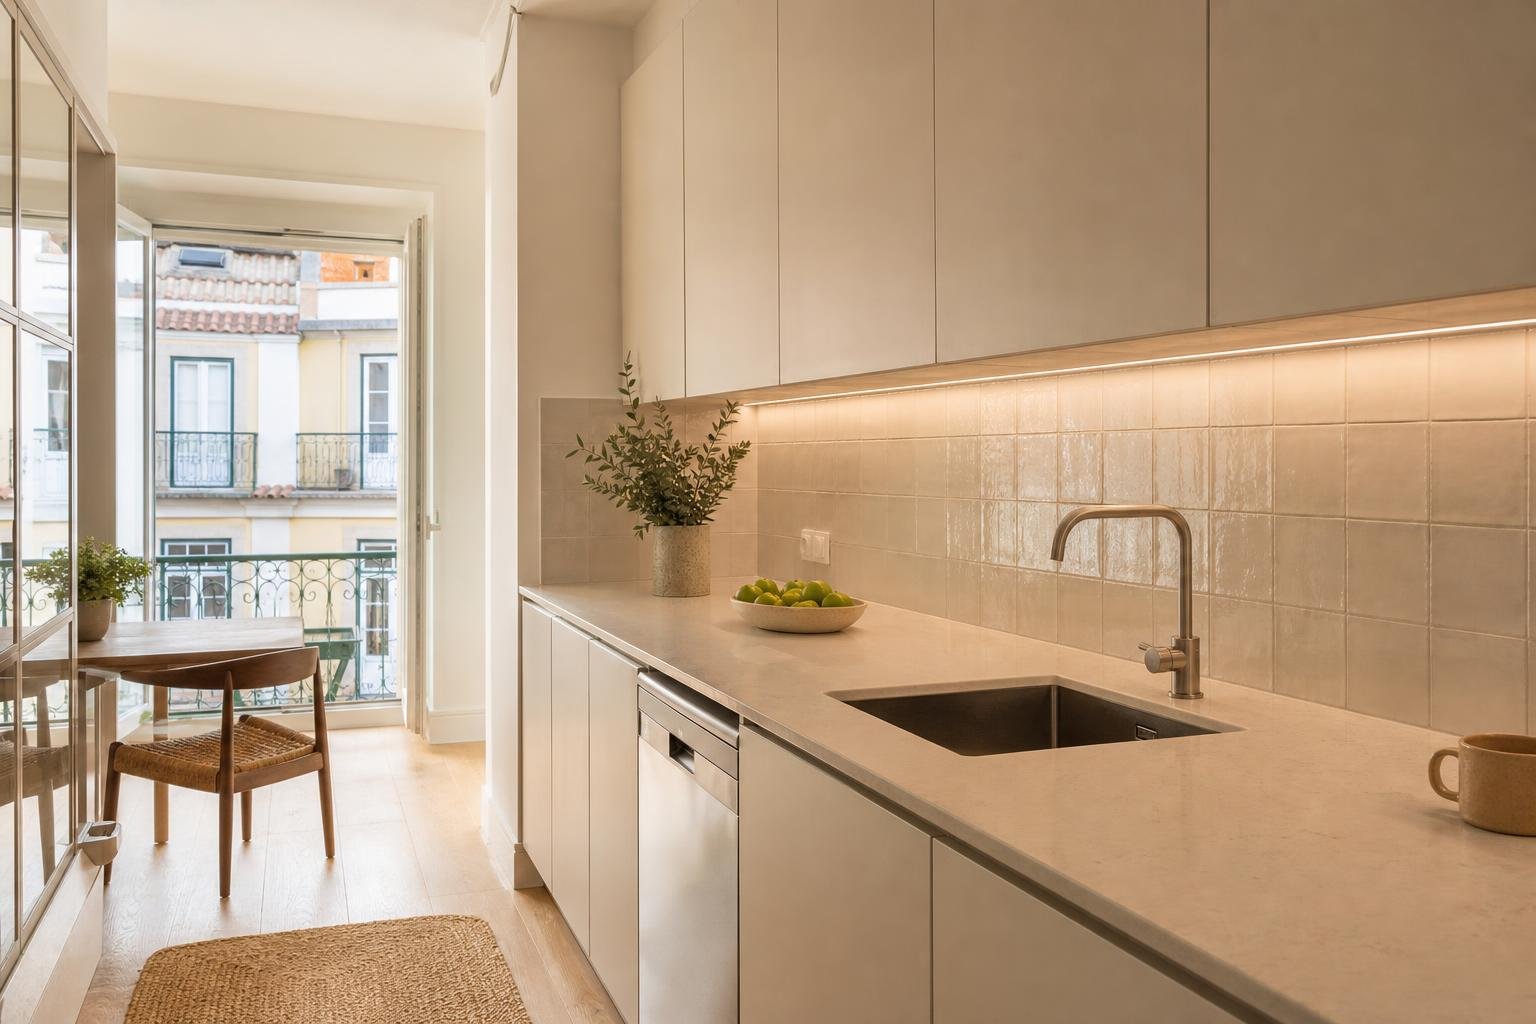
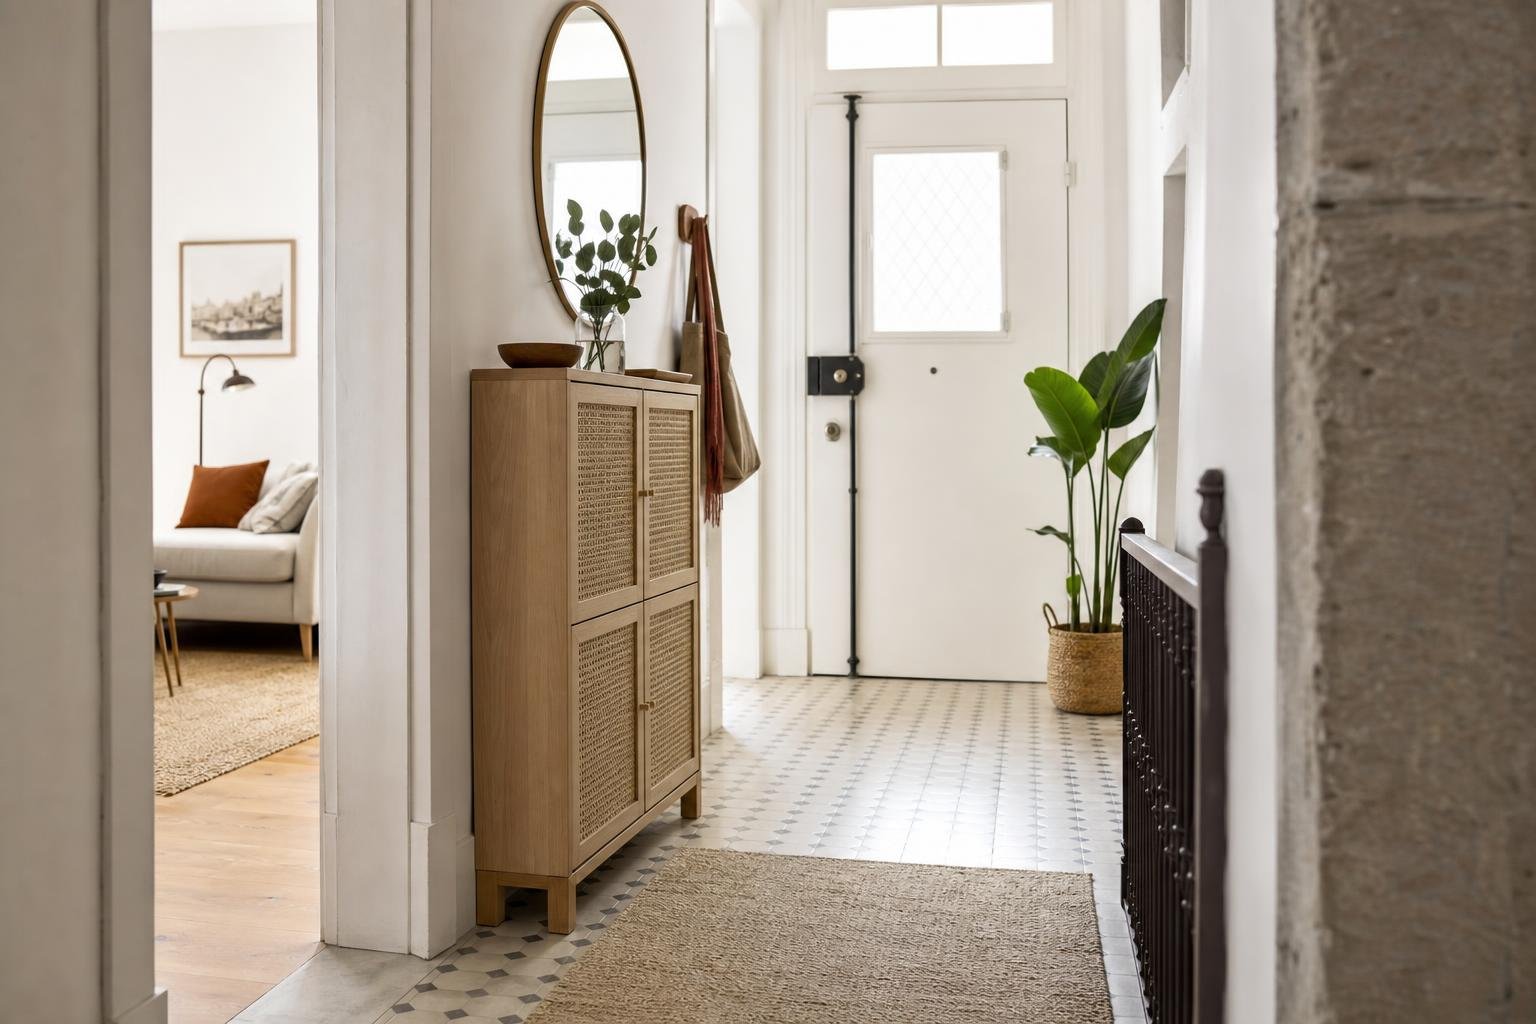
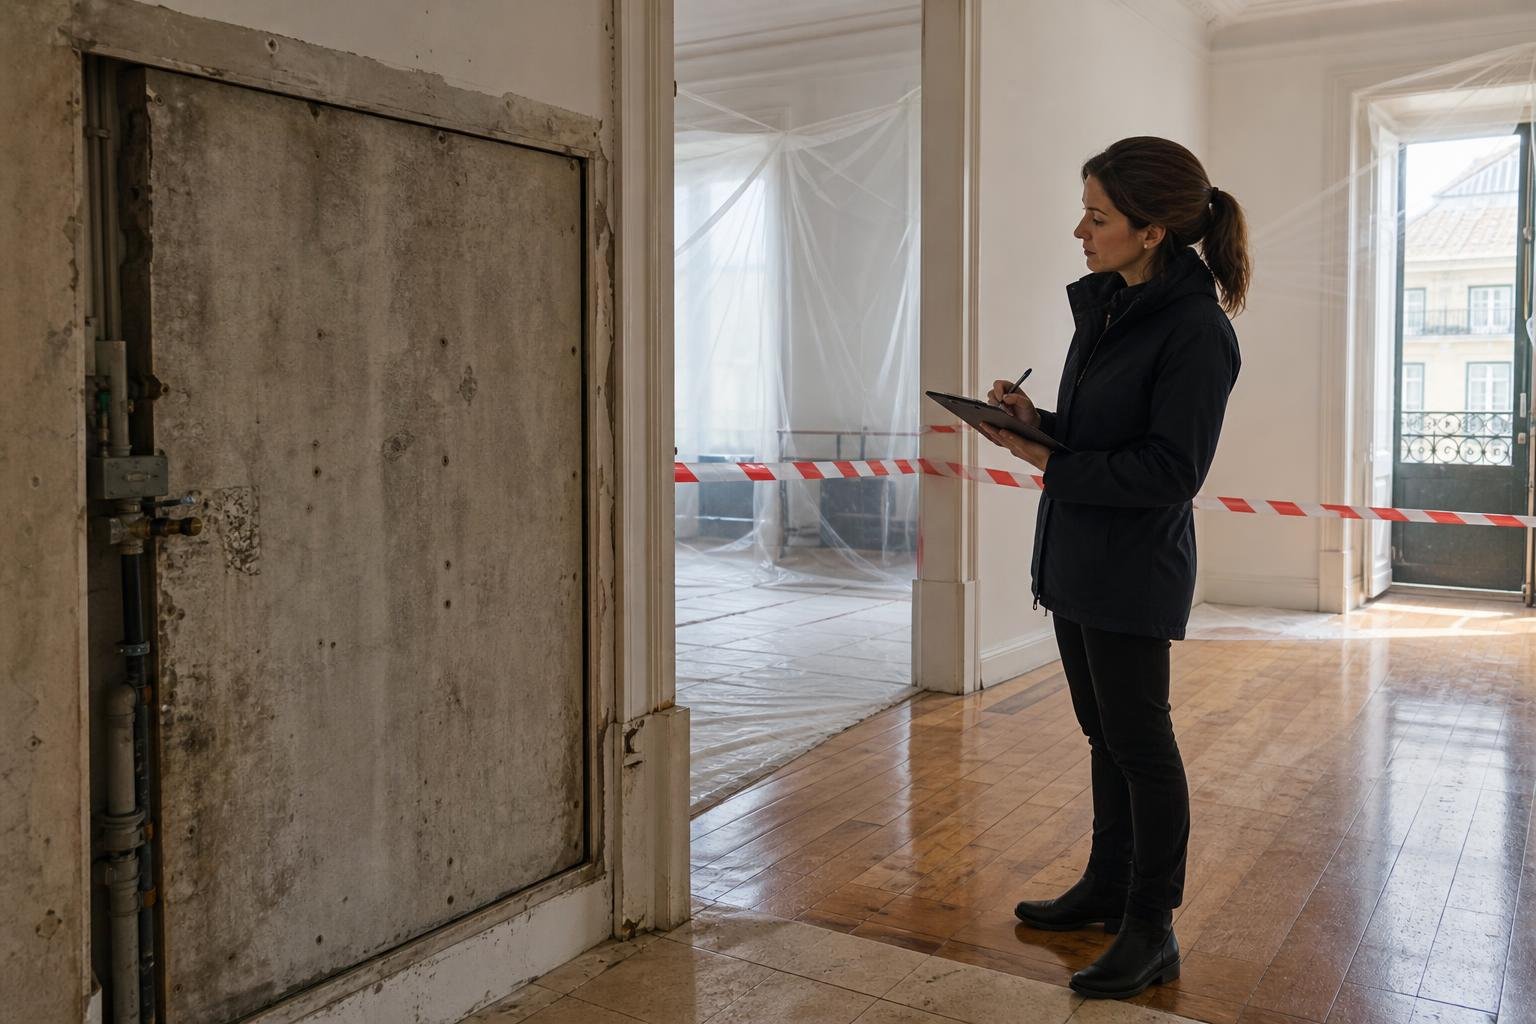
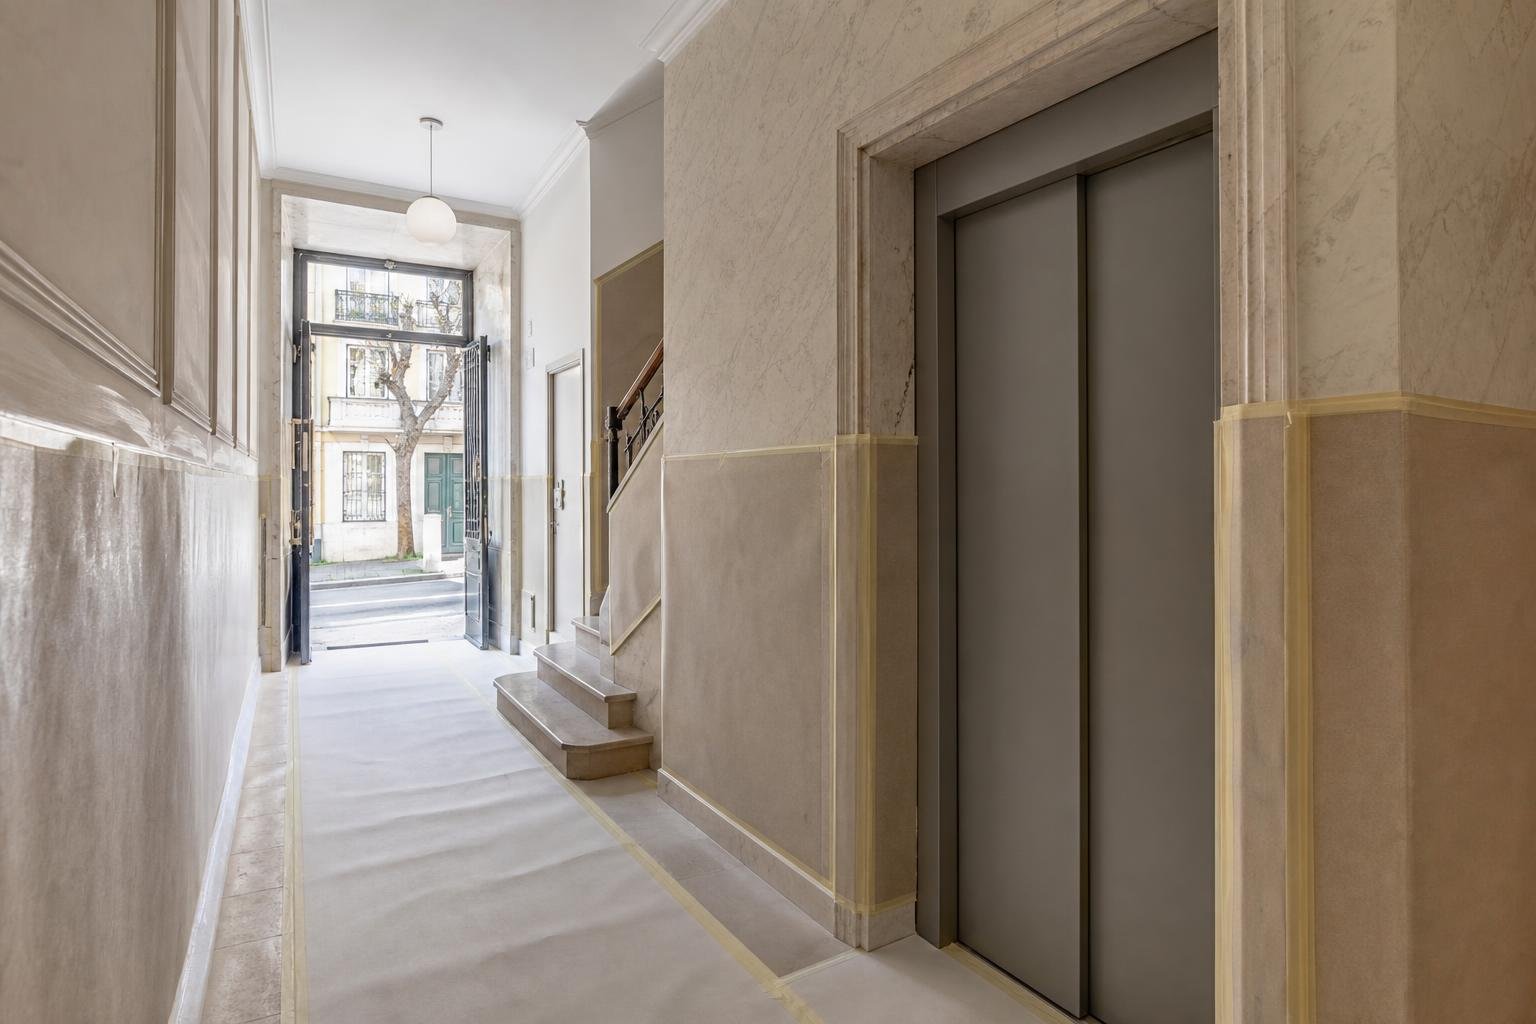
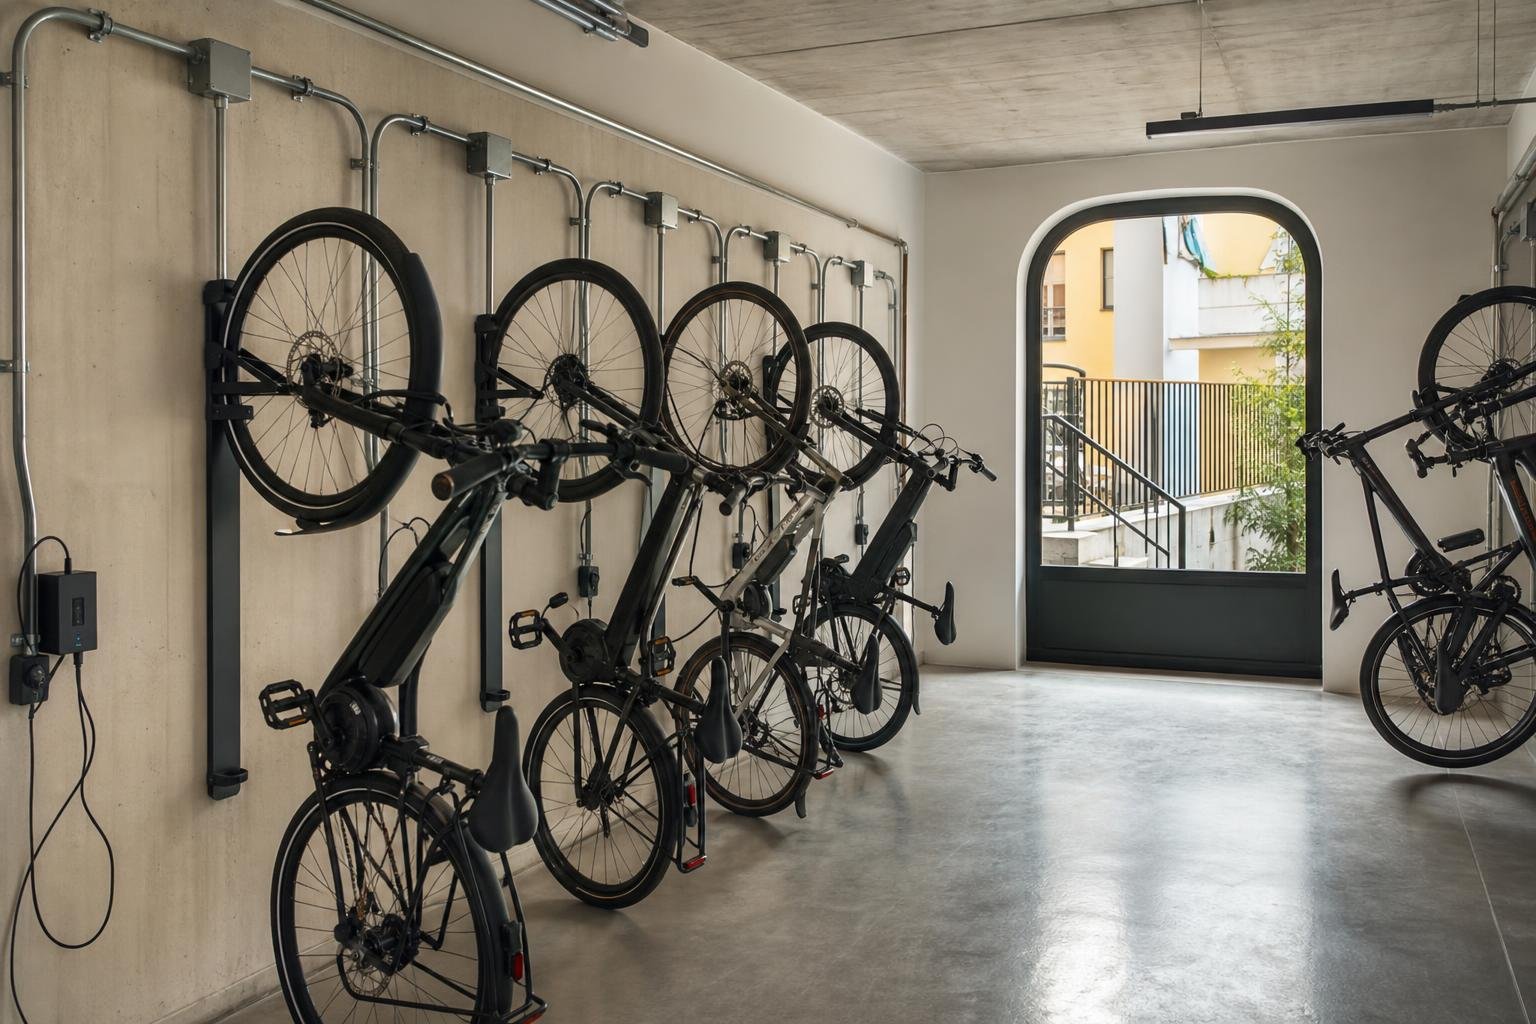
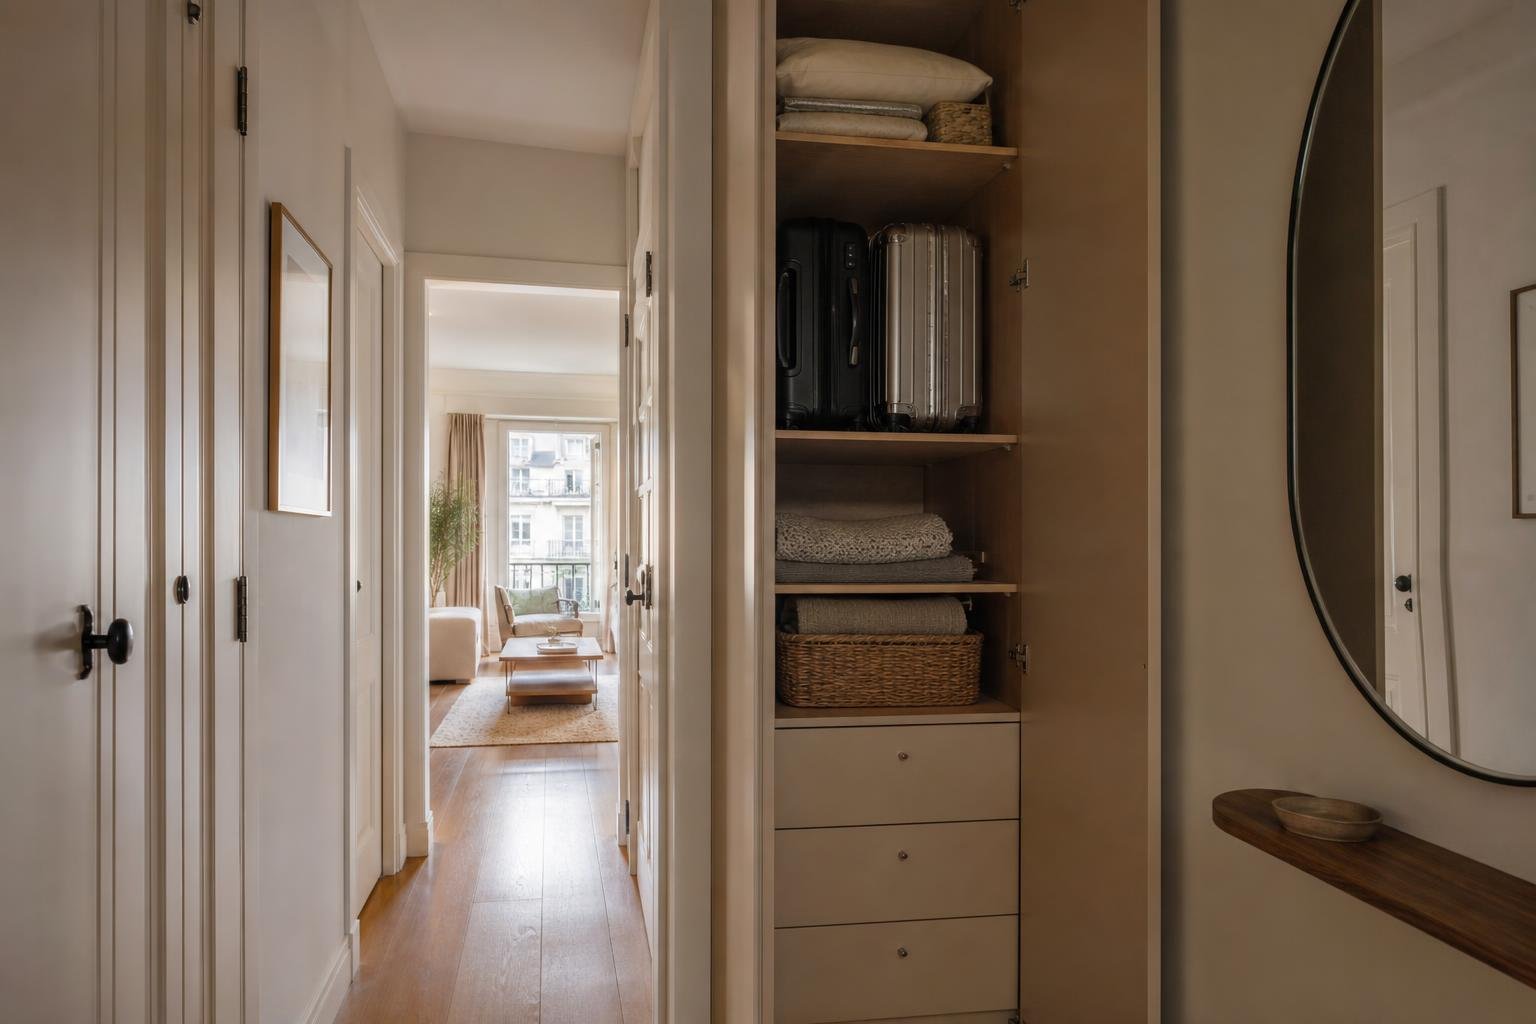
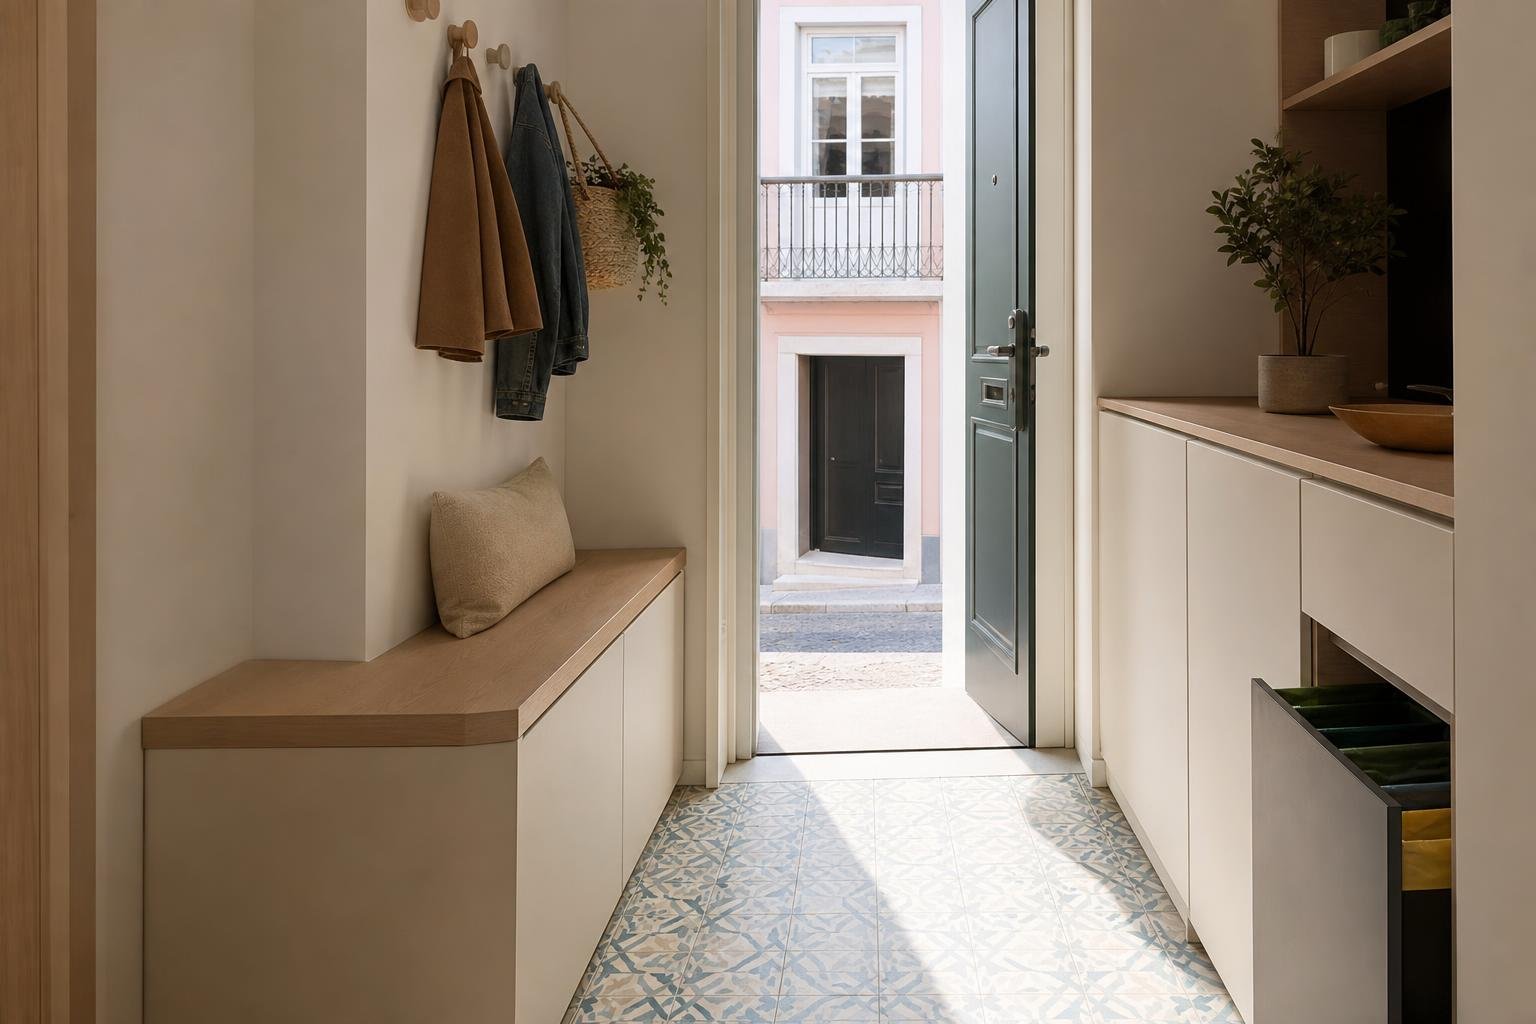
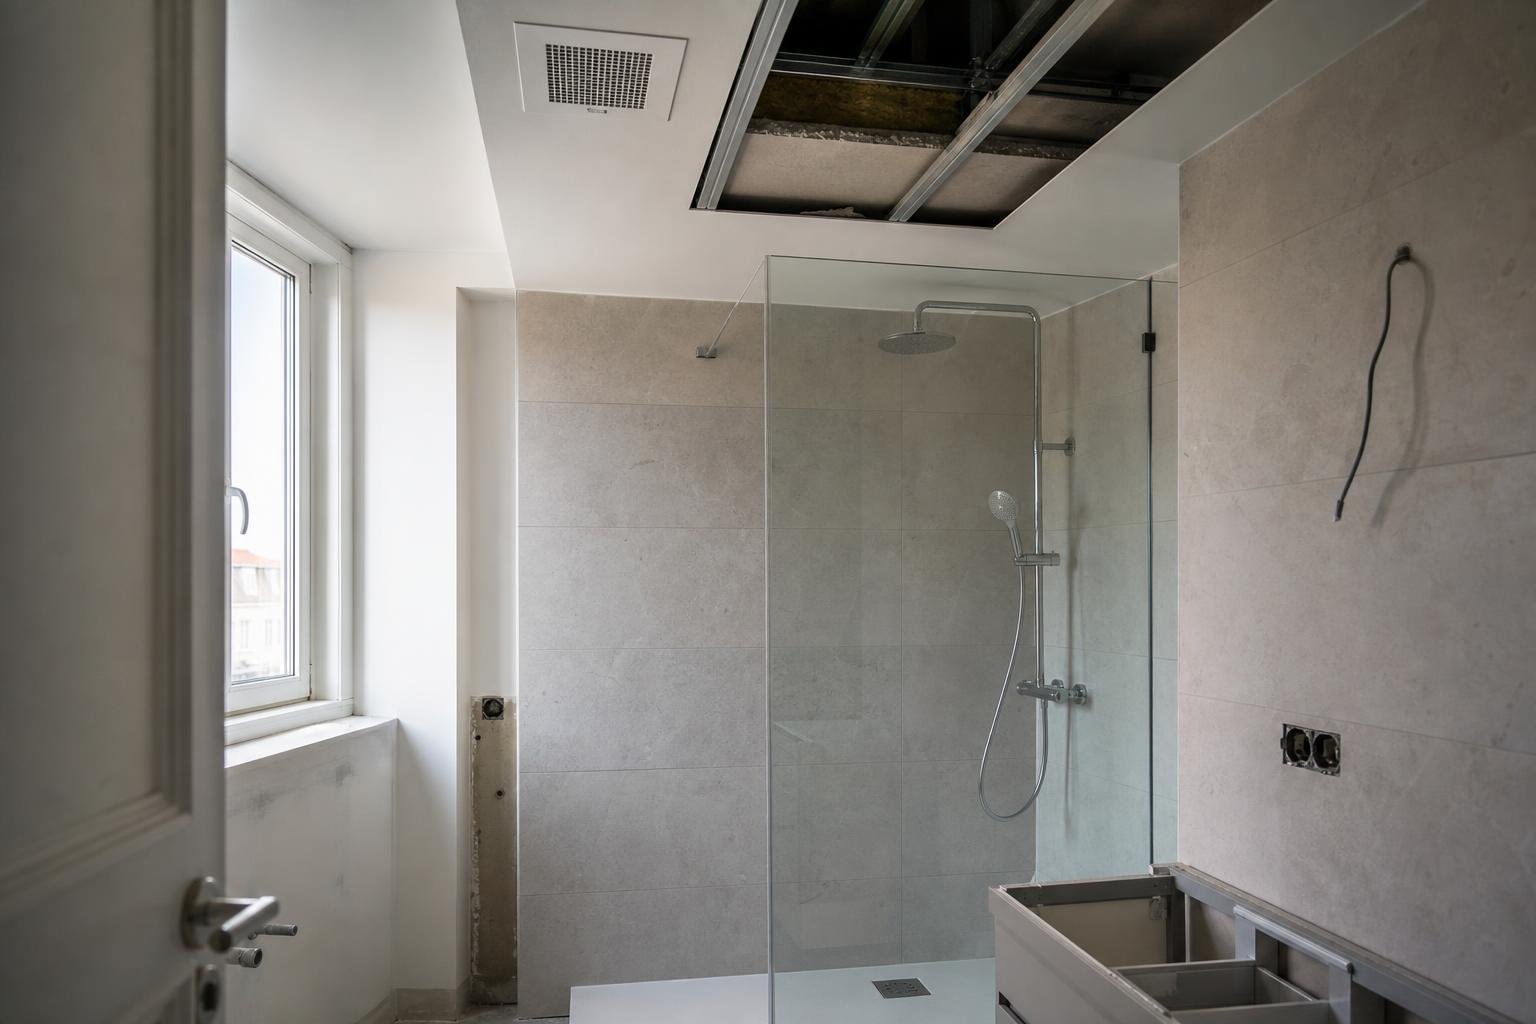
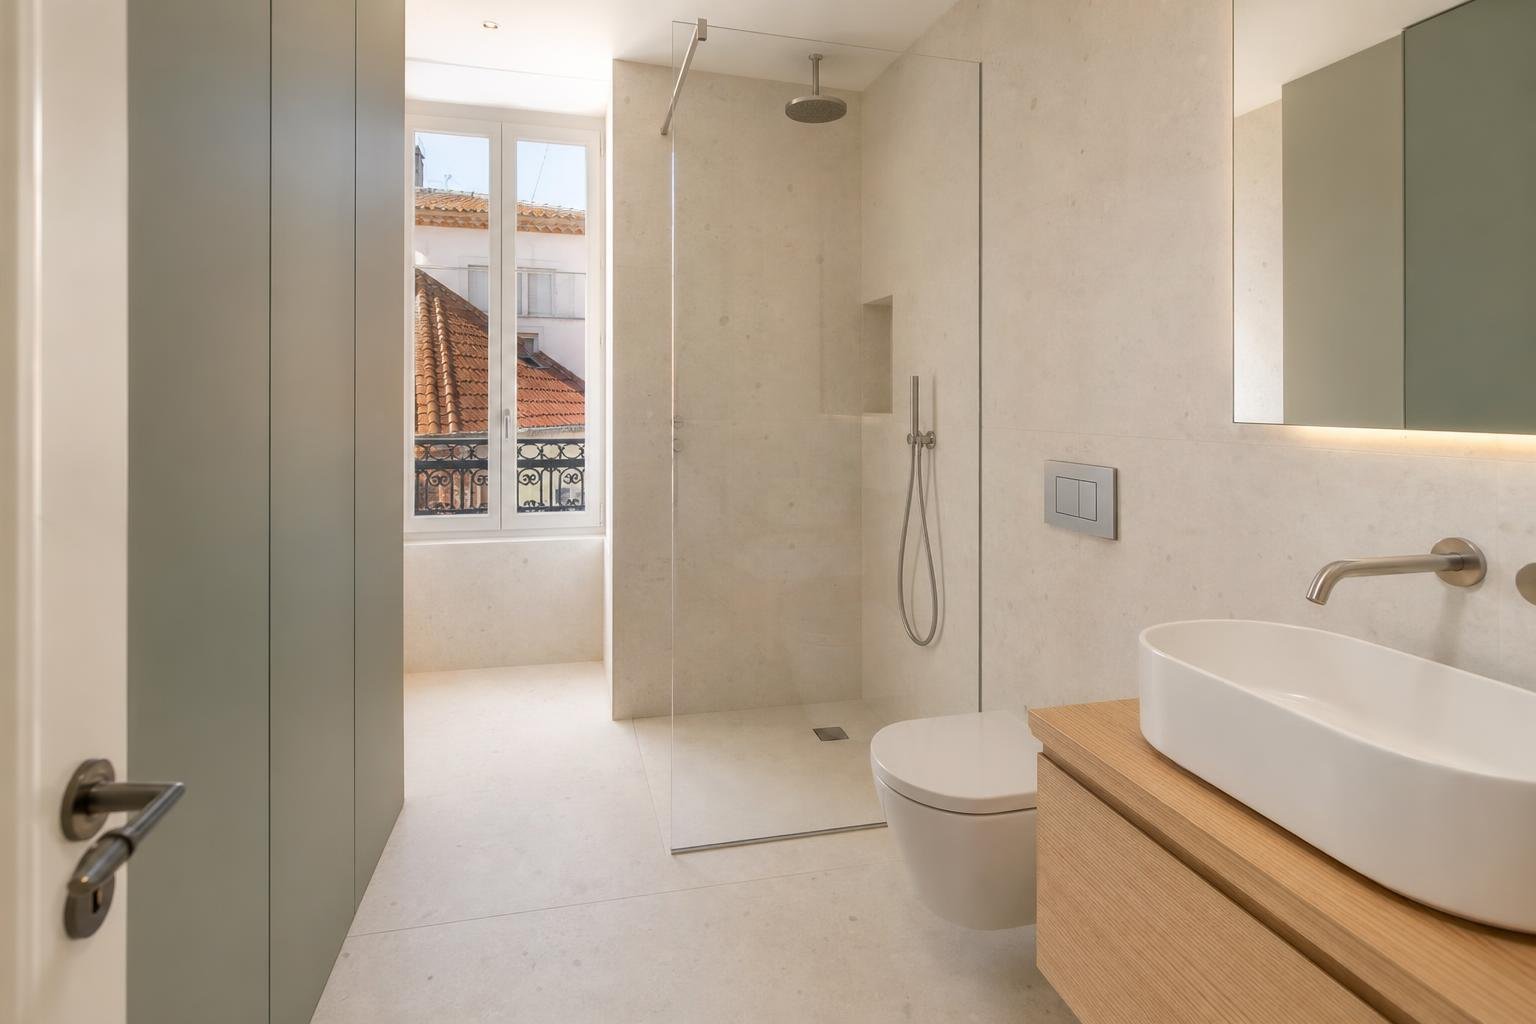
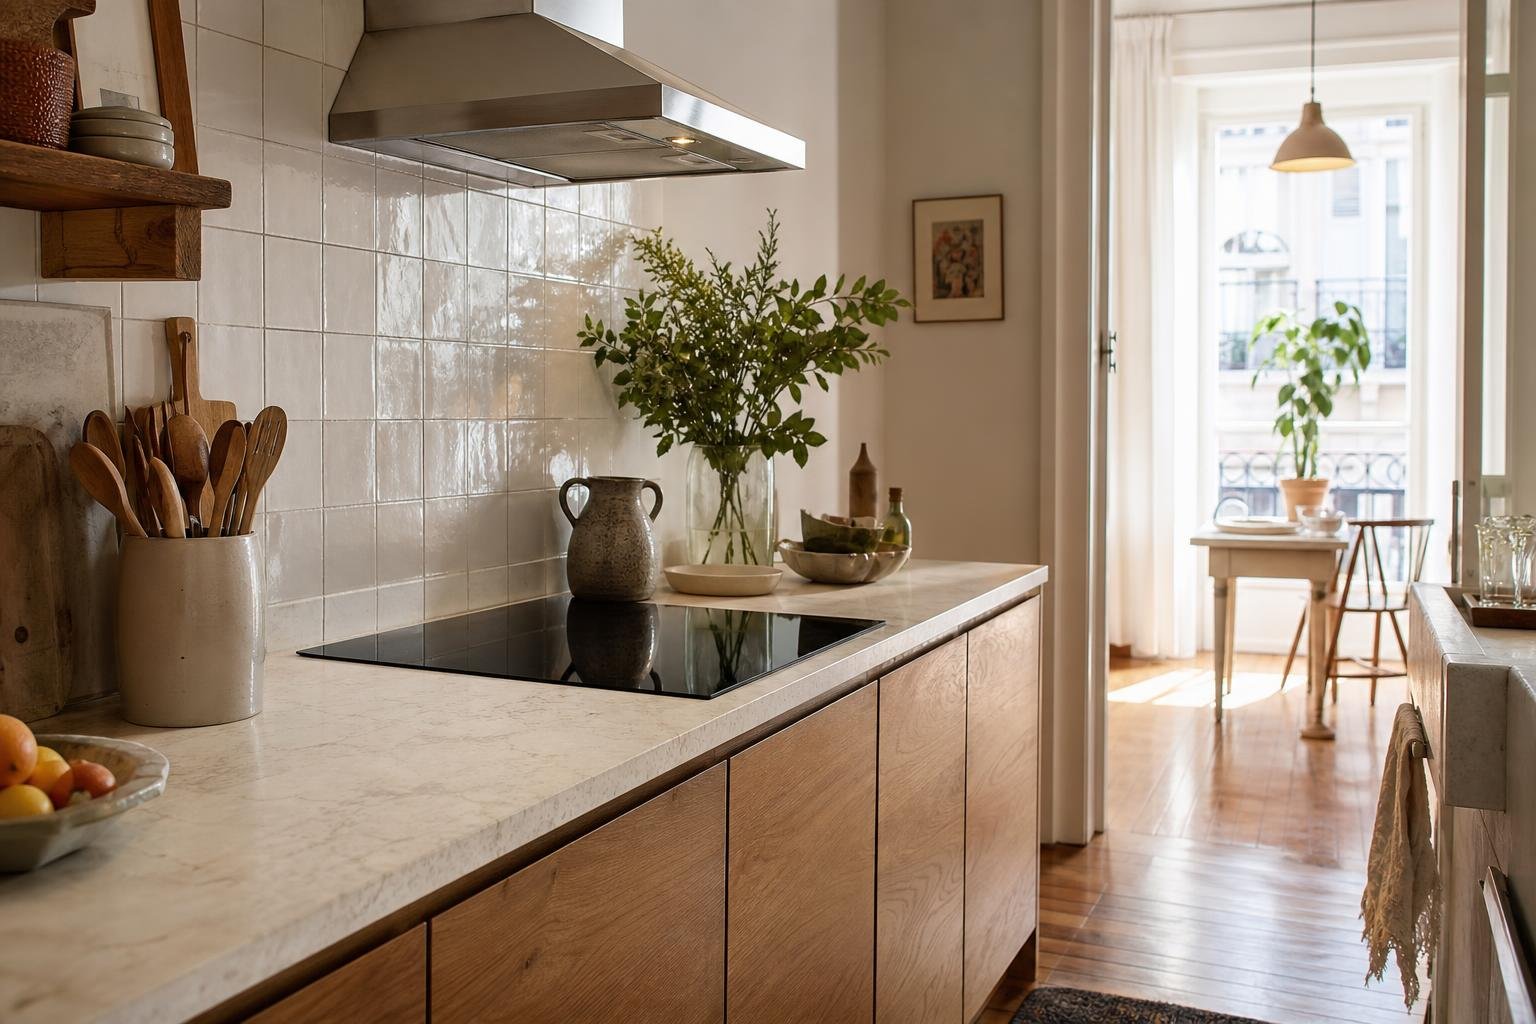
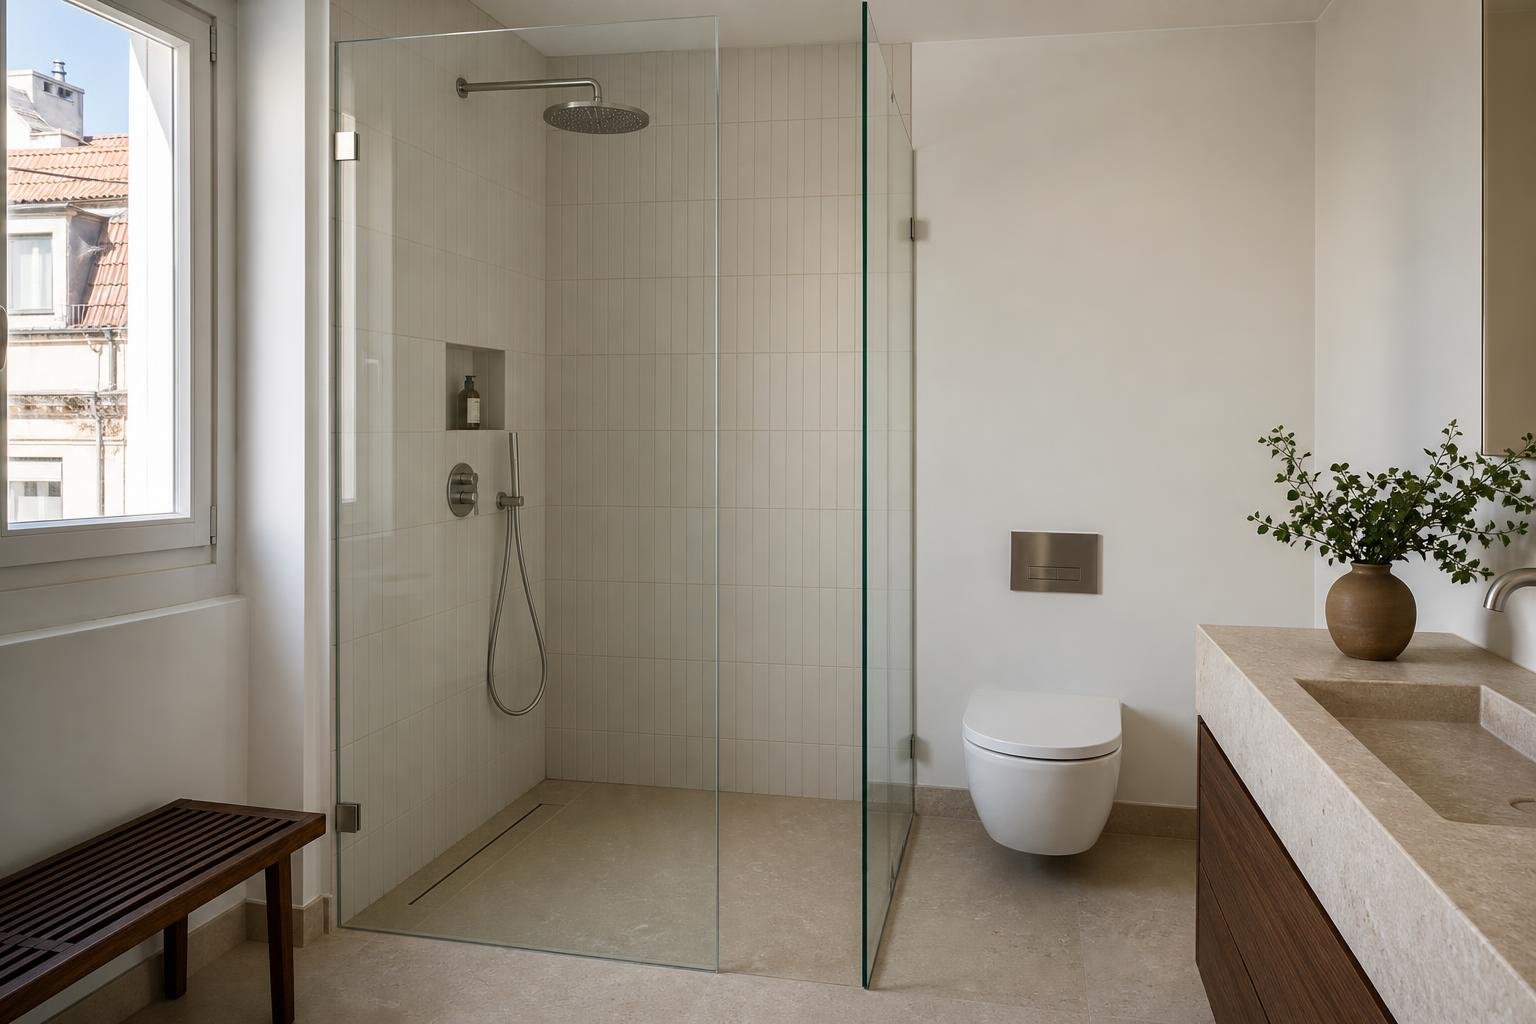
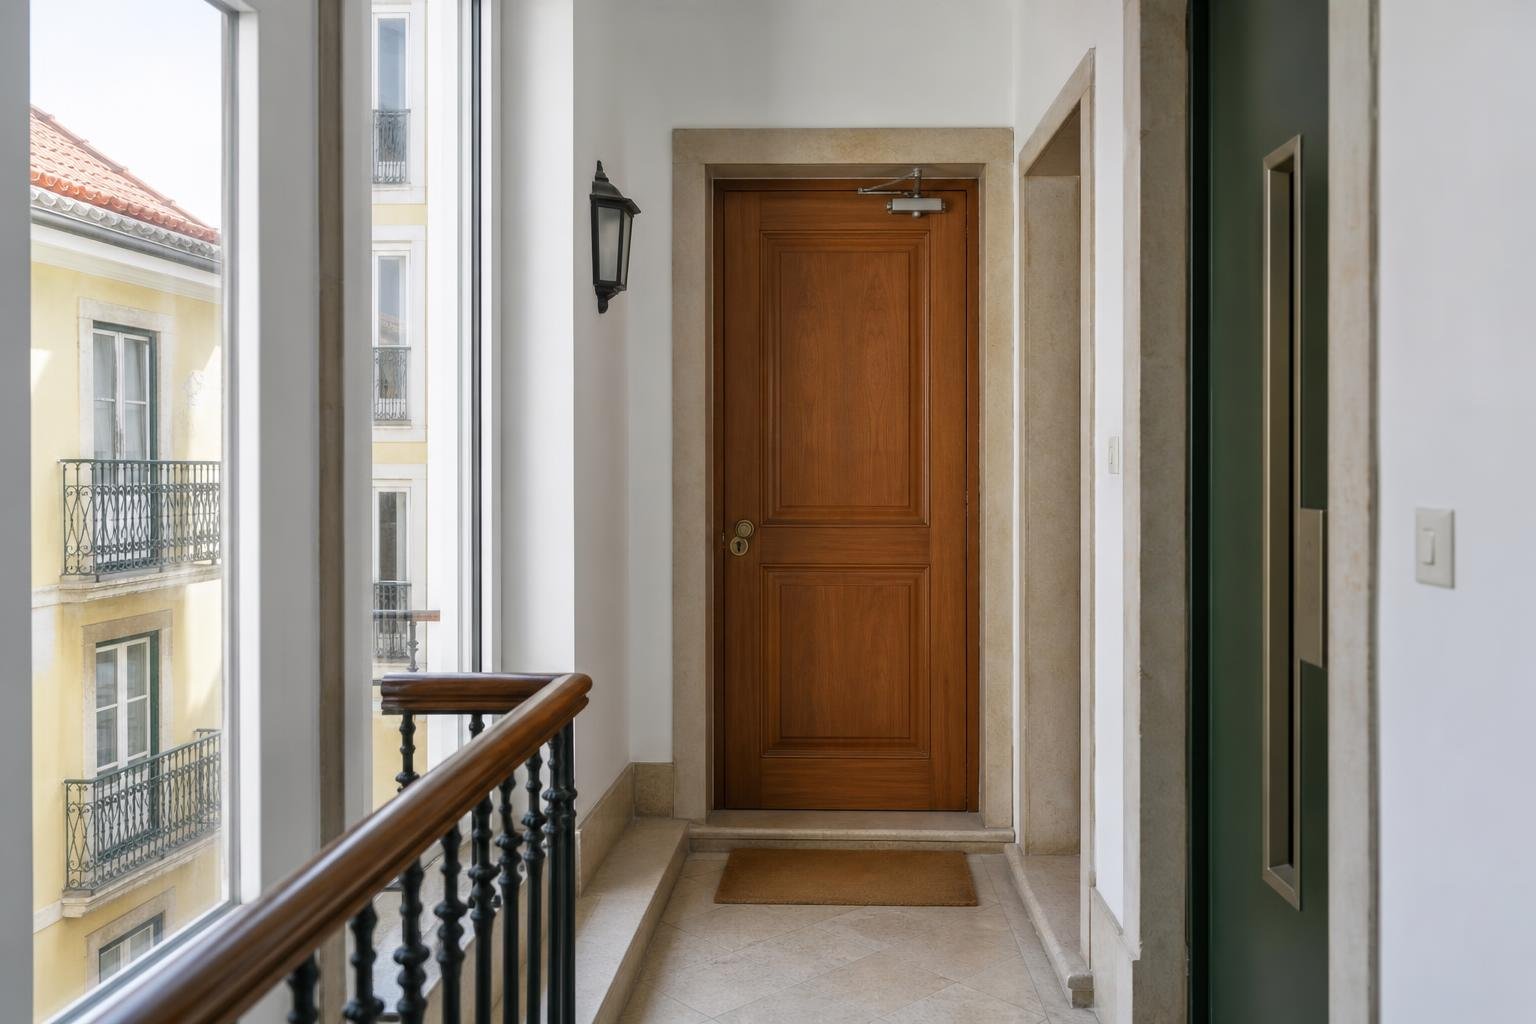
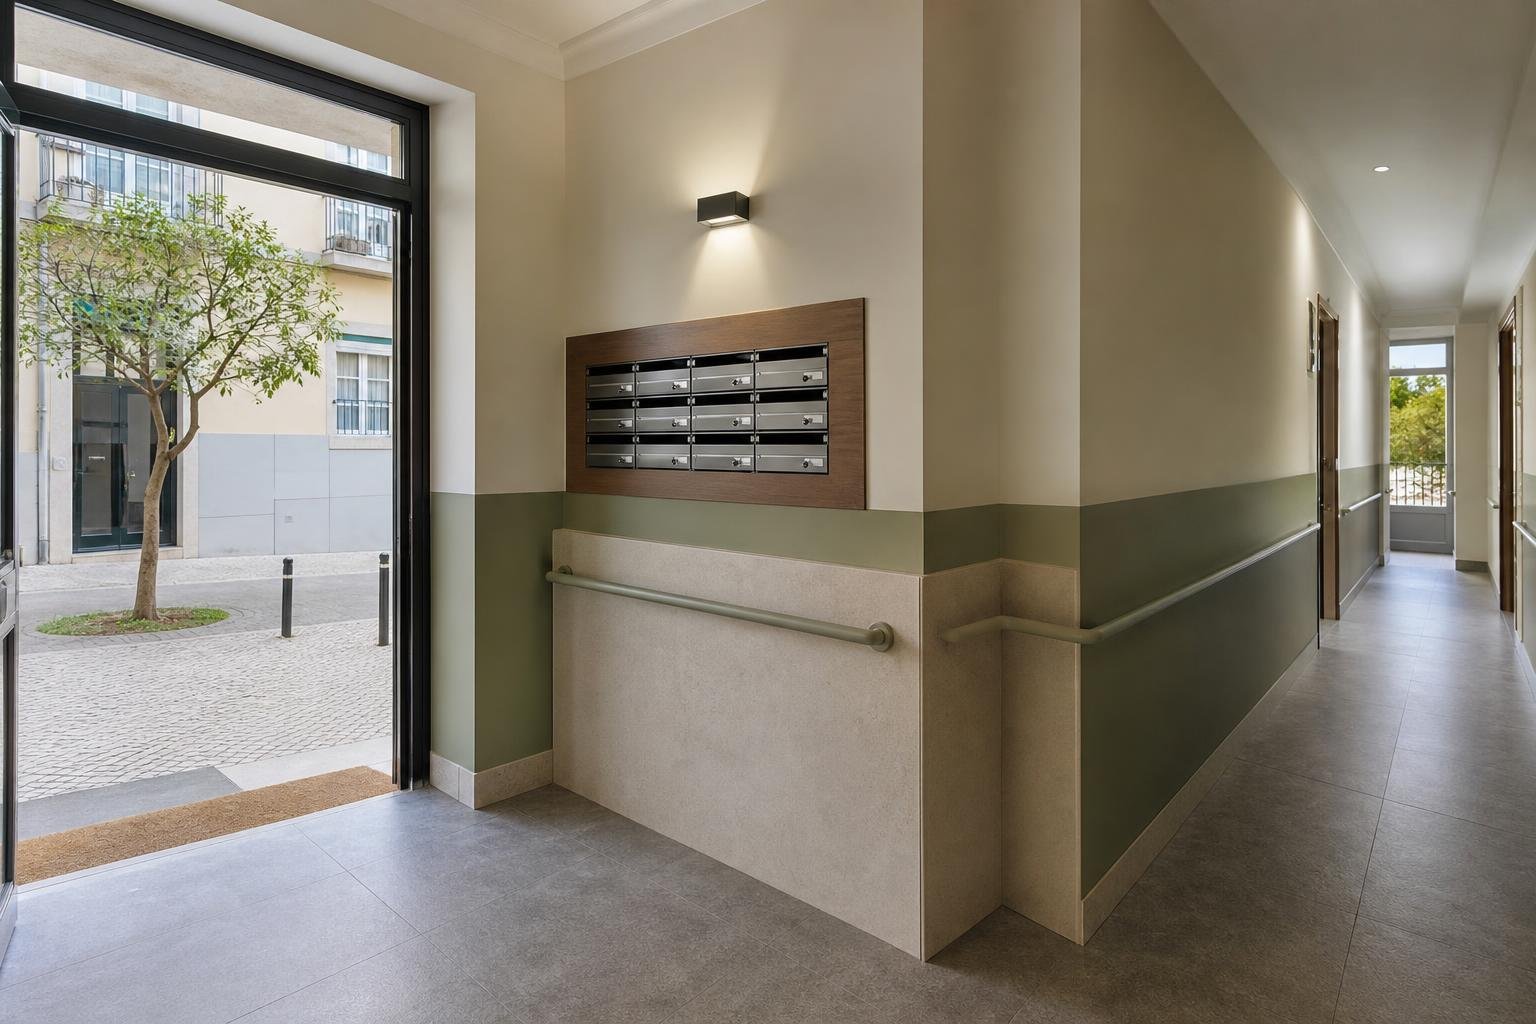
AI-generated editorial image; it does not depict an Obra Lisboa project.

Obra Lisboa