A cordless vacuum seems straightforward until it needs a permanent home. In many Lisbon apartments, it ends up against a kitchen wall, plugged into an extension lead, or stored in a utility room with no outlet. The result is familiar: the battery is flat when needed, cables cross circulation routes and useful storage disappears.
During a renovation, charging deserves to be treated as a small piece of household infrastructure. It does not require a large cupboard or an elaborate feature. It does require an early decision: choose a dry, accessible location, leave room to remove the appliance, and position an outlet to suit the charging unit of the chosen model. Portuguese low-voltage technical rules also cover extensions and modifications to existing installations, so this is a sensible item to include in the electrical plan rather than solve later with adapters.
Start with the route, not the vacuum
The best location is not always the cupboard nearest the front door. It is the place that shortens the route between use and storage. In a one- or two-bedroom flat, that often means an area between the entrance, kitchen and cleaning supplies. In a home with two floors, one charging point per floor can make sense, particularly when the vacuum is used daily.
Test the route before drawing the joinery. Walk through the home with a tape measure or a box roughly matching the appliance size. Check where it can stand without obstructing doors, drawers, the bathroom route or access to the consumer unit. Include the wand, accessories and charging dock; the actual volume is rarely limited to the motor unit.
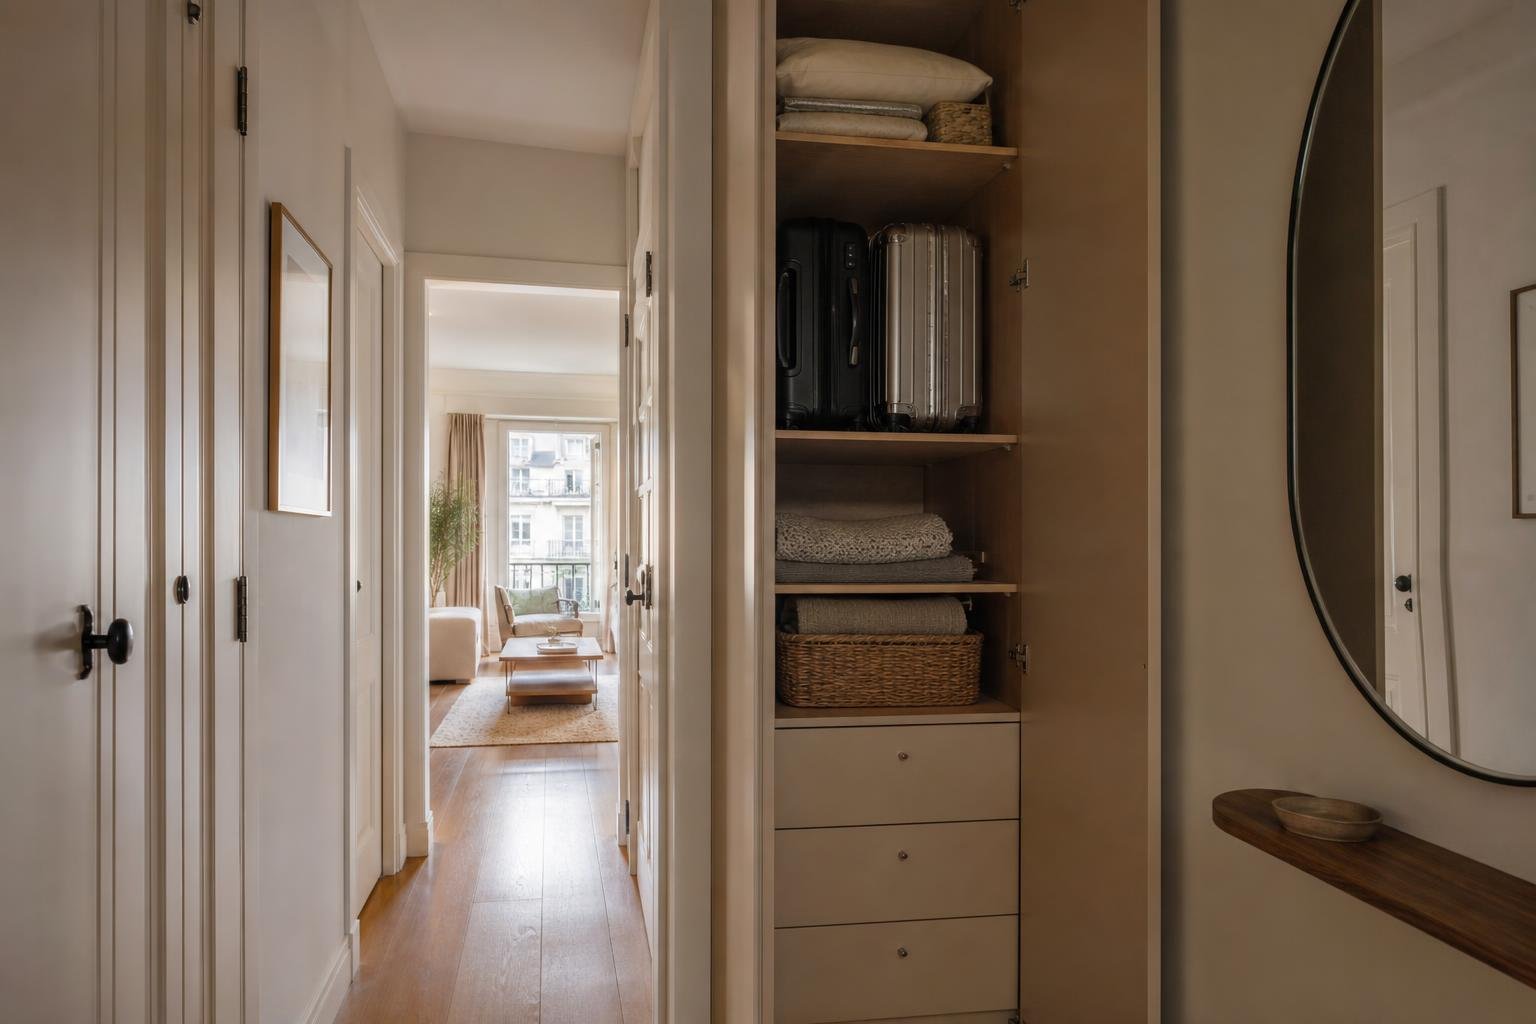
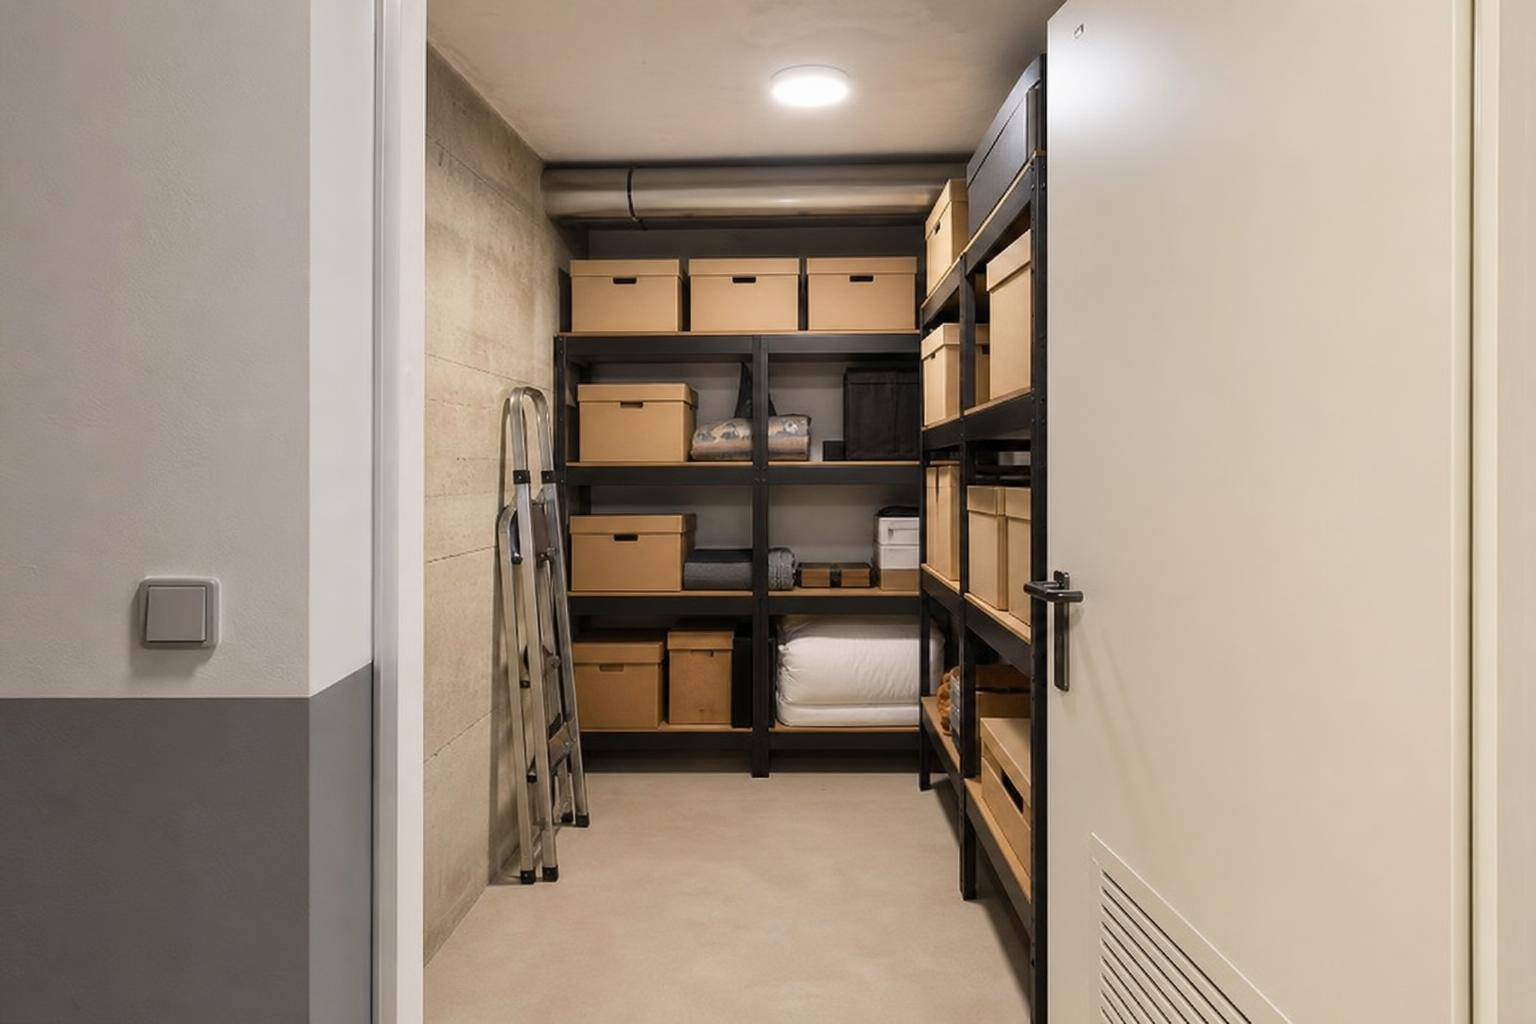
A pantry, entrance cupboard, laundry area or tall kitchen unit can work very well. The cabinet below a sink, an exposed balcony, a damp garage or a narrow void beside a heat source are much less suitable choices. If you are creating a broader domestic support area, see how to plan a home tool area.
Choose the storage format before setting the outlet
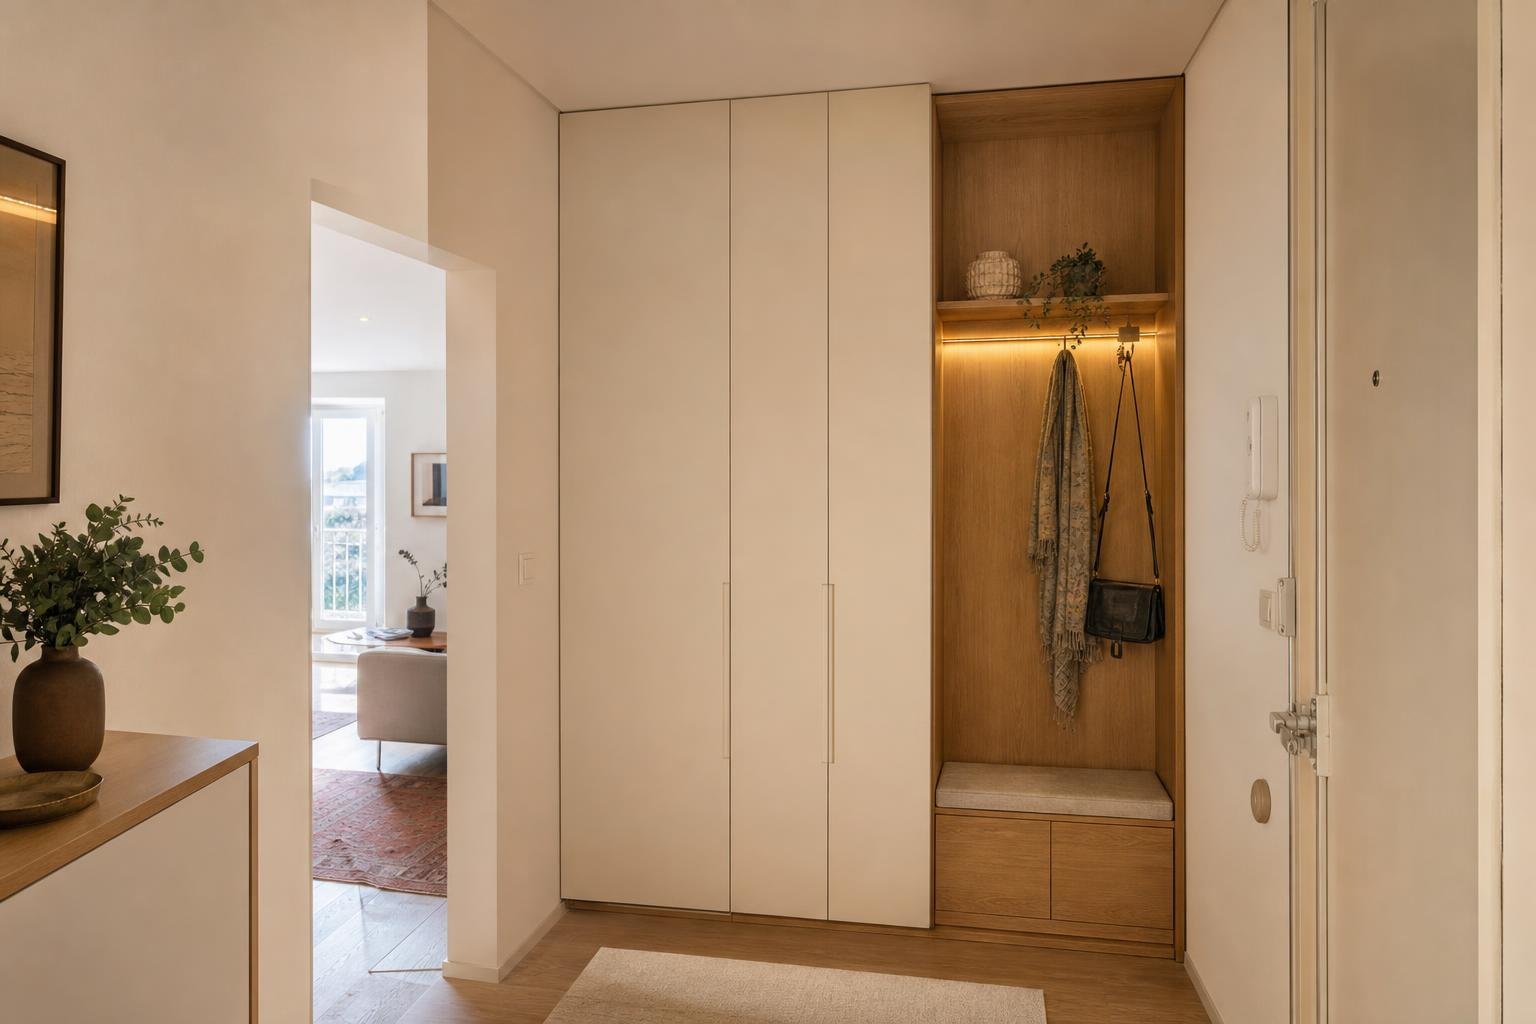
There are three common approaches. The first is a wall-mounted dock, suitable for a clear wall in a corridor, laundry room or cupboard interior. The second is a charger resting on a shelf, which suits compact appliances or owners who do not want to fix the dock to a wall. The third is a tall unit with a dedicated niche, keeping the set discreet without making it awkward to use.
In every option, allow room to lift the vacuum out without scraping the sides. A hinged door needs clear space in front; a sliding door does not take up circulation space, but it reduces the clear opening and may make accessory access less convenient. Where the niche includes shelves, keep the lower area clear for the appliance body and use the upper area for the crevice tool, brush head and replacement filter.
Do not design the niche around one exact model. Dimensions, handle locations and dock formats vary. It is safer to allow lateral and overhead clearance, check the specification before ordering joinery, and use an adjustable shelf where possible. Technical cupboards also need equipment to remain reachable; the same discipline applies when planning technical utility cupboards in apartments.
Position the outlet for the actual charger
“An outlet in the cupboard” is not enough of a brief. Its position should be set from the appliance charger and cable. If the dock sits halfway up the wall, an outlet set too low may leave a cable hanging; if it is too high, it may clash with a shelf or become inaccessible after installation.
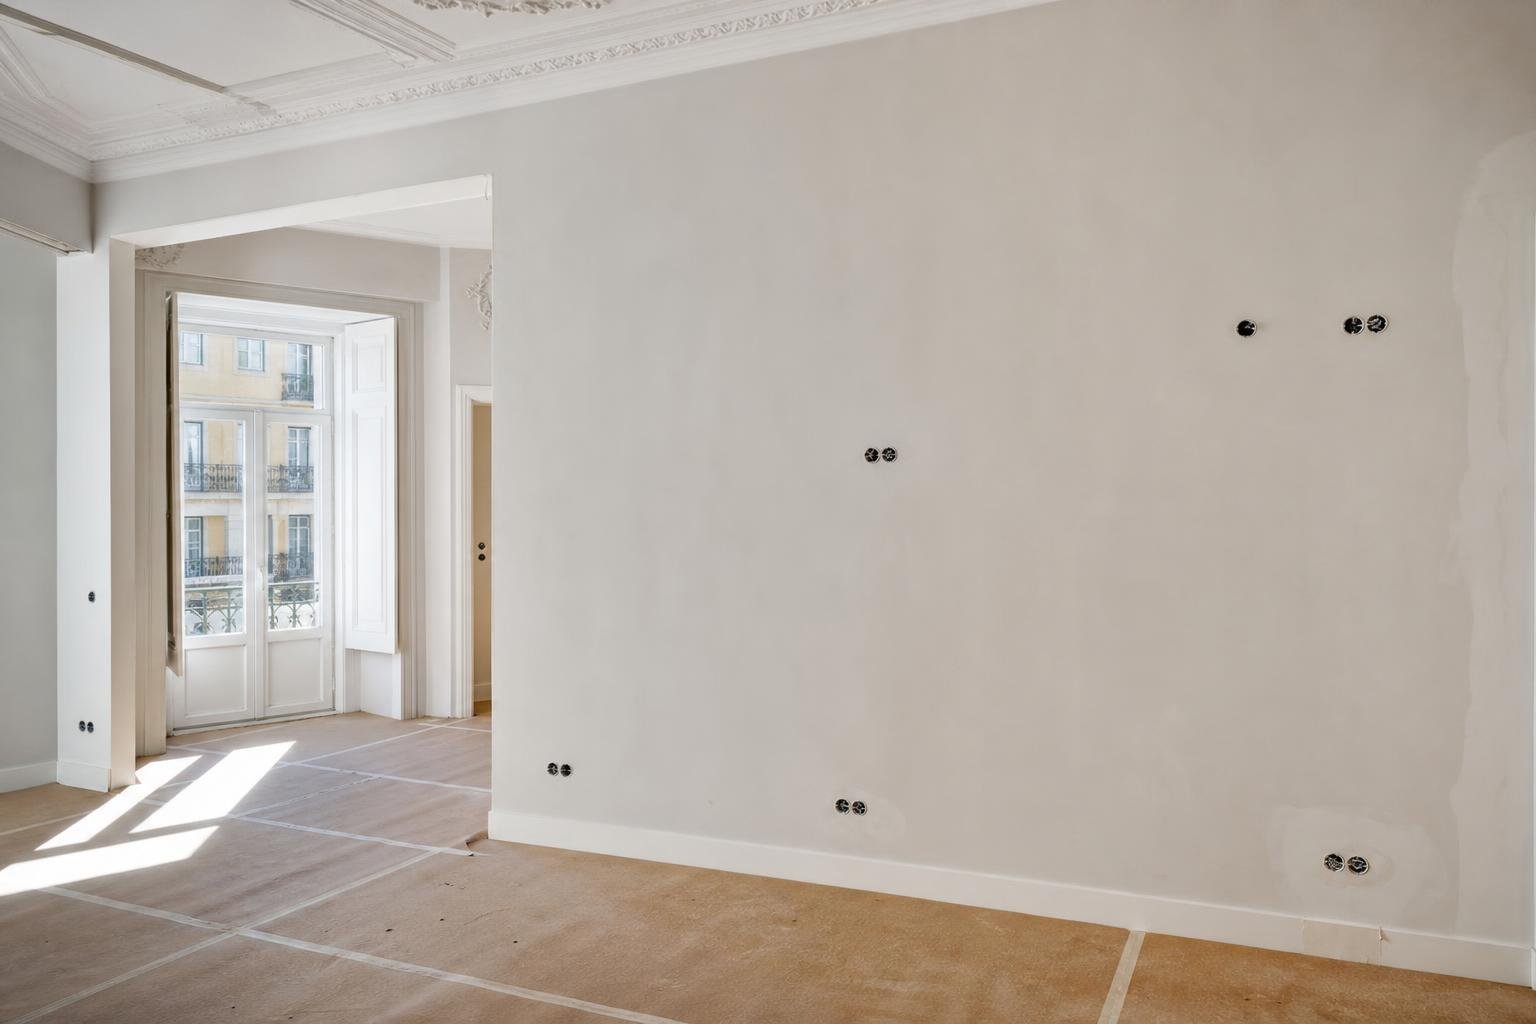
Before walls are closed, give the electrician a photograph of the charger or, better still, the actual item. Check whether the transformer takes up space, whether the plug is straight or angled, and where the lead exits. Keep the outlet visible and reachable without removing shelves. An outlet hidden behind a fixed unit is not helpful when the charger needs to be unplugged, cleaned around or replaced.
The Portuguese technical rules for low-voltage electrical installations cover modifications and extensions, and require circuits to suit the intended uses. In practical terms, the lesson is simple: do not turn a permanent need into an improvised solution using coiled extension leads inside furniture. Coordinate this point with the wider electrical layout by reading how to plan sockets and switches before the walls are closed.

Keep the charging point dry, ventilated and easy to clean
Charging should not compete with products that may spill, very damp cloths or household rubbish. If the point is in a laundry space, separate it from the washing machine and clothes-drying zone. If it is in a pantry, avoid pressing heavy packages against the cable. The storage needs enough air around the equipment without becoming a dusty, inaccessible void.
Inside a closed cabinet, a small clearance around the appliance and an arrangement that does not crush leads are more useful than a decorative vent added without purpose. Do not cover chargers with clothing and do not use the niche as a box store. Where the appliance manufacturer gives instructions on temperature, ventilation or charging, those instructions should guide the final design.
Plan a washable, impact-resistant surface around the dock as well. Durable plinths, properly finished melamine interiors or washable panels make upkeep simpler. The arrangement must withstand normal life: remove the vacuum, clean, return it, empty or clean the filter, and store accessories without dismantling the cupboard.
Separate electrical supply from water and cleaning products
The most common mistake is using the first available cabinet, often the one under the kitchen sink. It may look convenient, but it combines possible leaks, condensation, detergents and electricity. Where there is no alternative, the design needs a genuine physical separation between plumbing and electrical zones, an accessible outlet and a position that does not leave the appliance at the back of the unit.
Electrical installation work should be entrusted to suitably qualified entities and professionals. Law no. 14/2015 on professionals and entities responsible for electrical installations sets out the access and practice requirements for these activities. For a homeowner, the practical outcome is clear: ask the project and electrical teams for an integrated solution rather than cutting new channels or altering circuits after handover.
If the renovation includes a kitchen, laundry room or bathroom, draw water points, fixed appliances and furniture first. Then settle the vacuum location. This sequence reduces conflicts between doors, traps, machines and outlets—easy to resolve on a drawing, but costly once finishes are complete.
What to check before walls are closed and joinery is ordered
A short review prevents most regrets:
- Choose the parking location and test the route through the home.
- Measure the appliance, wand, dock, charger and accessories.
- Decide whether the dock will be wall-fixed, shelf-mounted or integrated into a niche.
- Set the outlet from the charger dimensions, not from a generic height alone.
- Keep access for unplugging, cleaning and future replacement.
- Maintain practical separation from water, persistent damp and heat.
- Confirm the circuit and cupboard interior finish with the renovation team.
In Lisbon, internal works that do not affect structural stability, façades, roofs or other municipal conditions may fall within works exempt from prior control. However, if the work requires public-space occupation, separate procedures apply. Read the municipality’s guidance on public-space occupation for works exempt from prior control and confirm the scope of your own intervention before starting.
Planning a renovation in Lisbon? Obra Lisboa can help coordinate storage, joinery and electrical points before the walls are closed, so small household equipment has a practical place from day one.
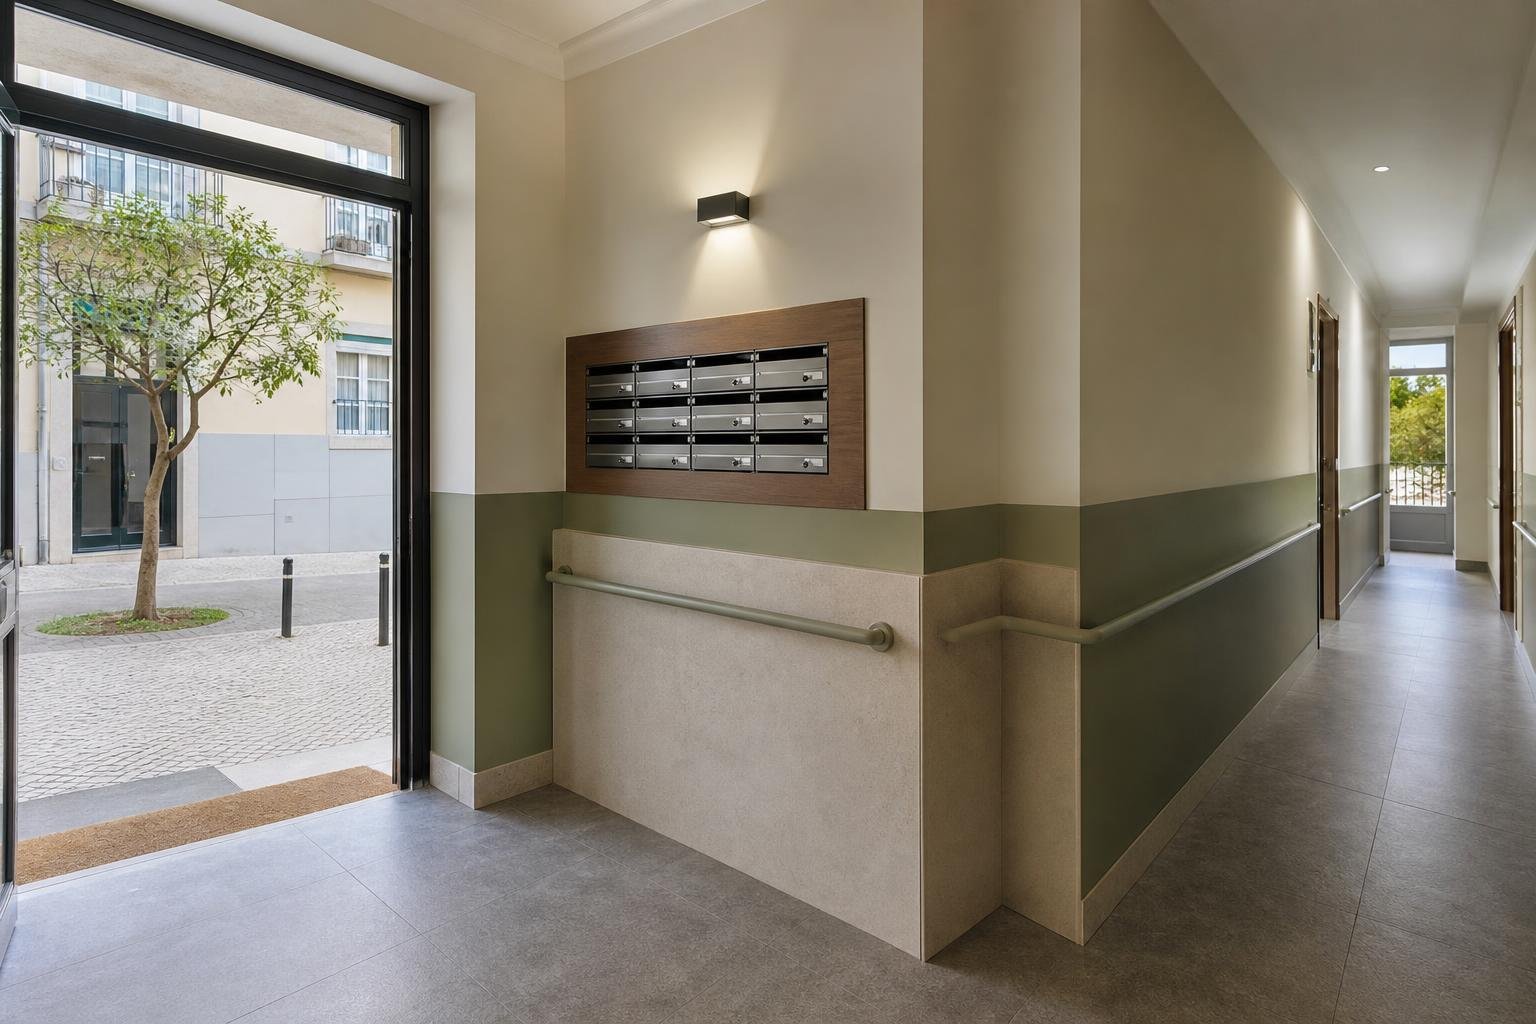
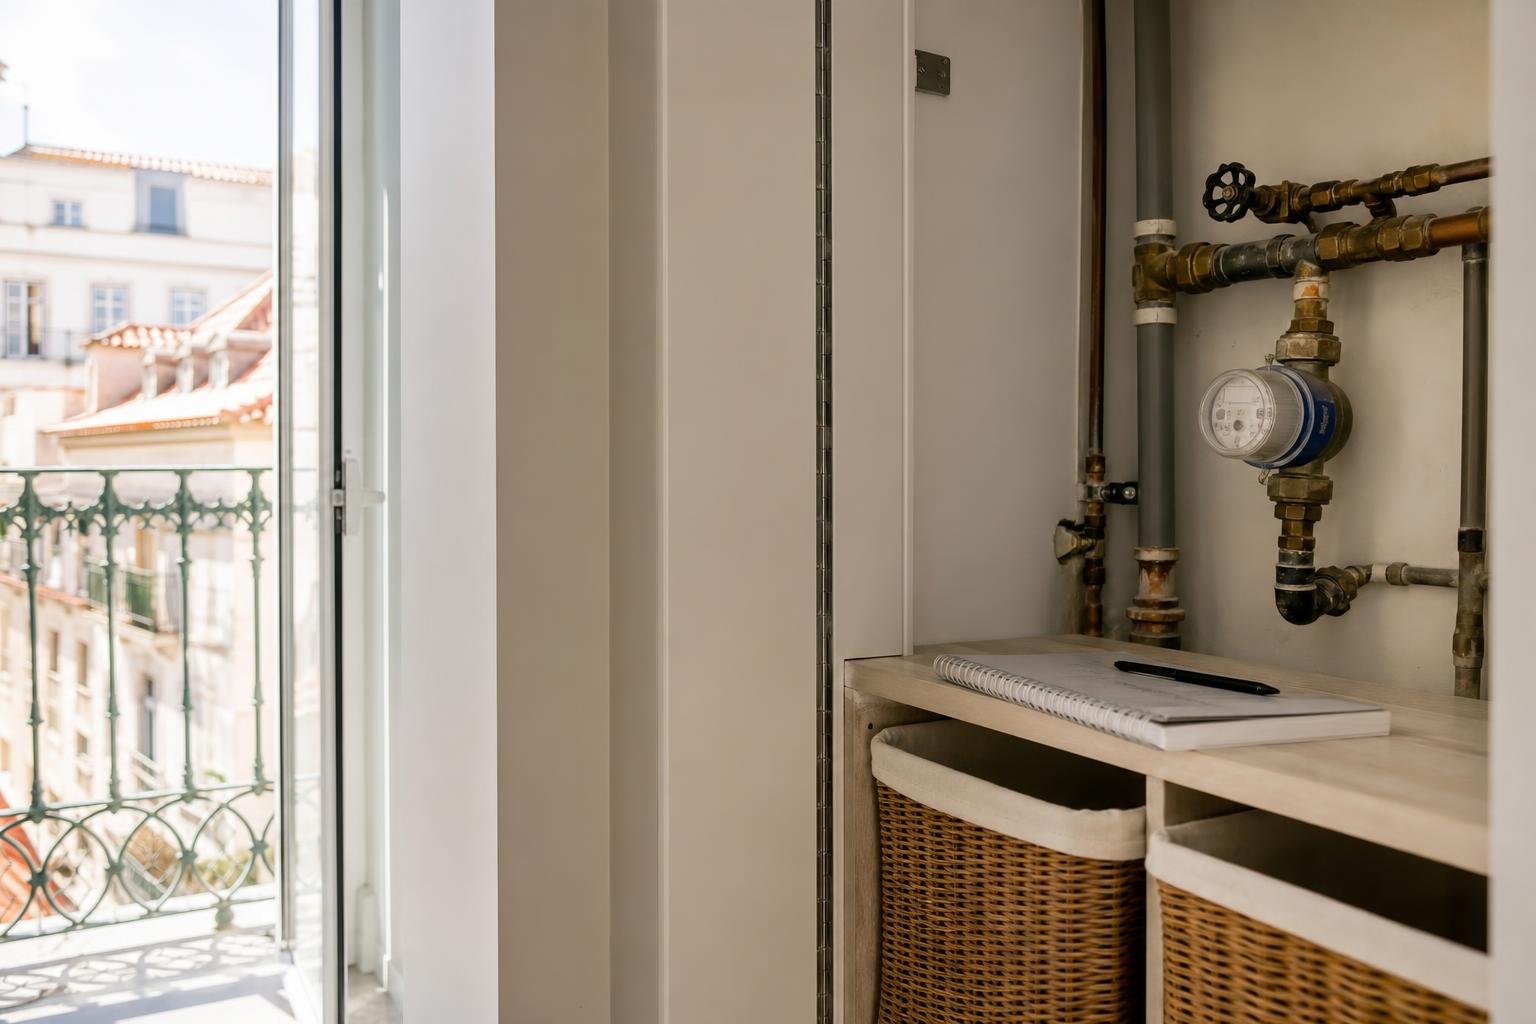
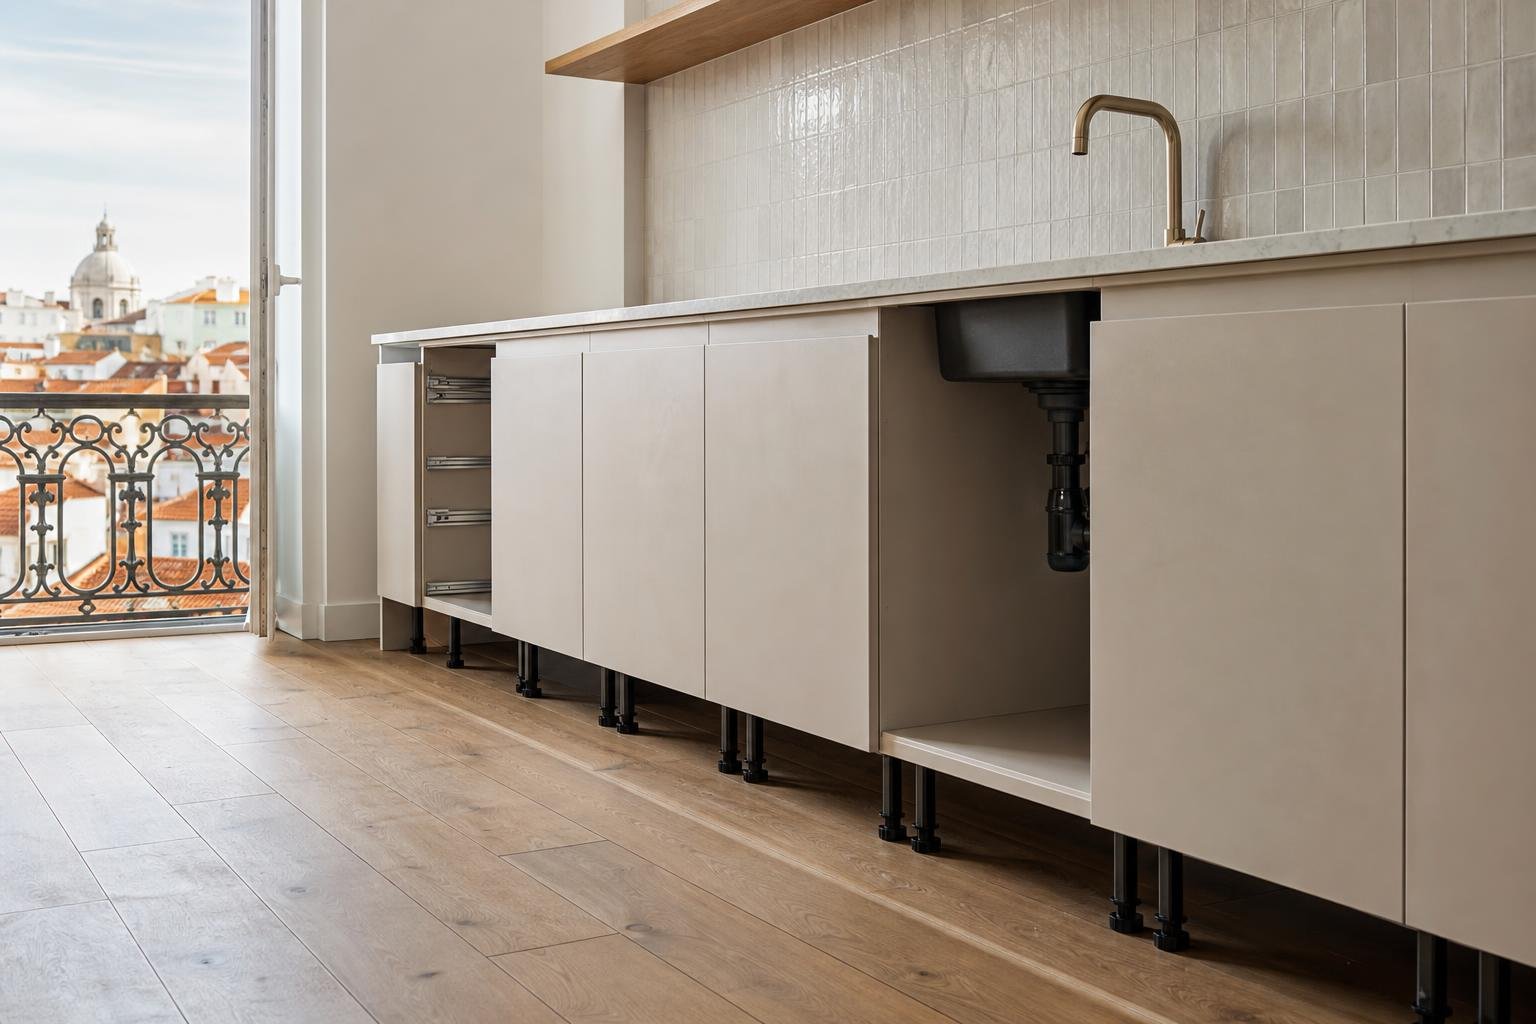
AI-generated editorial image; it does not depict an Obra Lisboa project.

Obra Lisboa