Installing a dishwasher can look straightforward: remove a cabinet, slide the appliance beside the sink and connect it. In an existing kitchen, however, the difficult part is rarely choosing the machine. It is the kinked hose behind a unit, the trap with no suitable branch connection, the socket hidden where it cannot be reached, or the door that blocks an already narrow route when opened.
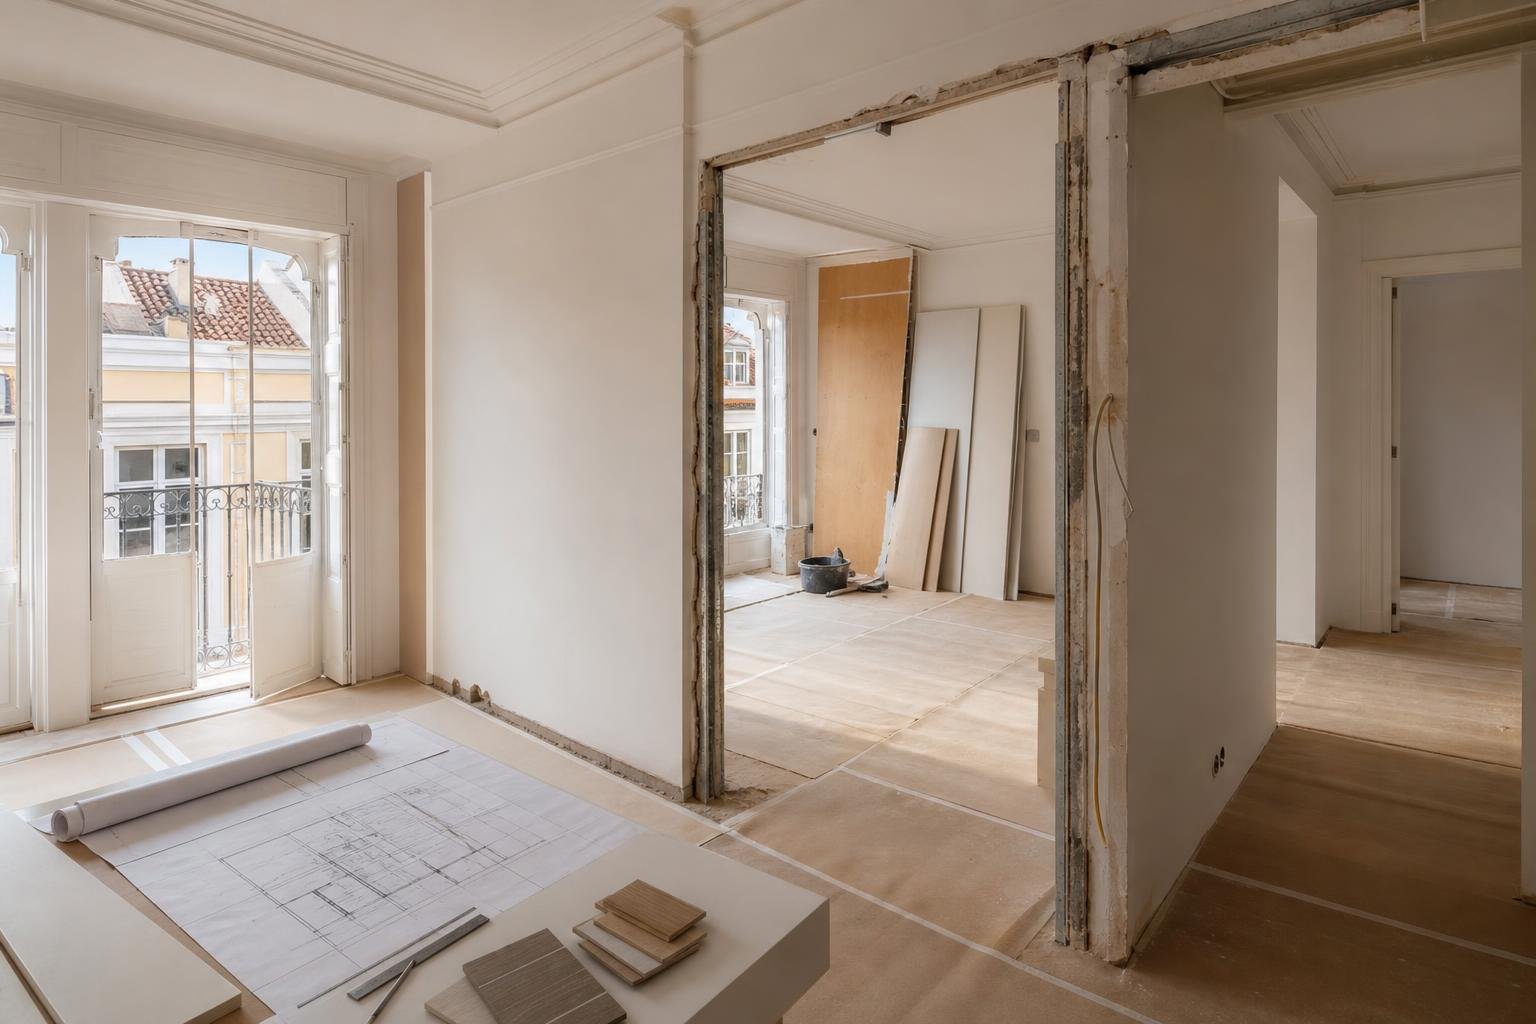
In Lisbon flats, where kitchens have often been altered over several decades, it pays to treat the purchase as a small coordination project. The aim is not simply to make the dishwasher run on day one. It is to retain a usable kitchen, inspect a leak, and replace the appliance later without dismantling half the worktop.
This guide follows the useful order: measure, confirm the services, plan the routes, then order the appliance. For the purchase itself, see ADENE’s guidance on appliance energy labels; dishwashers use the A-to-G EU scale.
Measure the actual opening, not the advertised appliance size
A standard built-in dishwasher needs more than the dimensions printed on its product sheet. Check width between cabinet sides, depth from the cabinet fronts to the wall, and clear height below the worktop. Measure at several points: older kitchens may have uneven walls, raised flooring, tall plinths or a worktop that dips slightly near the sink.
Leave room for the services behind or beside the appliance. Pushing it hard against the wall can crush the inlet hose, lift the drain hose too high or strain the cable. Check the door swing as well: with baskets pulled out, there should still be a safe route through the kitchen. In a narrow room, moving the dishwasher within the cabinet sequence may be better than compromising everyday circulation.
With an integrated model, treat three issues separately: niche dimensions, front-panel fixing and plinth height. Do not assume an old kitchen door can be reused without adapted hardware or trimming. Our guide to kitchen planning is useful for considering worktop, doors and circulation together rather than solving the appliance in isolation.
Water supply: find an accessible branch and a working shut-off valve
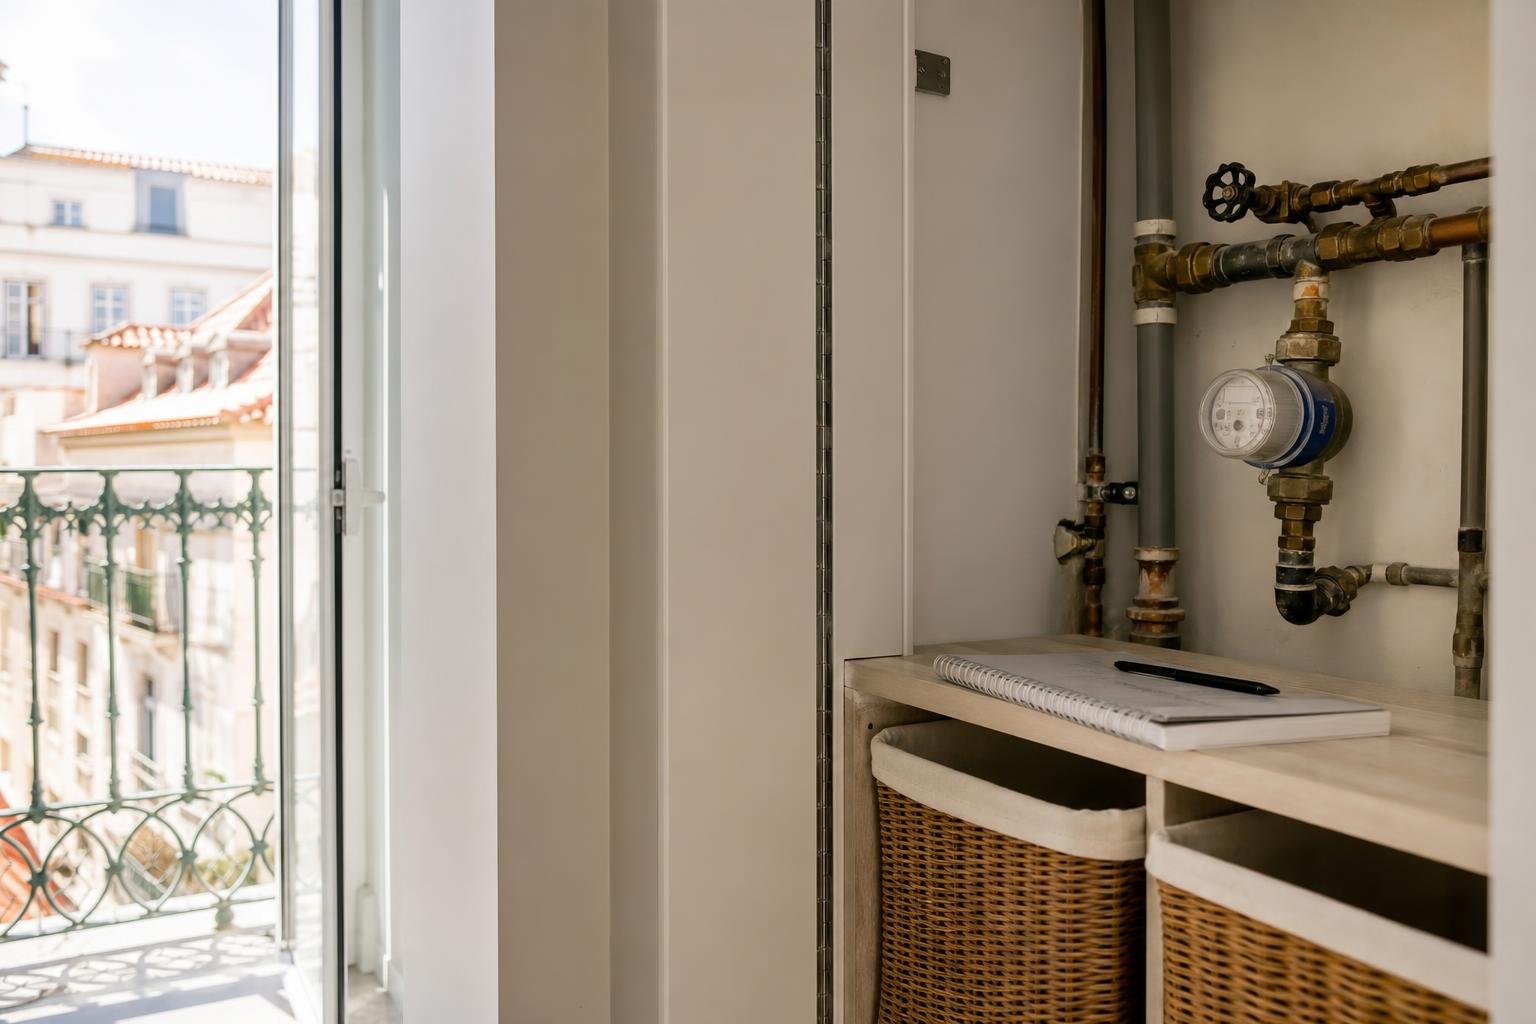
A dishwasher needs a water supply intended for that purpose, usually branching from the sink installation. Before removing cabinets, locate the shut-off valve and make sure it can be operated without taking out drawers, plinths or the appliance itself. An inaccessible valve turns a small leak into a far more urgent event than it needs to be.
Look carefully at the condition of existing connections. Old angle valves, corrosion, rigid pipes under stress or damp around joints should be dealt with before the dishwasher is fitted. The municipal regulation published in the Diário da República places responsibility for the upkeep of private building water systems and for repairs to leaks on those responsible for the installation; it also notes that users are responsible for water used within their building distribution systems.
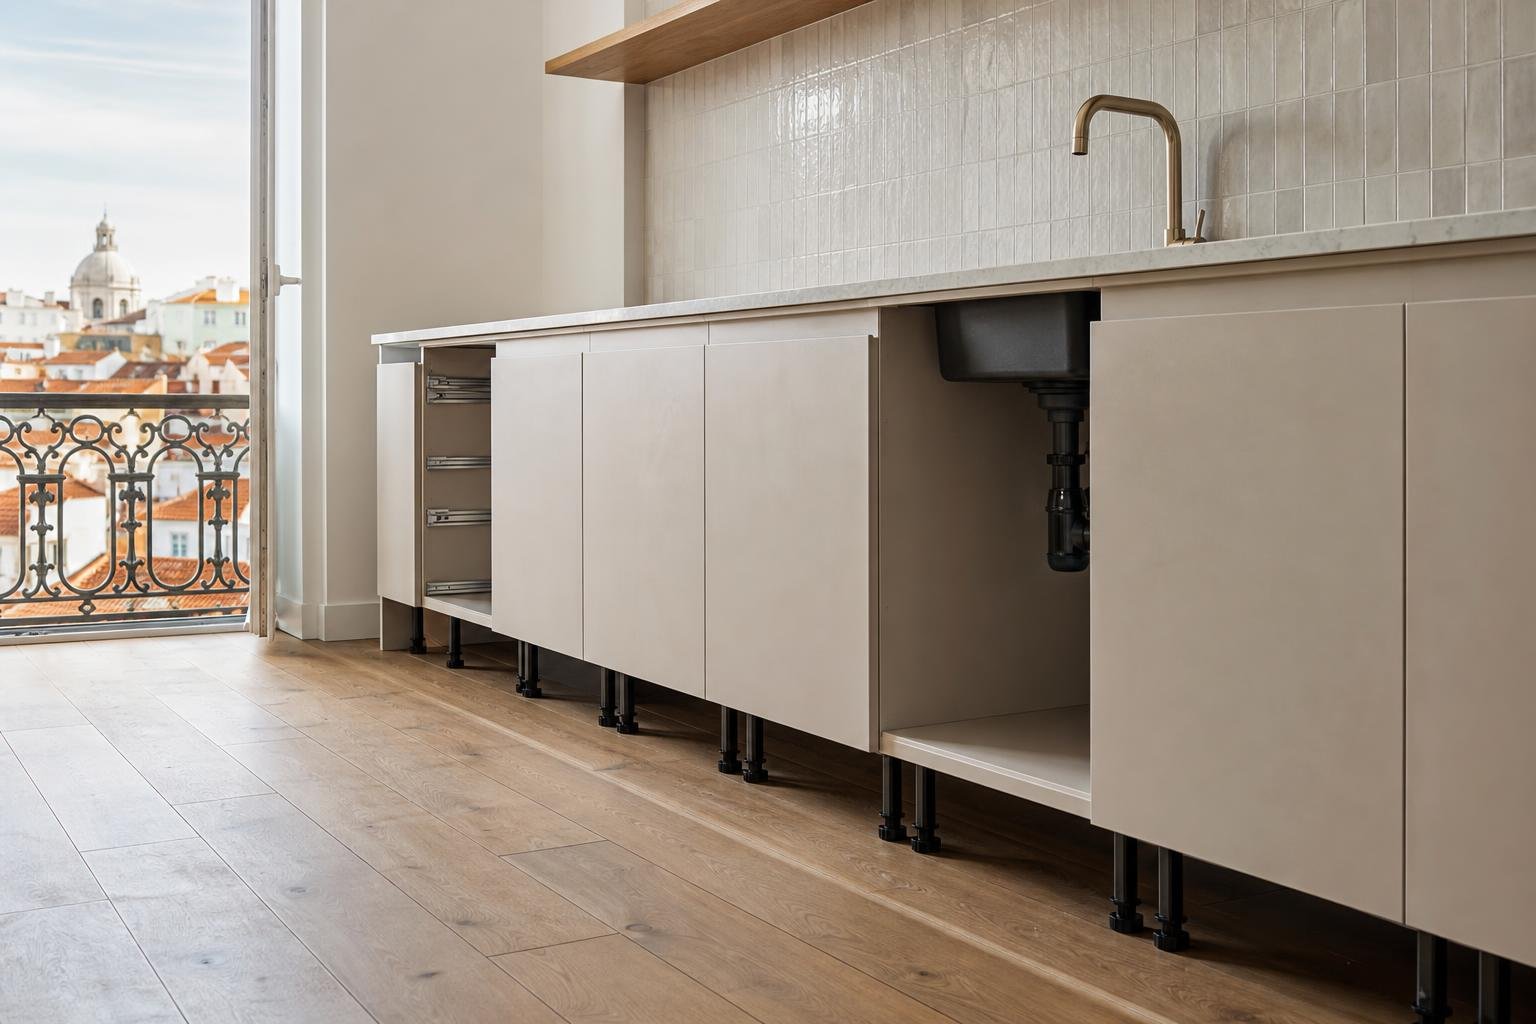
Do not conceal a makeshift joint behind the dishwasher. The arrangement should allow visual inspection, rapid isolation and future replacement. If pipework needs altering, keep access from inside the sink cabinet. A small, discreet access panel is usually preferable to cutting furniture open during a later repair.
Drainage: hose height and route are part of the installation
The discharge hose should connect to the sink drainage system through a trap with a dedicated appliance branch, or another fitting designed for the purpose. Do not improvise a connection into the bowl, push a hose into an unsecured pipe, or leave it loose in the cabinet. Beyond splashes and smells, an unstable connection can move during pumping.
Read the model manual for the permitted hose height and for the required high loop before the trap connection. That route helps reduce the risk of water returning towards the dishwasher tub. Avoid pinching as well: a hose trapped between the appliance back and the wall can restrict discharge and cause repeated faults that are difficult to trace.
A kitchen with persistent odours, slow drainage or signs of backflow at the sink should not receive a dishwasher as though it will solve the underlying issue. First review the trap, drainage ventilation and pipe condition. For a broader intervention, read what to check in plumbing and drainage before renovating.

Electricity: an accessible socket, a checked circuit and no extensions
A dishwasher brings water, heat and electricity together, so the socket is not a minor detail. Confirm that there is a suitable, accessible outlet outside the area most likely to be affected by a leak. Placing it directly behind the appliance causes two problems: the machine may not sit correctly, and isolation becomes difficult if something goes wrong.
Avoid extension leads, multi-plug adaptors and plugs compressed inside cabinets. In an older kitchen, ask a qualified electrician to assess the circuit condition, protection at the consumer unit and outlet before adding a meaningful continuous load. If an electrical point needs to be added or moved, do that before fitting panels, plinths and finished cabinetry.
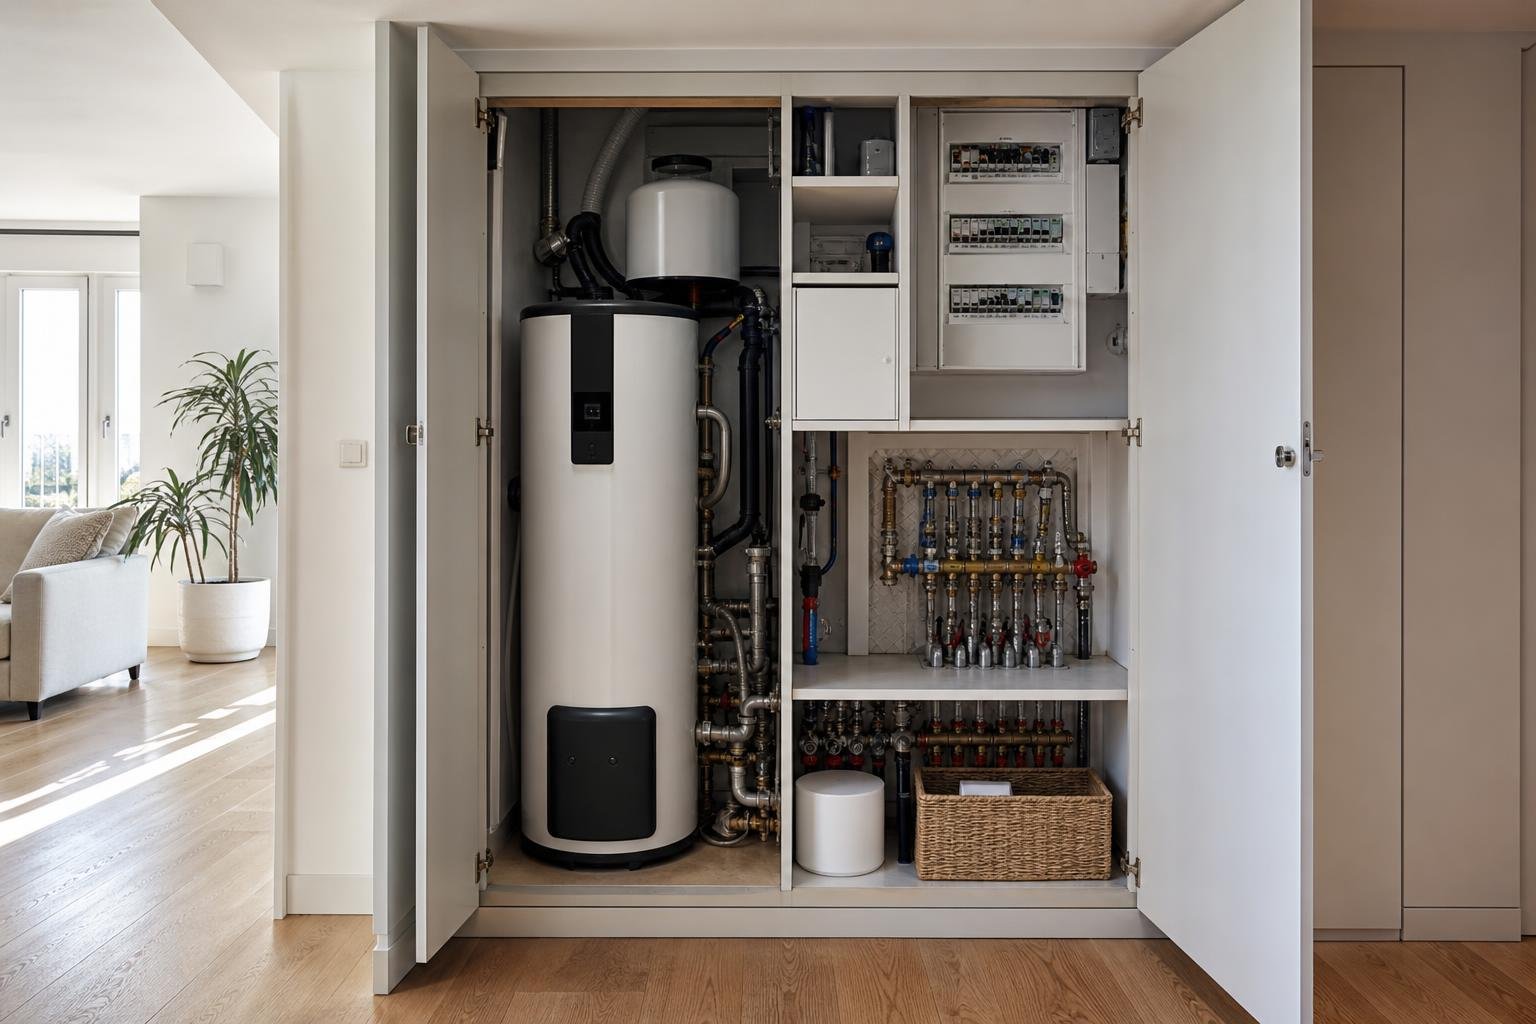
Plan for maintenance too: the plug, water valve and drain connection should be reachable without pulling out a loaded dishwasher or dismantling the worktop. The principle is the same as for a well-designed technical utility cupboard: equipment can be discreet, but its control points must not disappear.
Ventilation, steam and materials that withstand normal use
A dishwasher does not replace proper kitchen ventilation. At the end of a cycle, its door opens, steam escapes and humidity and temperature rise temporarily around the cabinets. If the enclosure is very closed, the sink cabinet already shows condensation marks, or the kitchen has very limited air renewal, address those conditions before sealing everything behind panels.
Portugal’s Directorate-General of Health advises keeping ventilation systems clean and operational, resolving damp problems as soon as they appear, and ensuring suitable ventilation for potentially polluting equipment. A domestic dishwasher is not a combustion appliance, but the broader principle still applies: trapped moisture and poor air renewal are not fixed by air freshener. Review the DGS general recommendations for indoor air and our guide to ventilation in renovated homes before blaming mould or odours solely on the appliance.
Protect vulnerable furniture edges: the cabinet base, cut chipboard sides, sink-area junctions and plinth. A small leak found late can swell panels and damage fittings. A leak-detection tray below the dishwasher can make a fault visible, but it does not replace sound connections or routine checks.
Choose for real use, then carry out a handover test
Once the services are confirmed, compare appliances by capacity, programmes, noise, consumption and the installation requirements stated by the manufacturer. The energy label is helpful, but it should not be read on its own: review water use per cycle, Eco programme duration and noise level, particularly where the kitchen opens onto the living room. ADENE notes that household water efficiency includes washing appliances, and that selecting lower-water-use equipment can form part of a broader water-and-energy saving strategy.
See ADENE’s information on water efficiency in buildings, then choose capacity that suits the household’s routine. An oversized appliance always run half full may not deliver the saving expected.
On installation day, run a test cycle while someone is present. Check filling and drainage, inspect the trap and valve with a torch, confirm that the door clears nearby furniture, and test disconnection at the socket. Keep the manual, model reference and photographs of the connections before refitting plinths. These small records make future servicing much easier.
Adapting an existing kitchen or renovating the whole washing area? Obra Lisboa can help coordinate cabinetry, technical services and finishes before installation choices become costly constraints.
AI-generated editorial image; it does not depict an Obra Lisboa project.

Obra Lisboa