A washing machine pushed against a wall can look like a simple decision until the day it needs to be unplugged, a hose needs replacing, the trap needs cleaning or a dryer is added. At that point, an outlet hidden behind the appliance, a live plug beside a leak or a permanent extension lead are no longer minor details: they become real limits on safety, maintenance and everyday use.
In a Lisbon renovation, a laundry area should be designed as a compact technical hub. Electricity, water, drainage, ventilation, cabinetry and circulation all need coordinating before finishes go on. Portugal’s technical rules for low-voltage electrical installations are the reference for the installation itself; the practical work begins by defining the appliances, their locations and how each one can be serviced without dismantling the room.
Start with appliances, not with the outlets already there
Make a specific list: washing machine, tumble dryer, stacked washer-dryer, water heater, dehumidifier, iron, cordless vacuum or other laundry equipment. Record the intended position, the manufacturer’s stated electrical requirements and whether each item may run at the same time as another. The useful question is not “how many outlets can fit?” but “which loads may operate together, and what access will they need?”.
A heat-pump dryer, for example, should not be treated as an occasional accessory. If it will remain in the laundry space, it needs a stable provision rather than an improvised shared connection. If the area also stores cleaning equipment, plan an accessible outlet for the vacuum; our guide to a cordless vacuum charging station shows how to integrate that use without taking over the worktop or leaving cables across the floor.
- Obtain appliance data sheets before setting out circuits and cabinetry.
- Mark the appliances that may operate simultaneously.
- Allow for a future replacement without further electrical alteration.
Allow dedicated circuits where the load calls for them
Washing machines and dryers are regularly used, demanding appliances. Available capacity, protective devices and circuit distribution should be assessed by a person qualified to work on low-voltage electrical installations. The IMPIC framework includes the category for low-voltage electrical-use installations; check that the contractor has suitable competence rather than accepting an undefined electrical alteration.
In practice, separating higher-demand appliances prevents unwanted dependencies: it is not sensible to find that a washing cycle trips protection whenever another appliance is switched on in the kitchen. Do not, however, choose cable sizes, protective devices or ratings simply by copying another home. The existing installation, contracted power, consumer unit and conductor routes all affect the right solution.
Ask for clear, durable labels at the consumer unit: “laundry”, “washing machine” or “dryer” is far more useful than a generic note. This saves time during a fault and makes it possible to isolate only what is necessary.
Place outlets so they can be reached, not merely hidden
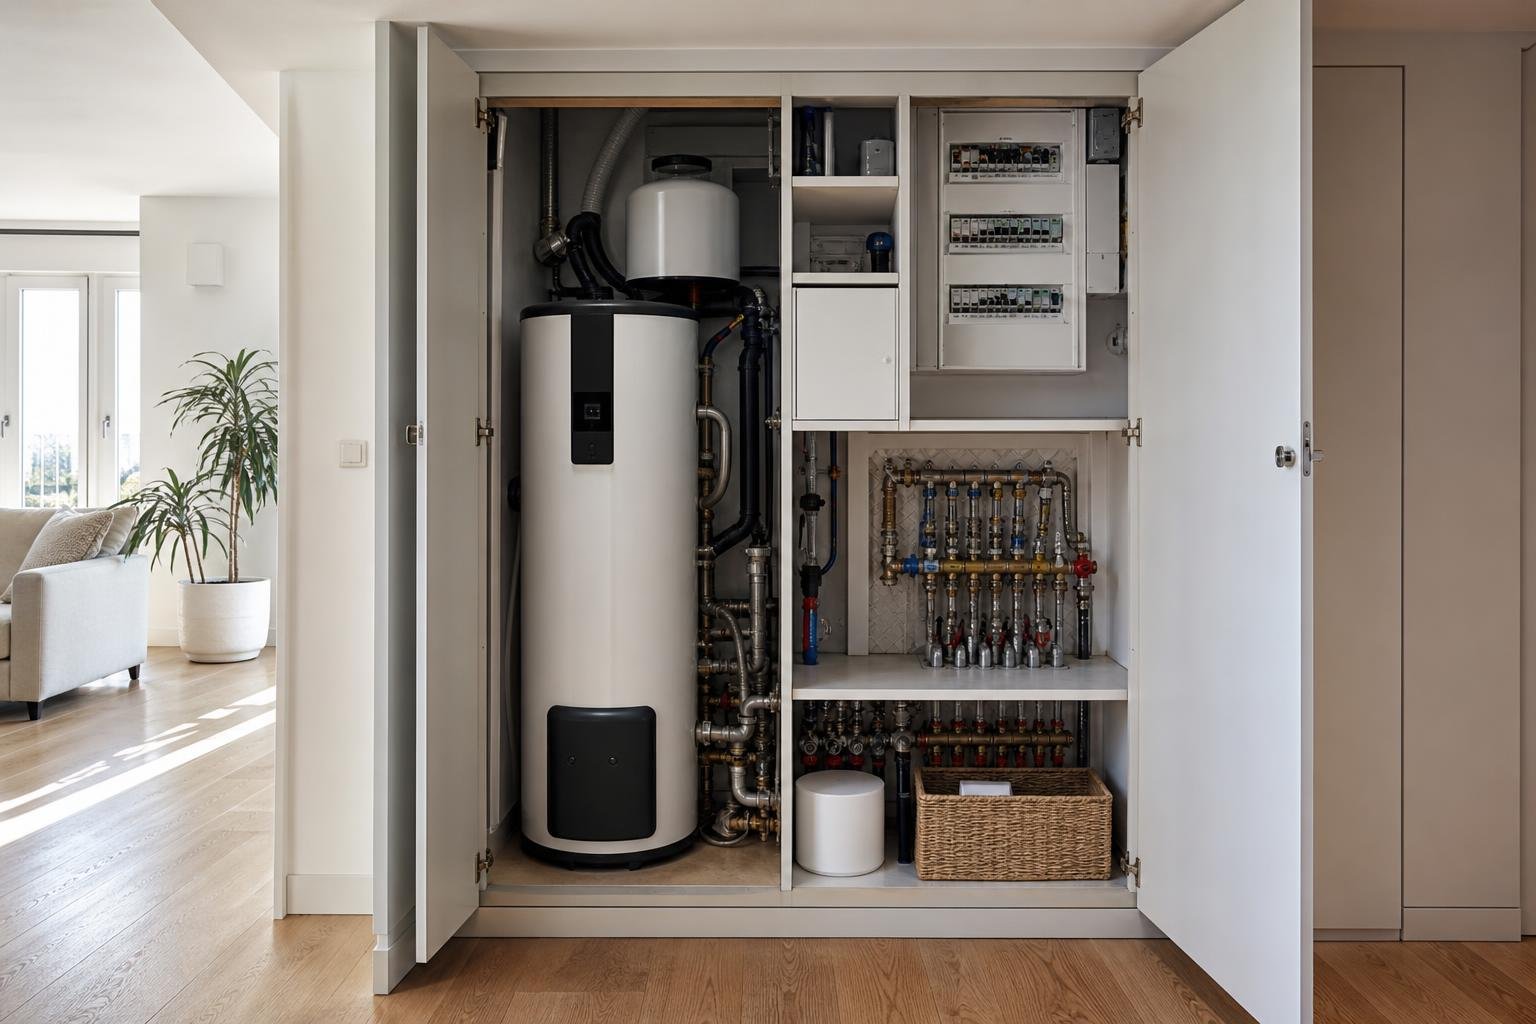
An outlet directly behind a machine can become inaccessible and may be exposed to pressure from the appliance or hoses. A side location or an adjacent technical cupboard is generally more serviceable, provided it remains accessible and follows the electrical design. The position should allow the appliance to be unplugged without dragging it out, the plug to be inspected and the connection to stay clear of predictable water risks.
Draw a simple wall elevation to scale. Mark appliance widths, plinths, worktops, open doors, hoses and plug depth. In a stacked arrangement, avoid an outlet exactly where the appliance bears or vibrates. In a laundry cupboard, retain access through a door, removable panel or technical recess; do not bury the only connection behind fixed units.
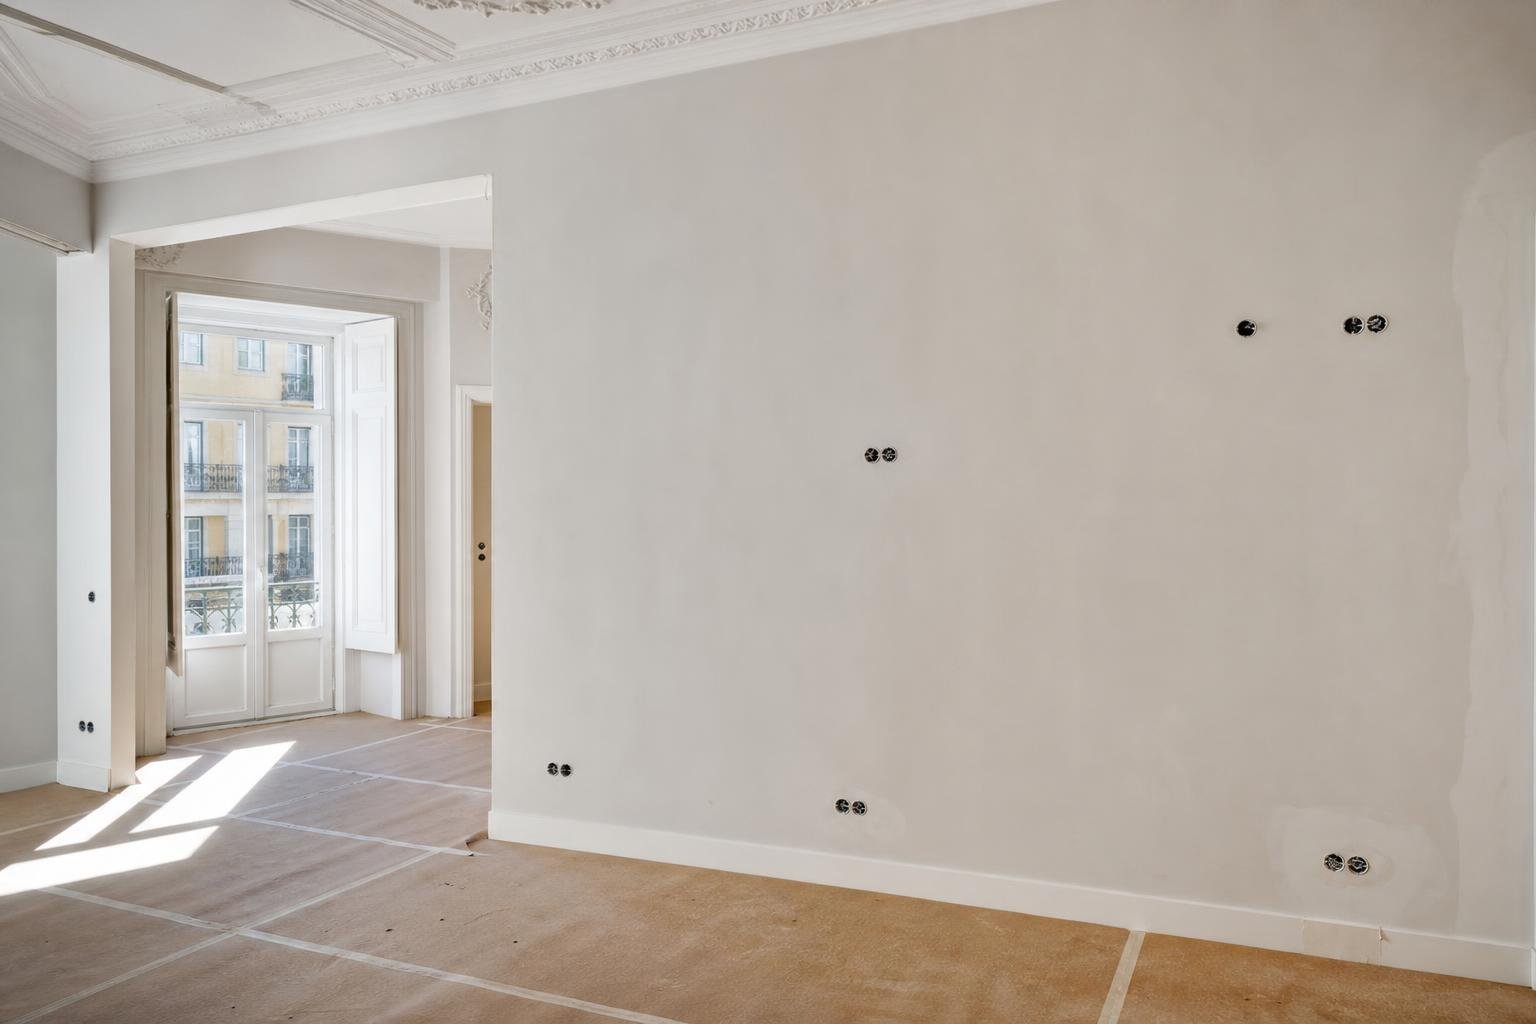
This follows a useful renovation principle throughout the home: planning outlets and switches before walls are closed avoids later chasing, extension leads and visible compromises. Photograph pipework and cable routes before finishes cover them.

Coordinate electricity, water and drainage on the same wall
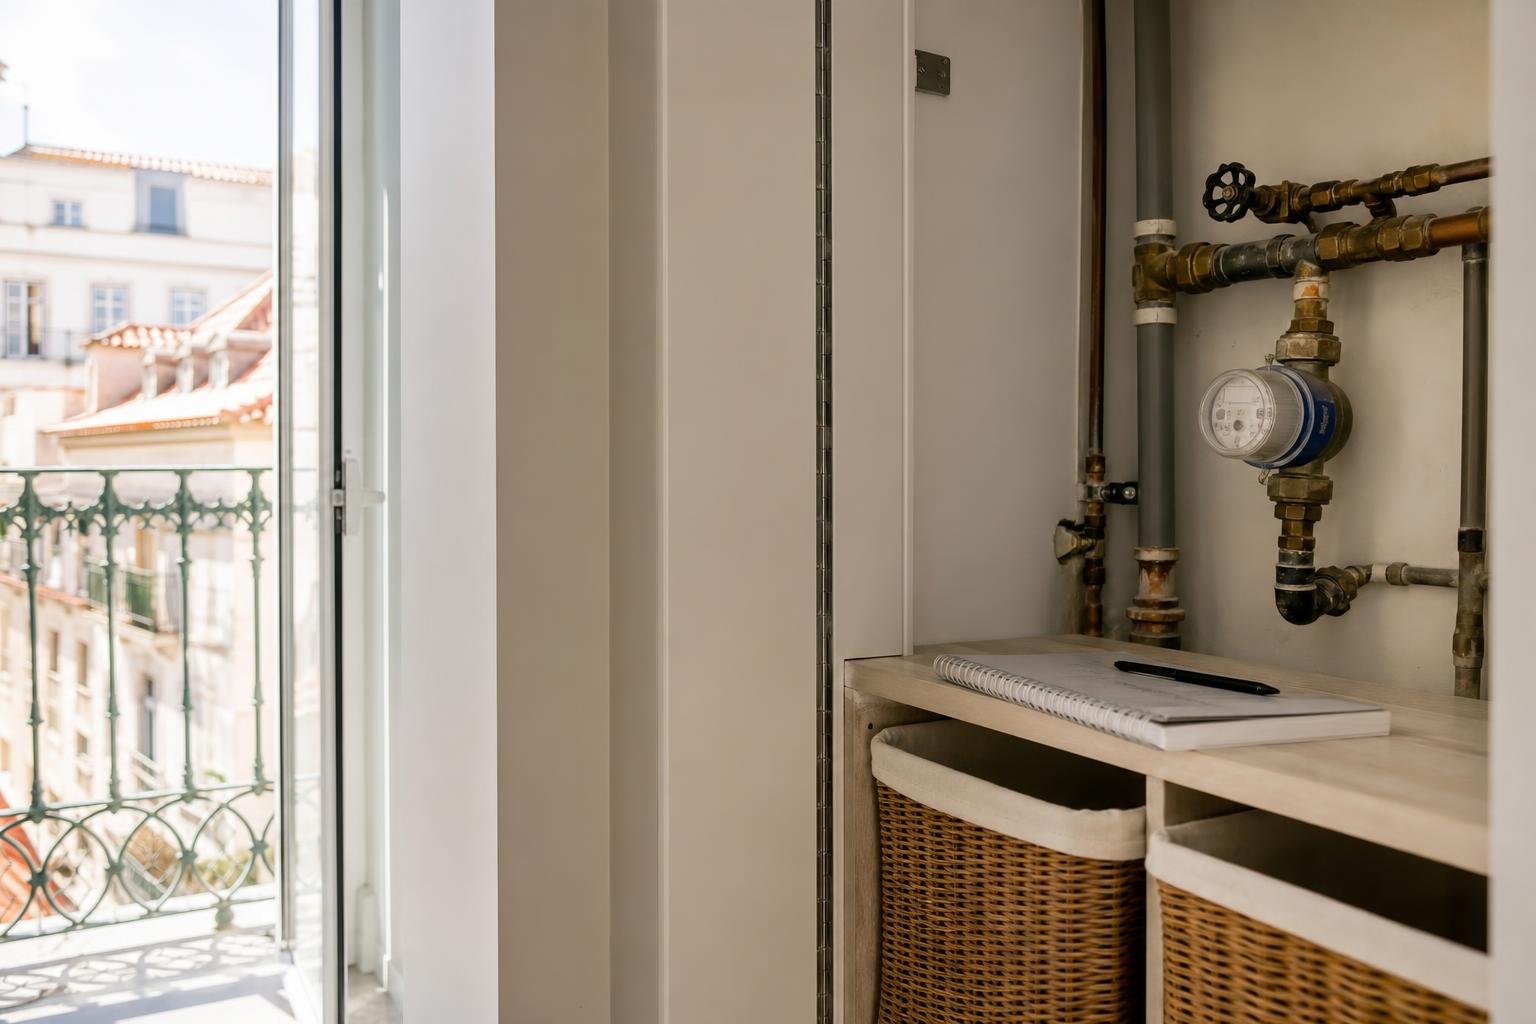
Laundry areas often fail through poor coordination rather than lack of room. The outlet, tap, waste connection, trap and isolation valves should not all compete for one inaccessible point behind the machine. Arrange them in recognisable zones and preserve a maintenance sequence: shut off water, isolate electricity, pull the machine forward, inspect hoses and clear the drainage connection.
Where cabinetry is made to measure, give the joiner a drawing with already-approved dimensions. A closed-back unit can obstruct ventilation and crush pipes; a poorly placed cut-out can leave a plug beside a plumbing joint. This is not about enlarging the room. It is about reserving a well-used technical void.
If a worktop sits above the appliances, confirm where a service outlet will go and whether the cabinet opening reaches the valves. For organisation and noise-control choices, see our guide to planning an apartment laundry area.
Moisture and ventilation change the right location
Laundry produces moisture; drying clothes and storing textiles in the same enclosure can increase it. That is why adding outlets alone is not enough. They must not sit in a location exposed to splashes, persistent condensation or an undetected leak. Appliance type, available ventilation and the way the room is used should be assessed together.
Do not rely on extension leads or multi-plug adaptors as a permanent installation. As well as gathering cables in a space that is frequently cleaned, they make it harder to identify what is connected and create a fragile arrangement around vibration, dust and water. If the outlet is in the wrong place, correct the installation before cabinetry is fitted.
A tumble dryer does not replace room ventilation. Check that there is suitable air renewal, manufacturer-required clearance and access for maintaining filters and the condenser. If the laundry is located in an enclosed balcony, consider condensation on windows and walls before turning it into permanent storage.
Set the work sequence and hand over a checklist
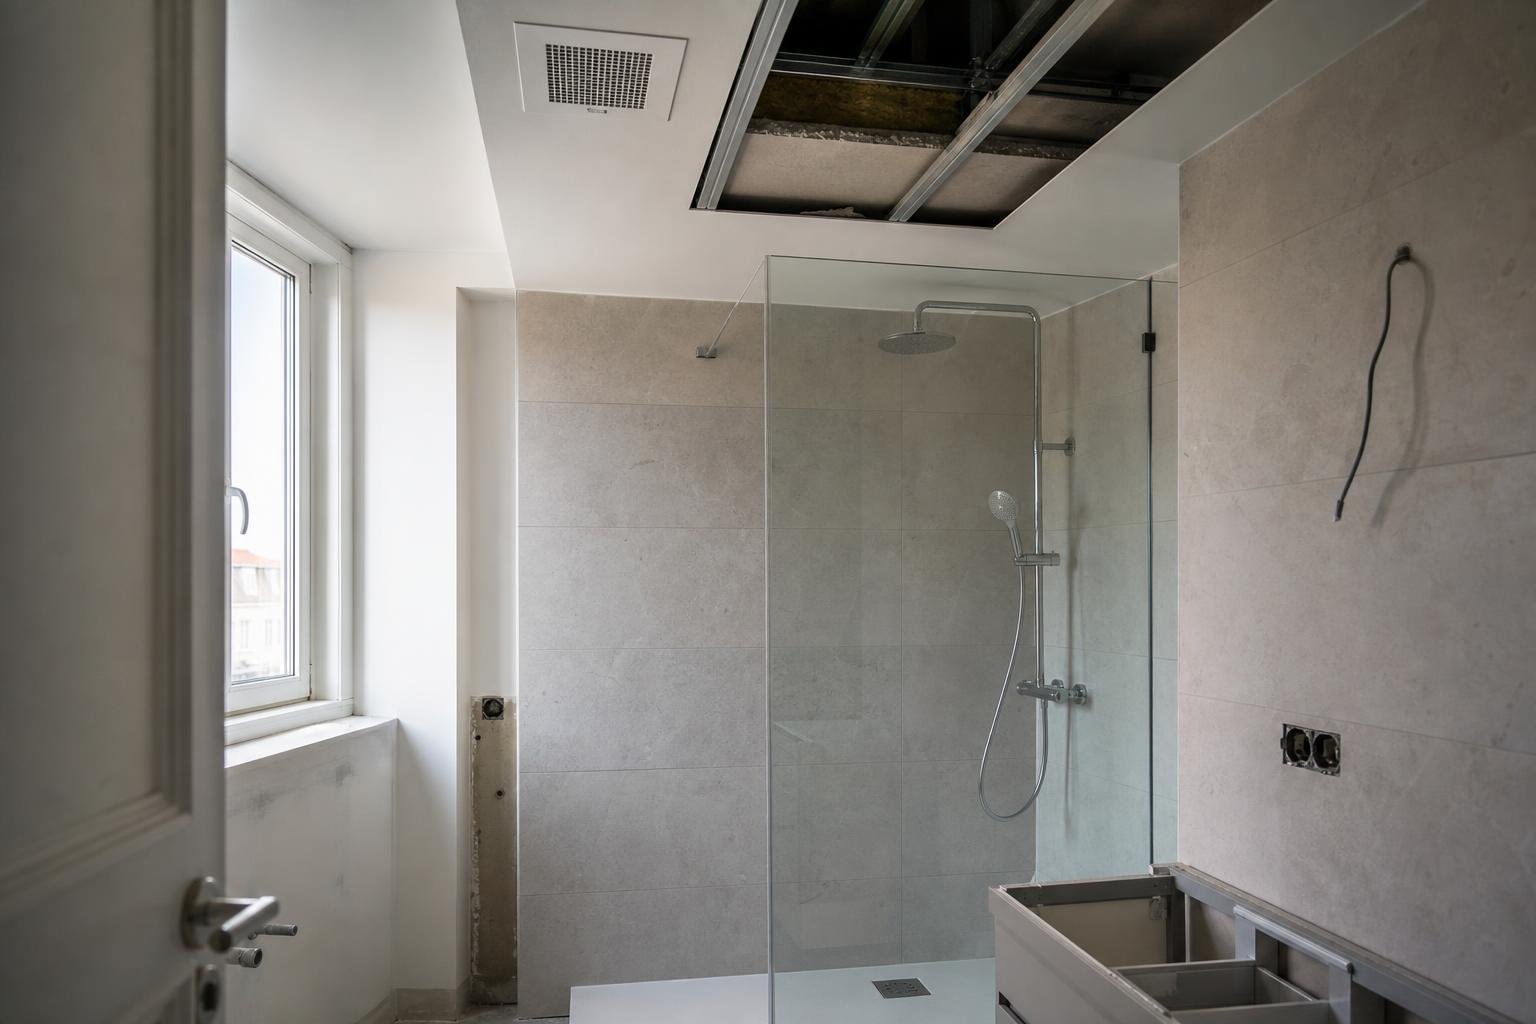
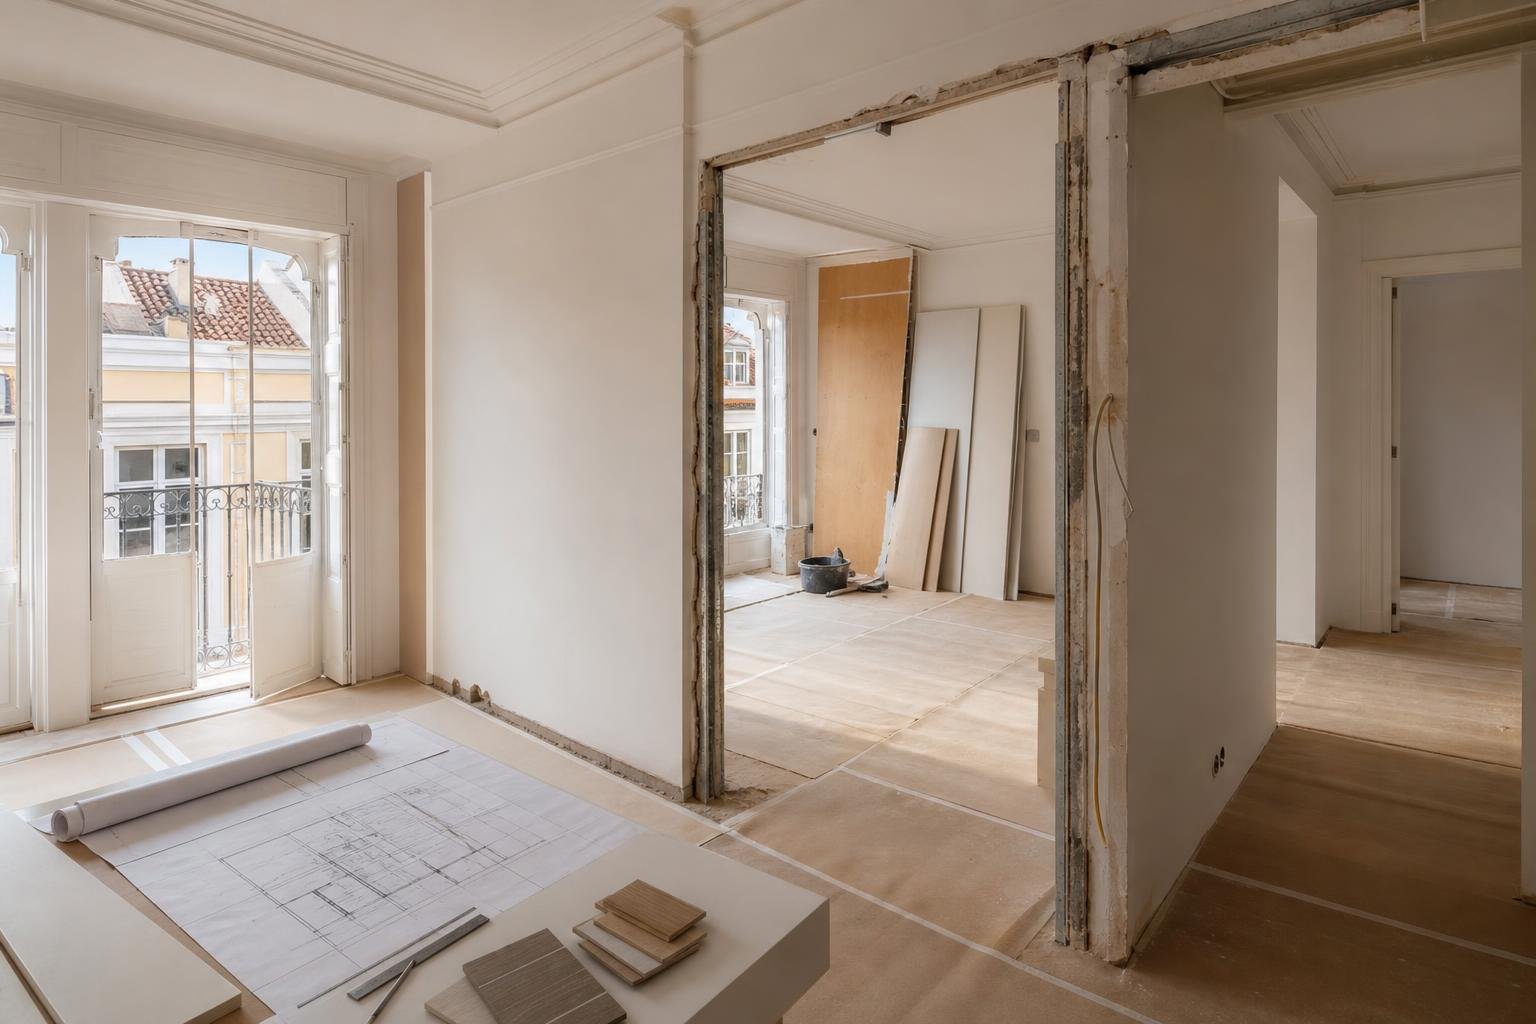
The best time to resolve these issues is before plasterboard walls are built, tiles are laid or kitchen and wardrobe units are installed. First confirm the appliances and layout; then validate the services; only then close walls and order furniture. A late change may mean removing new finishes simply to move an outlet or waste point by a few centimetres.
In Lisbon, interior works that do not affect structural stability, façades, roof form or other municipal conditions may be exempt from prior planning control. However, works that use the street for materials, skips or support equipment can still have their own requirements. Check the municipality’s guidance on public-space occupation for exempt works before arranging site logistics.
- Confirm appliance models and technical data.
- Validate circuits, protection and the consumer unit with a qualified professional.
- Draw the positions of outlets, water, drainage and access points.
- Photograph the installation before it is closed up.
- Test every appliance and isolation valve before final handover.
A properly prepared laundry area does not demand attention. It works every day and allows cleaning, repair and replacement without turning a household task into another renovation.
Renovating a kitchen, bathroom or laundry area in Lisbon? Obra Lisboa can help coordinate layout, technical trades and execution before the walls are closed.
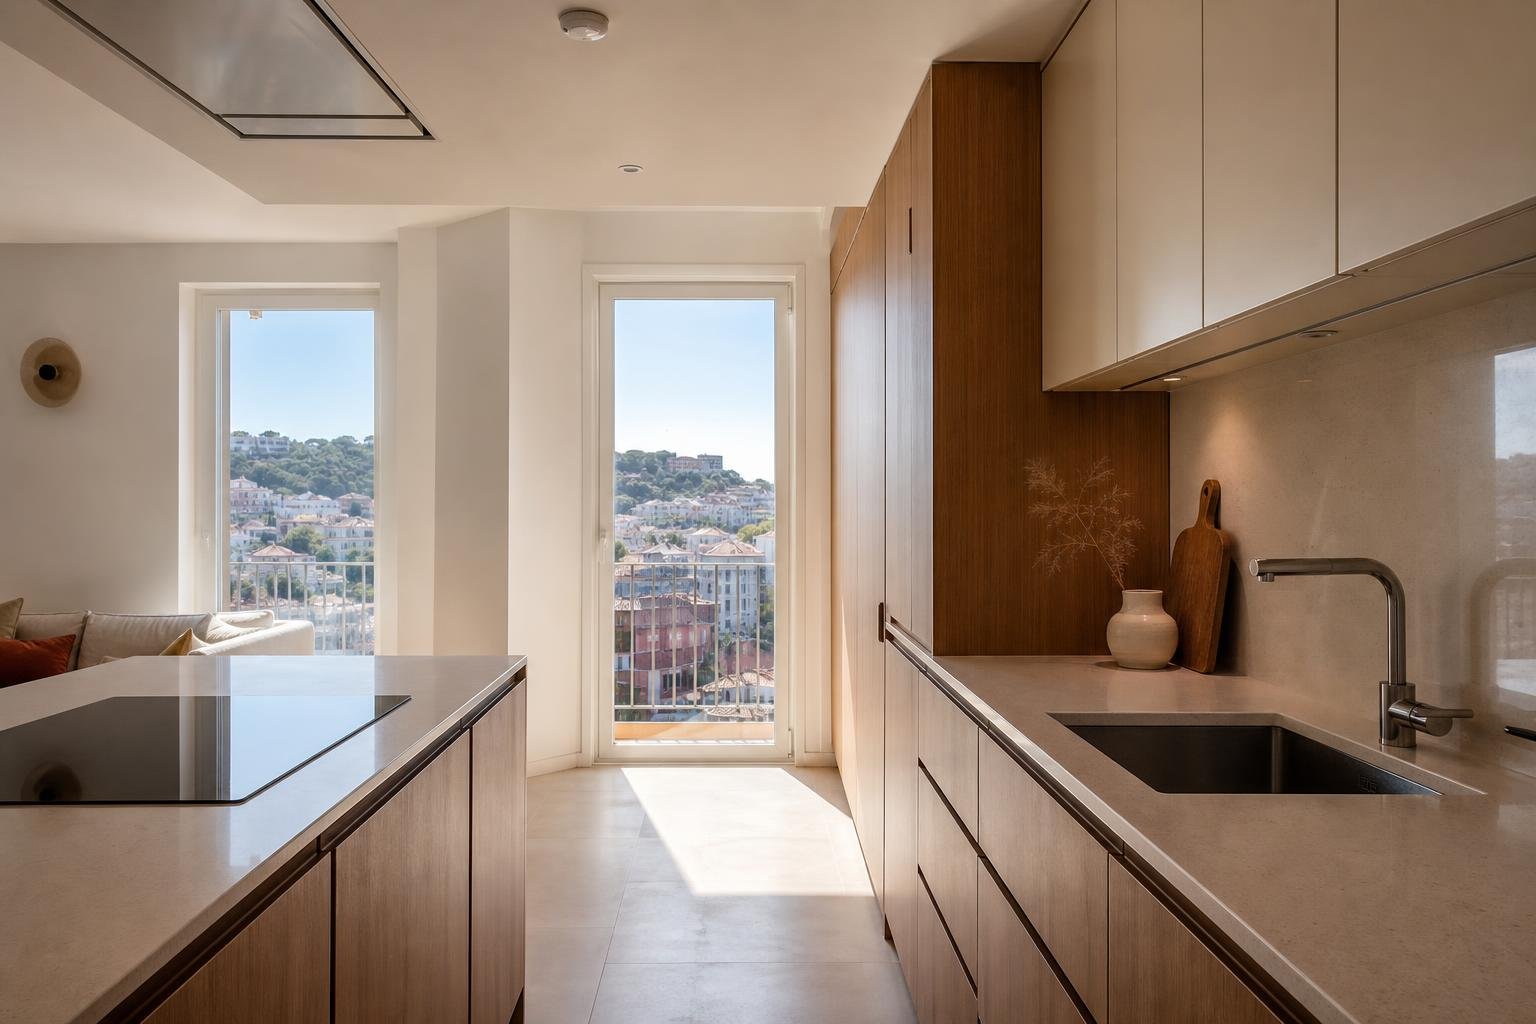
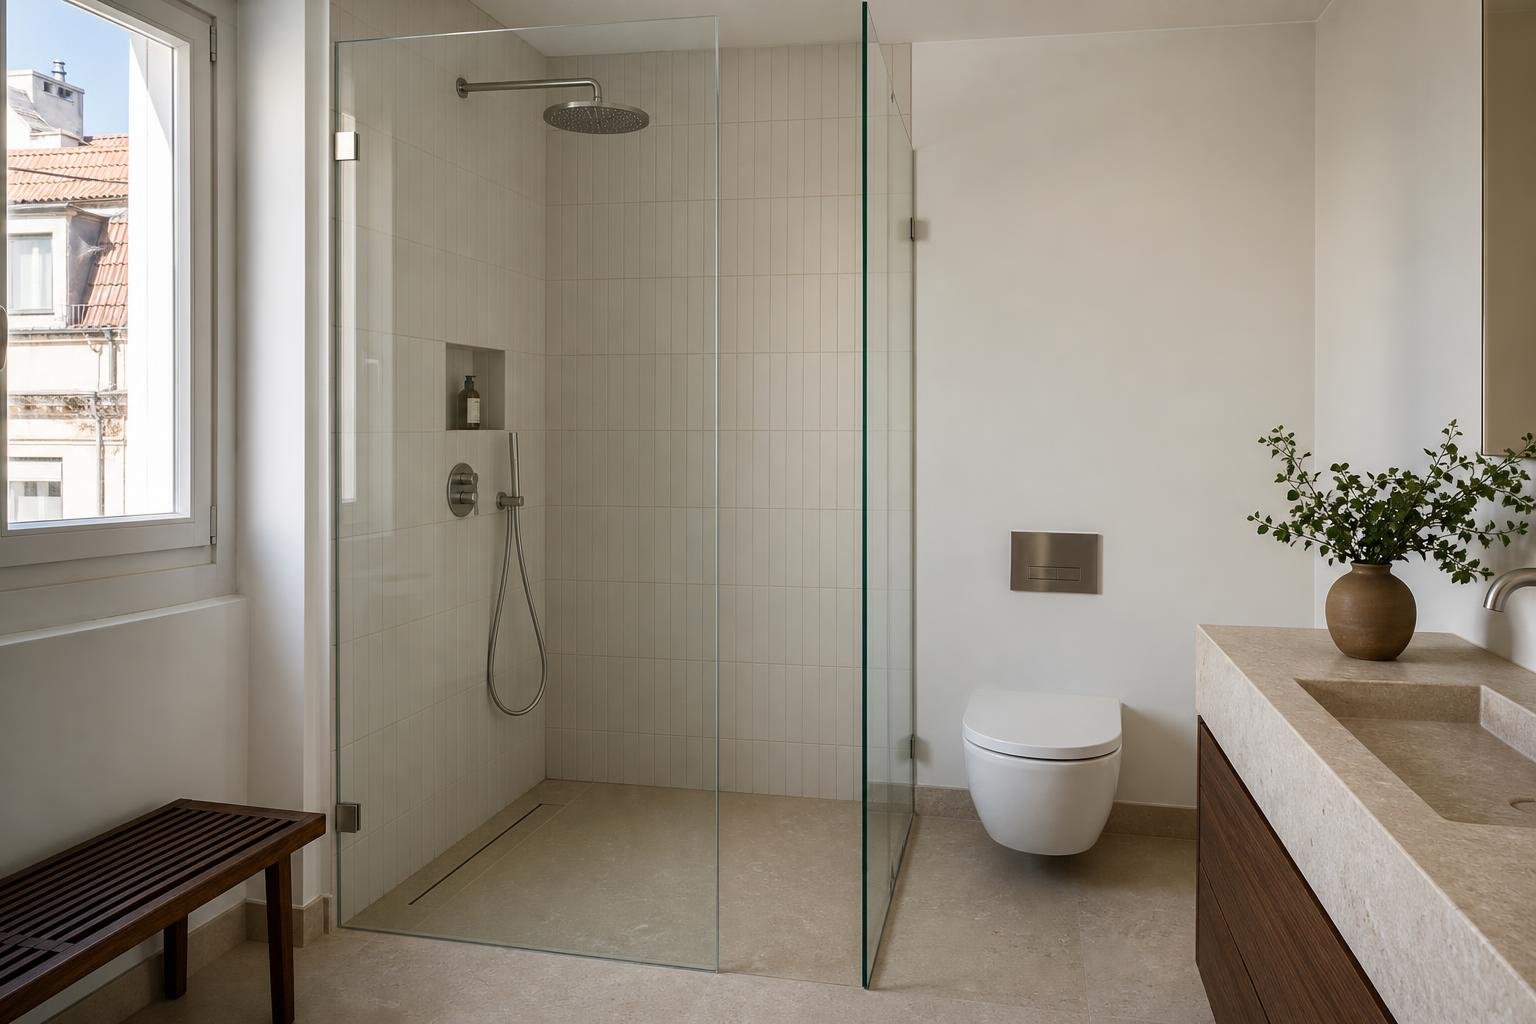
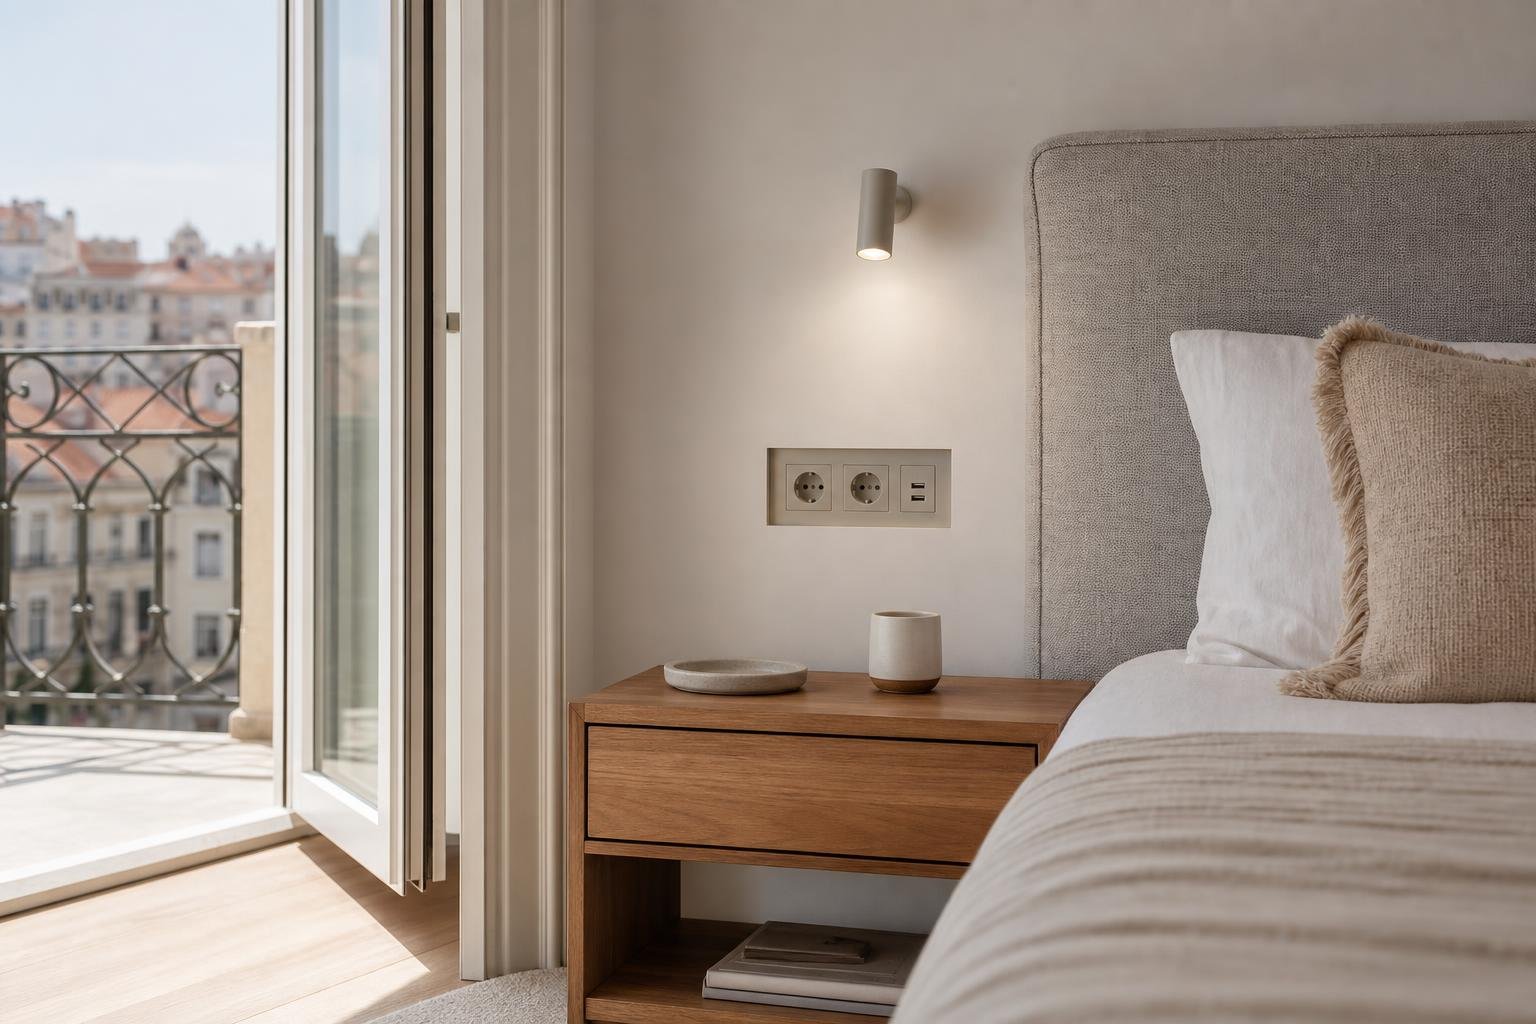
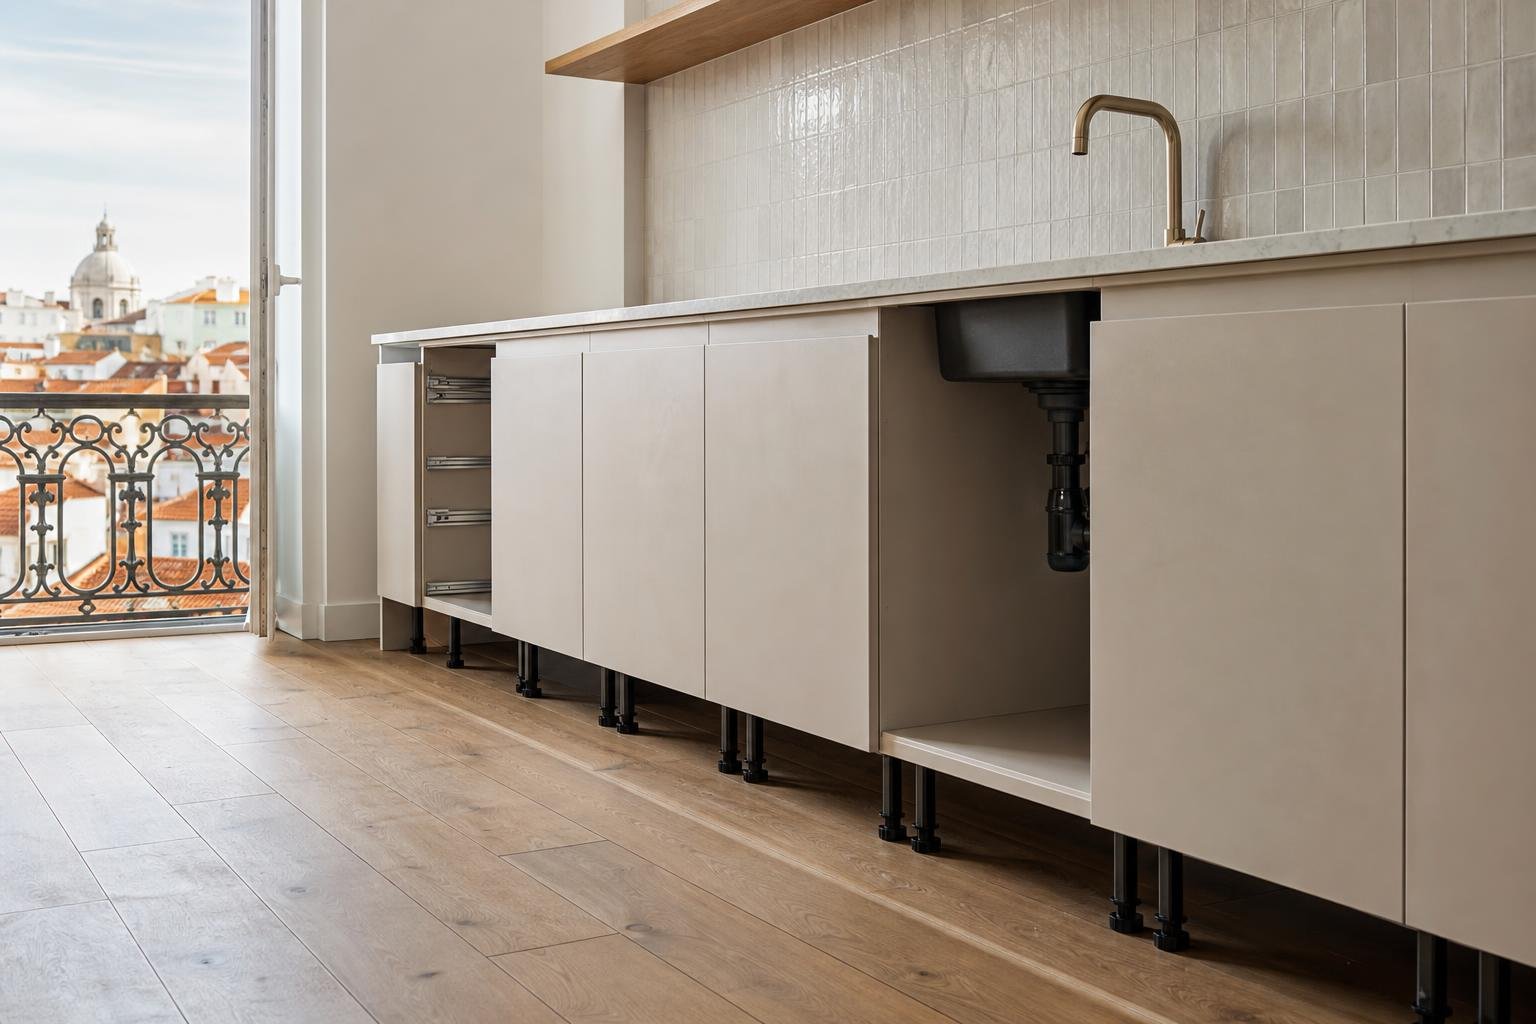
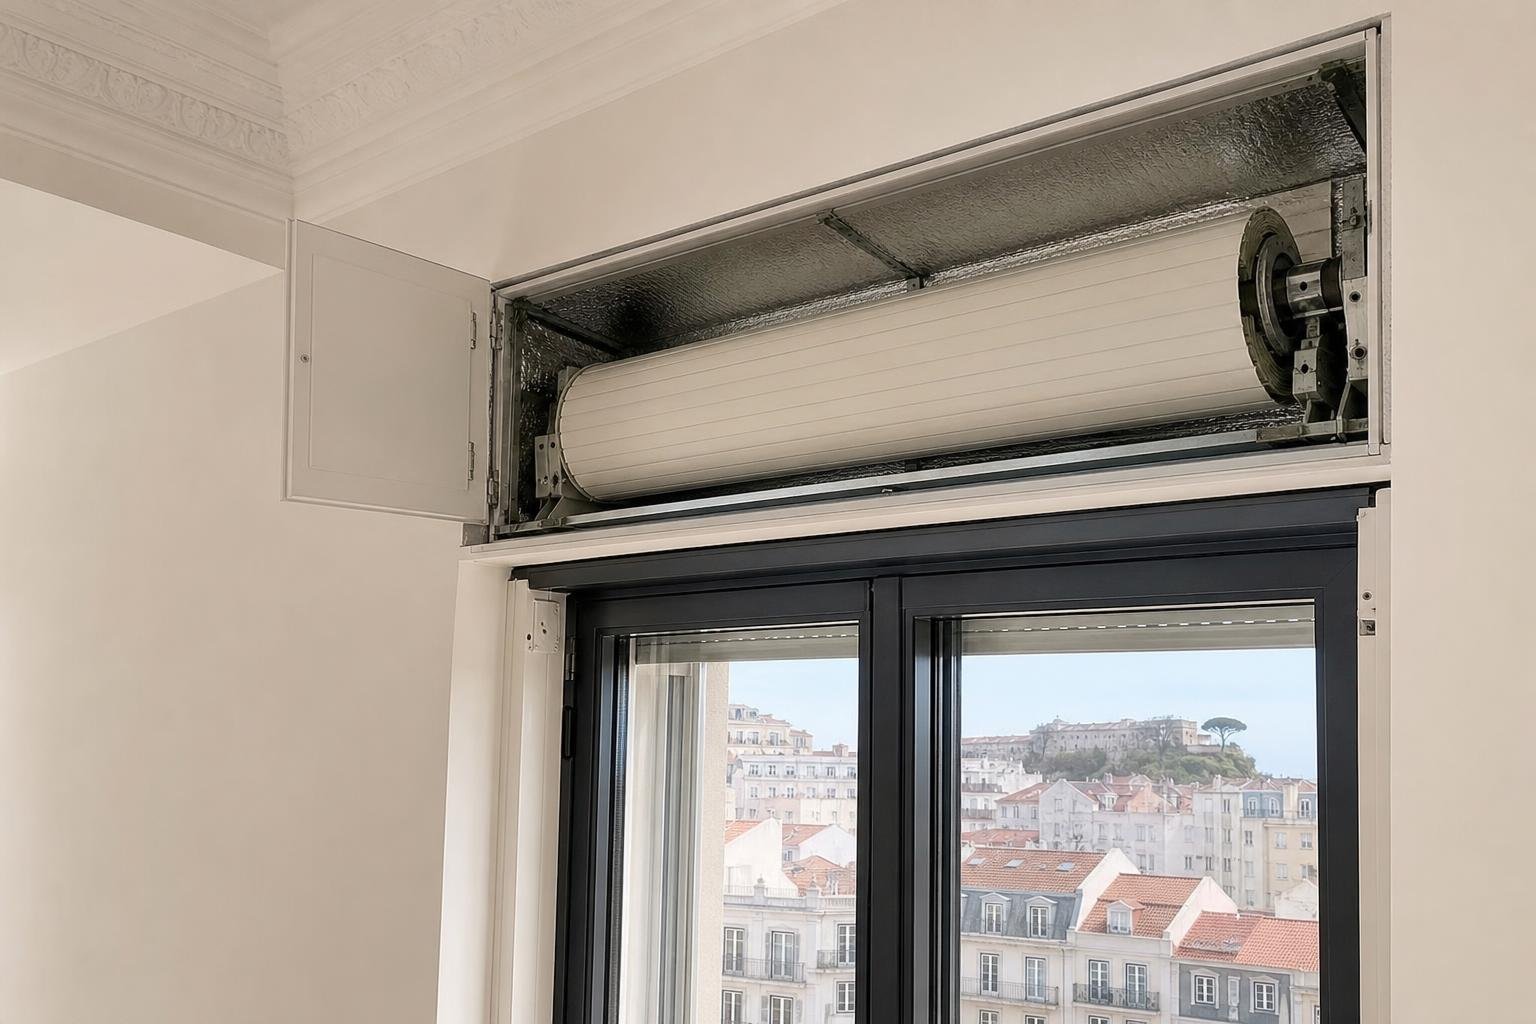
AI-generated editorial image; it does not depict an Obra Lisboa project.

Obra Lisboa